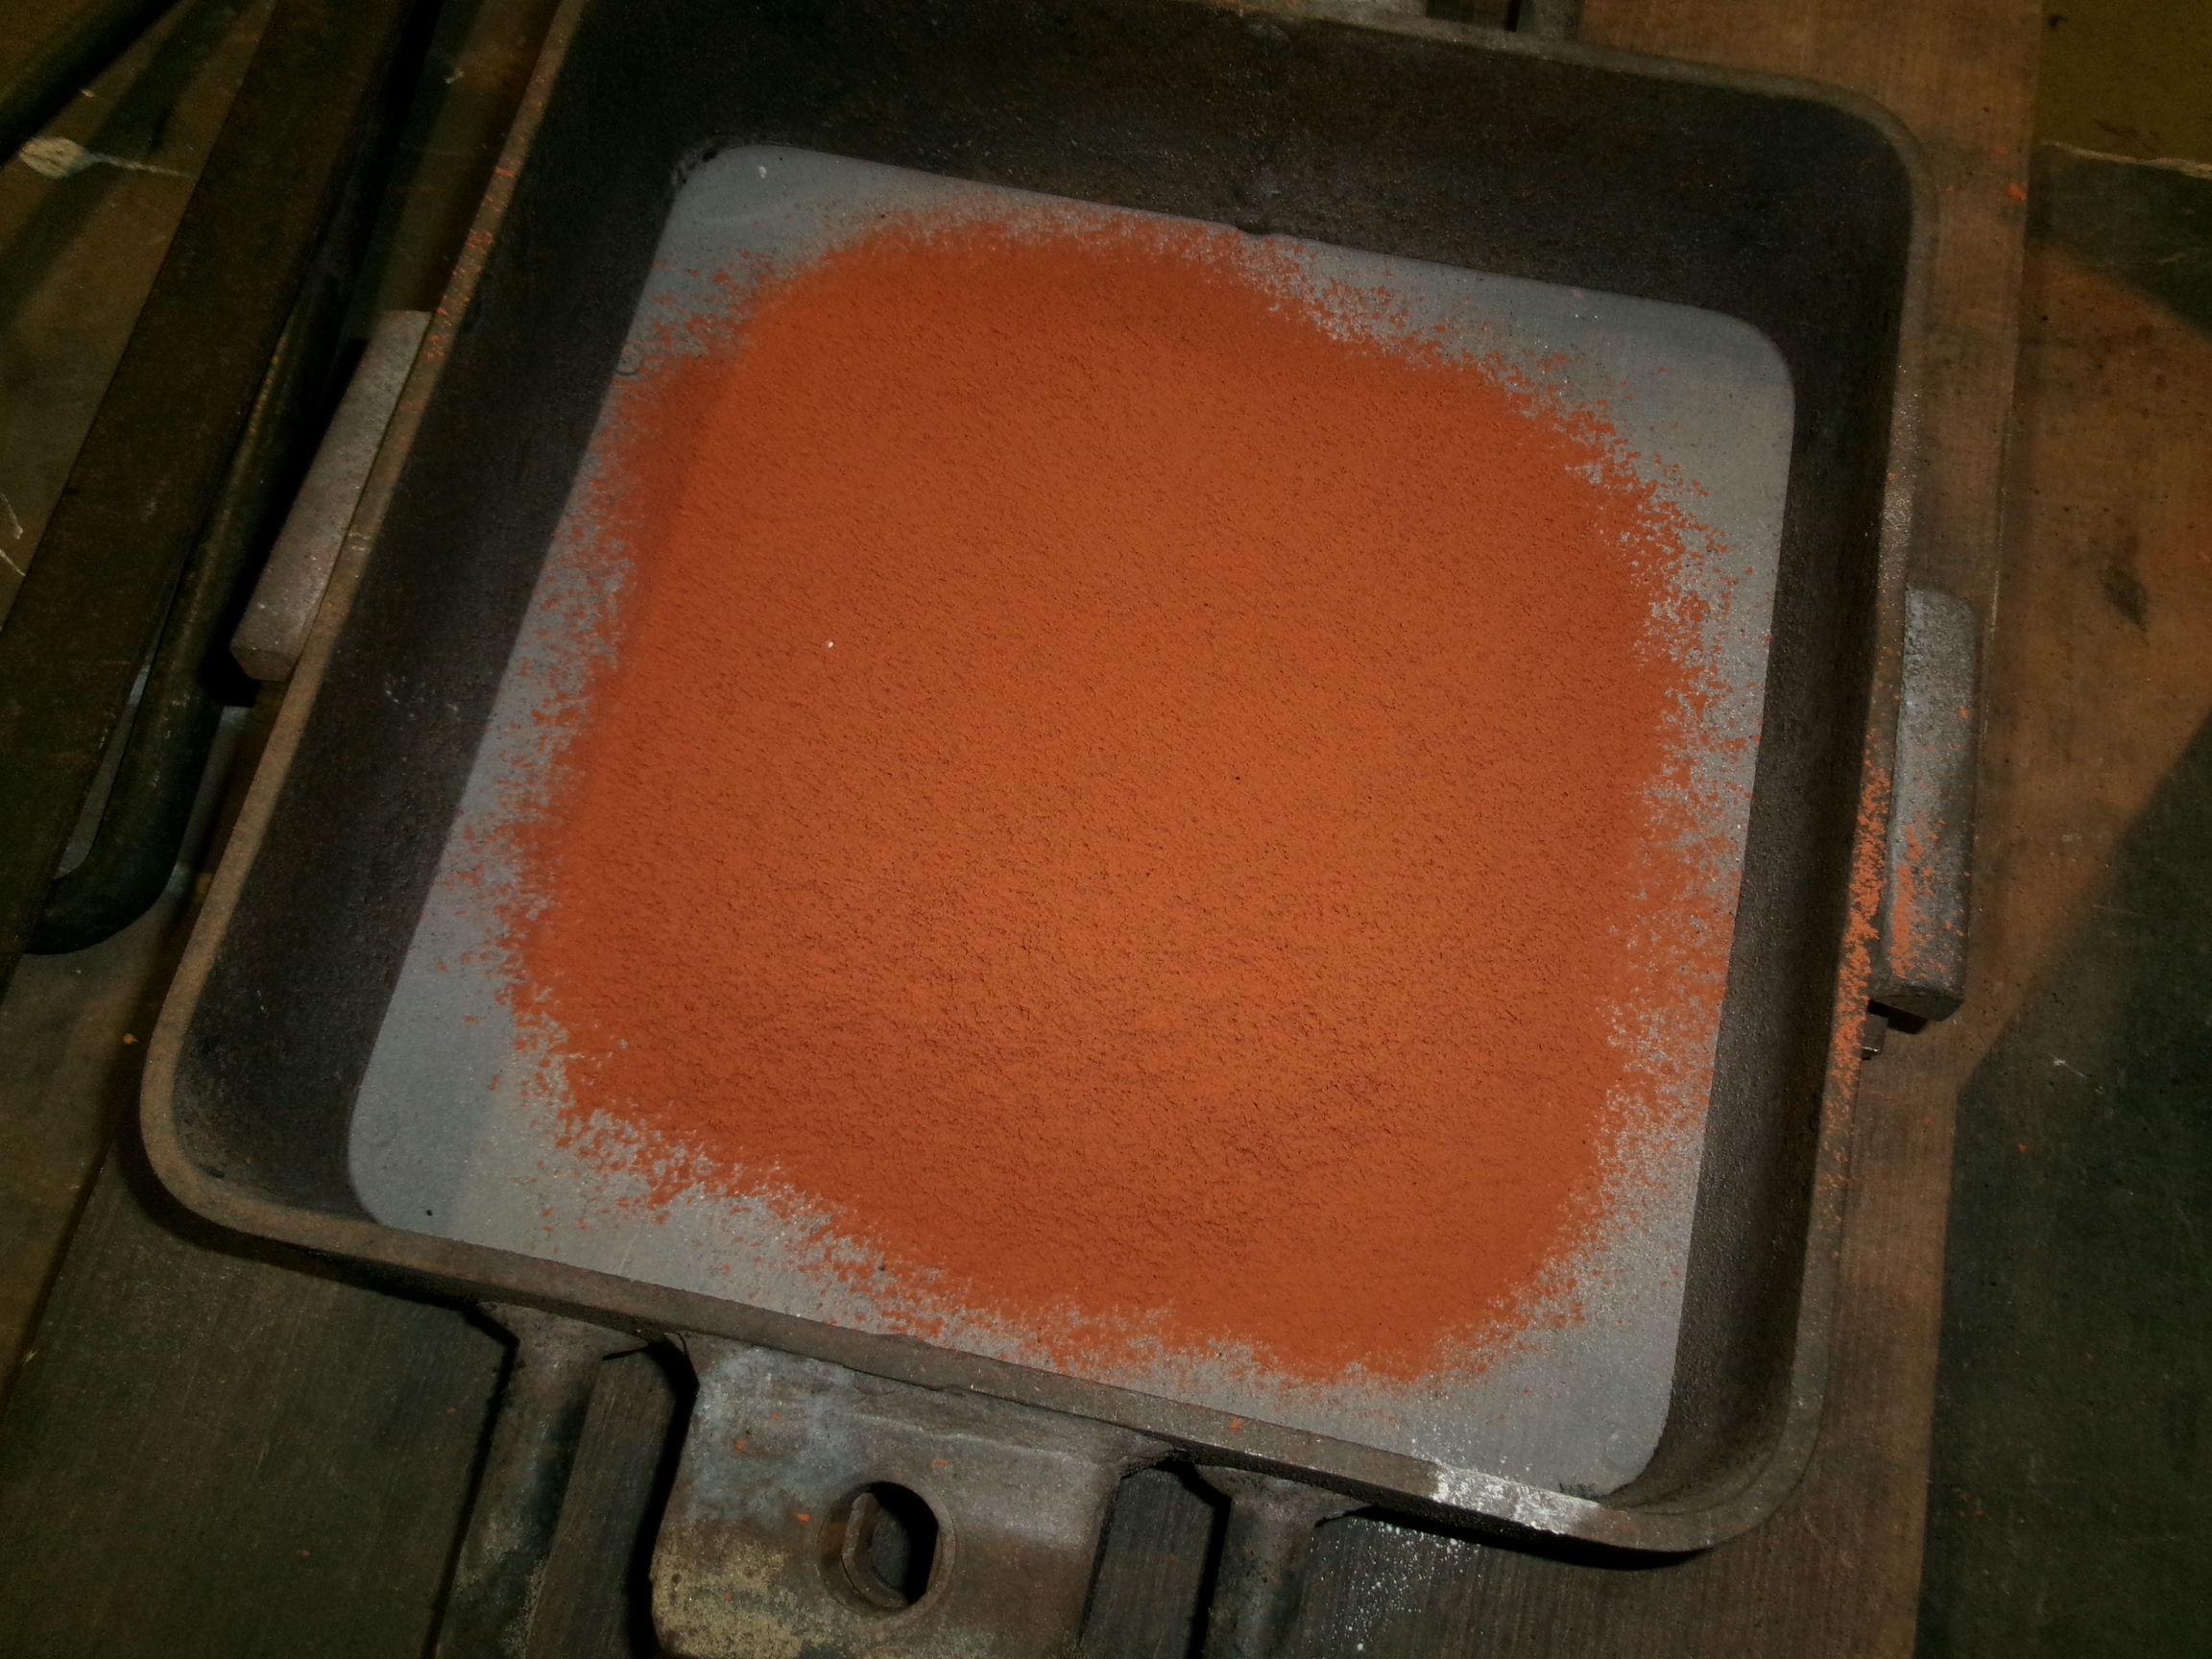
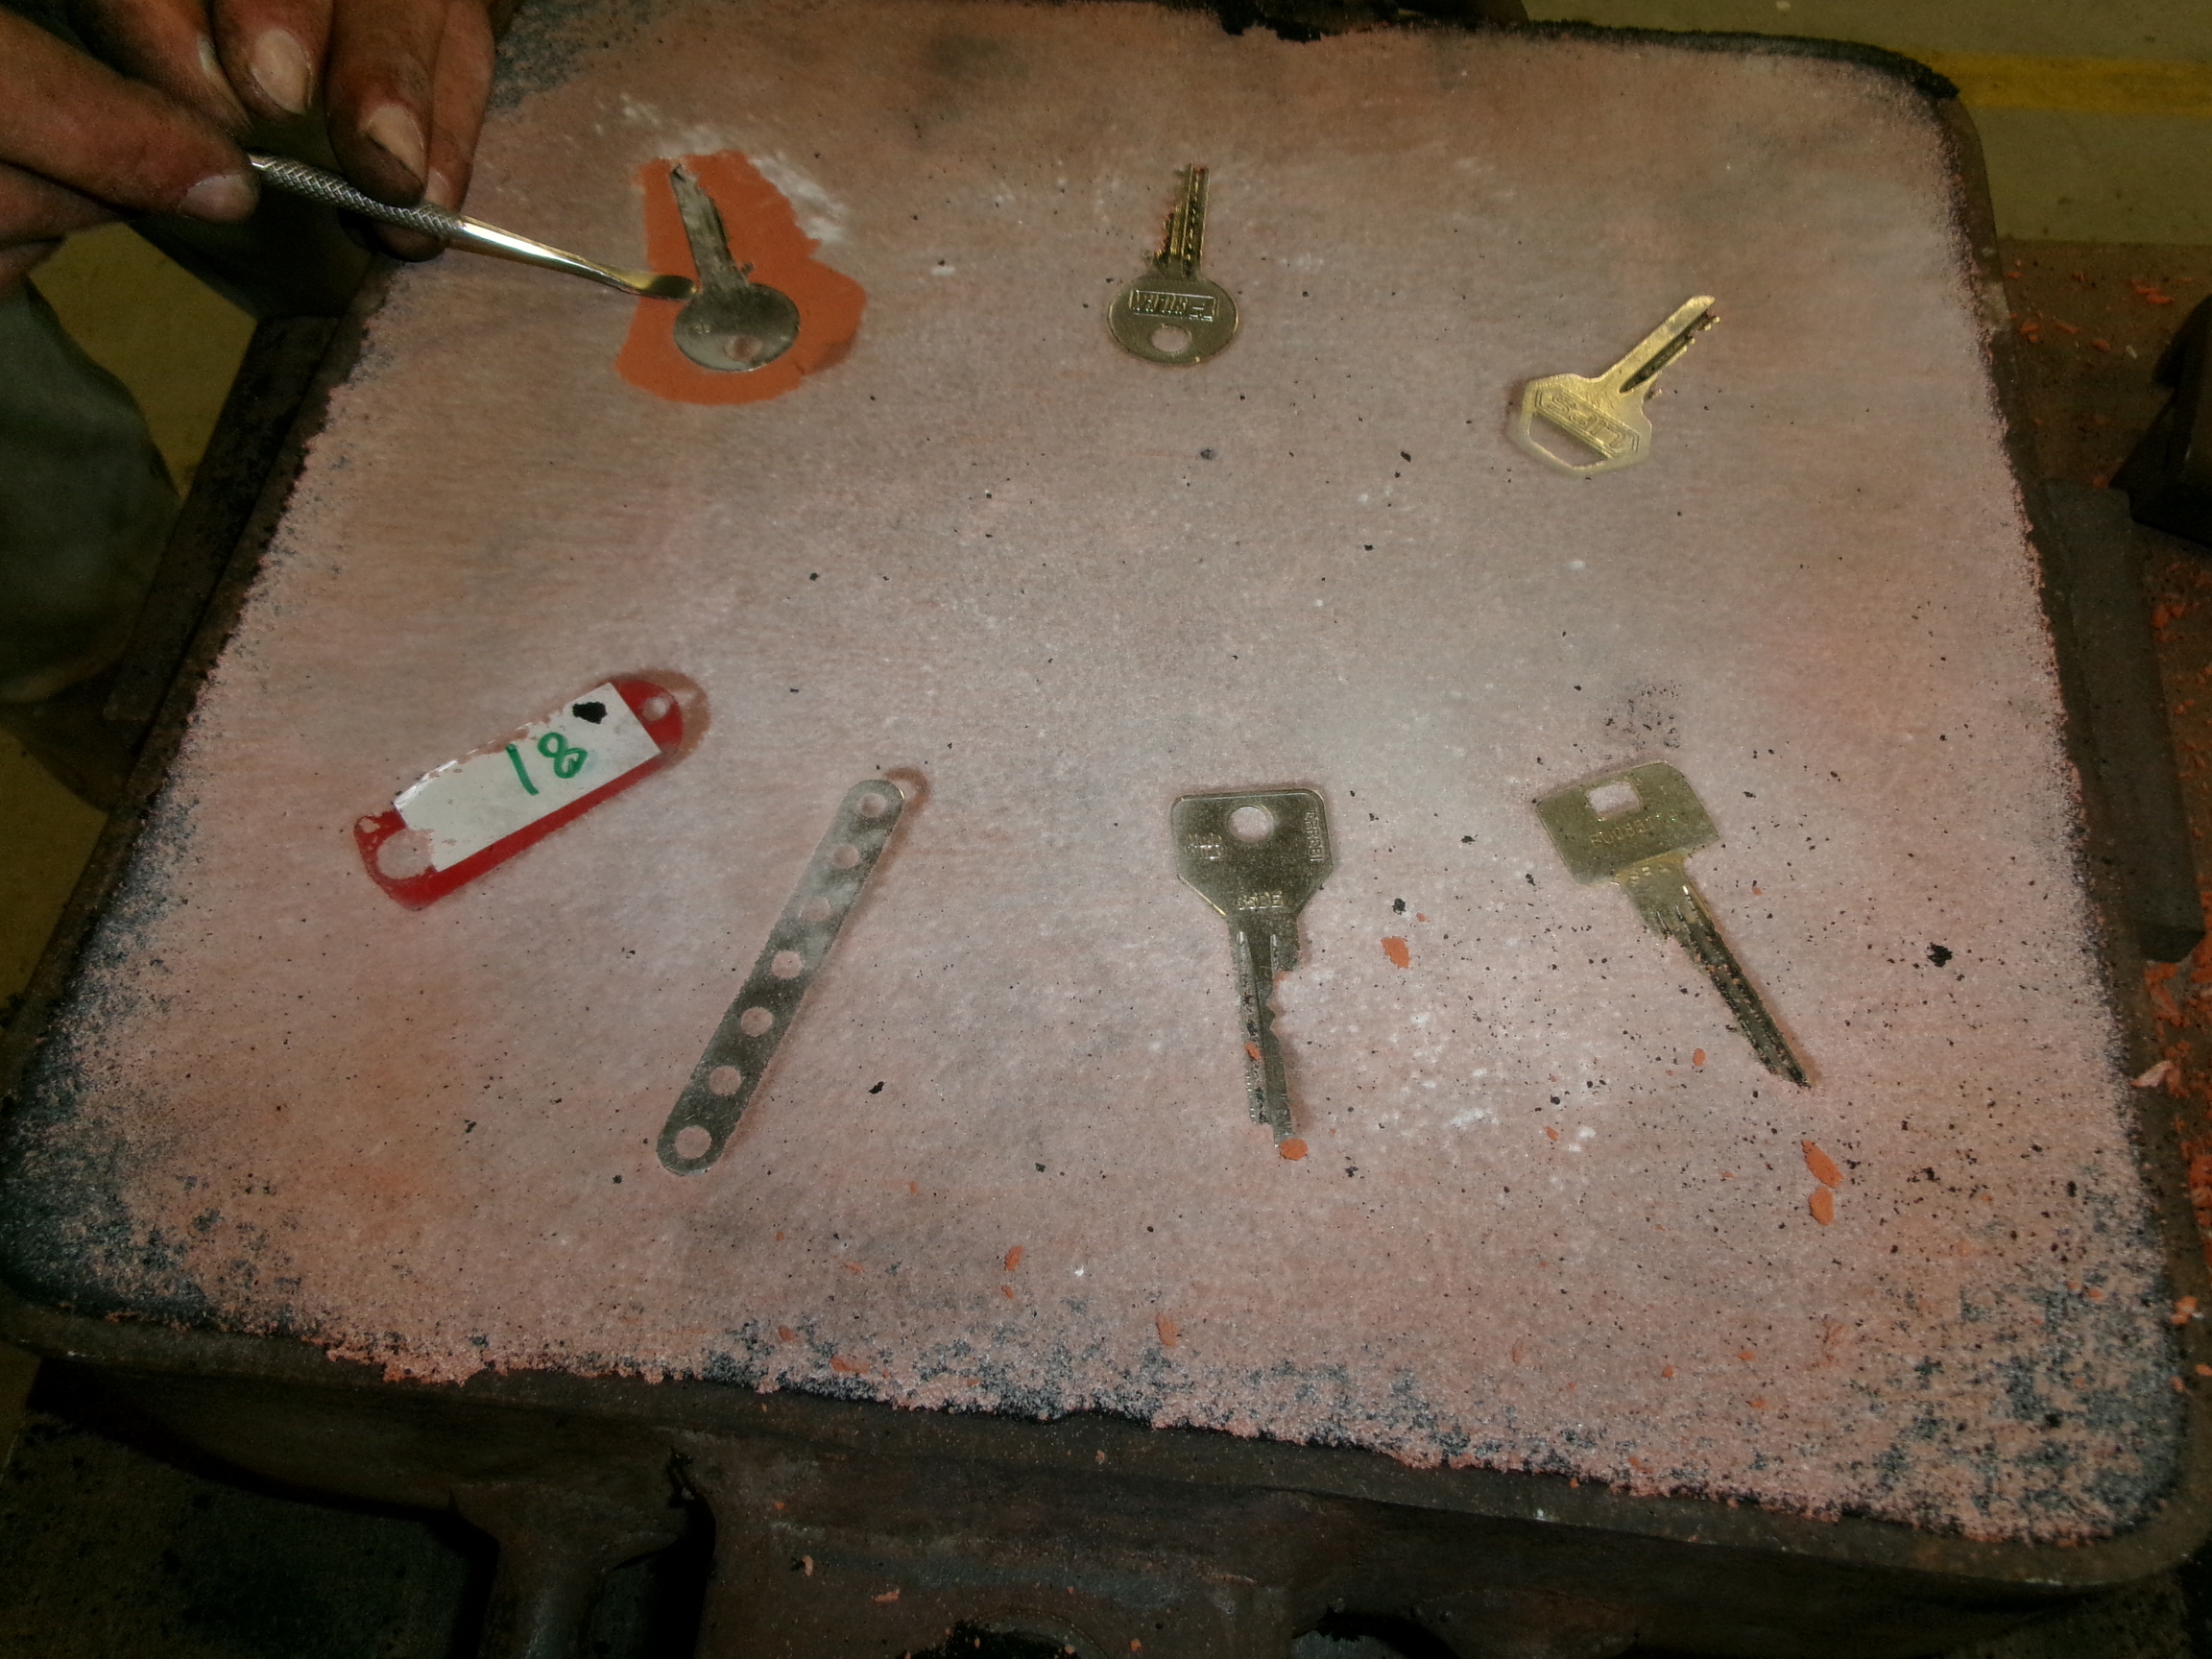
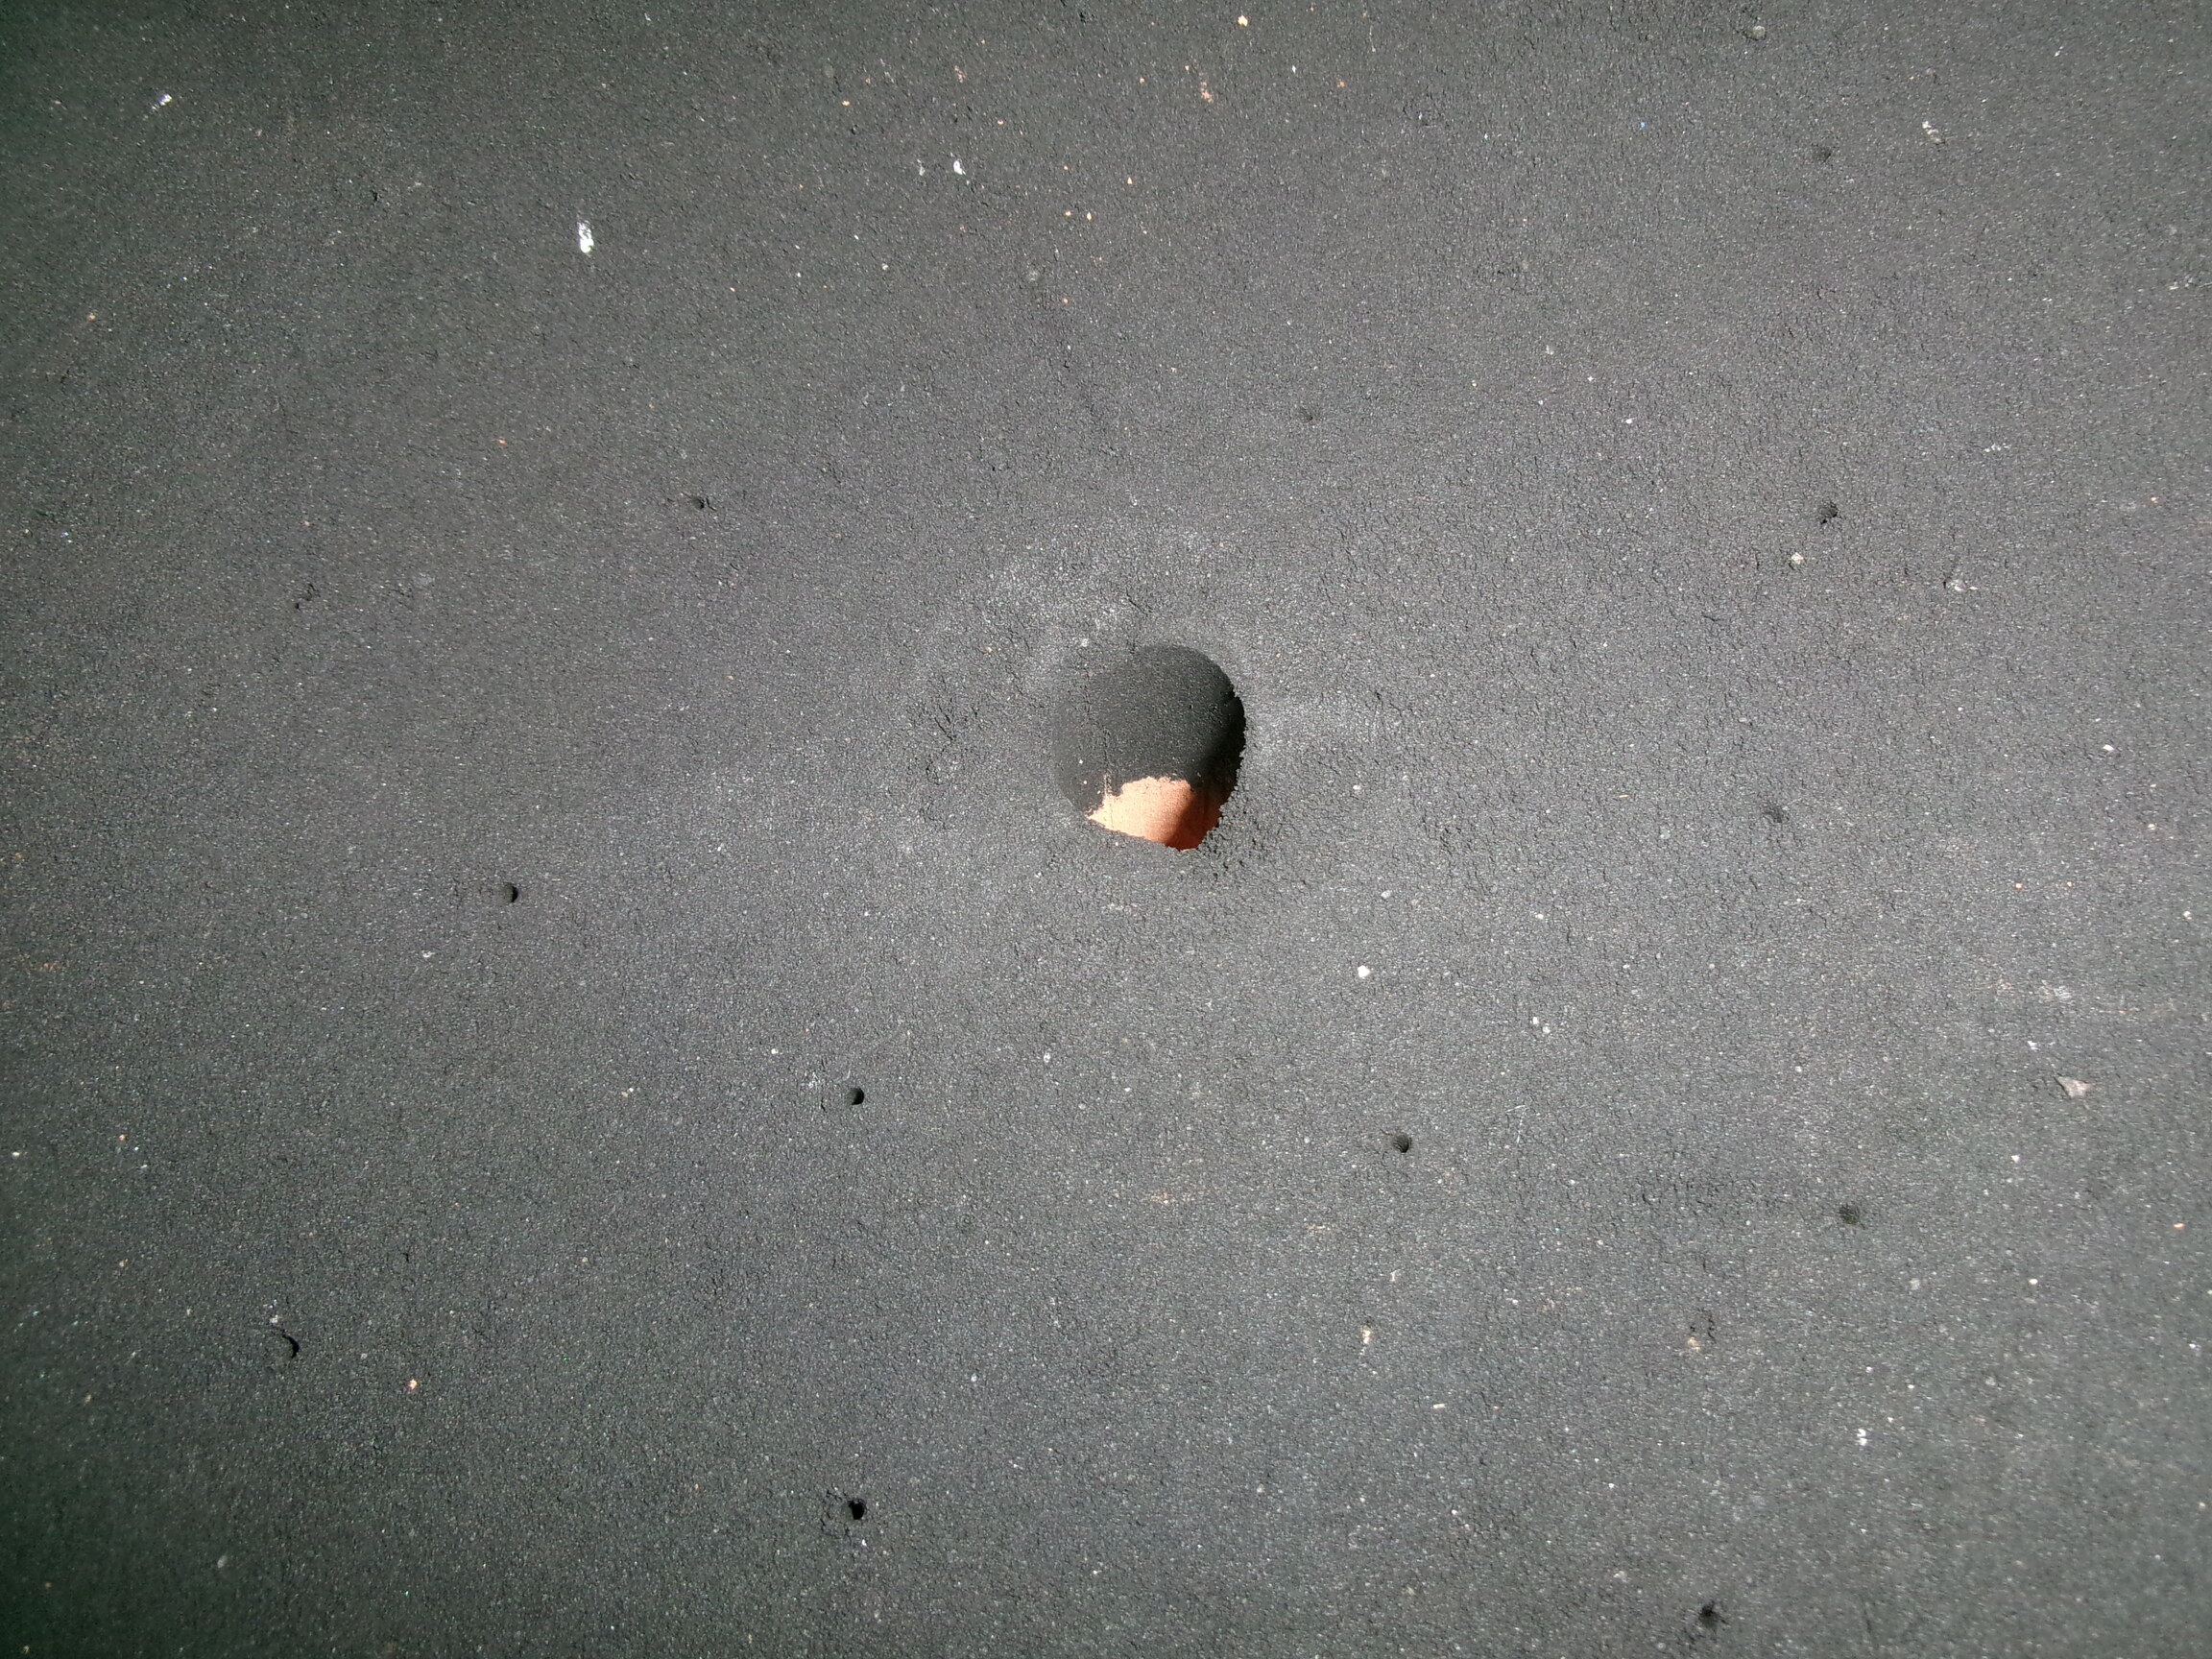
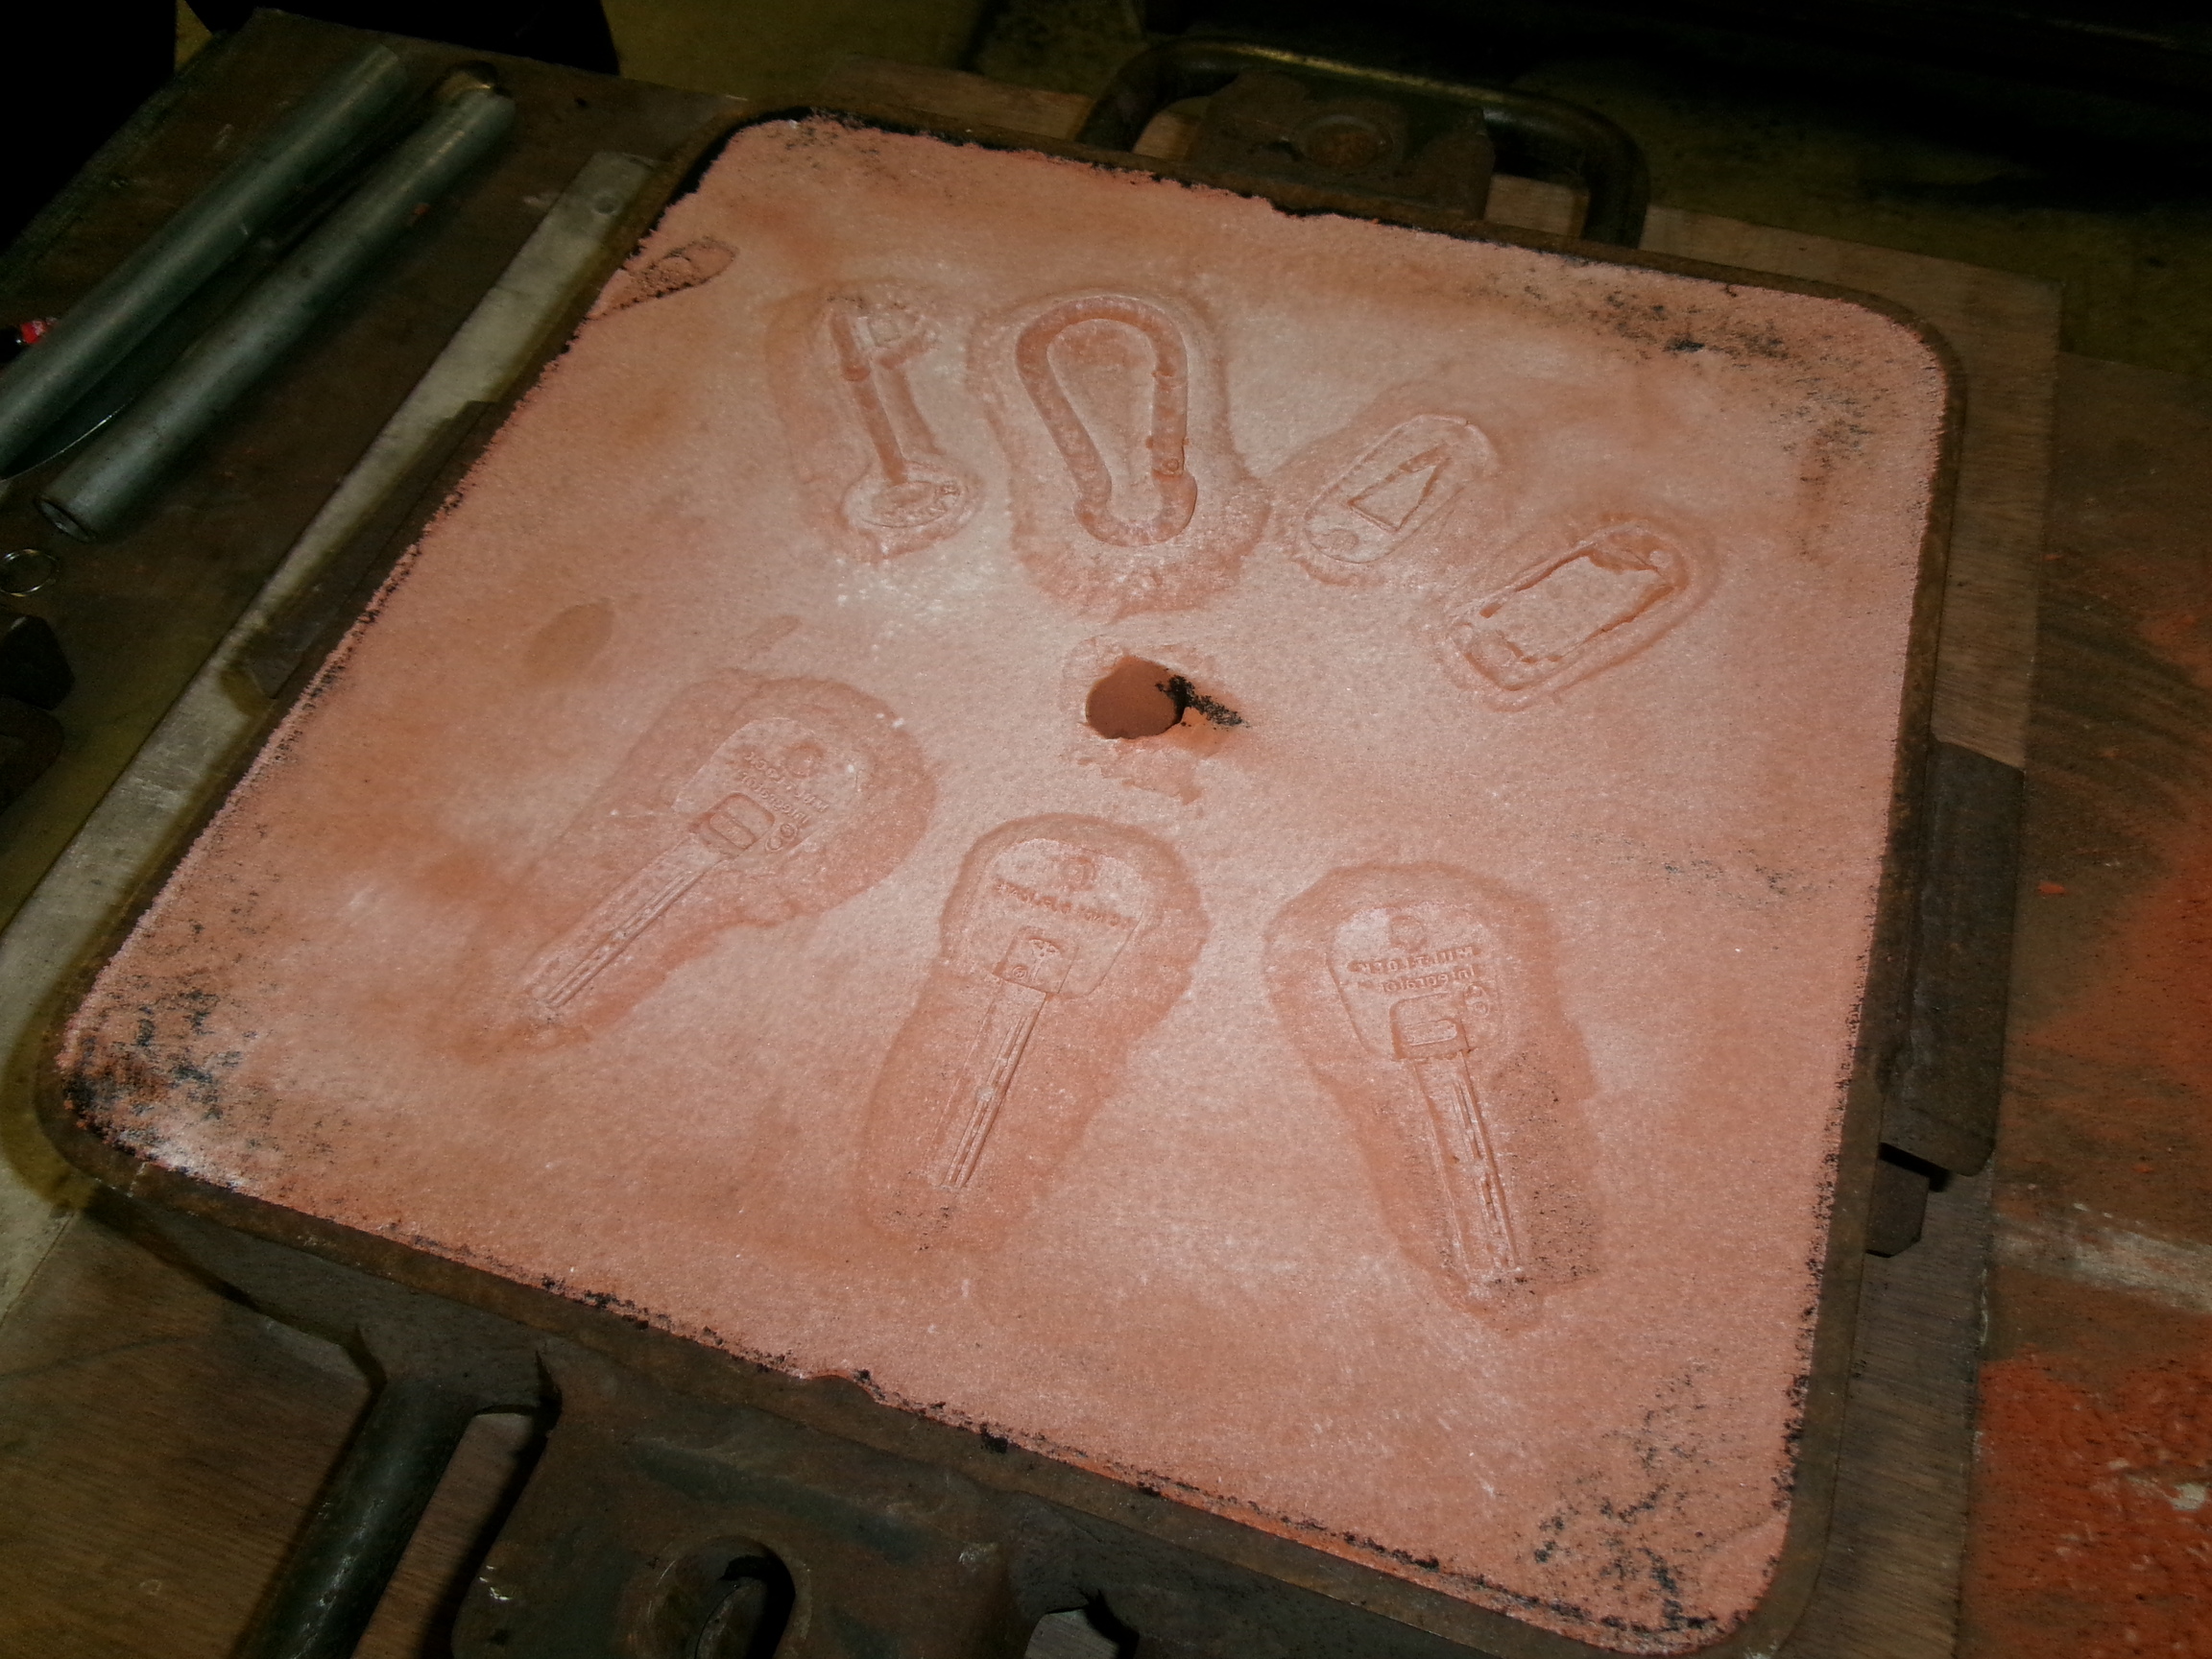
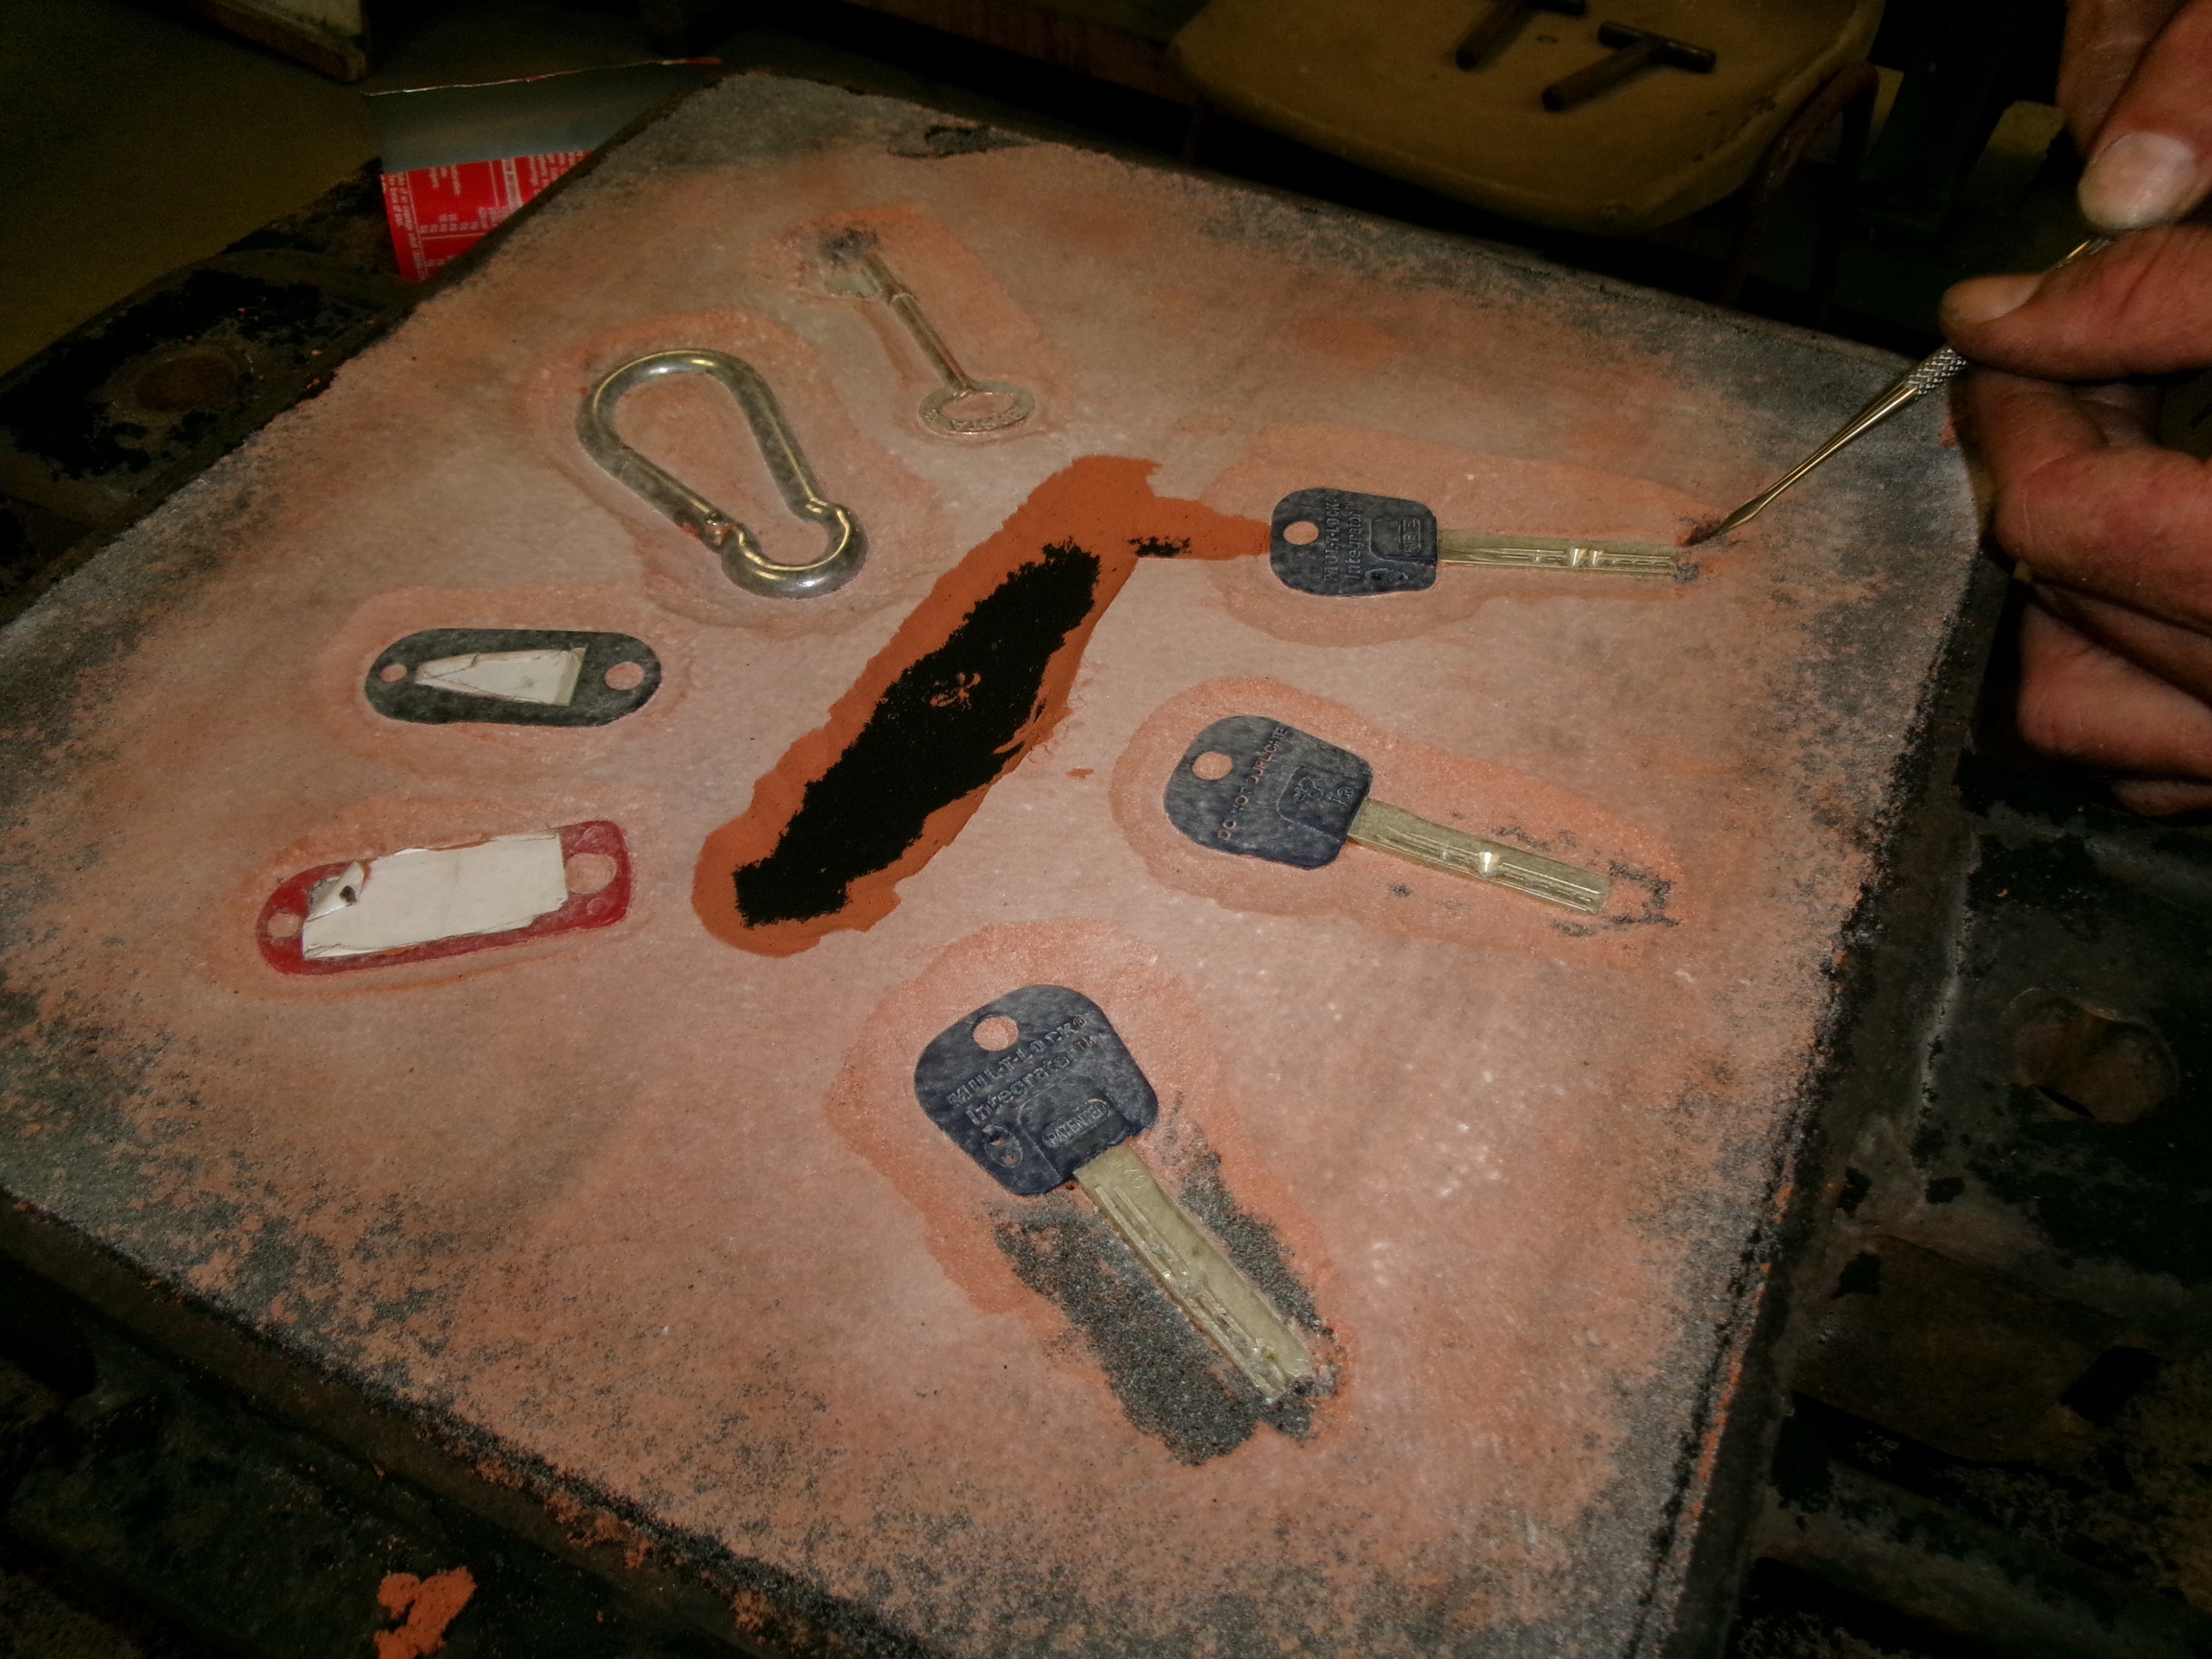
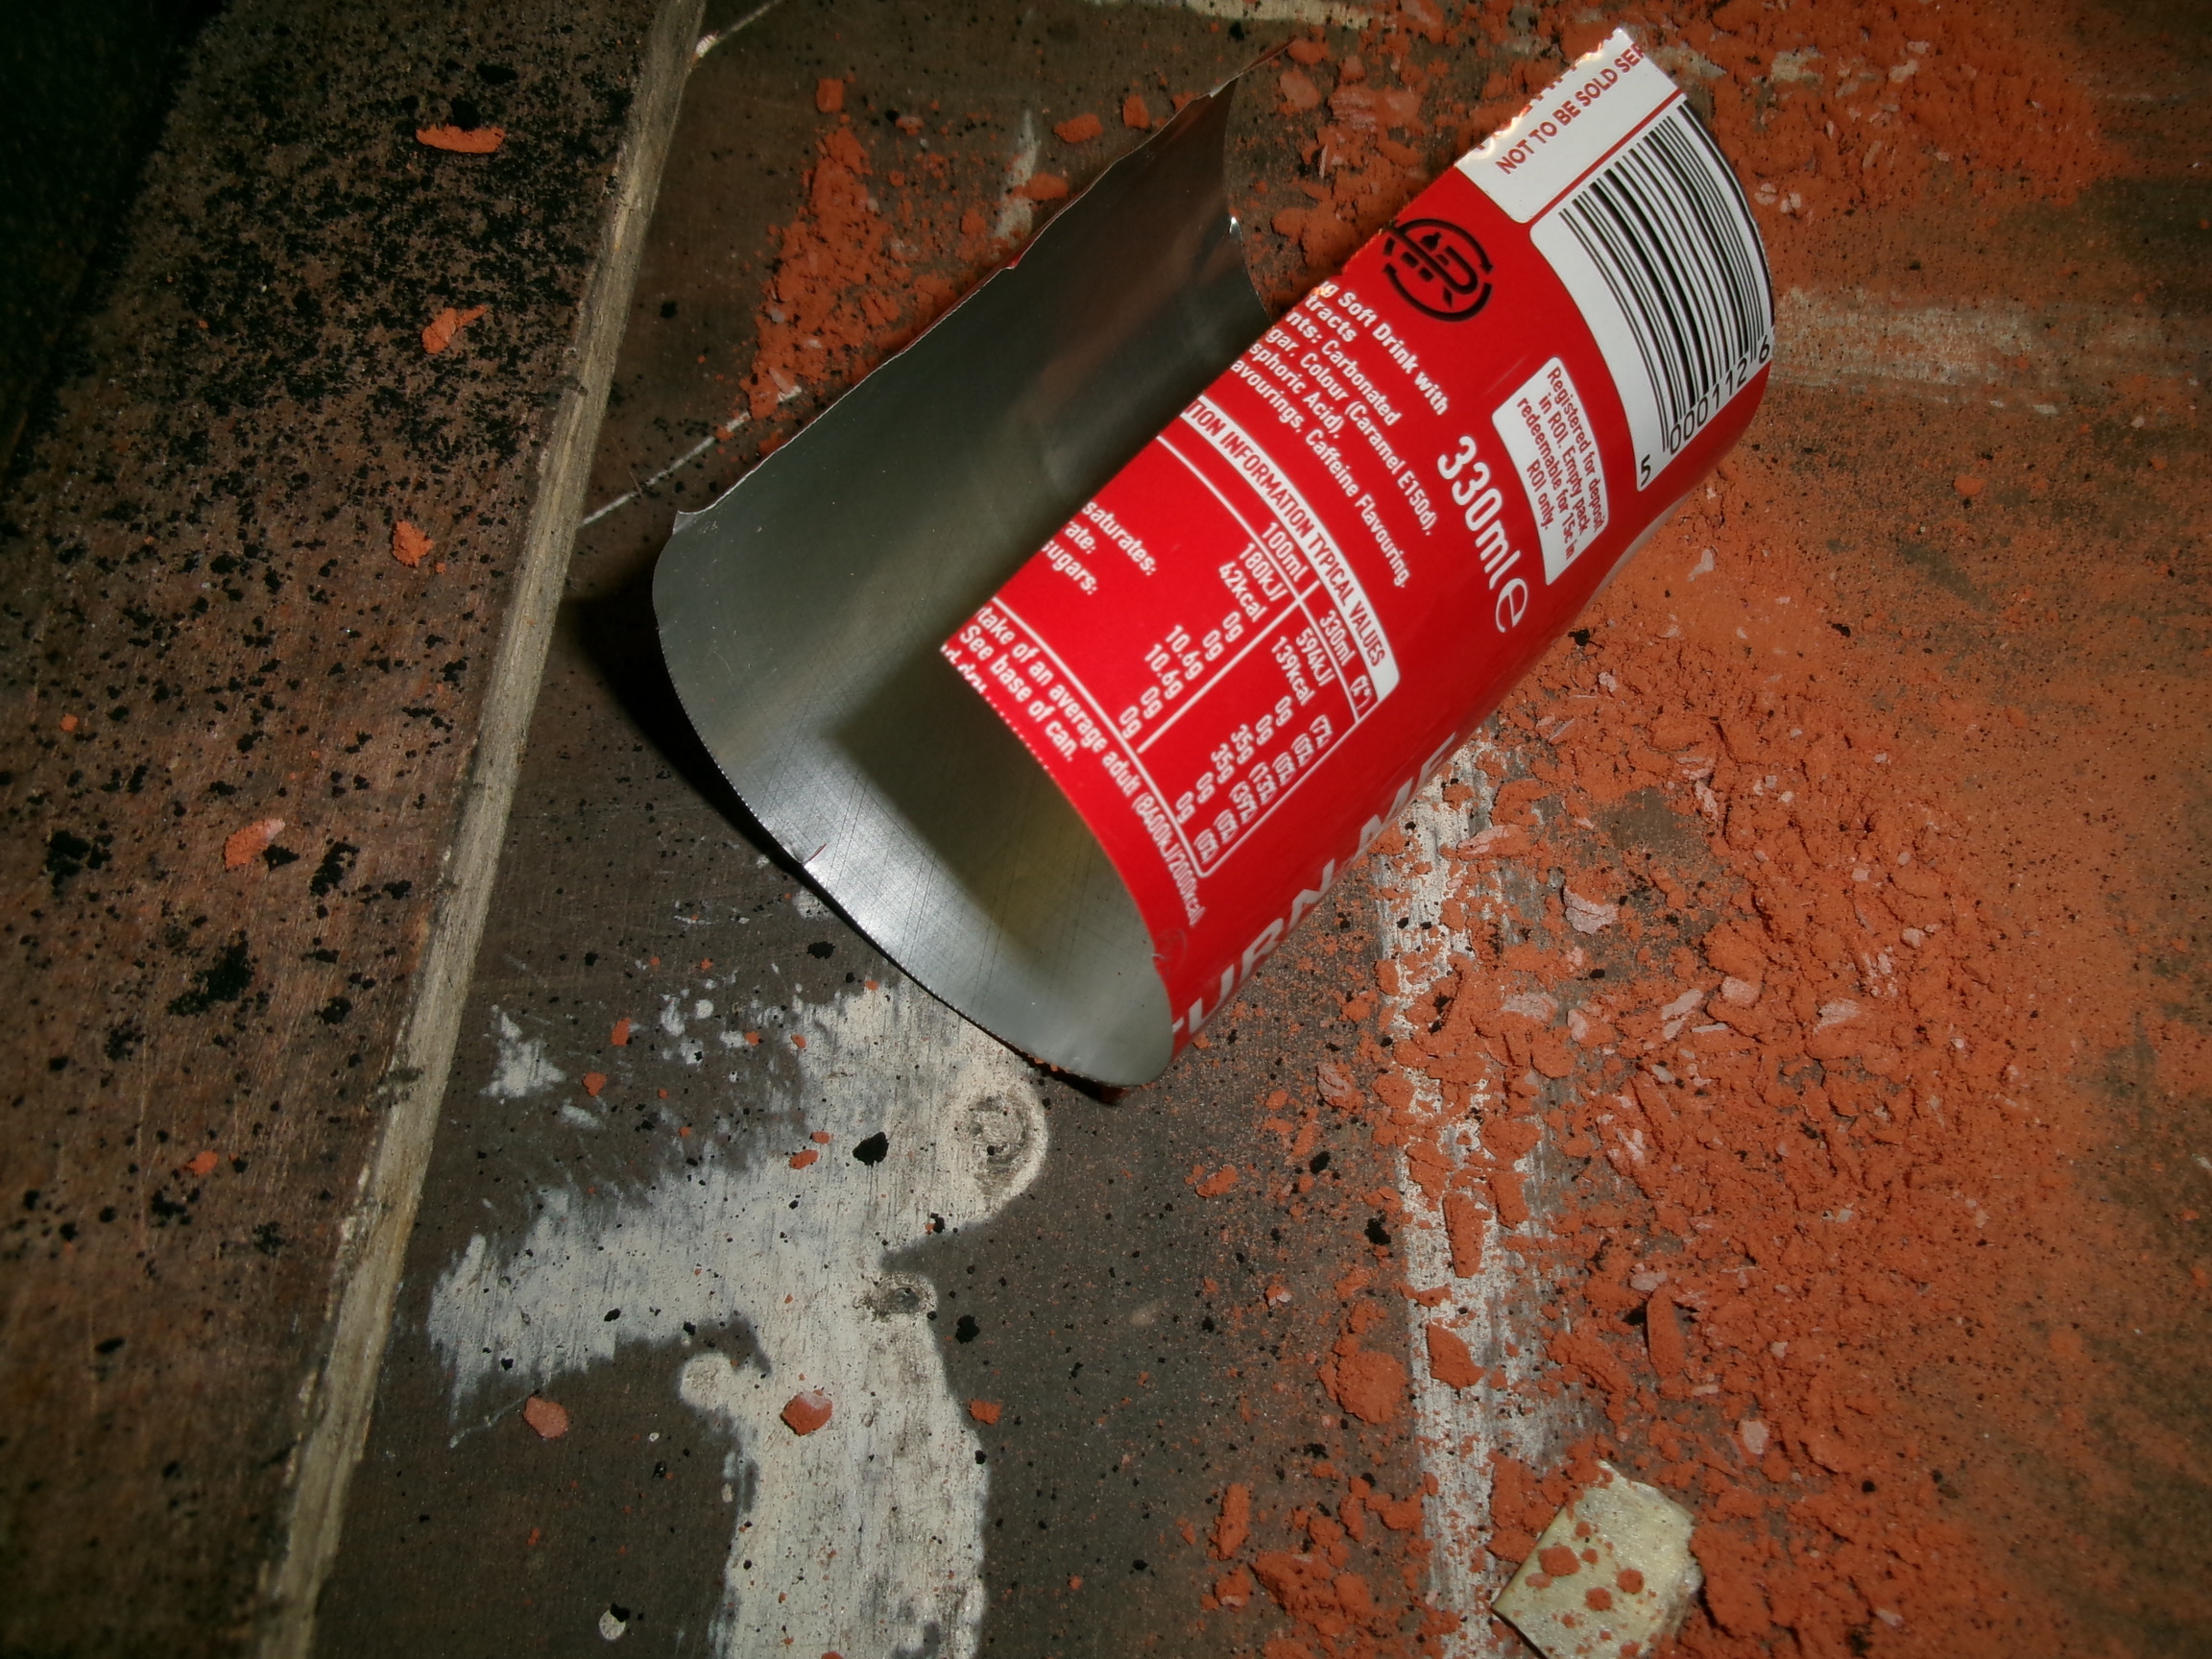
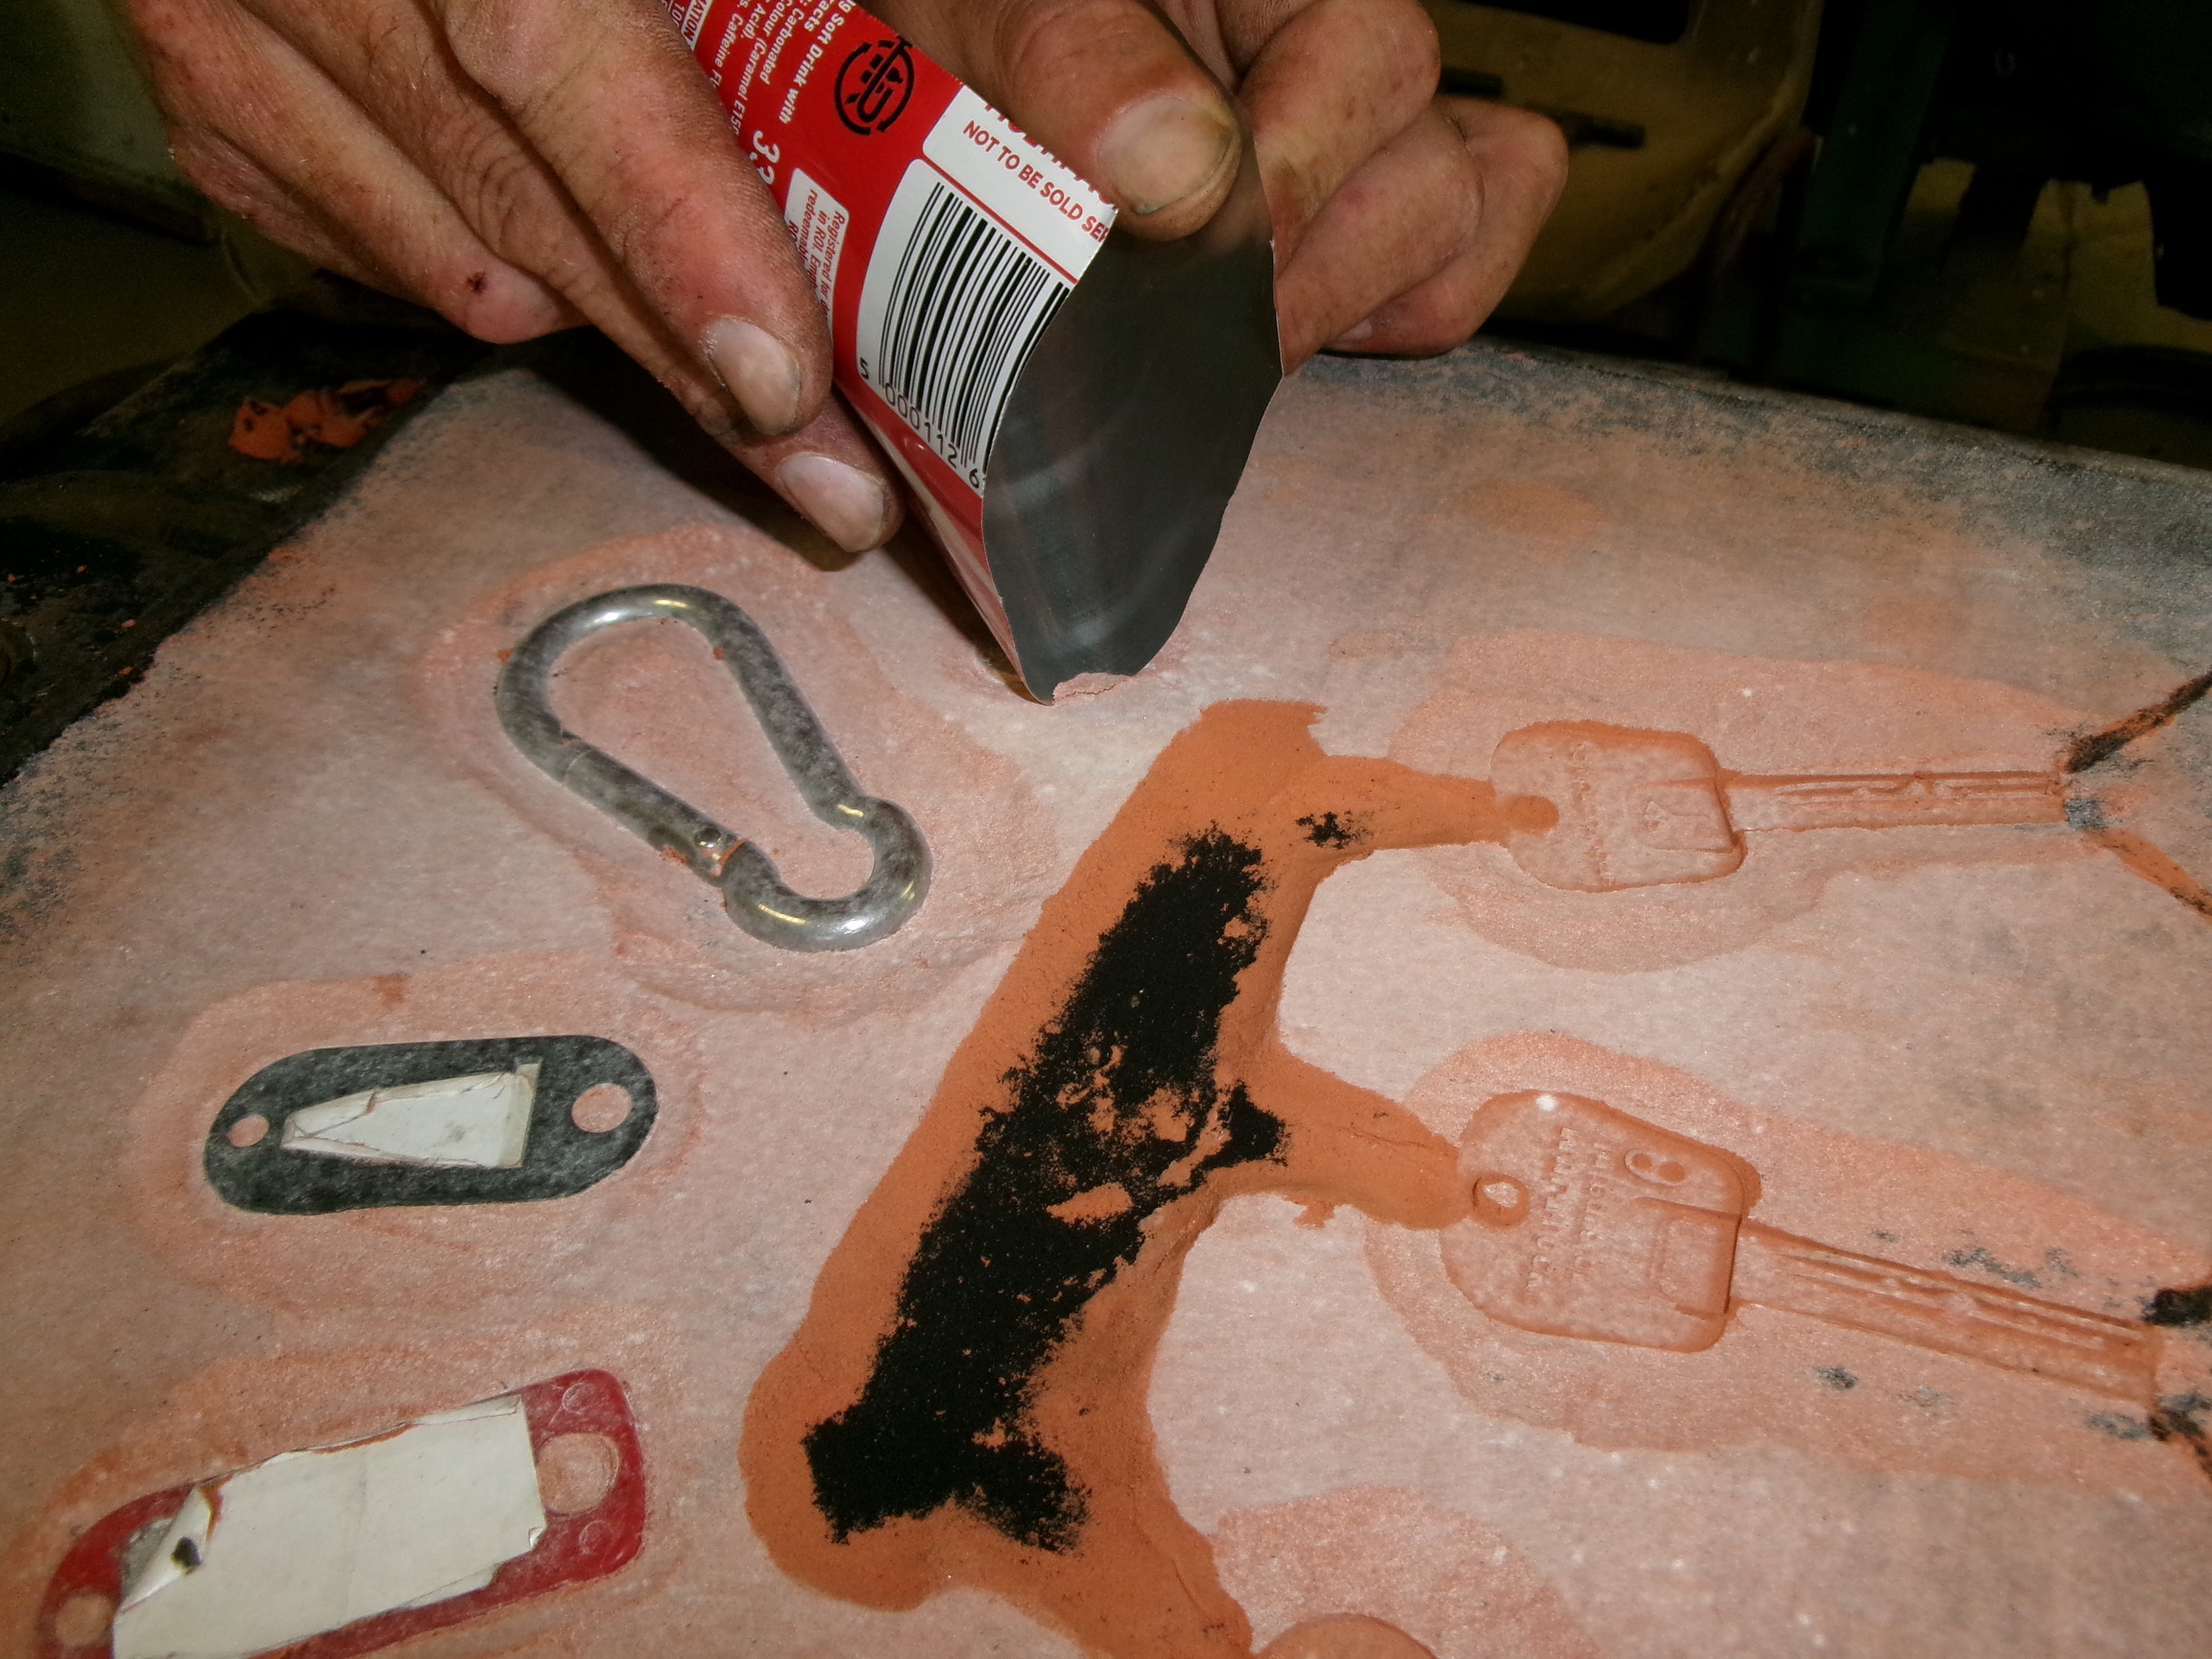
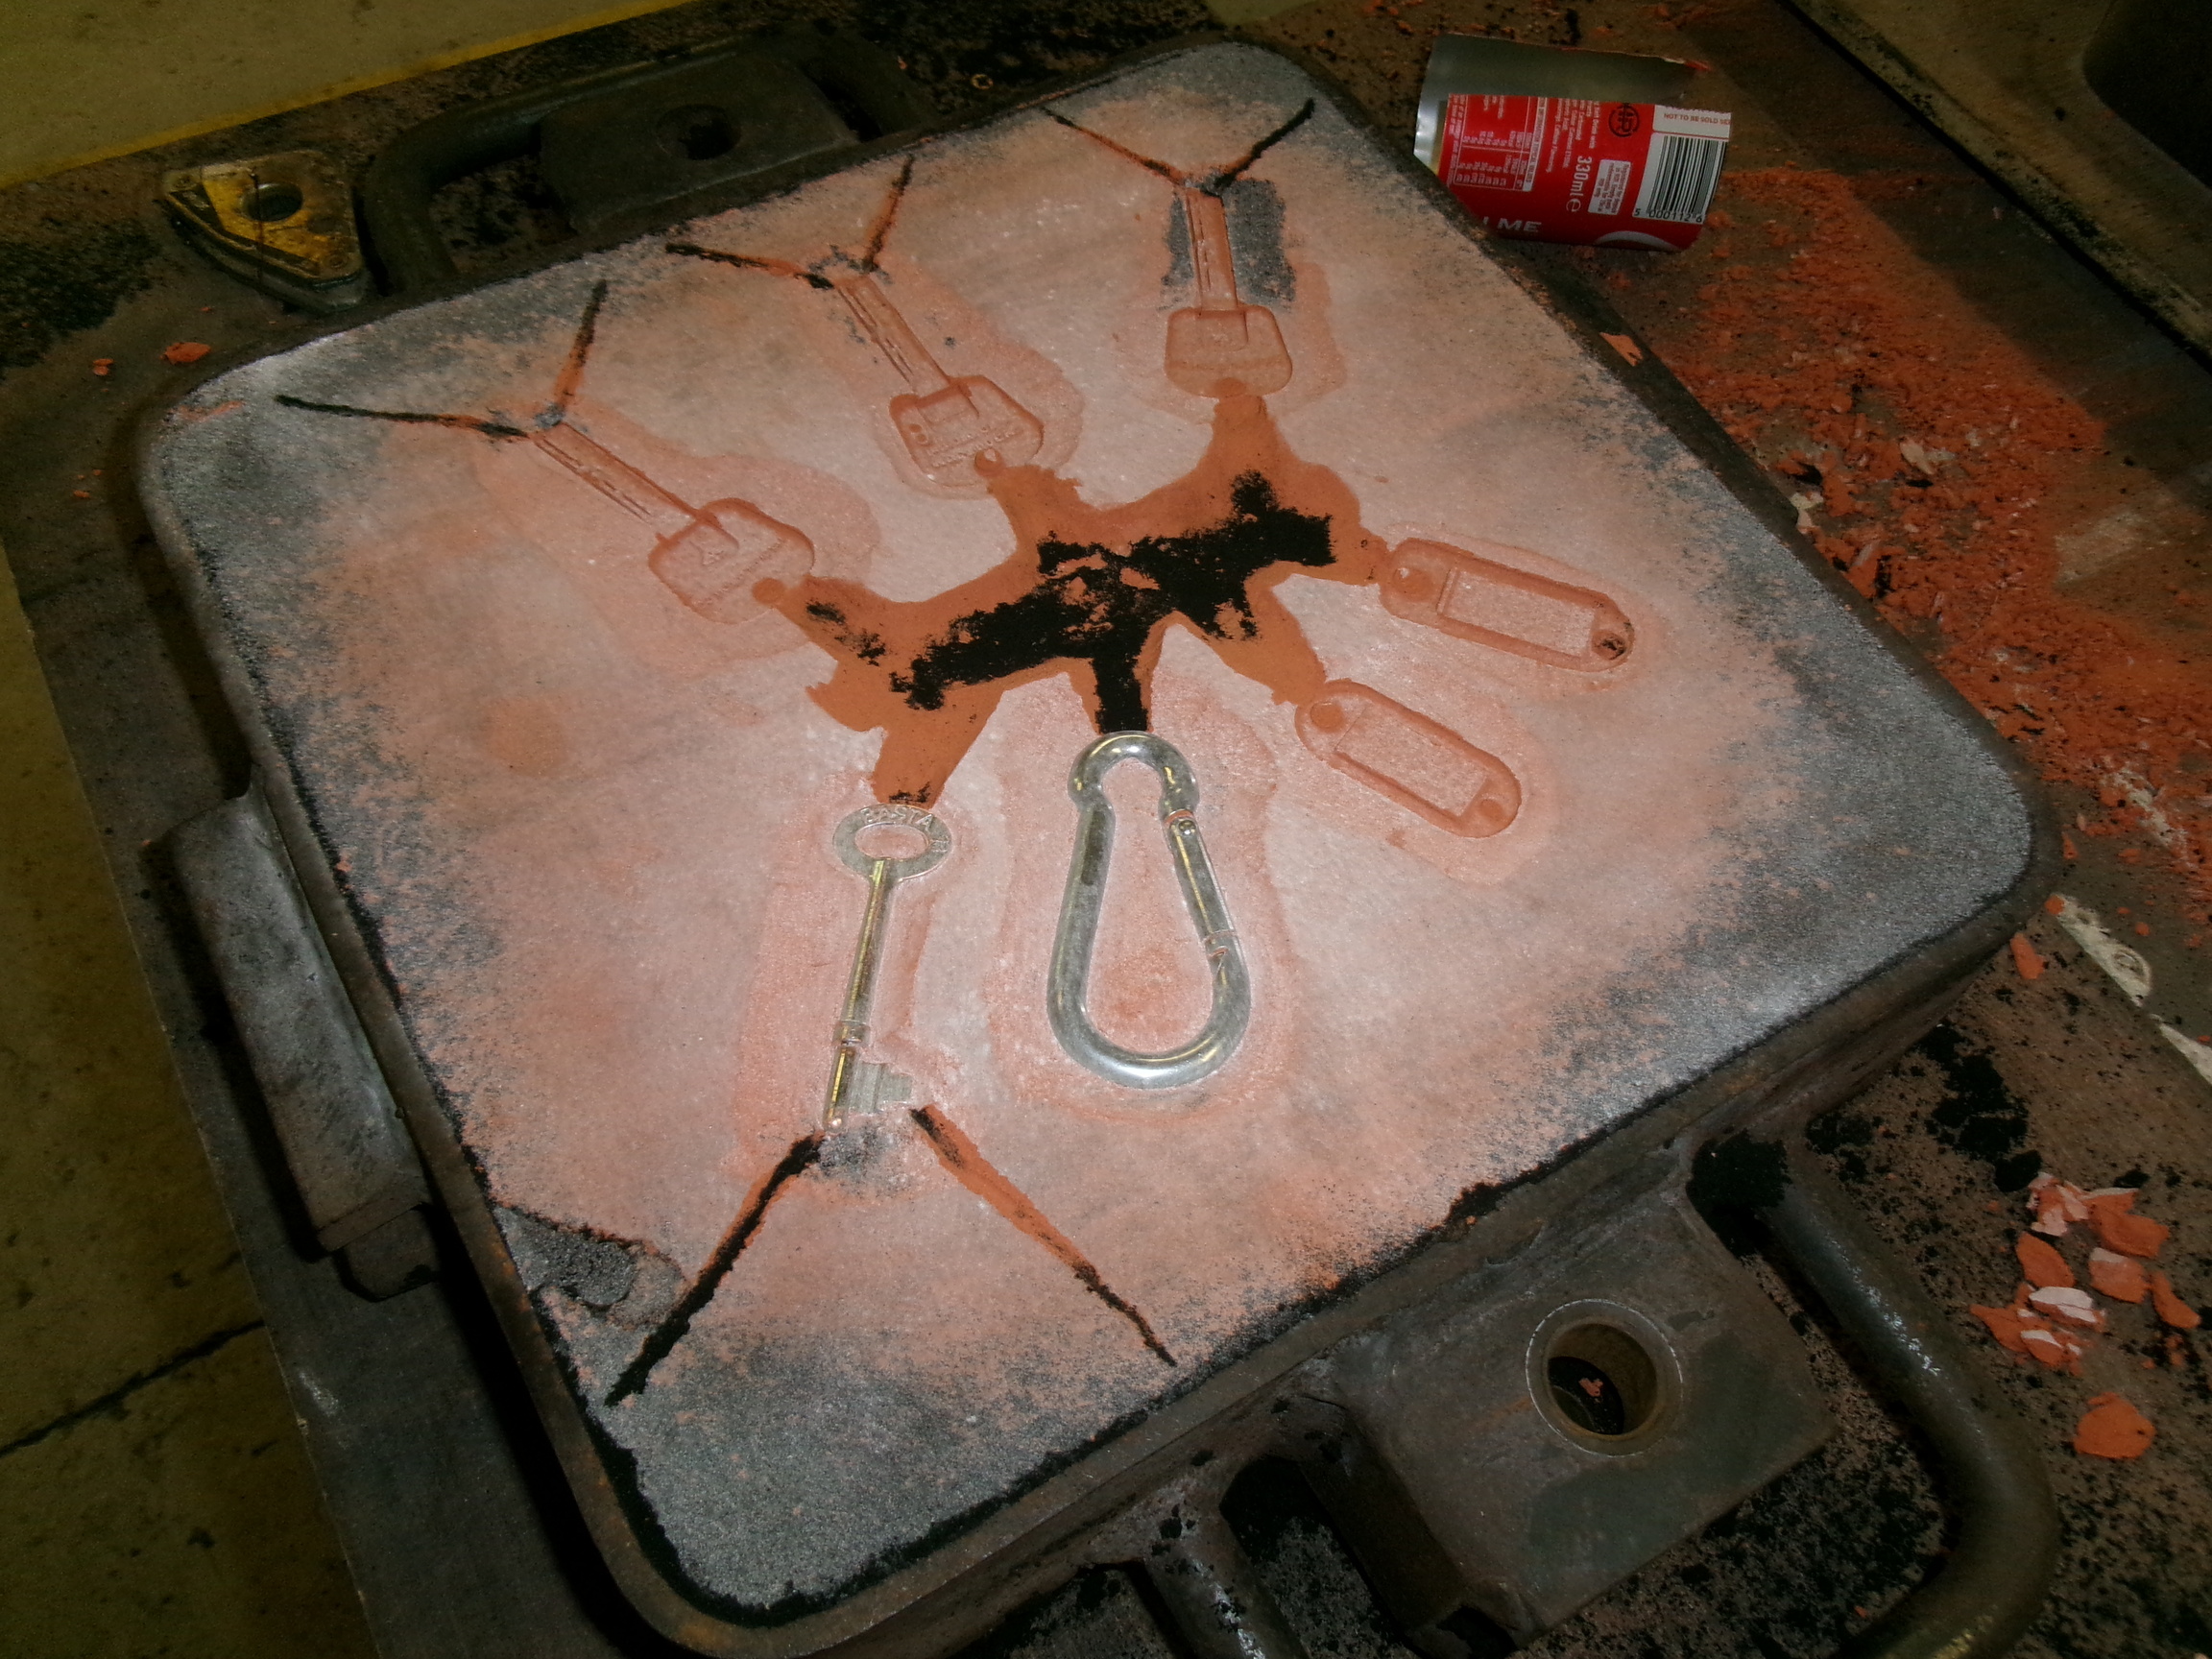
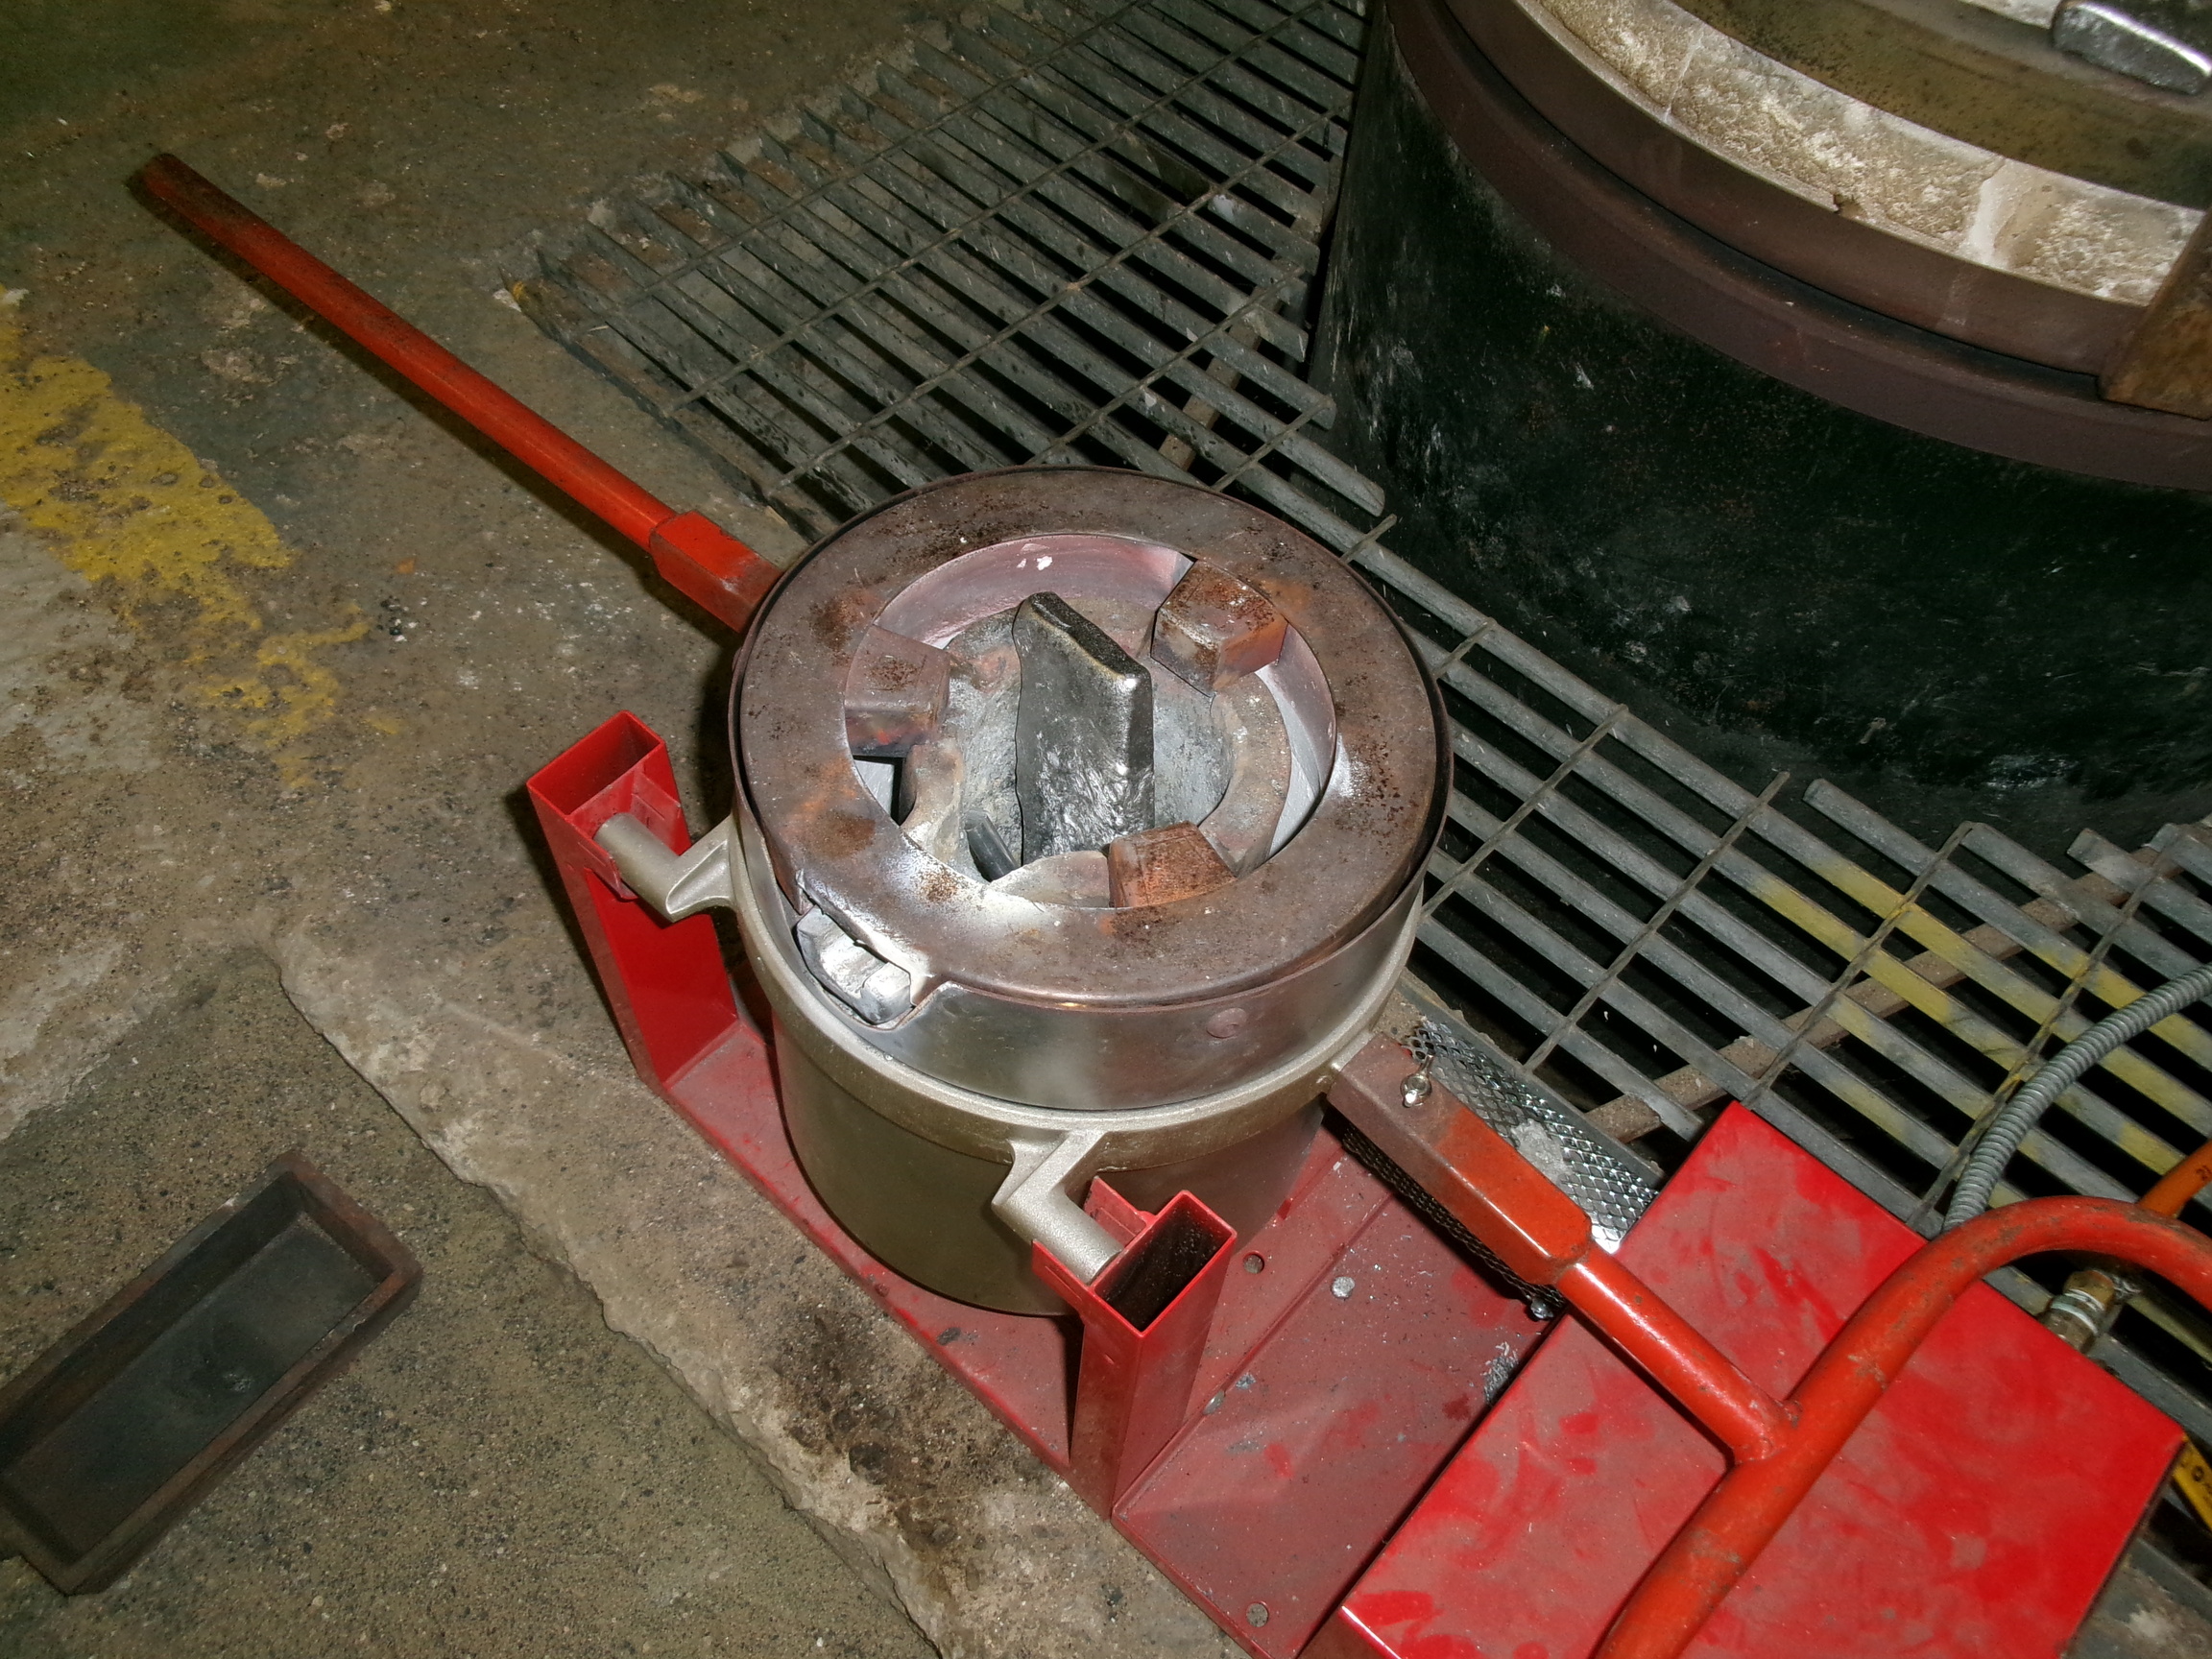
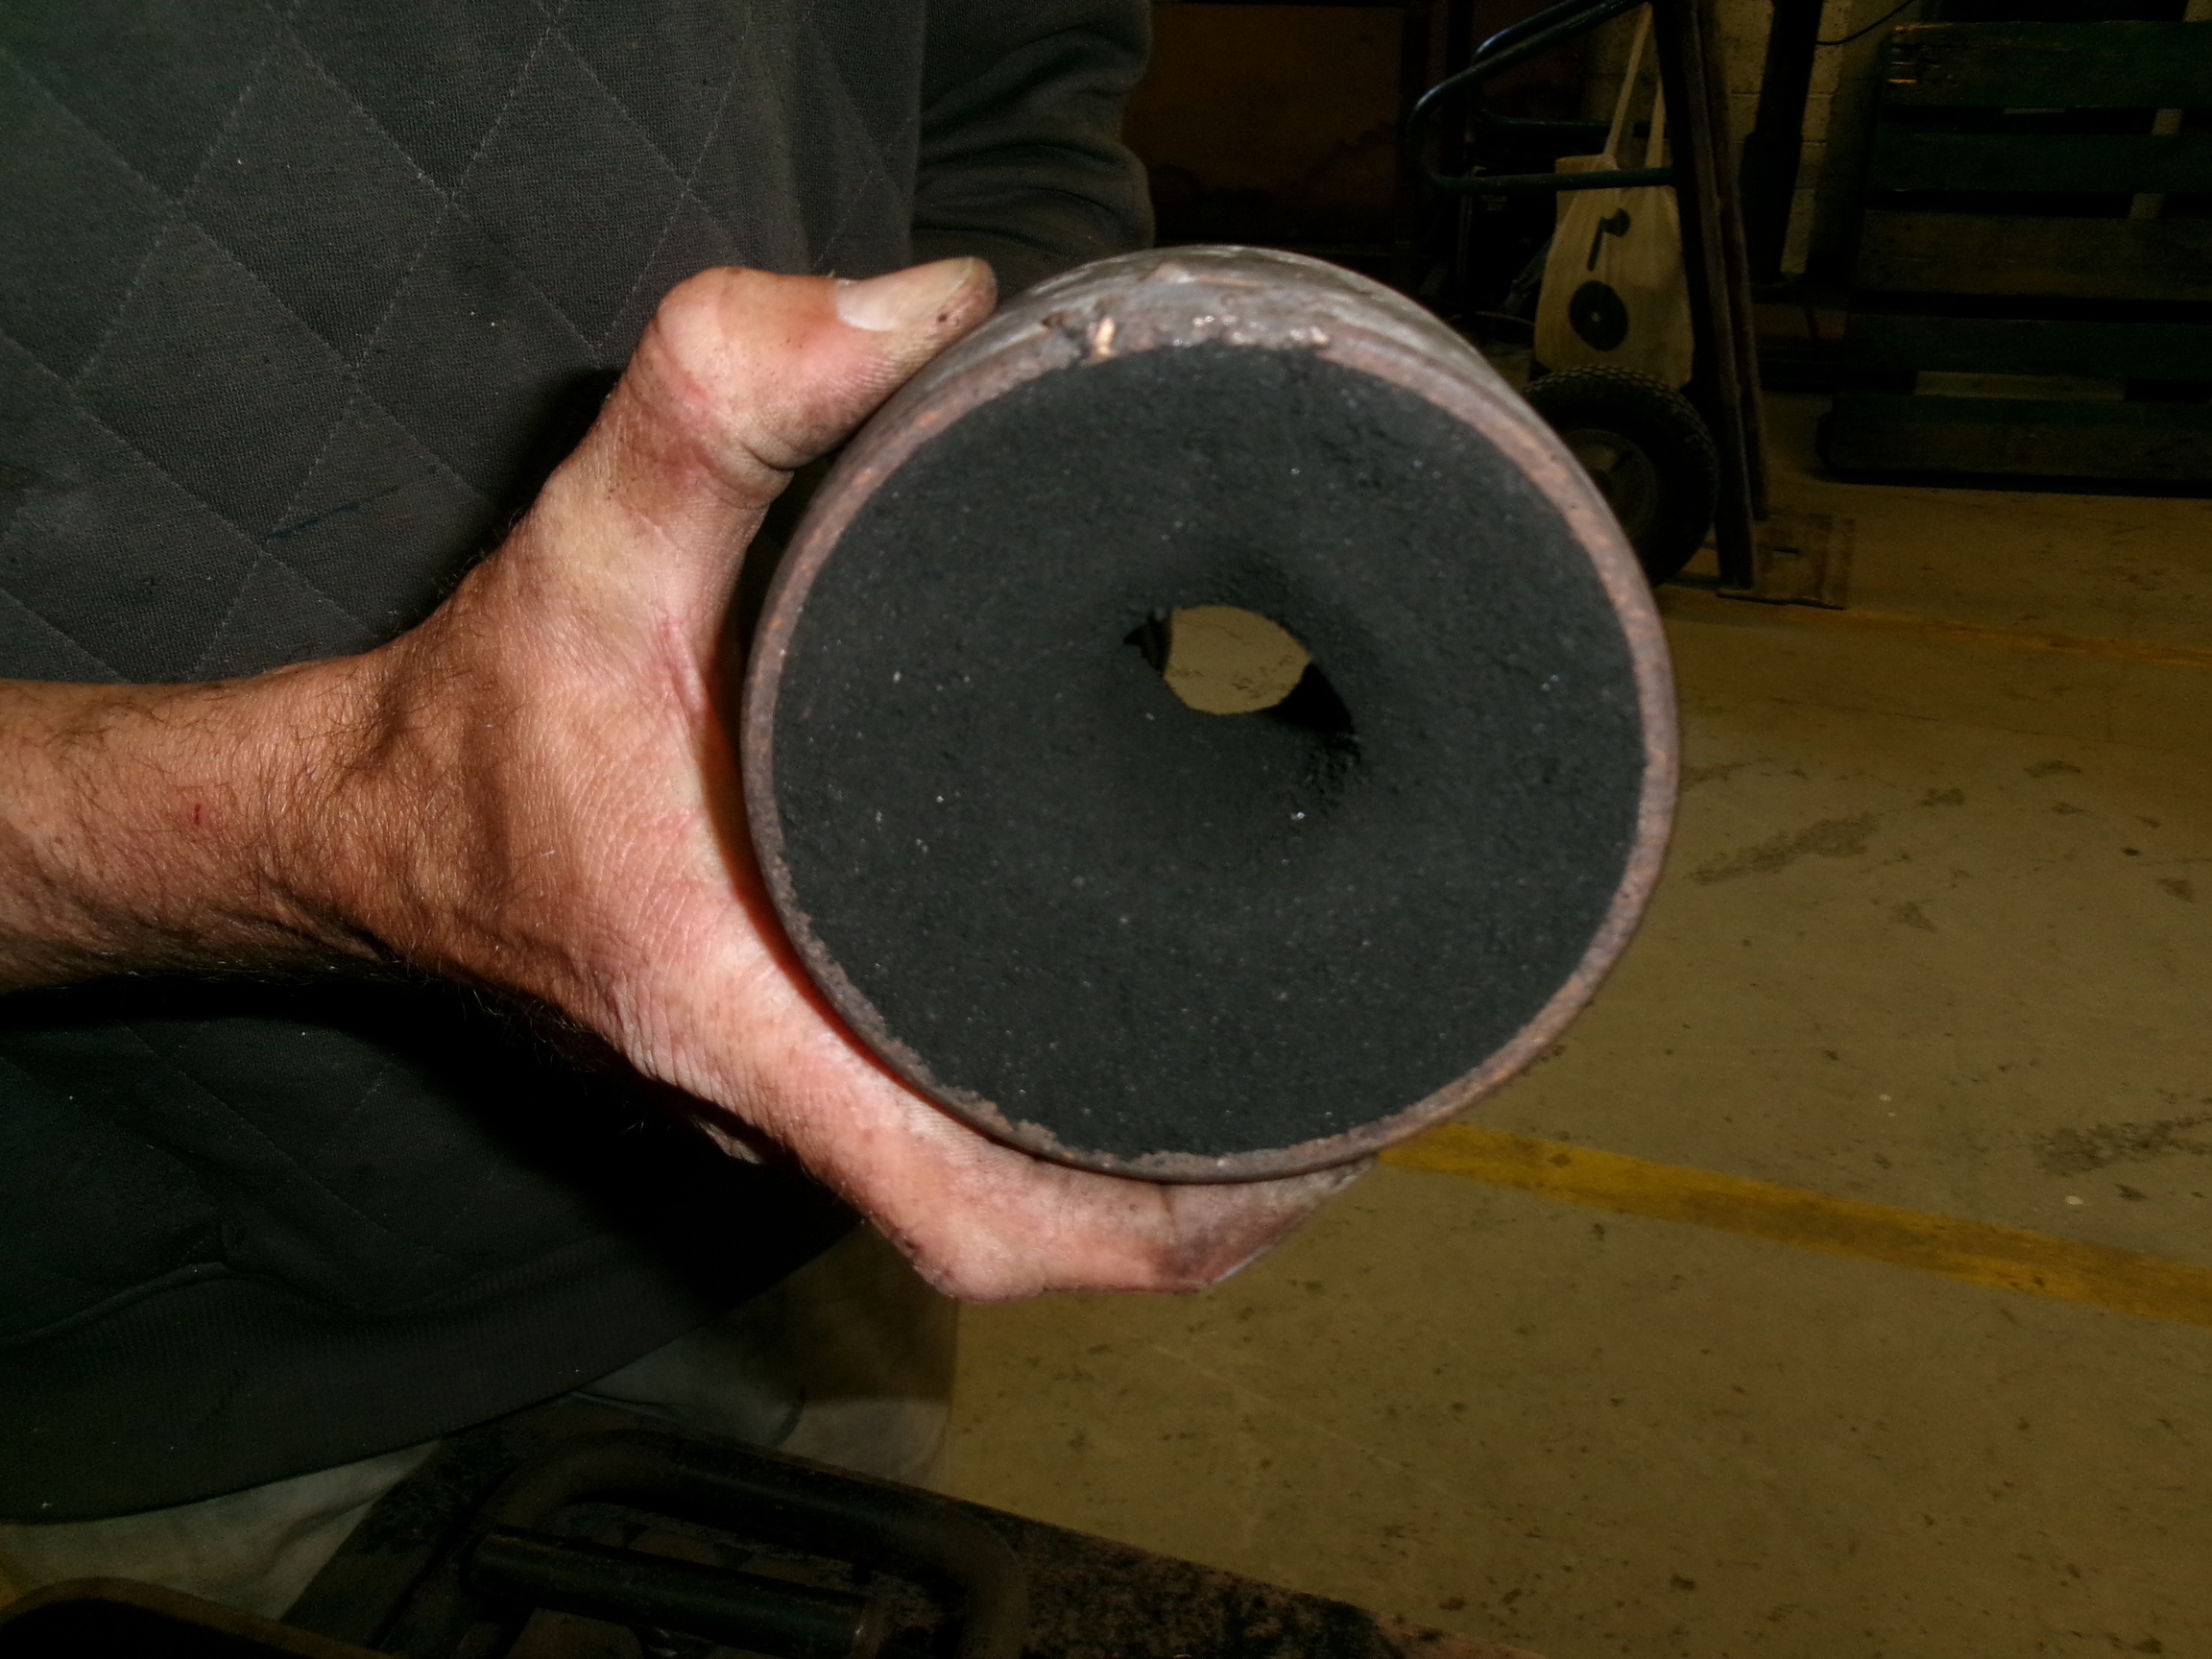
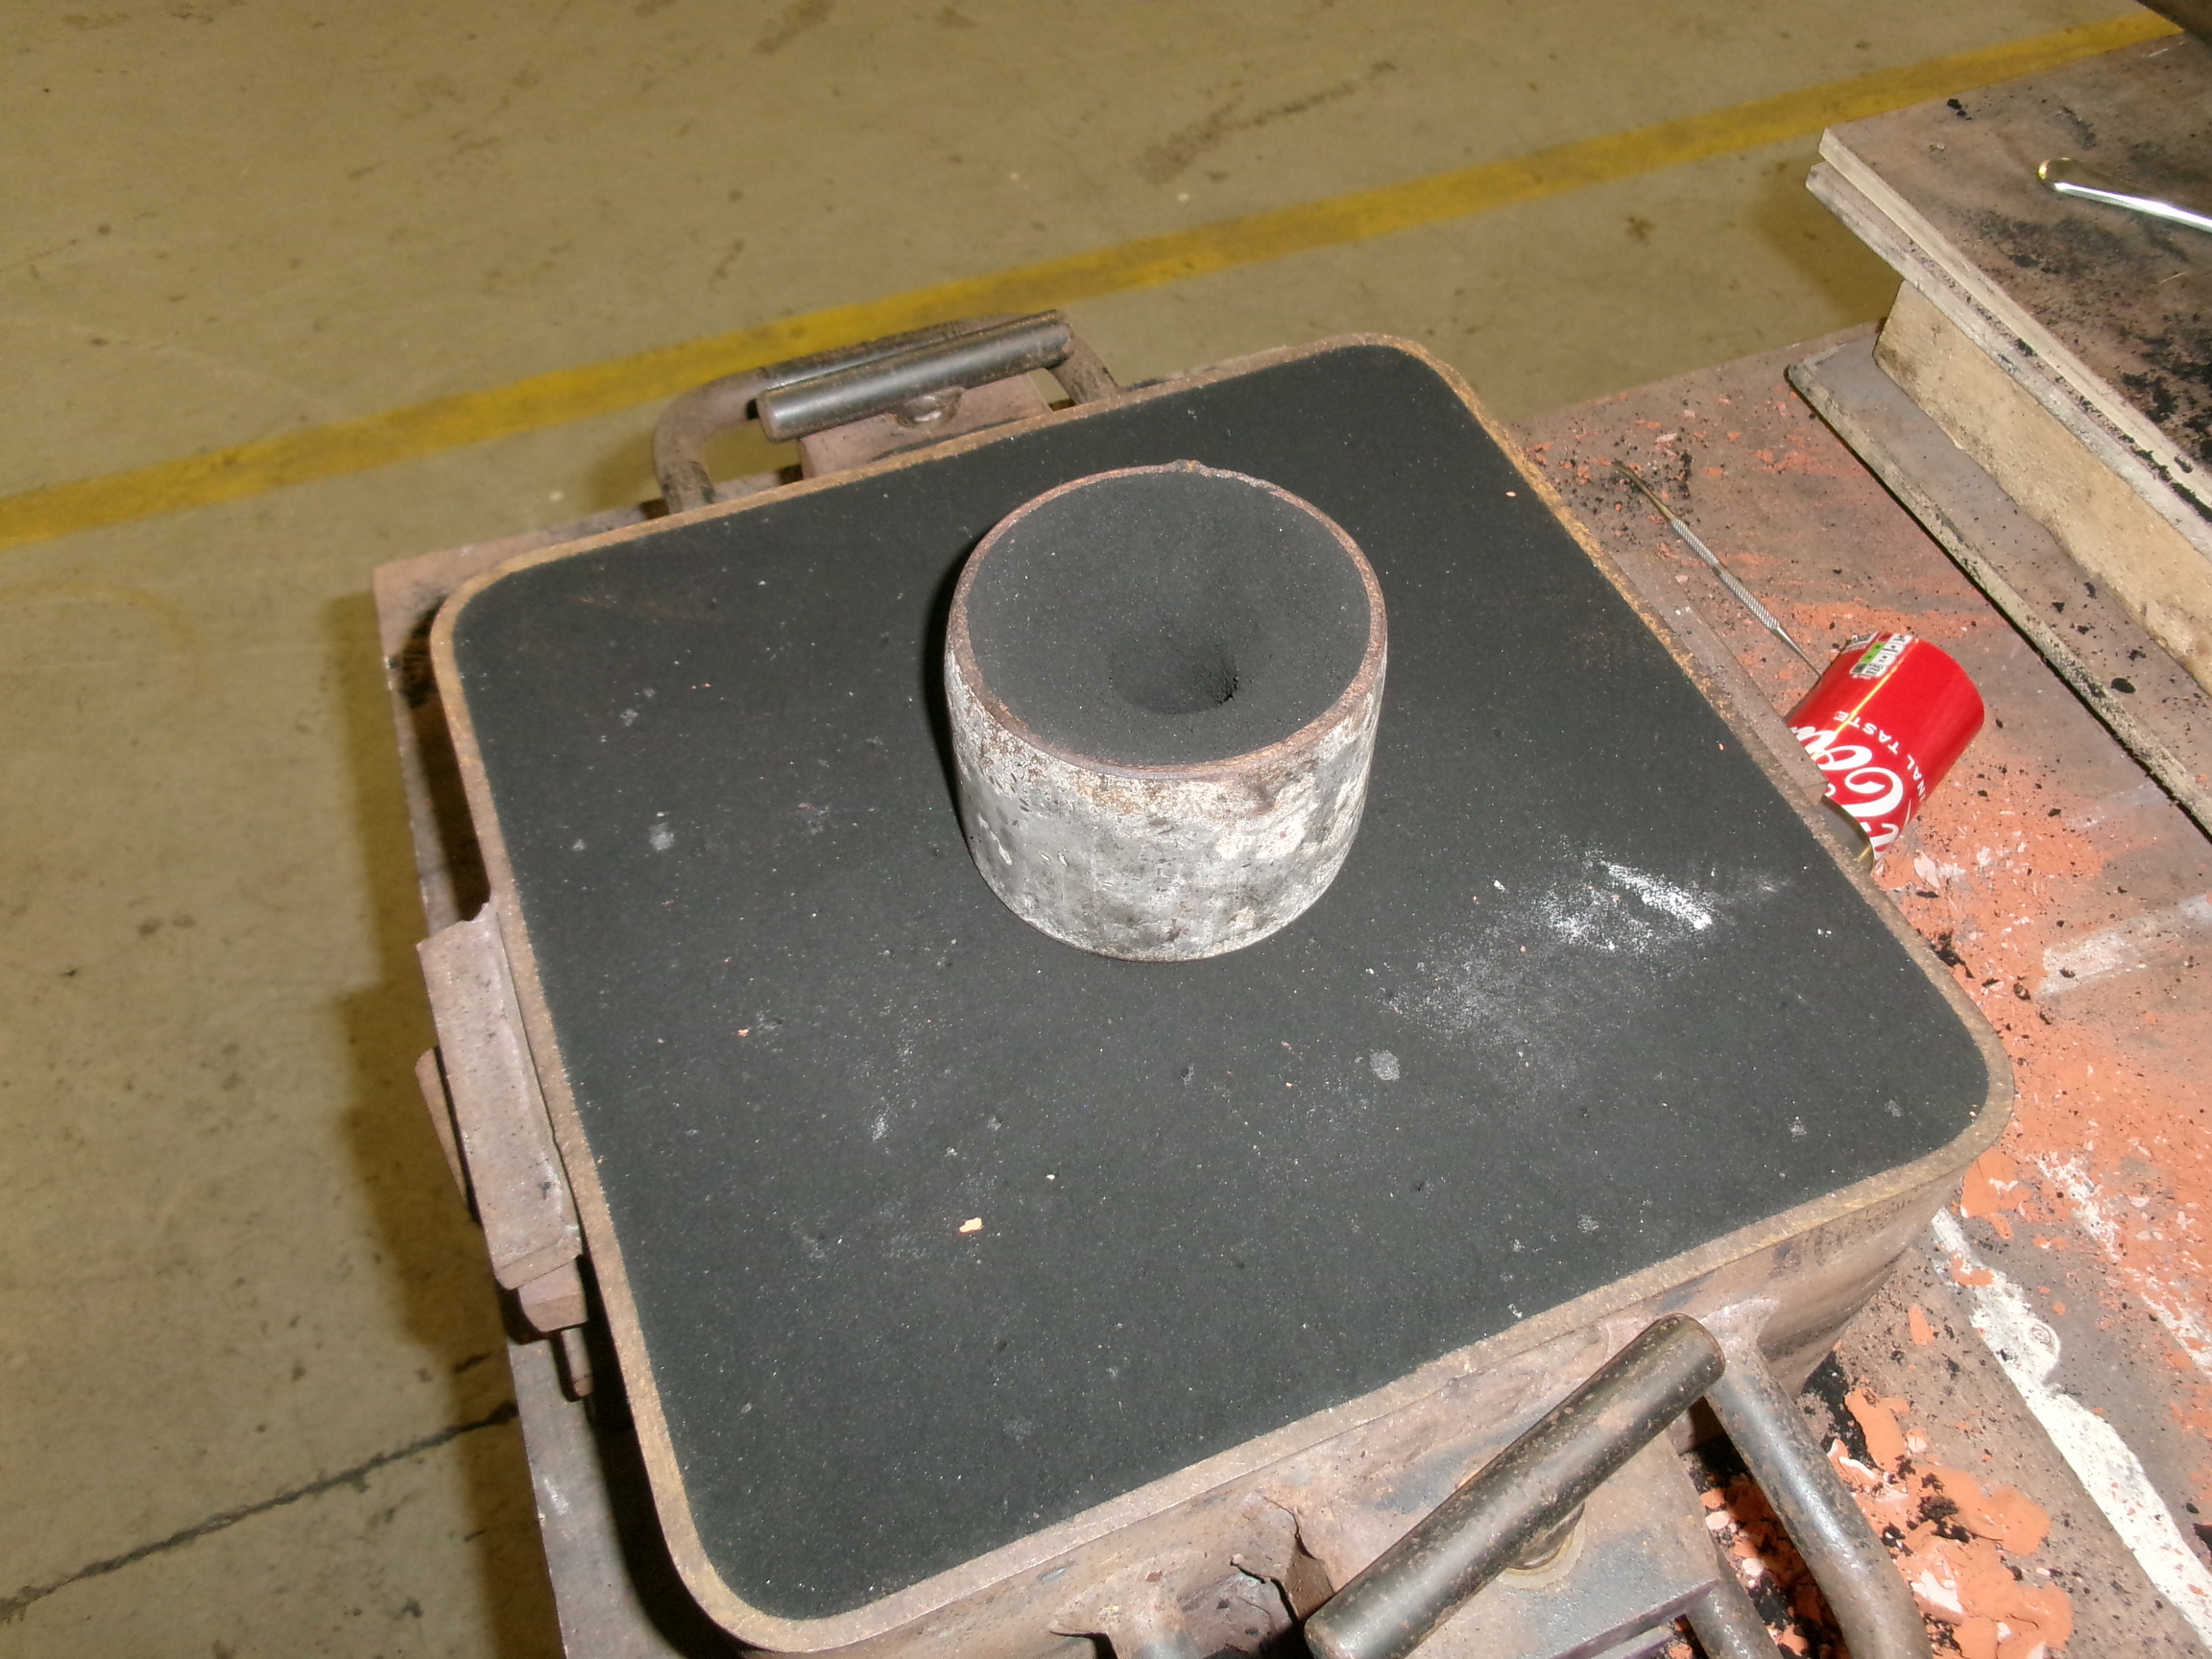
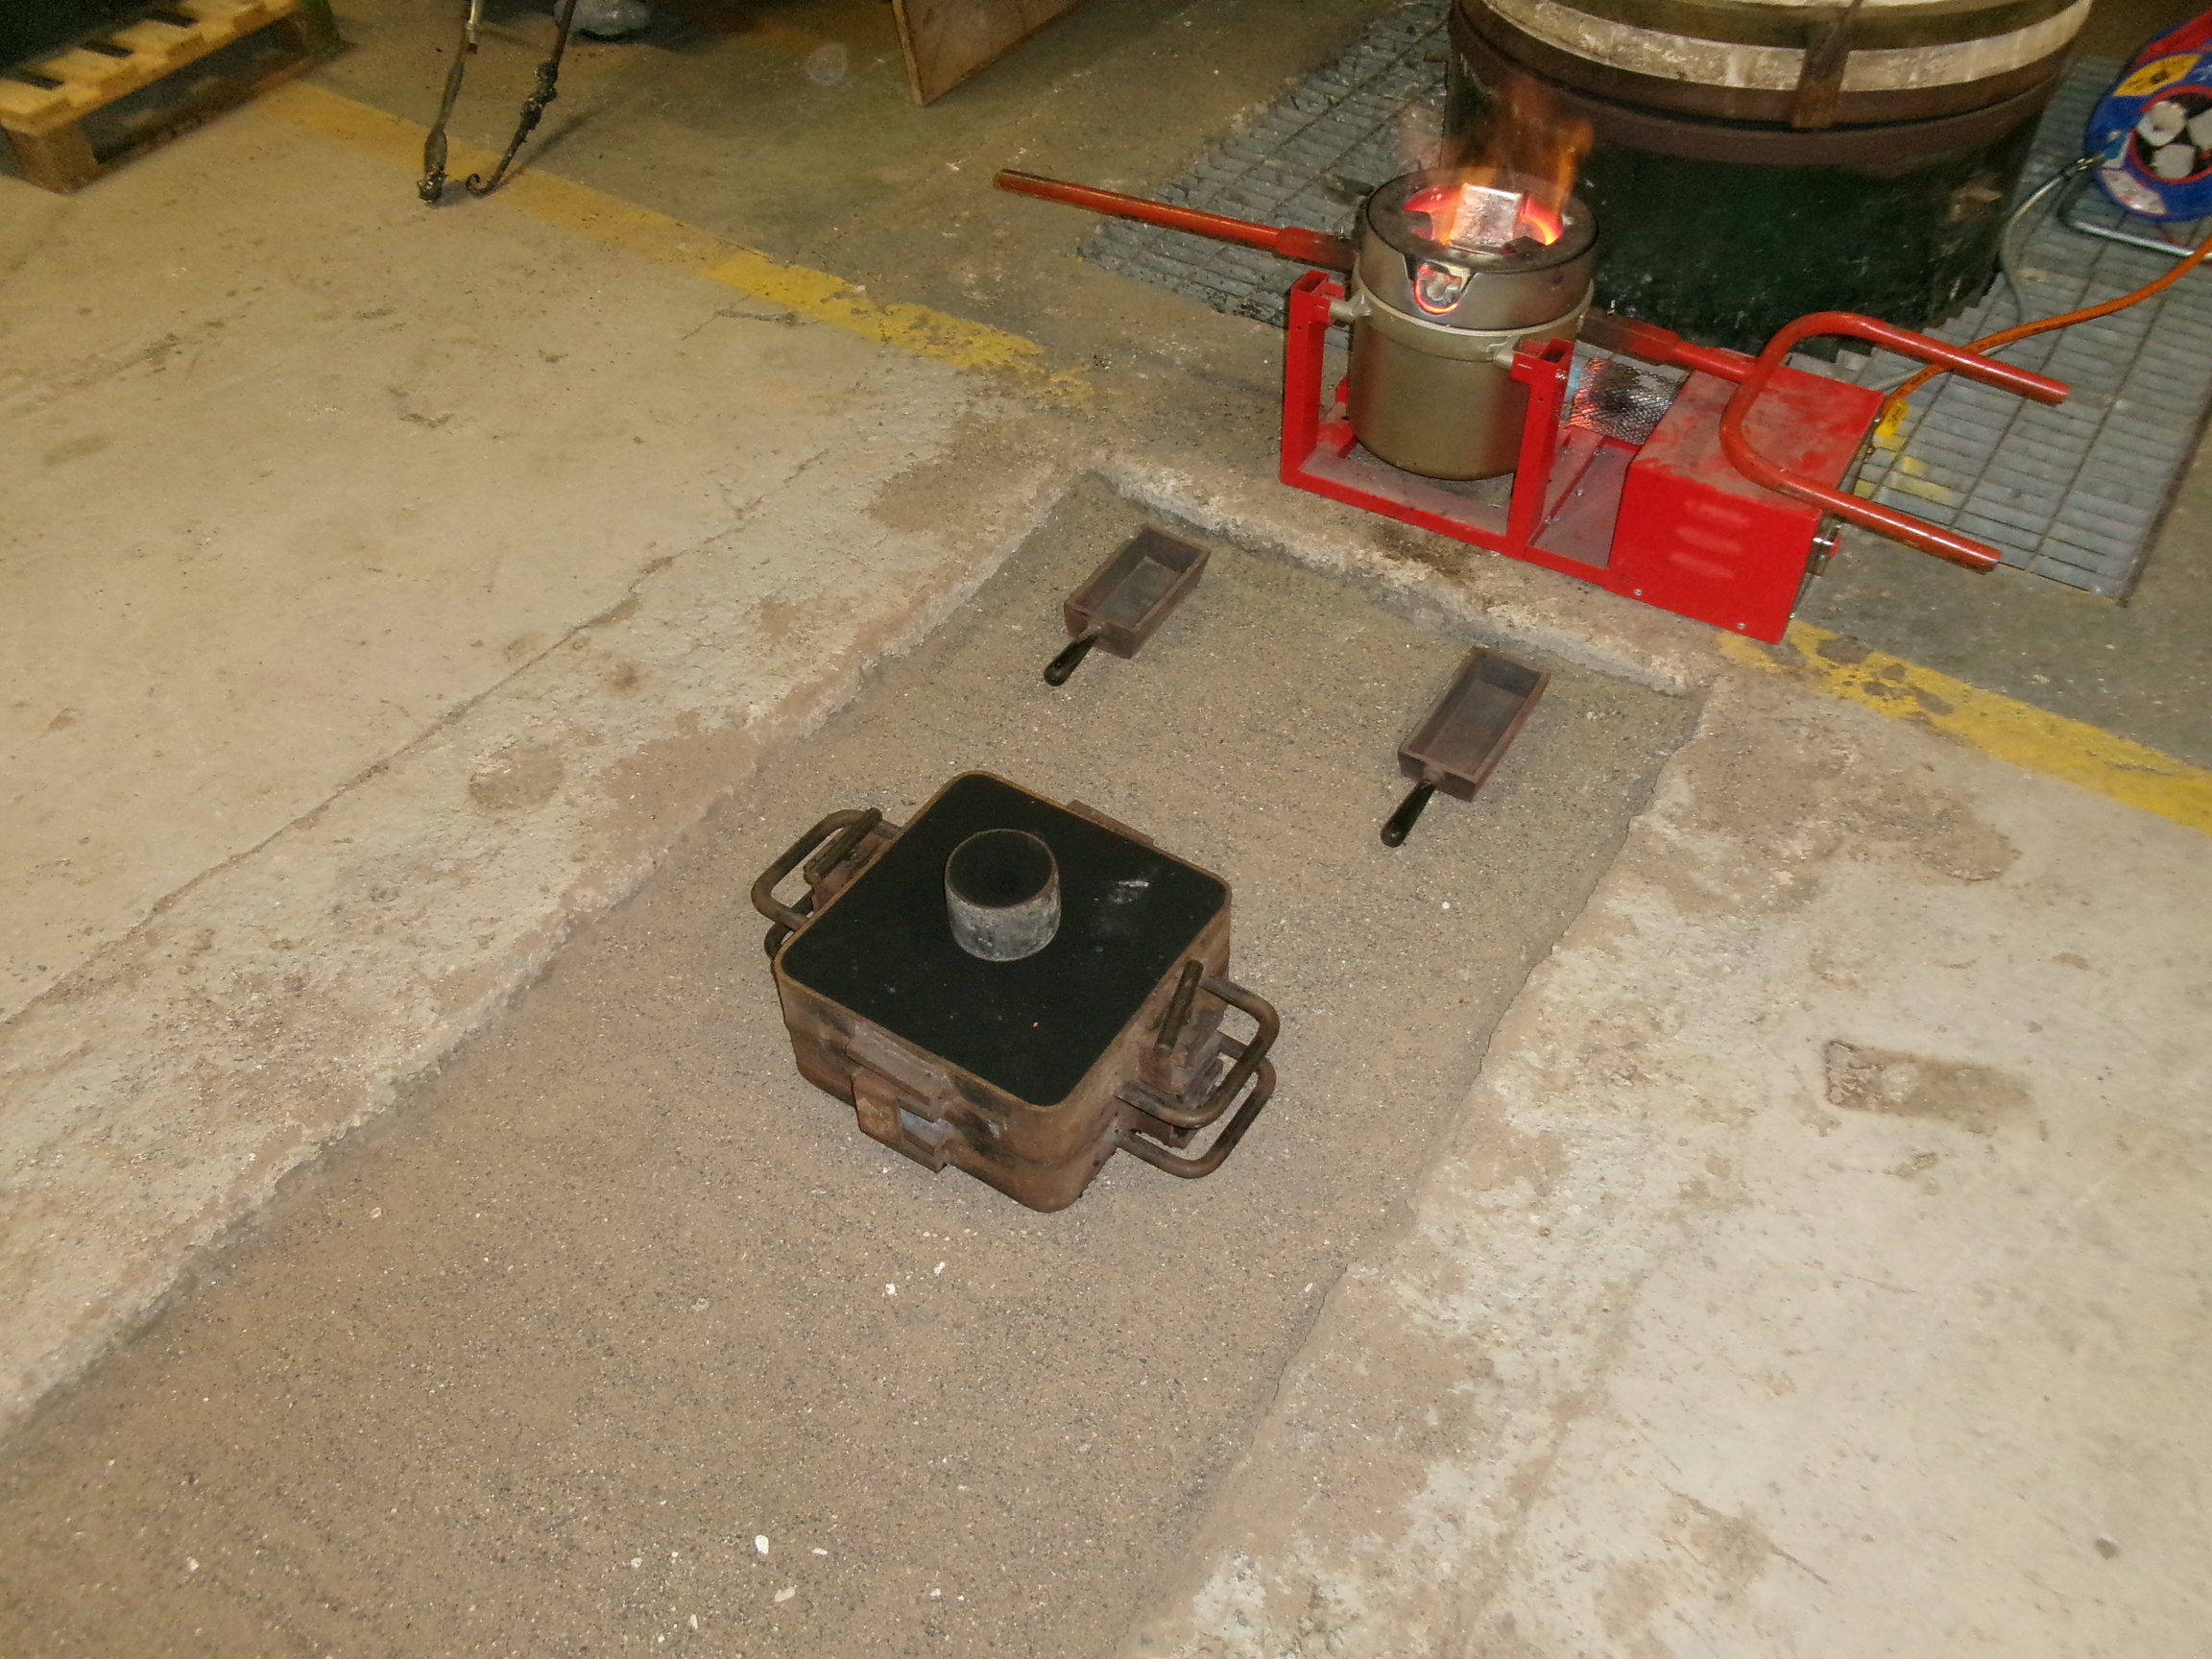
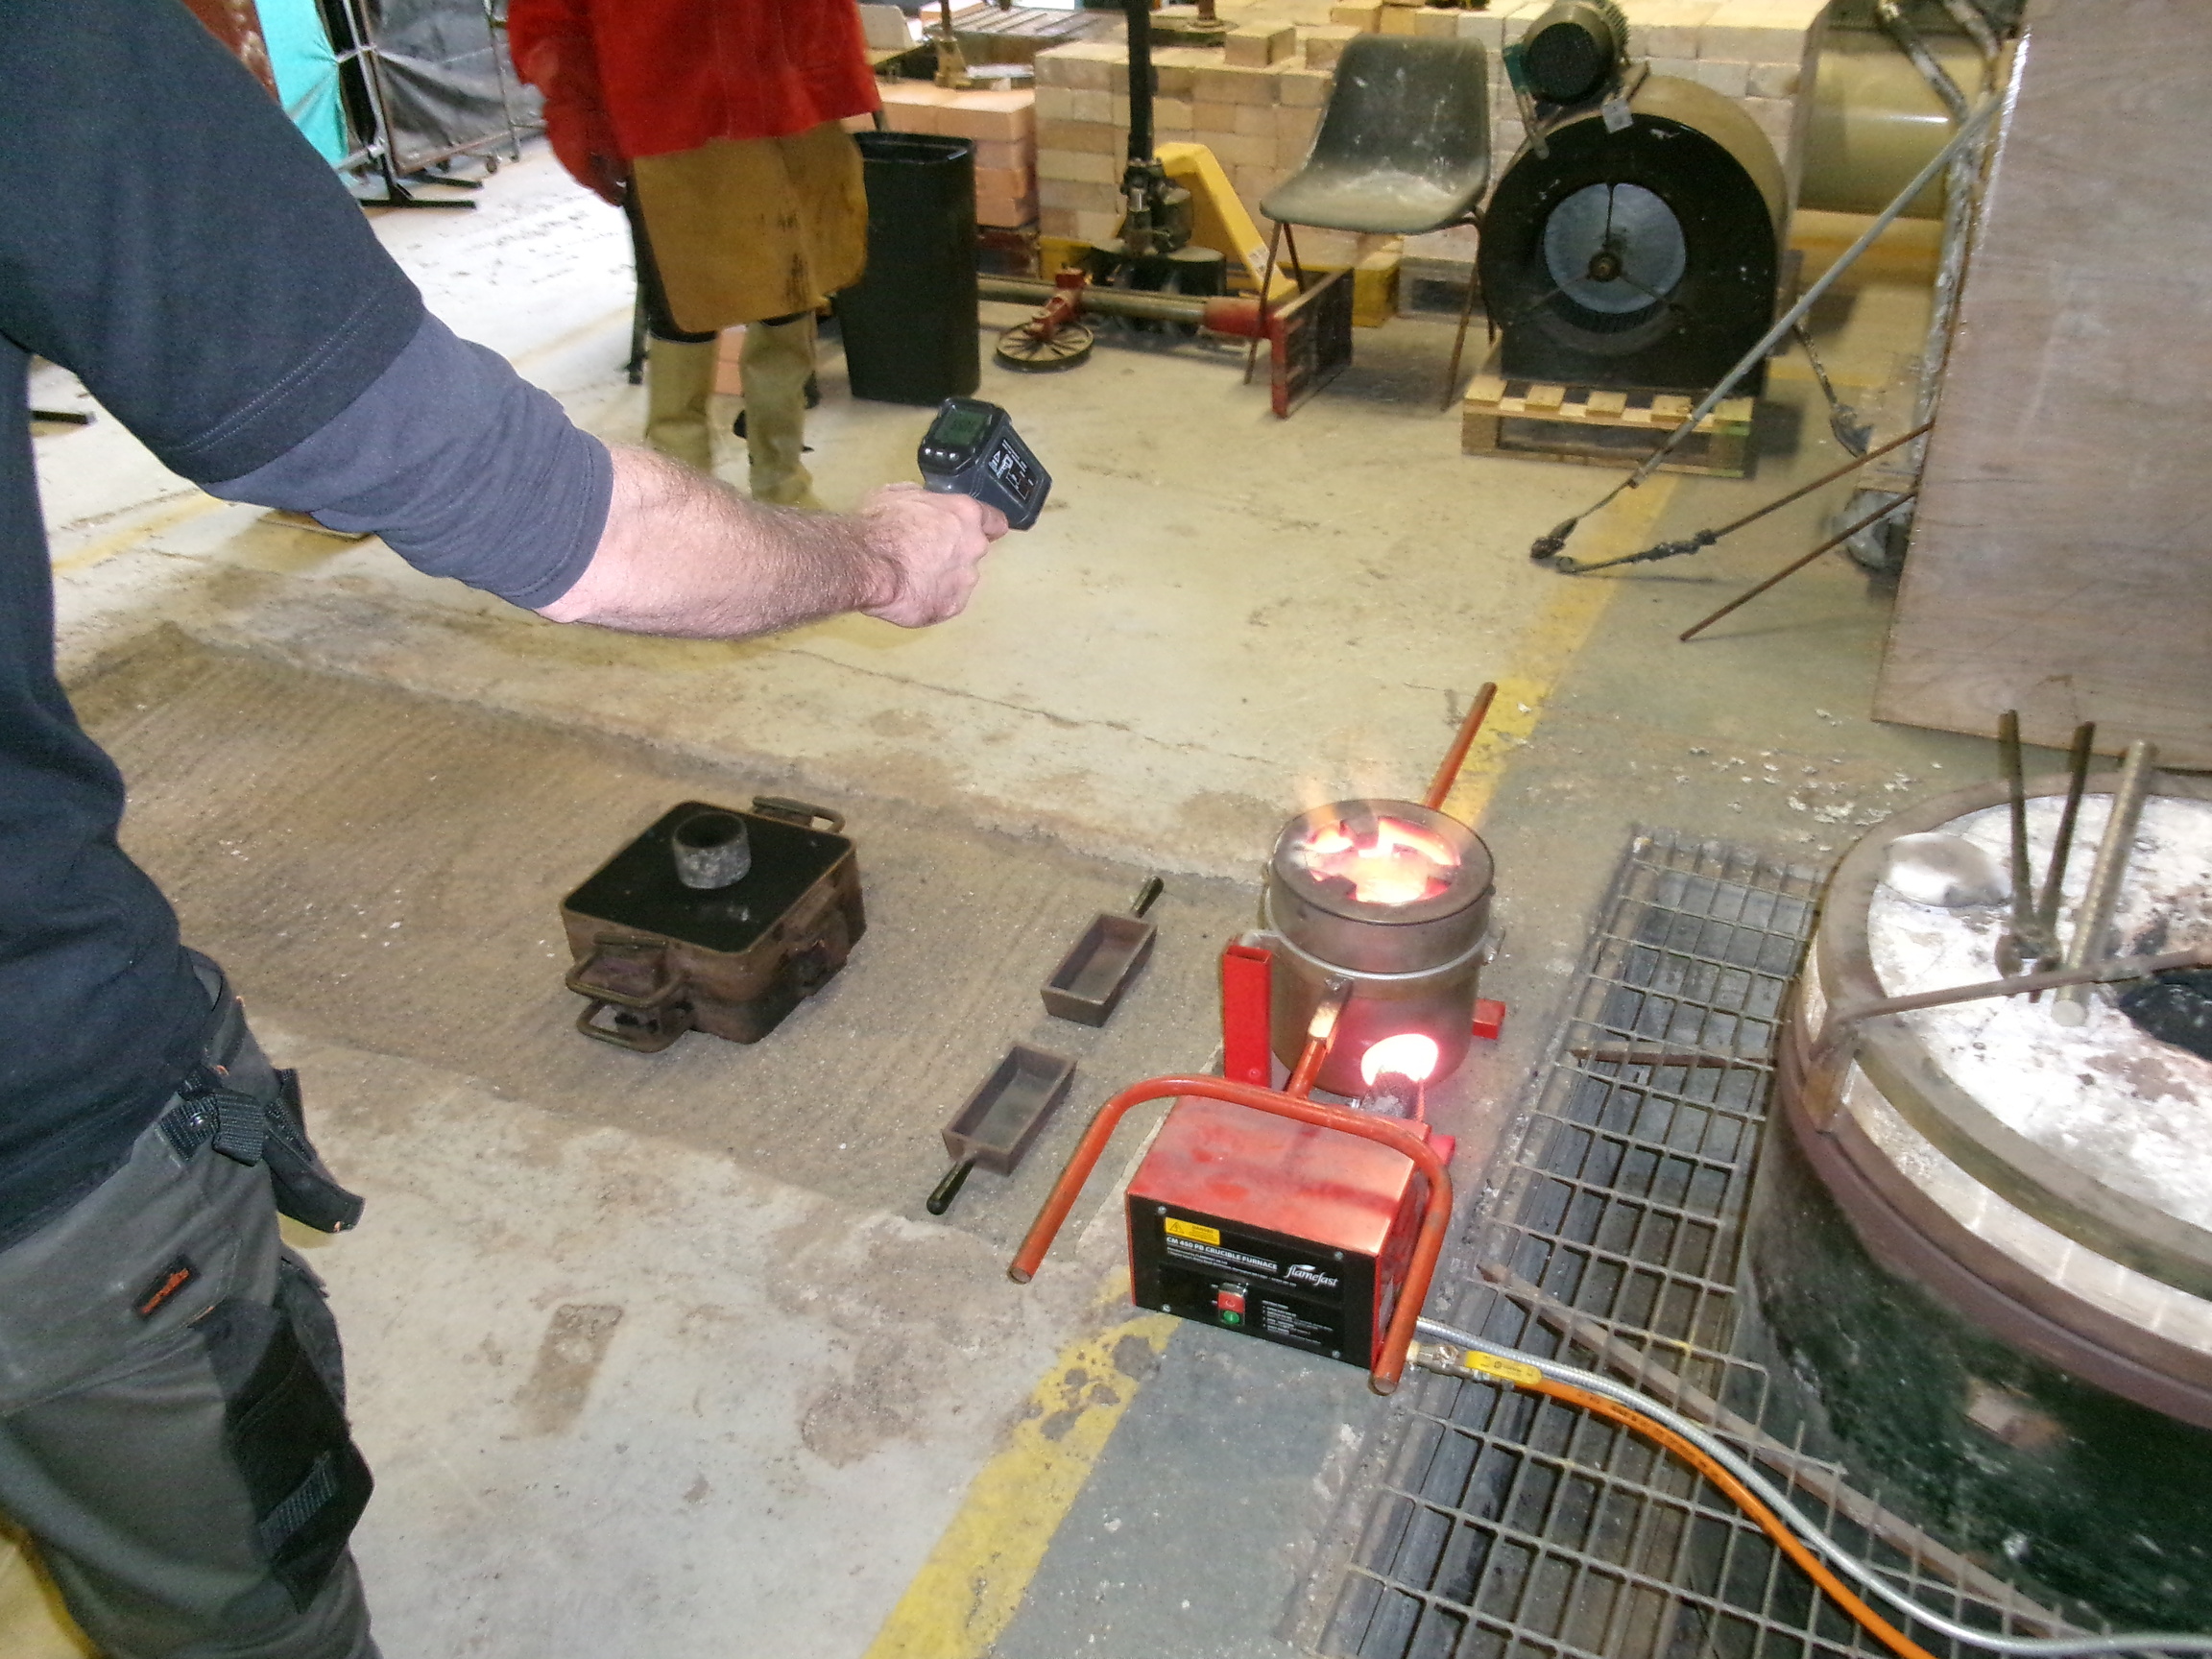
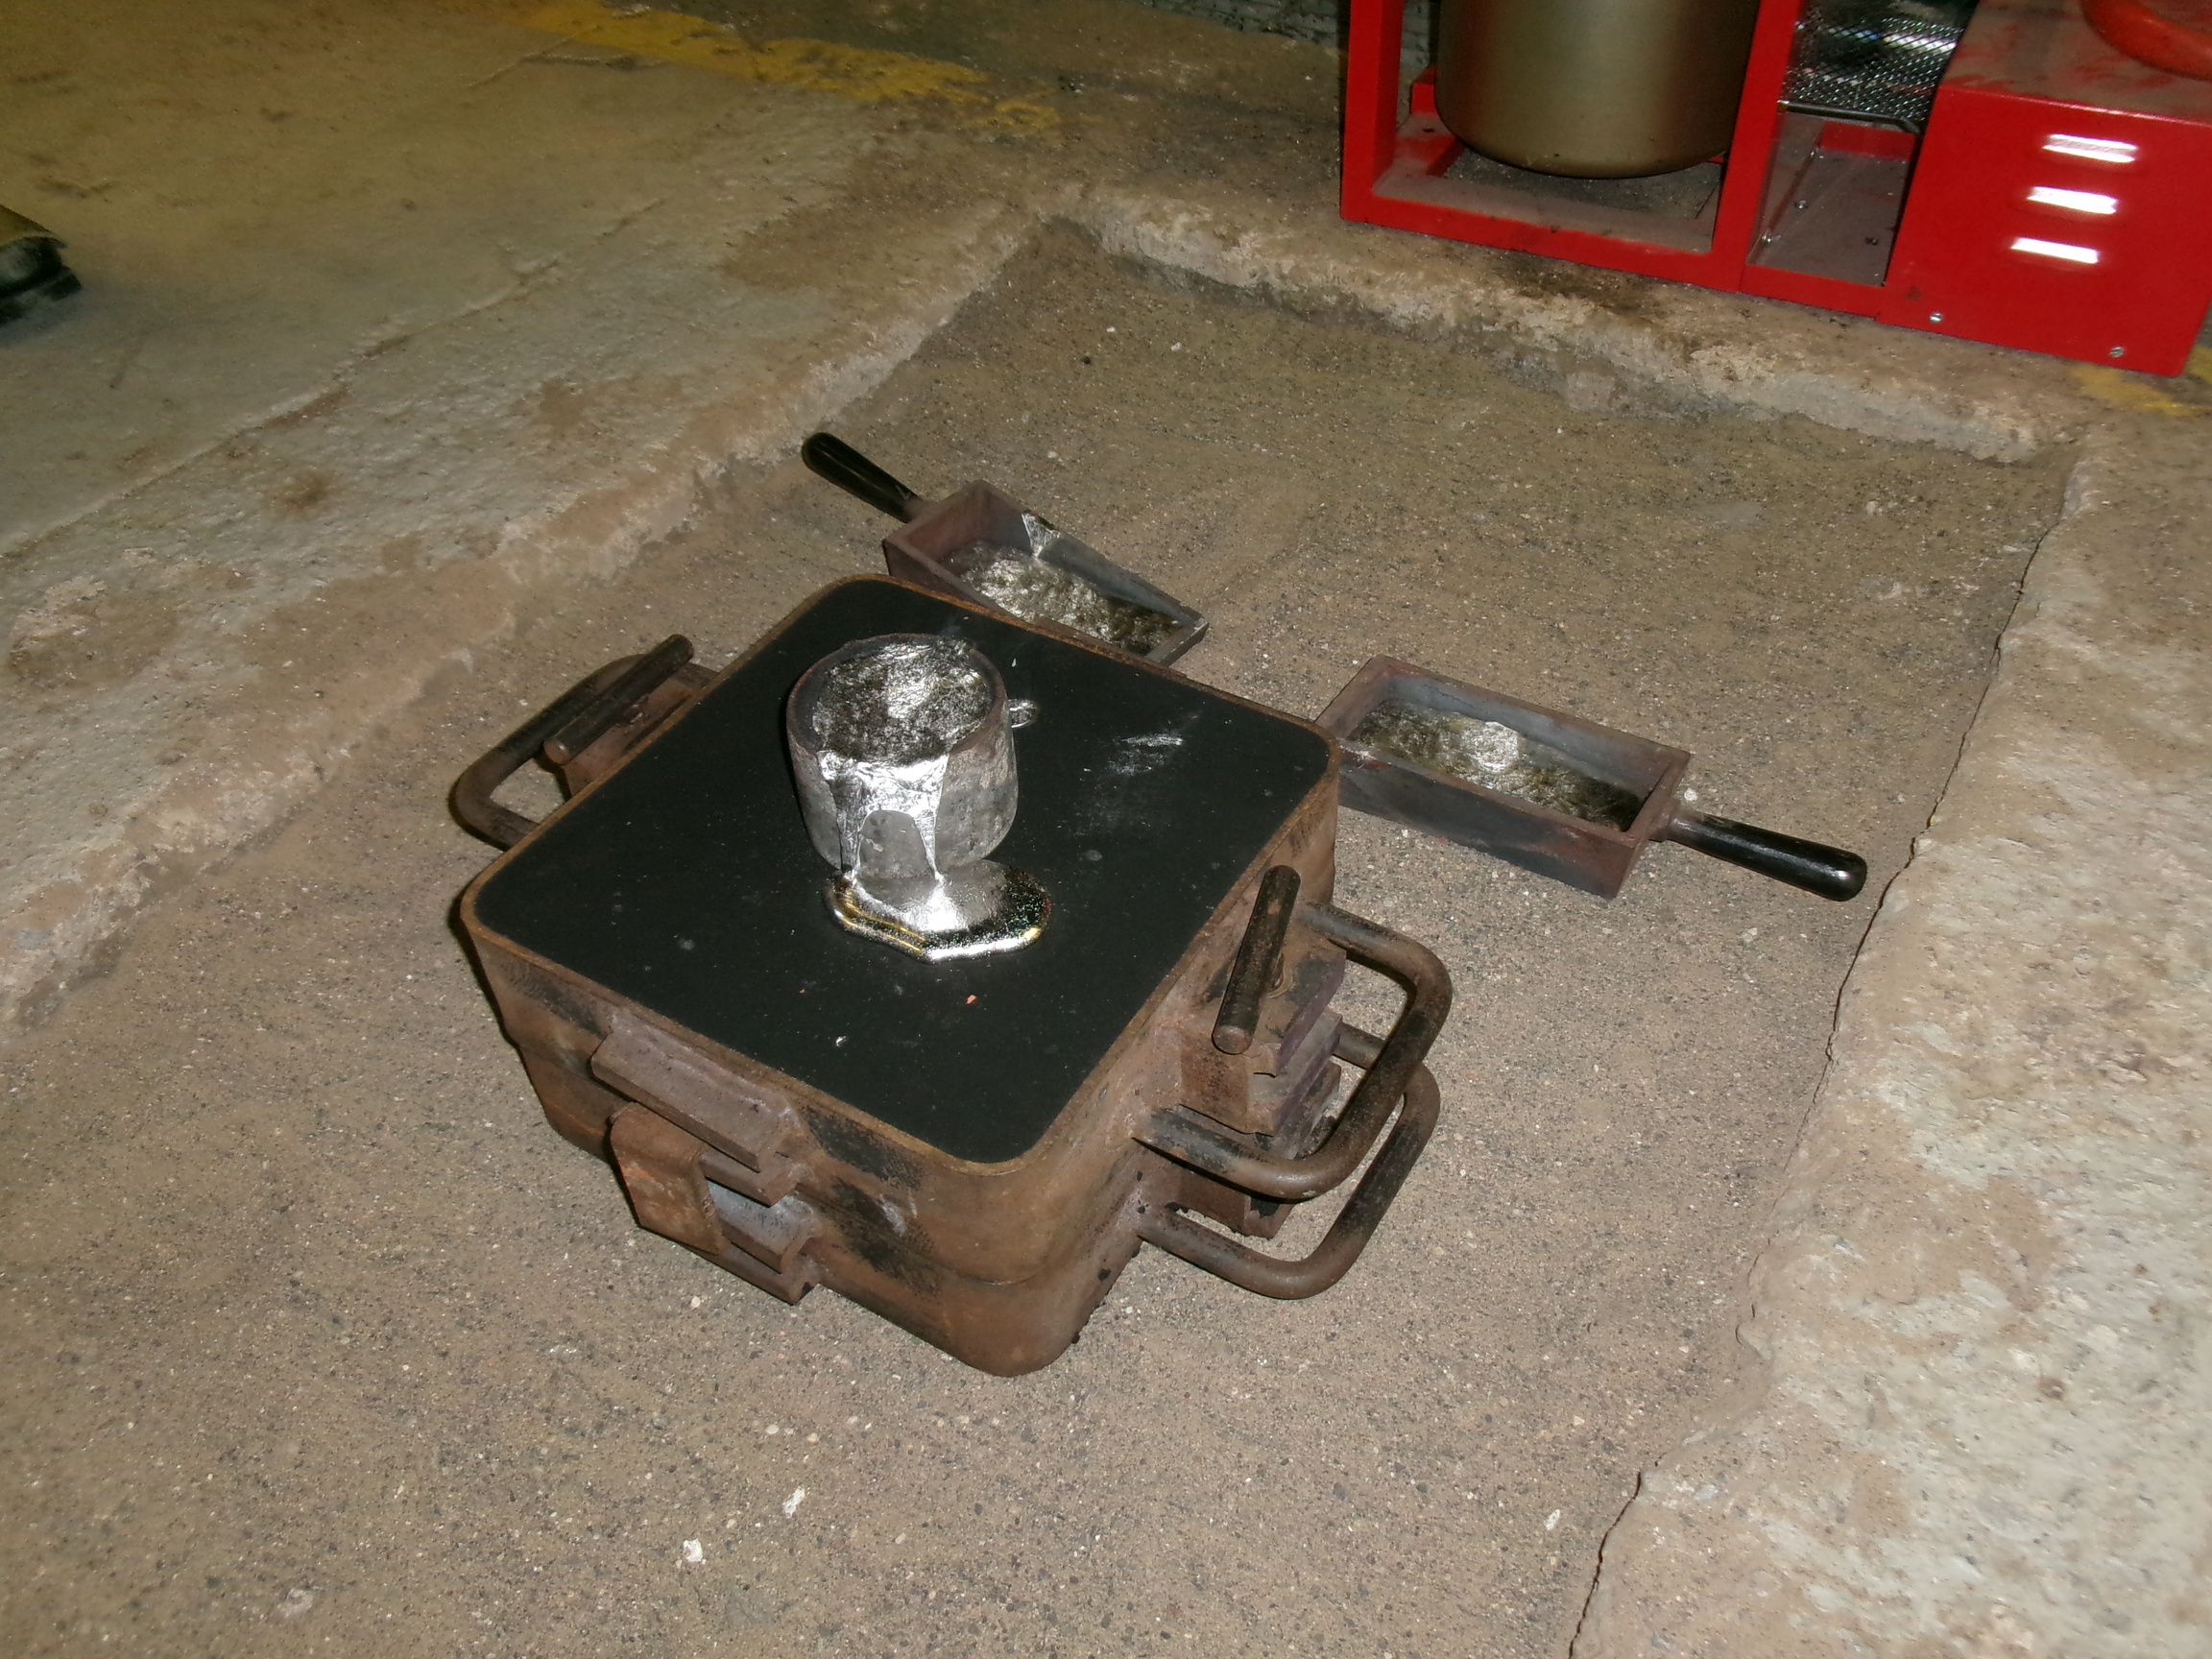
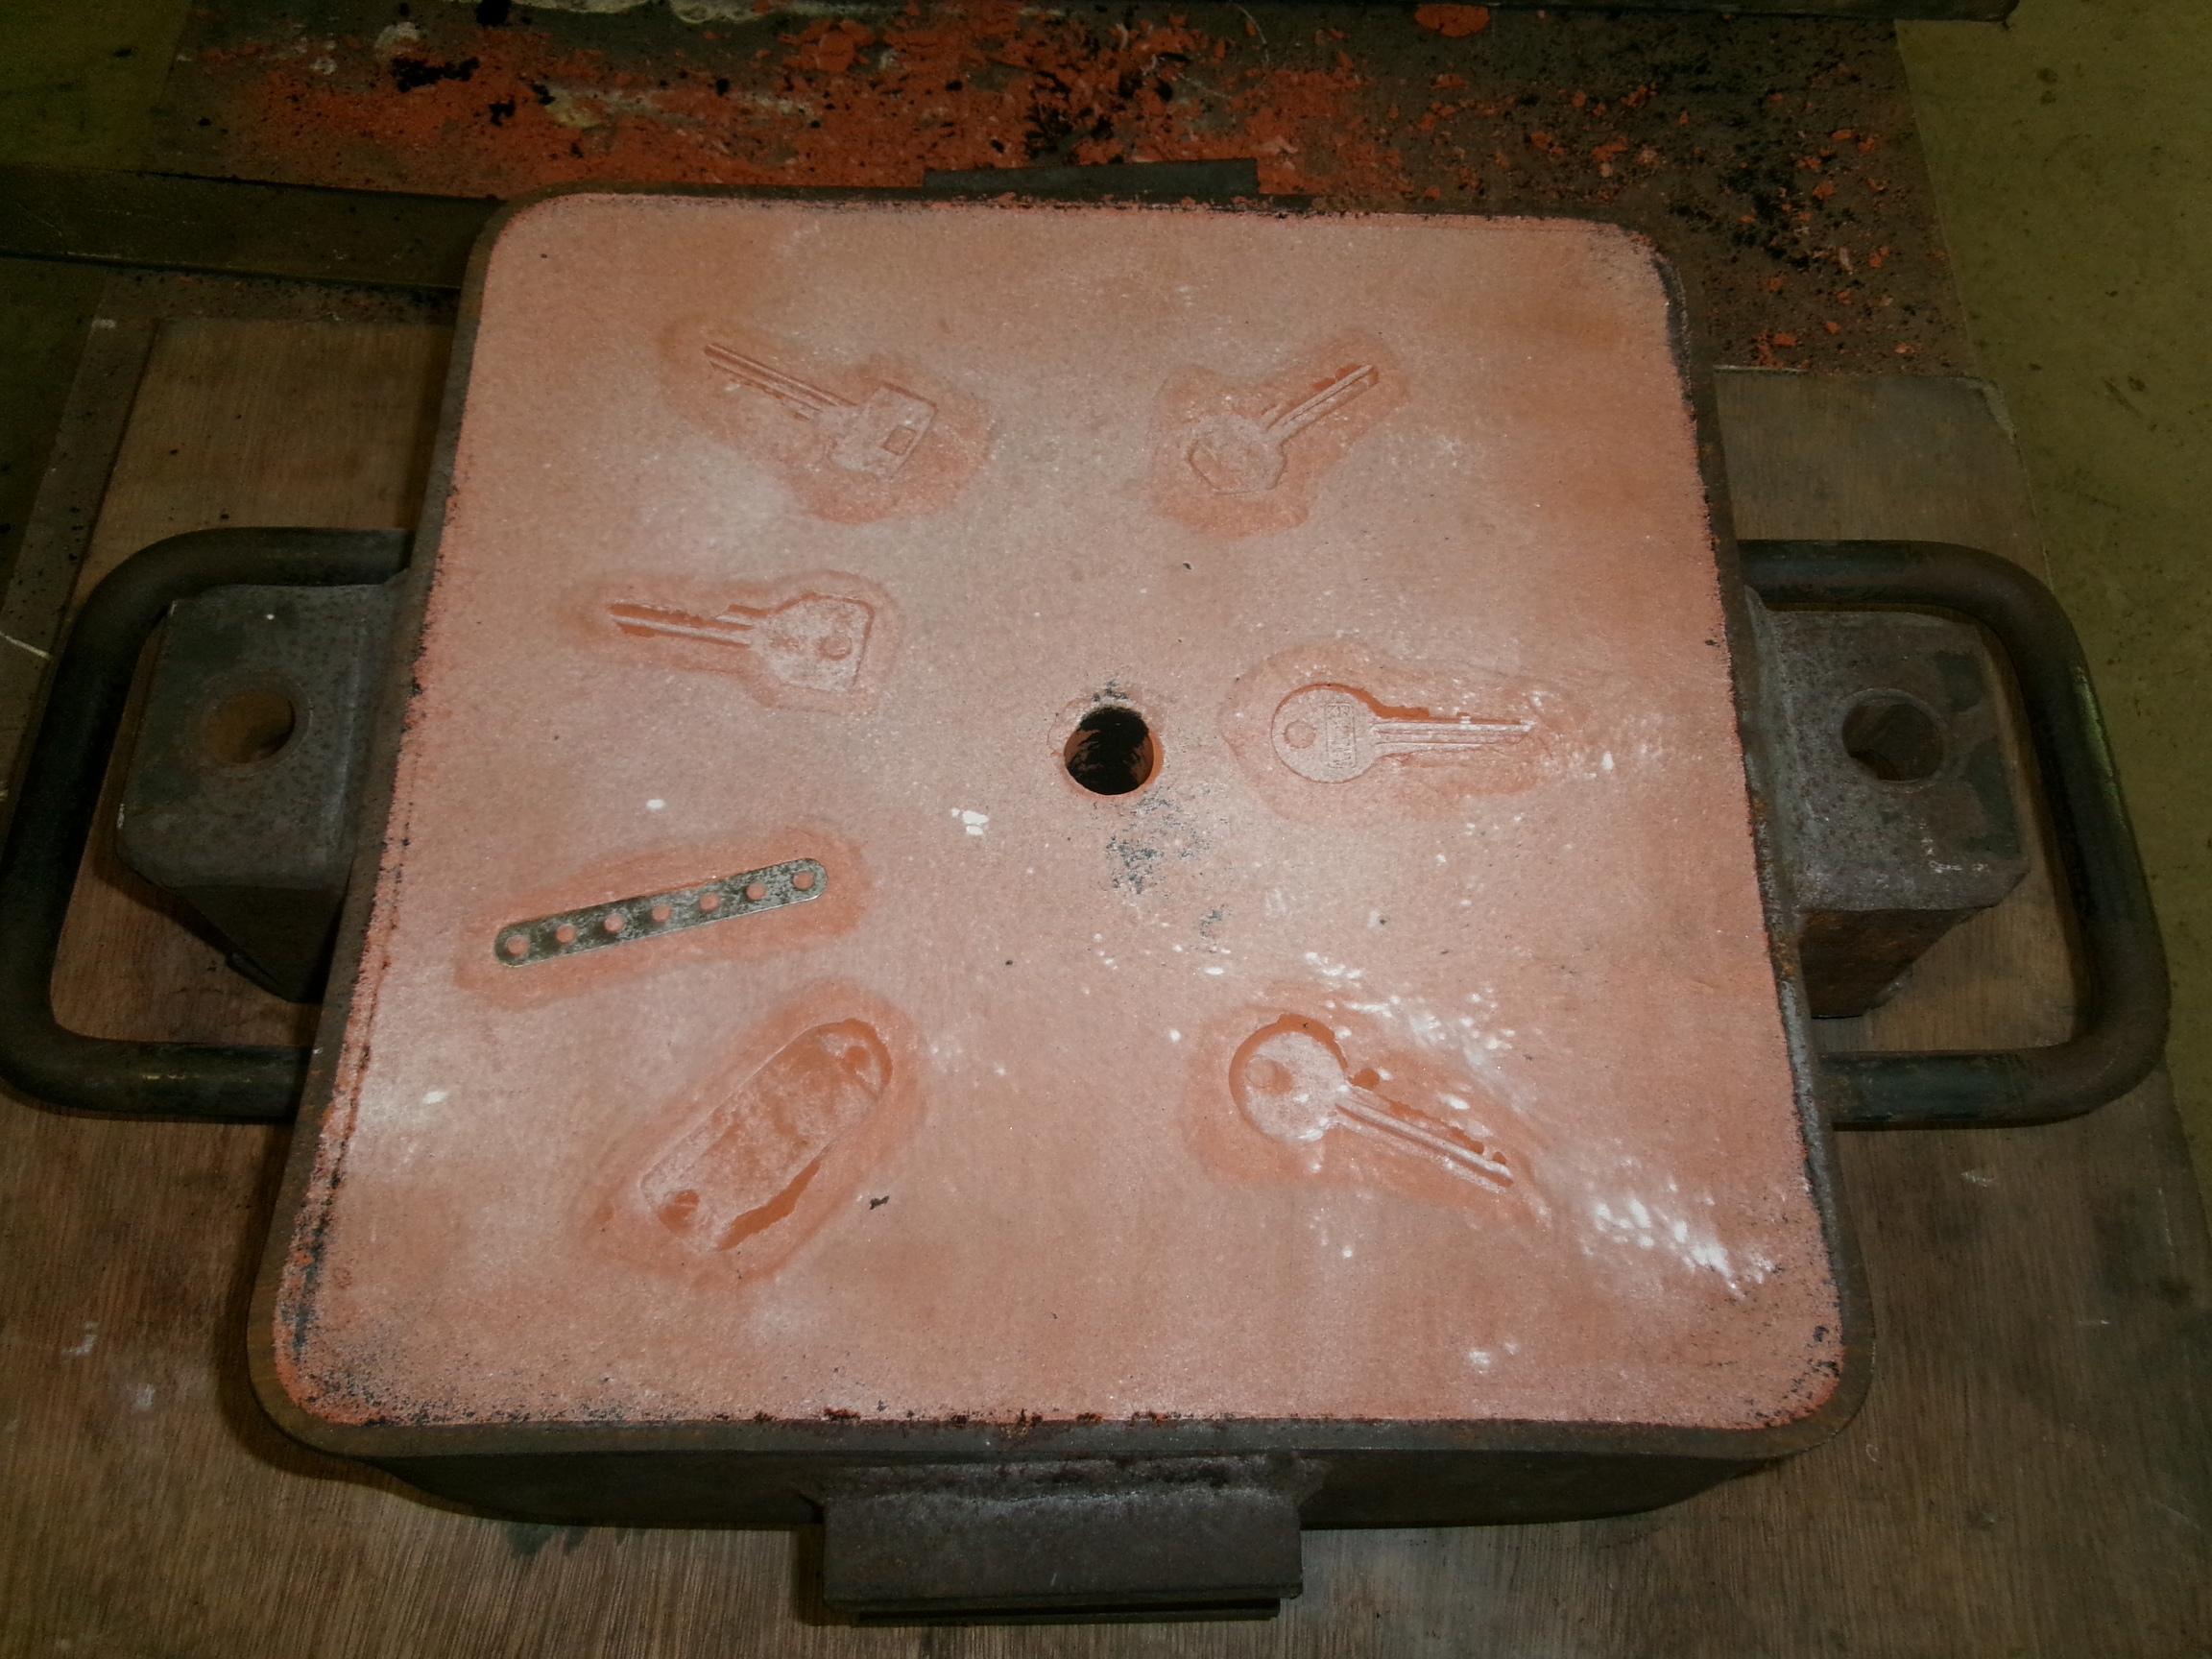
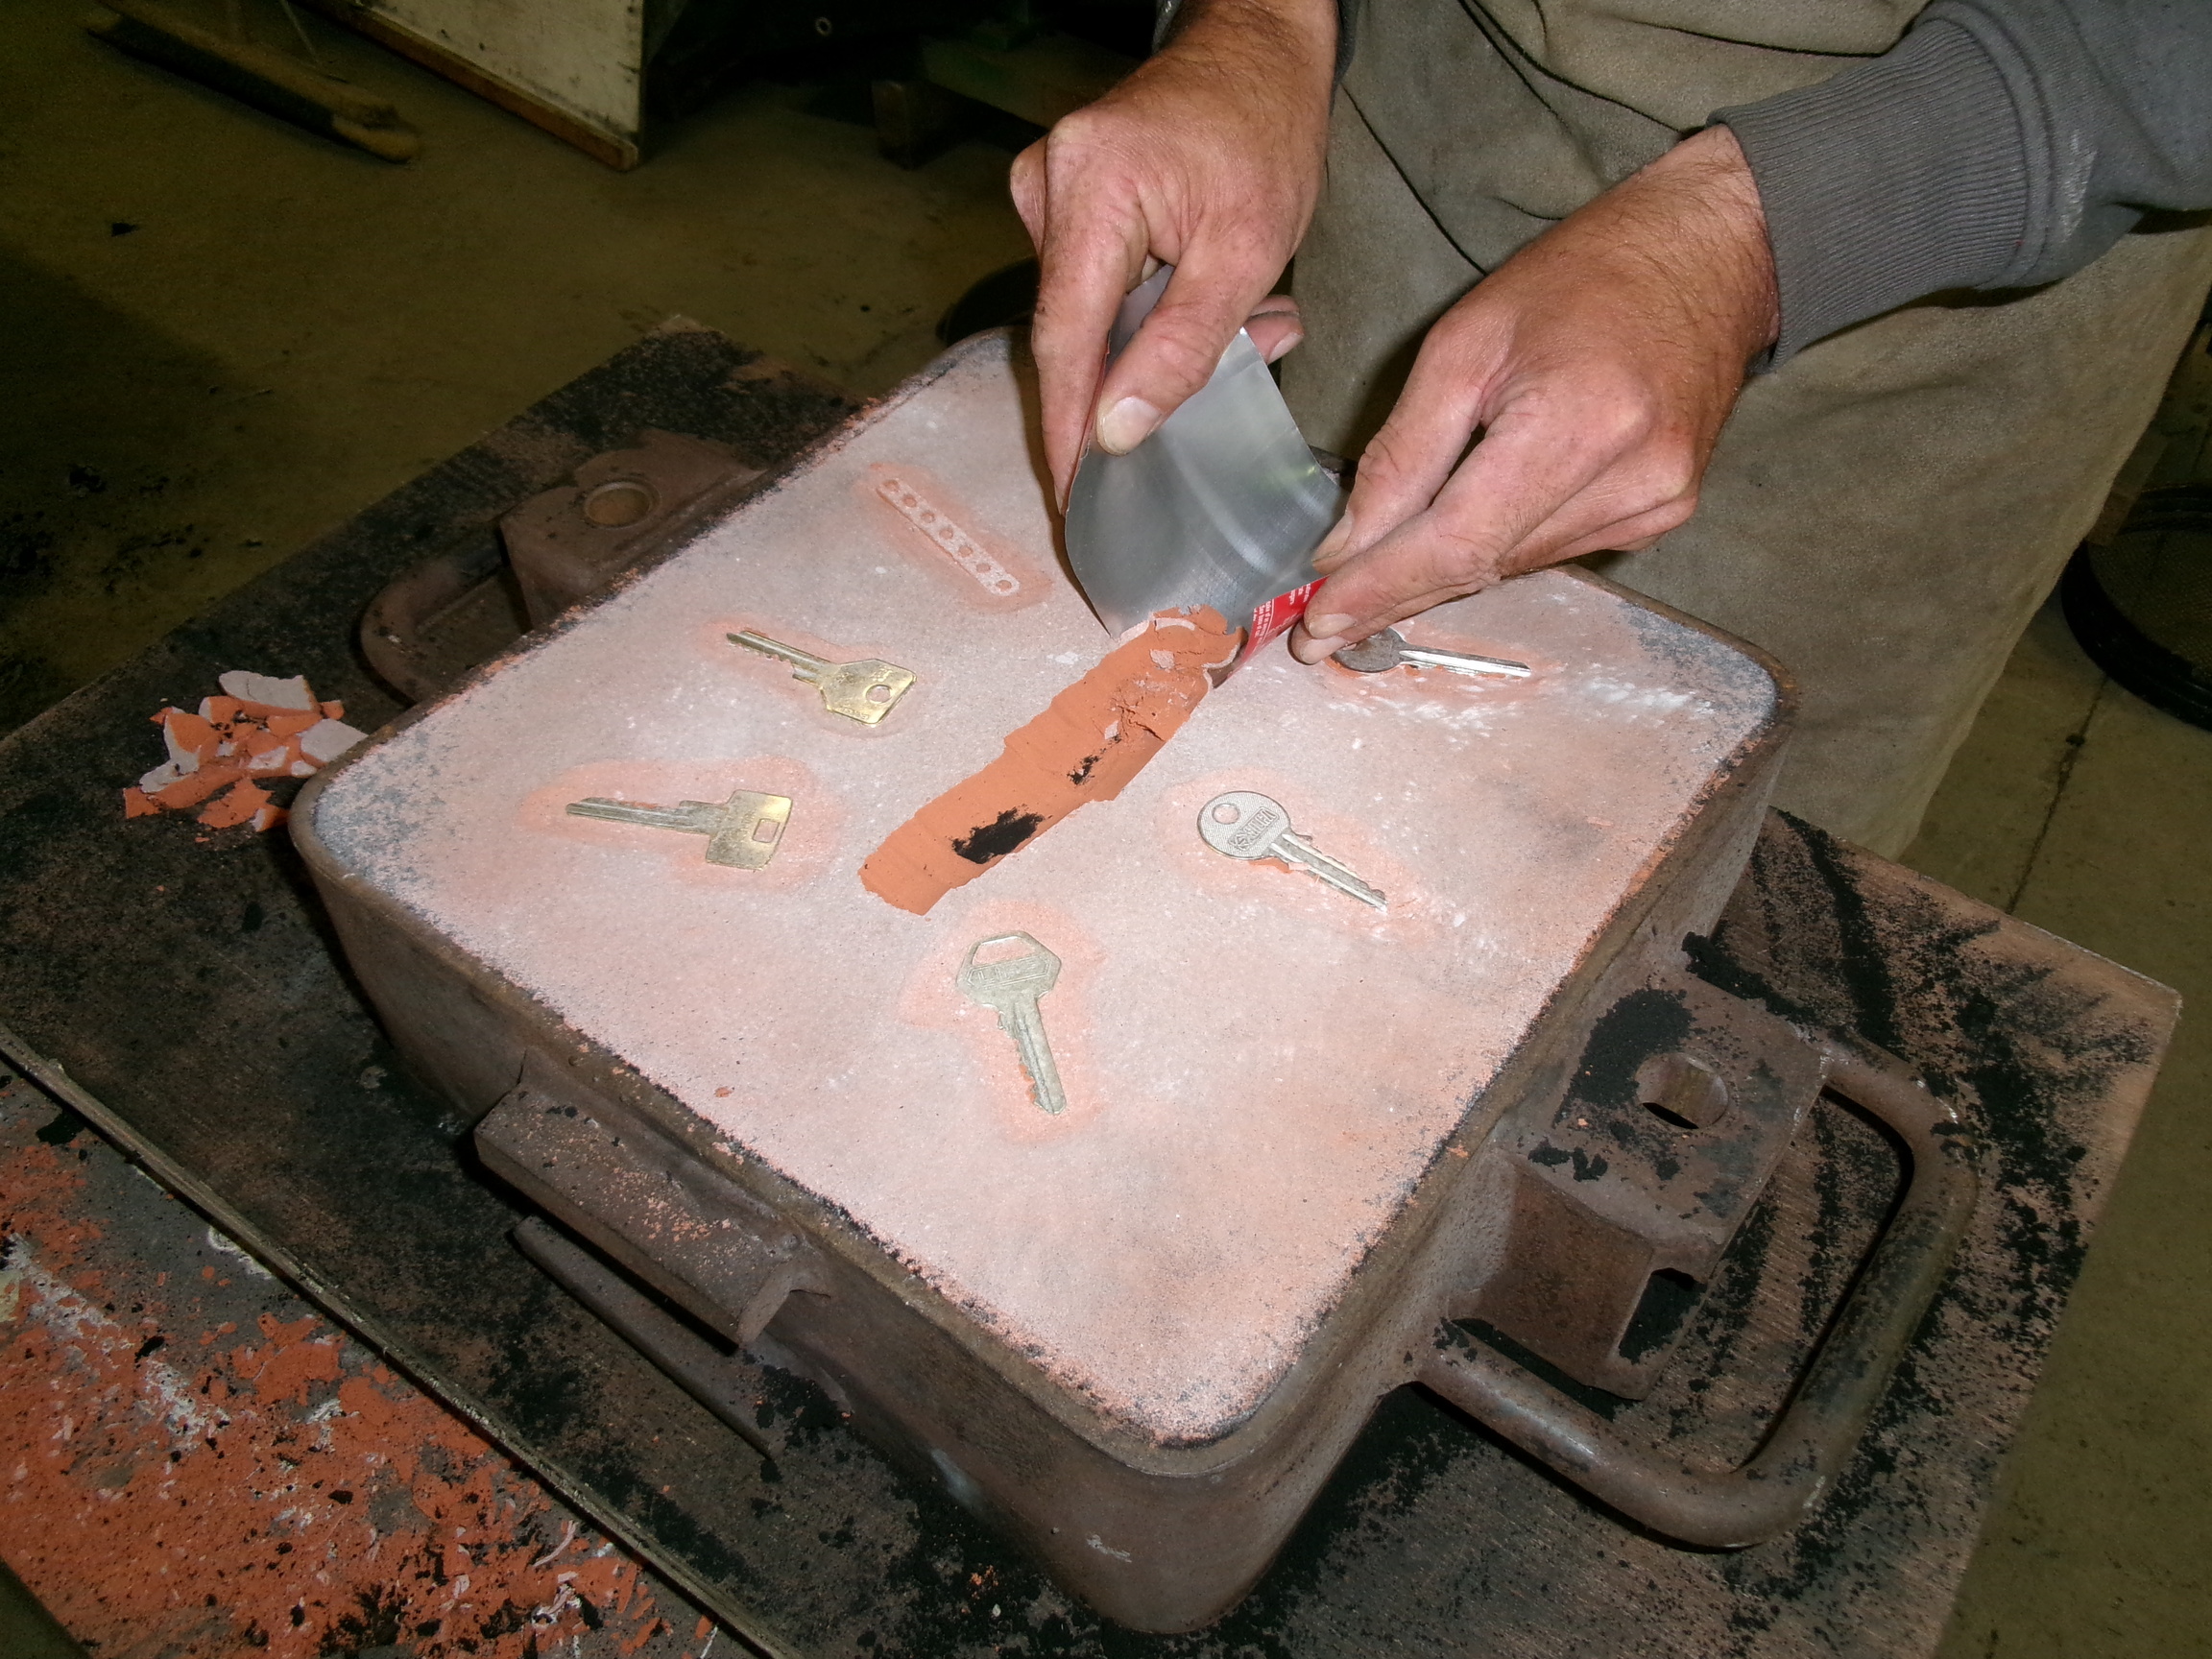
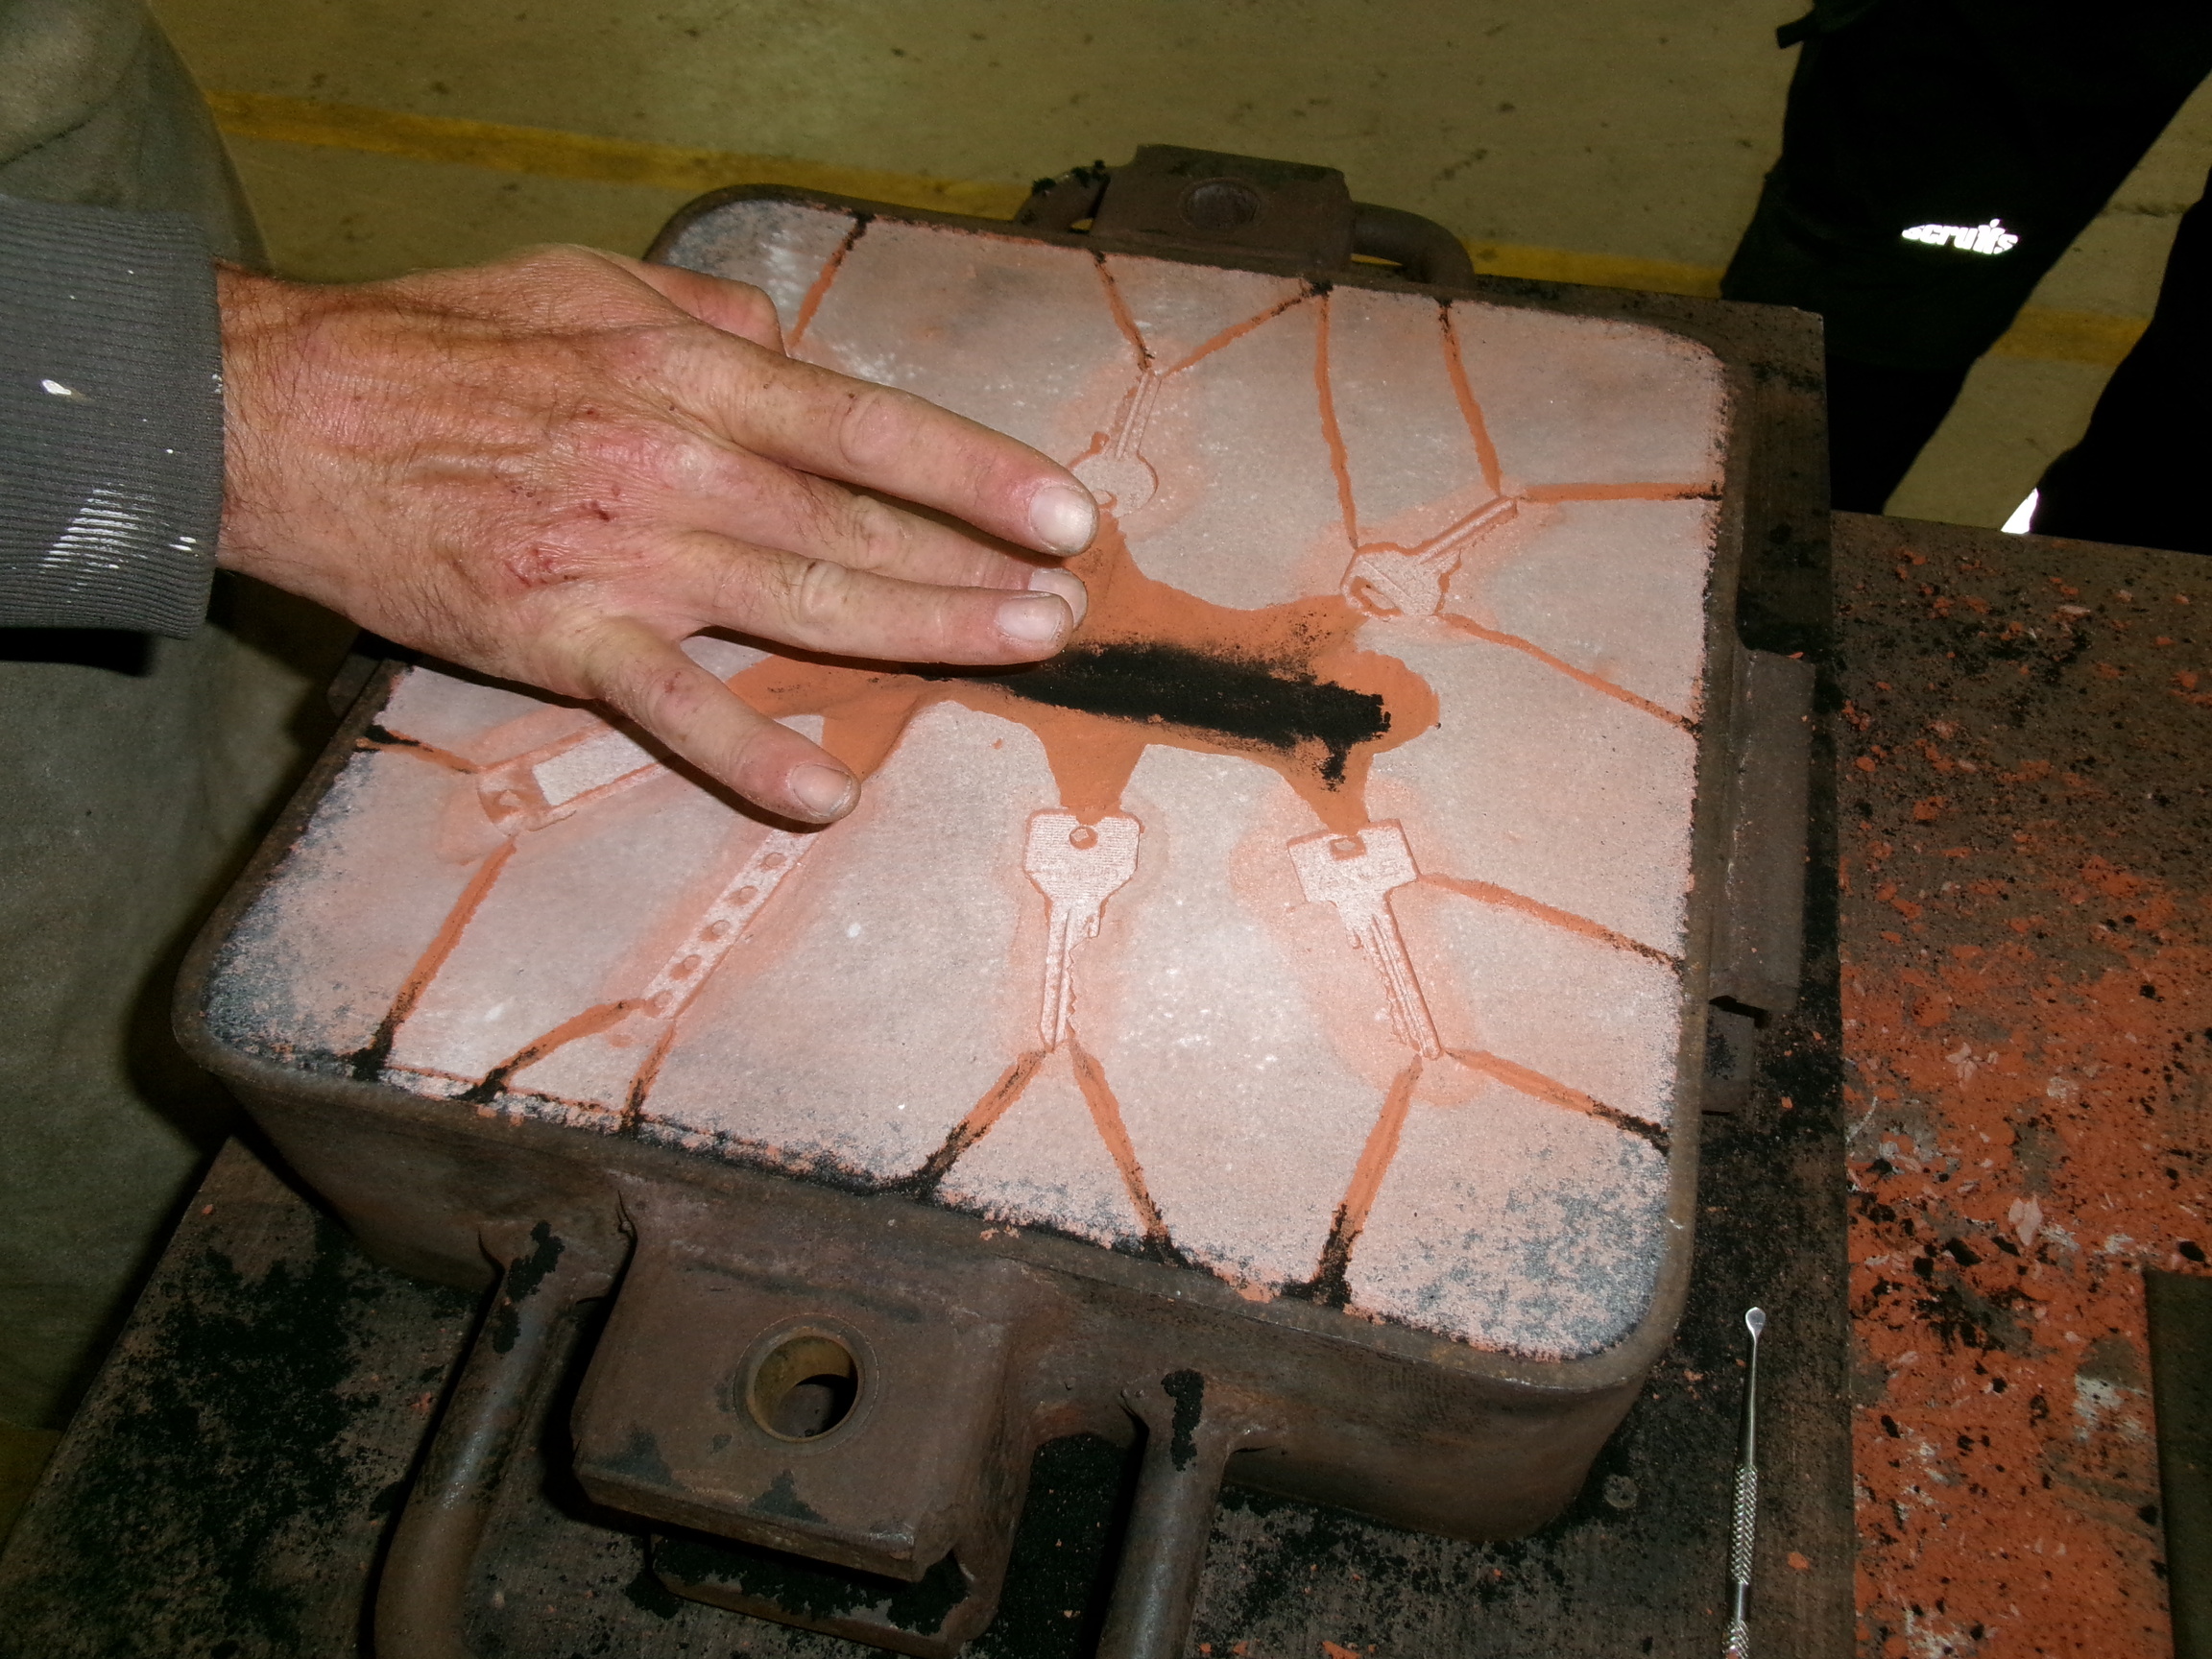
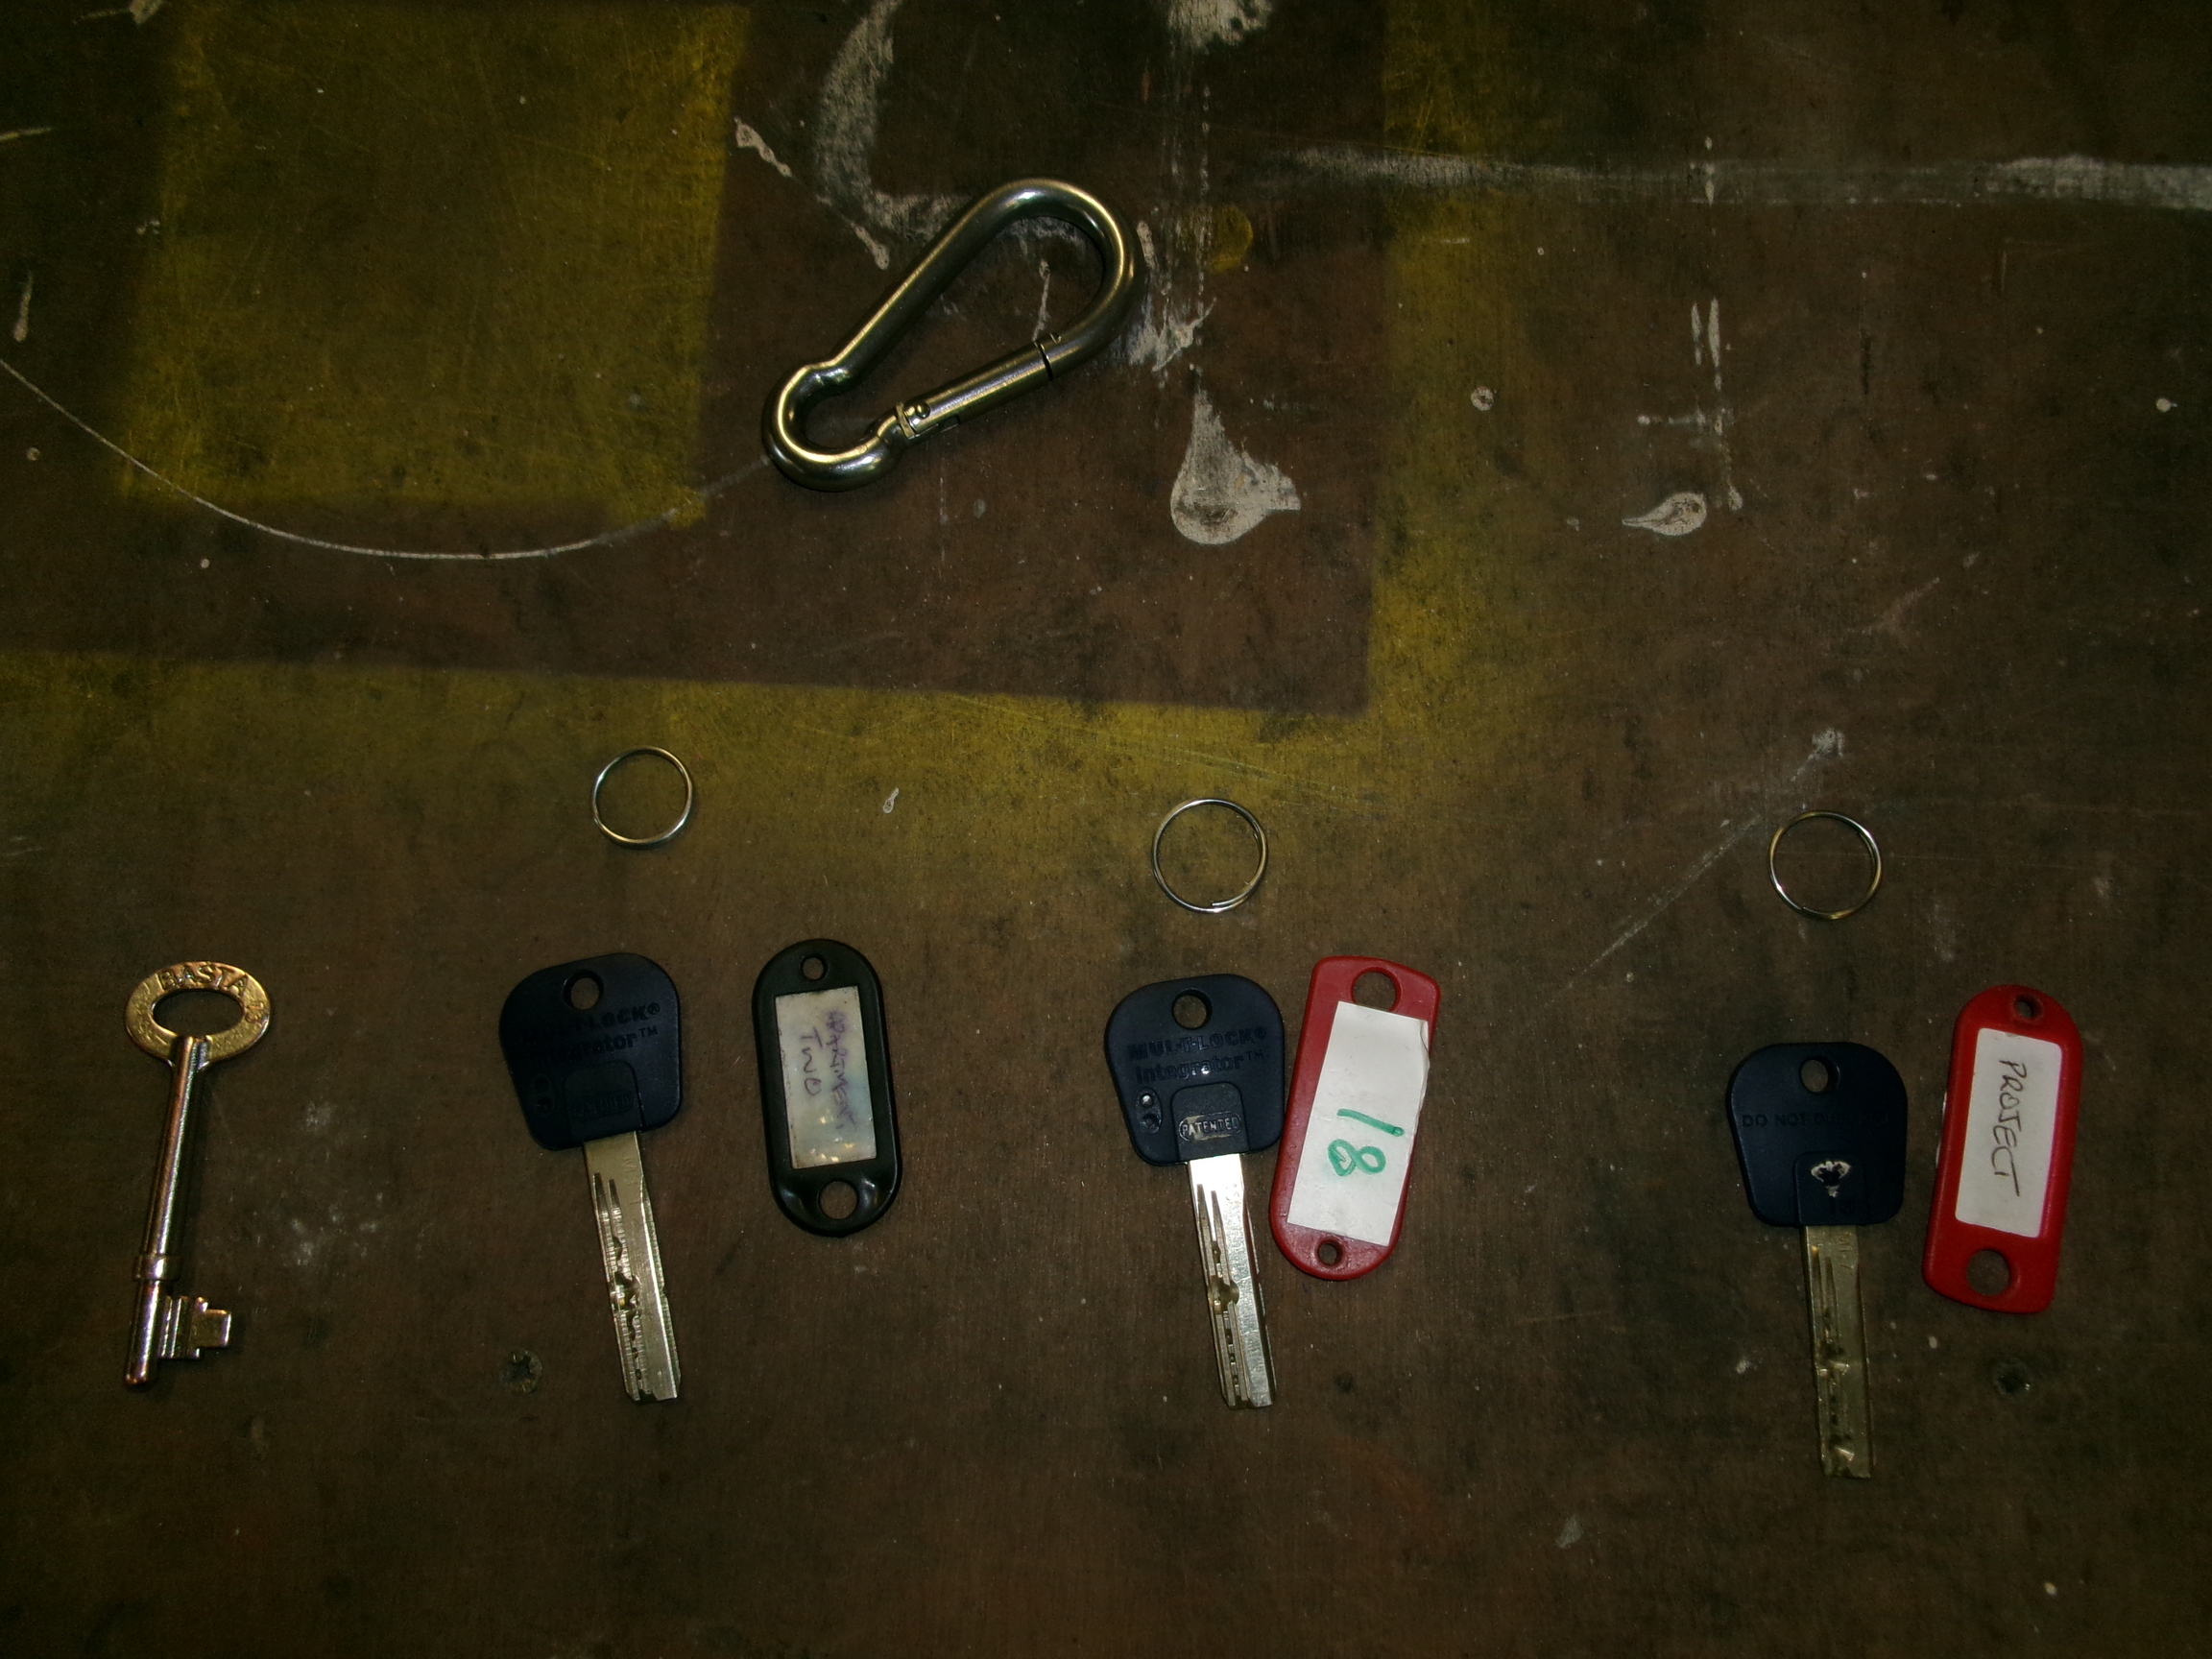
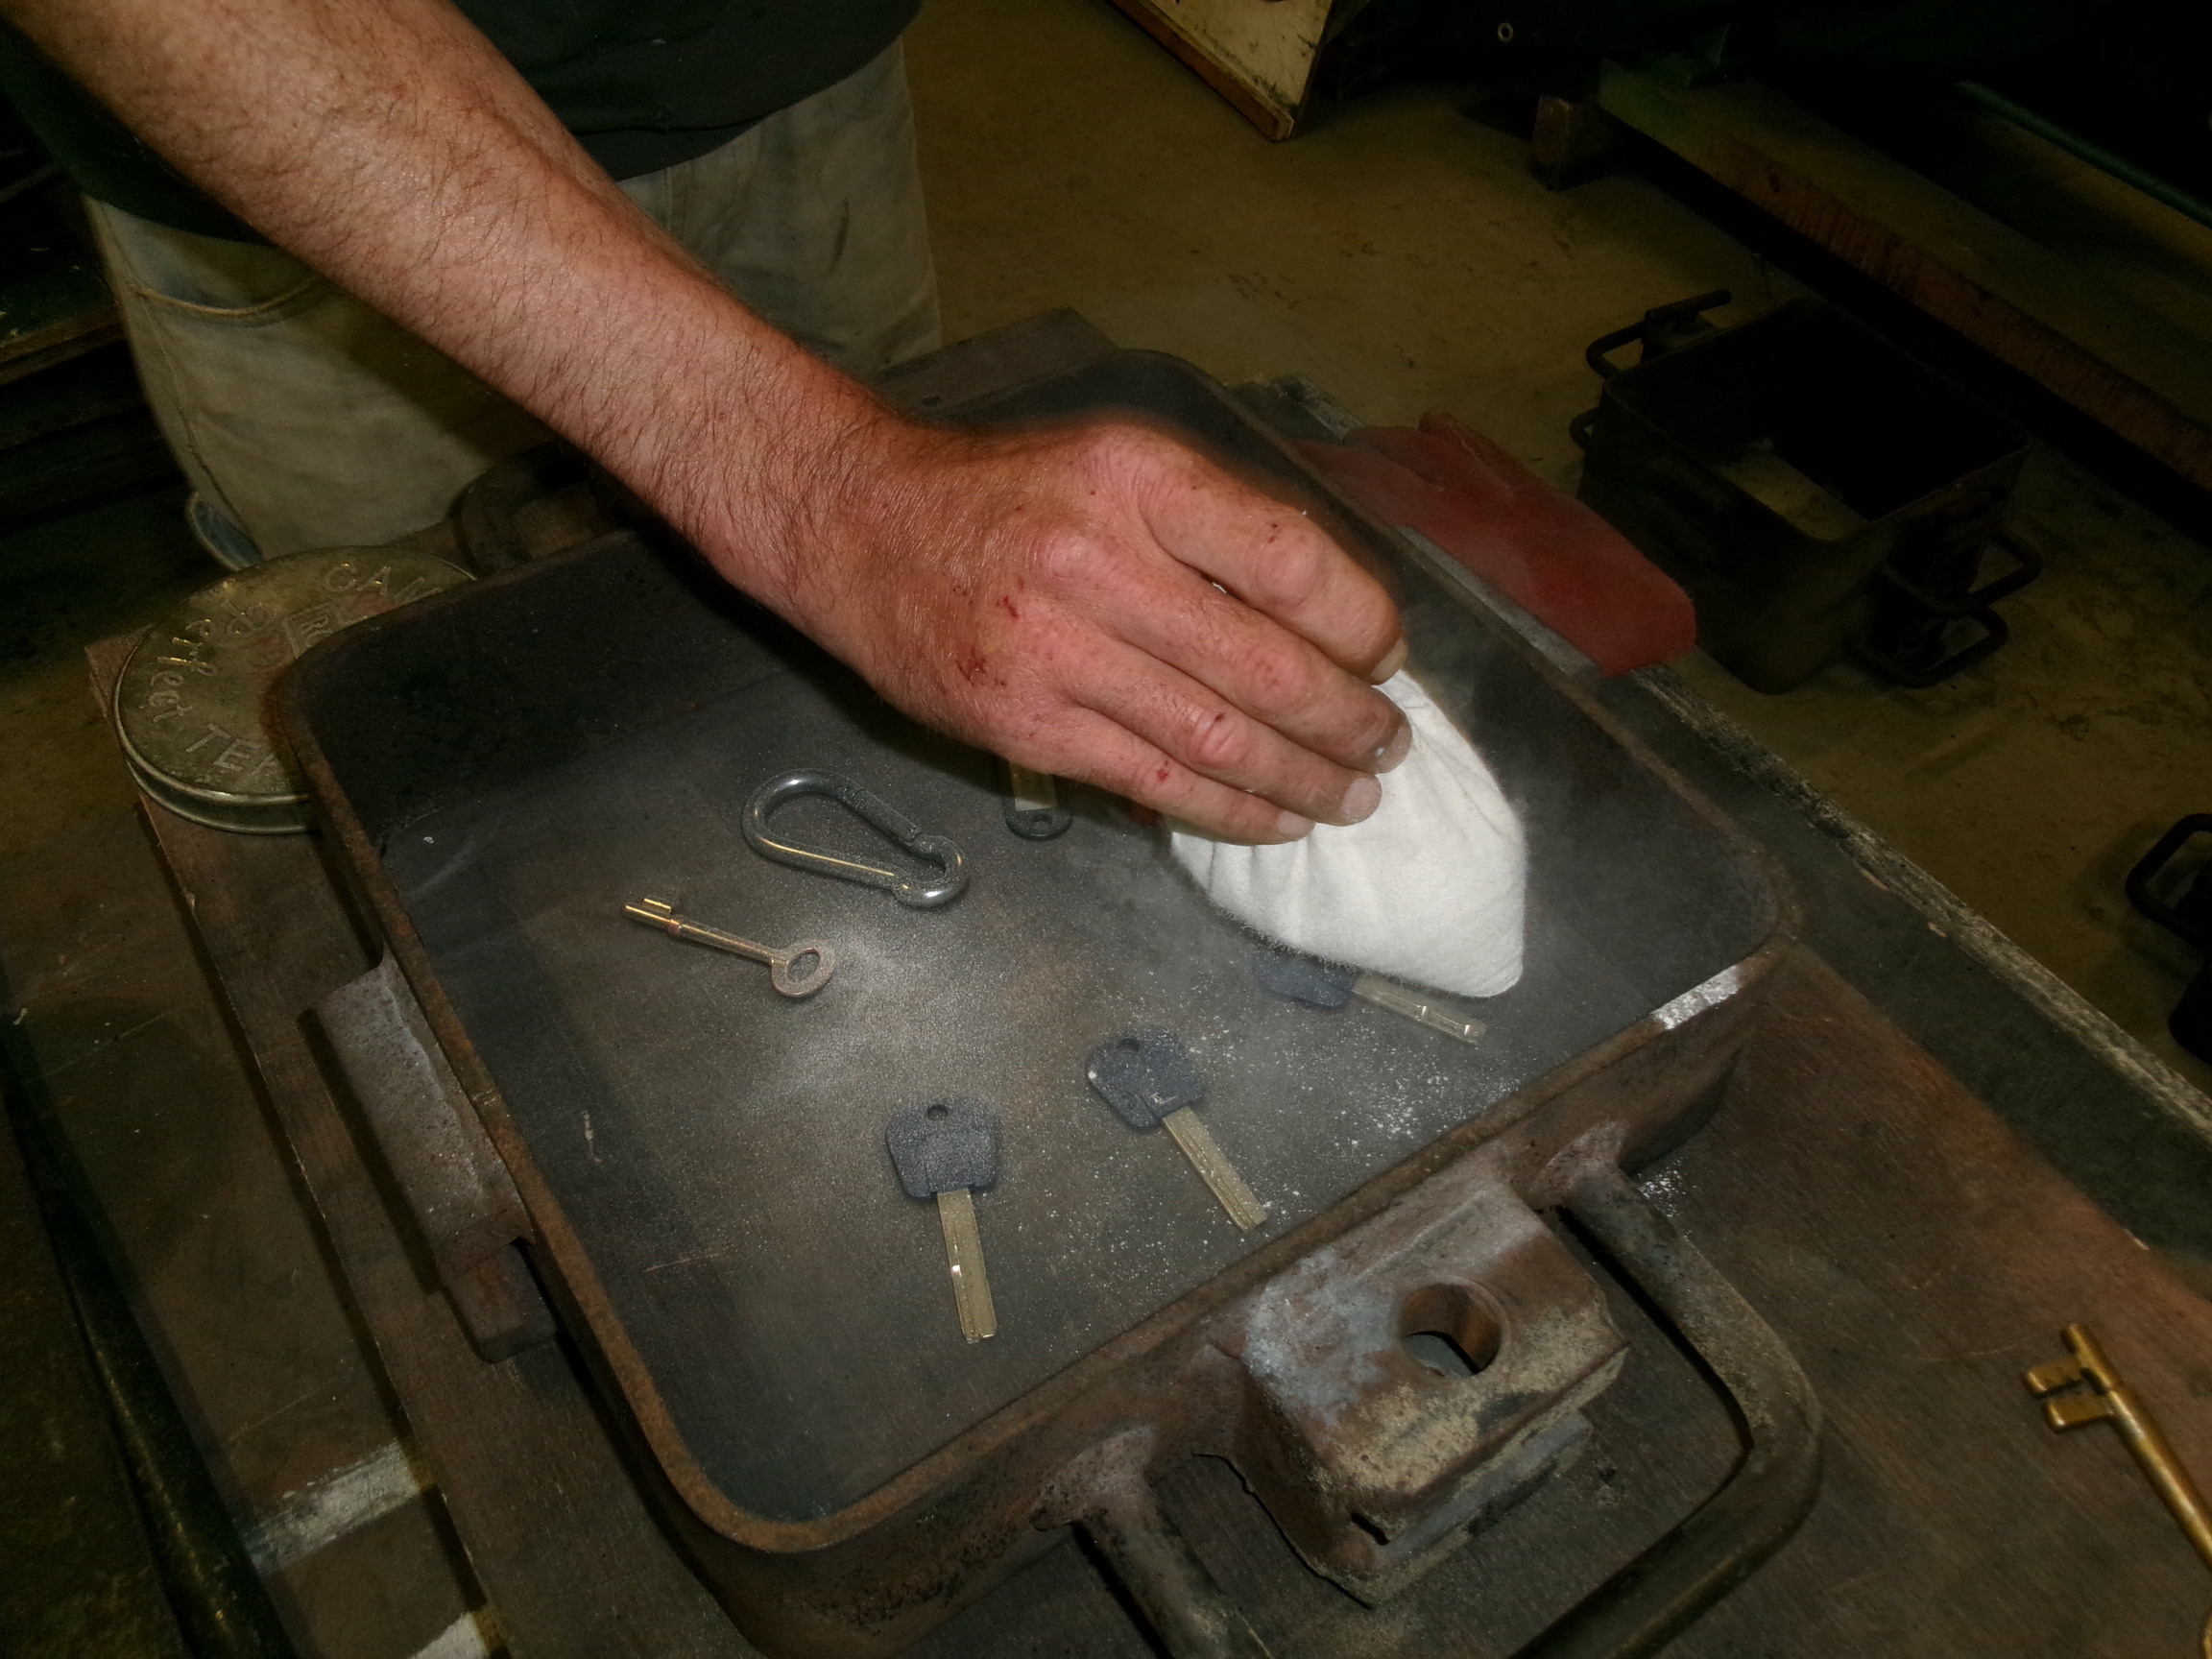
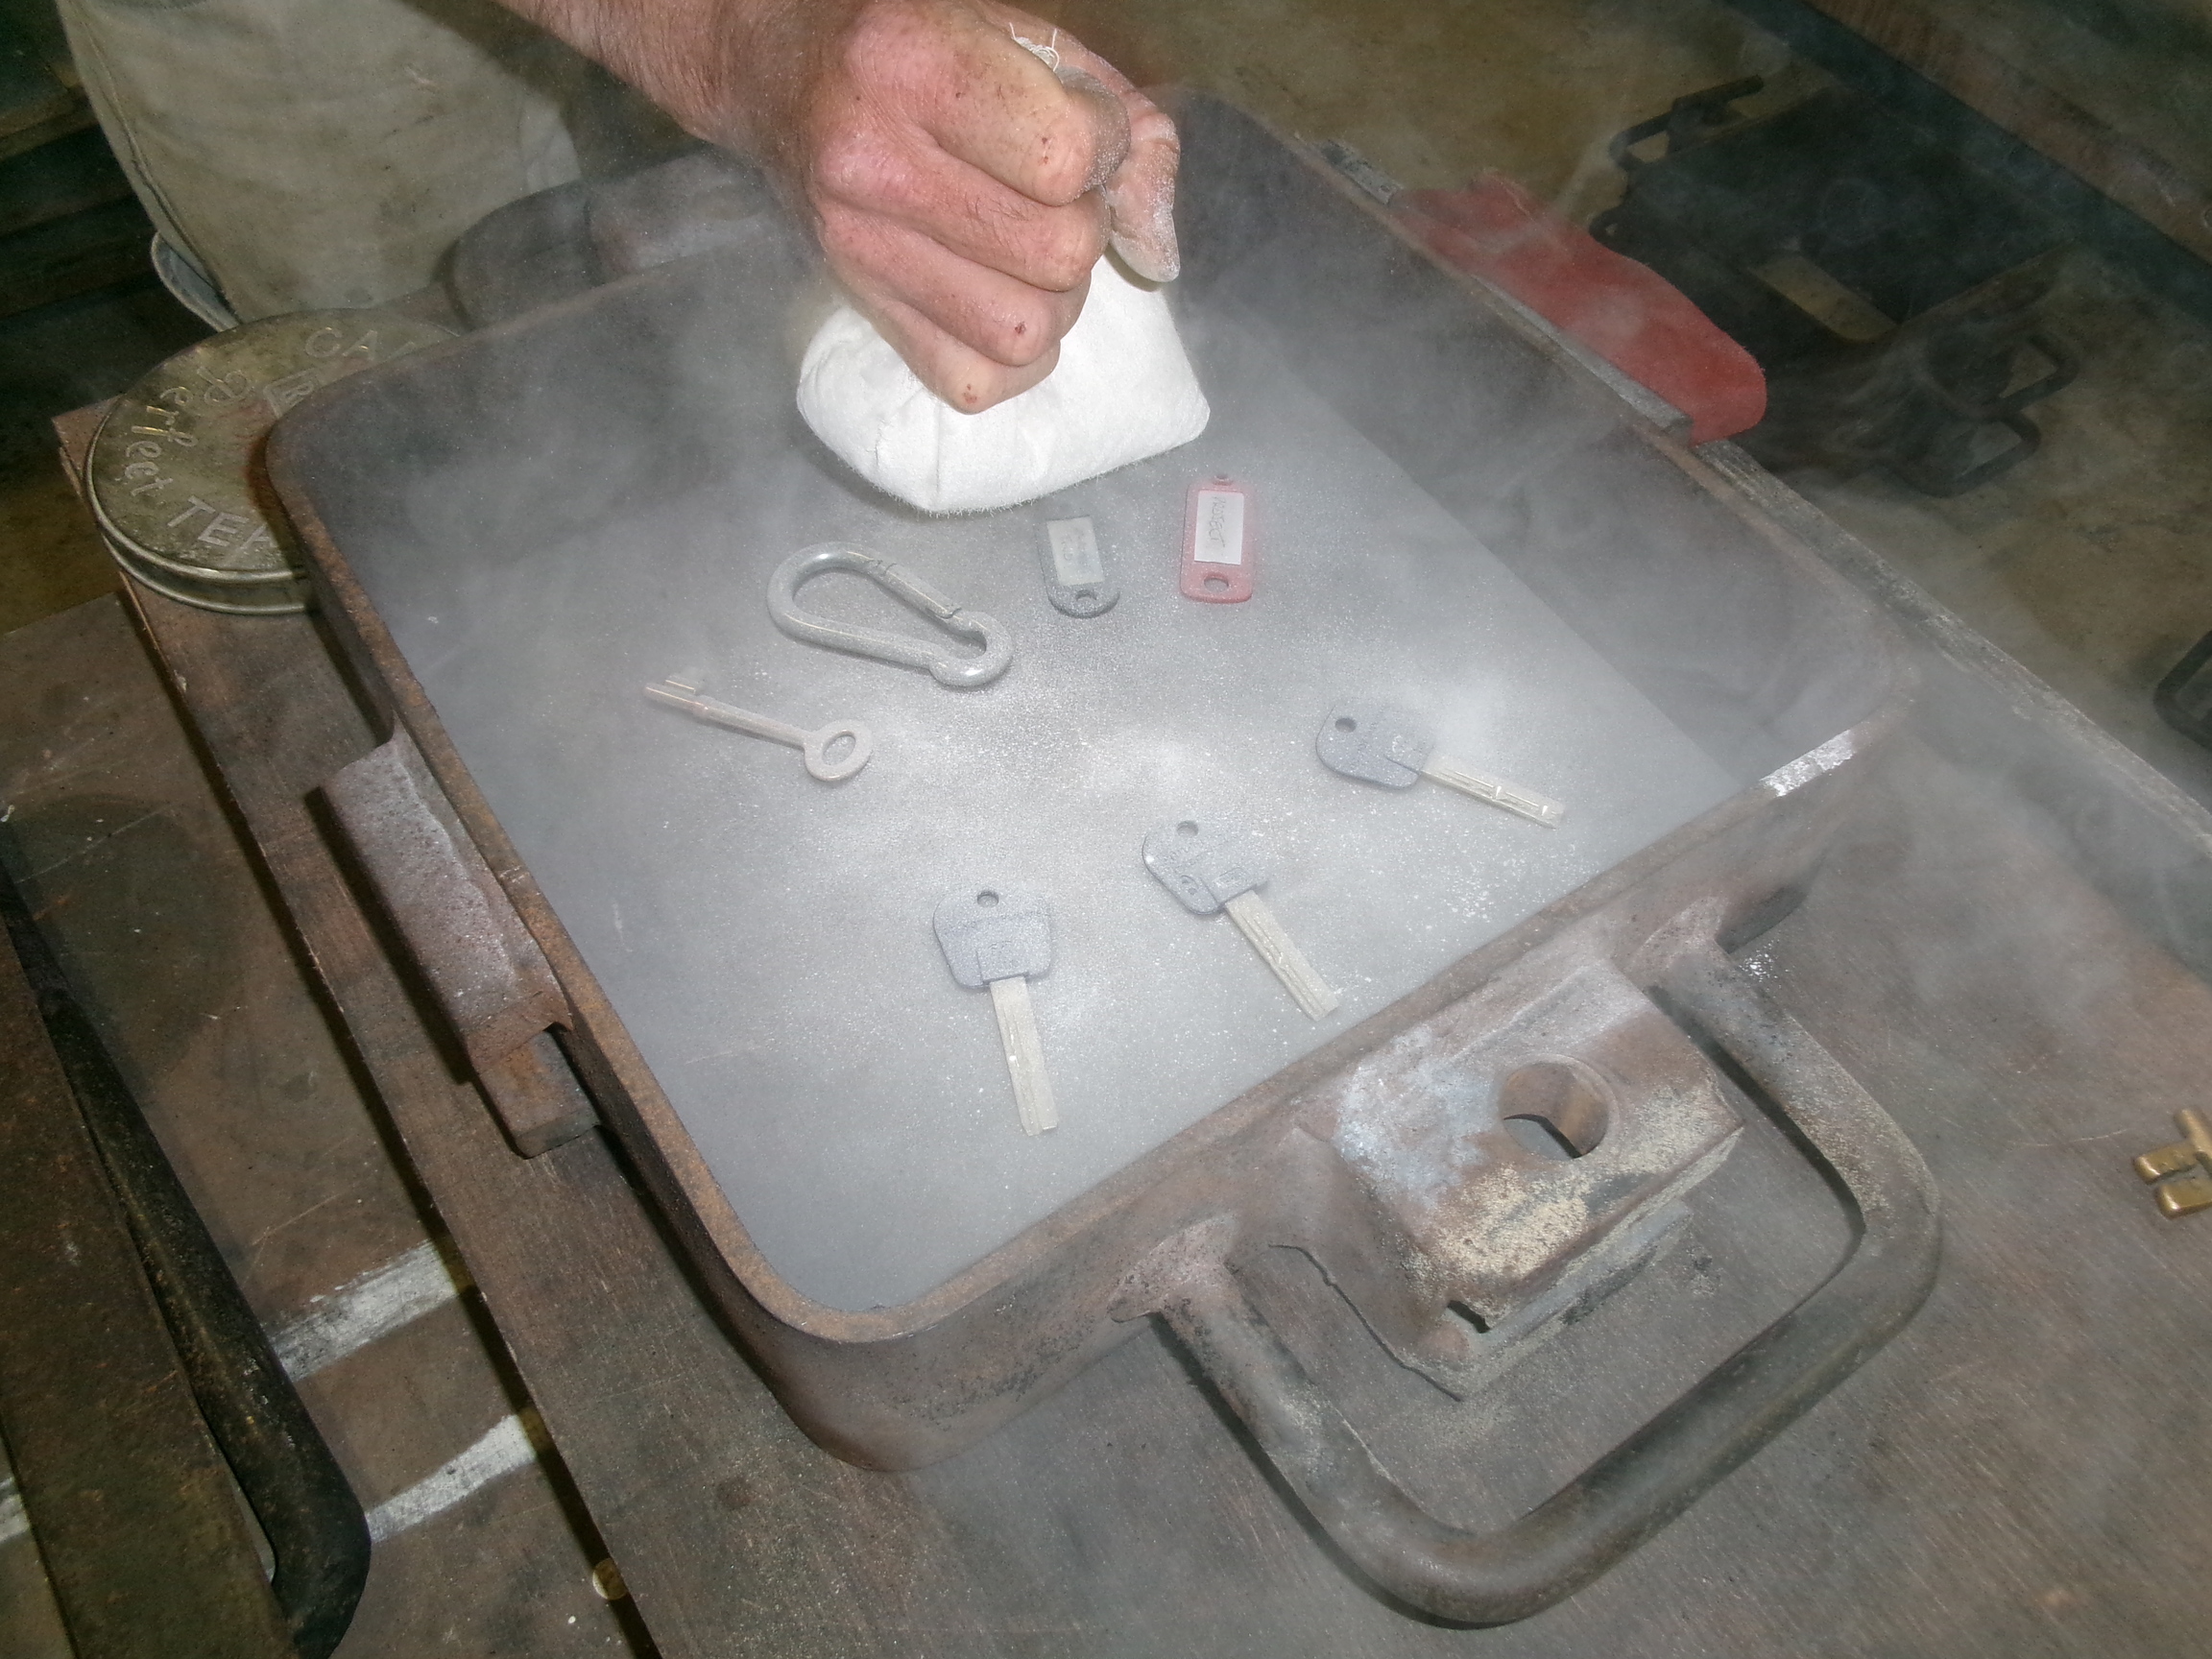
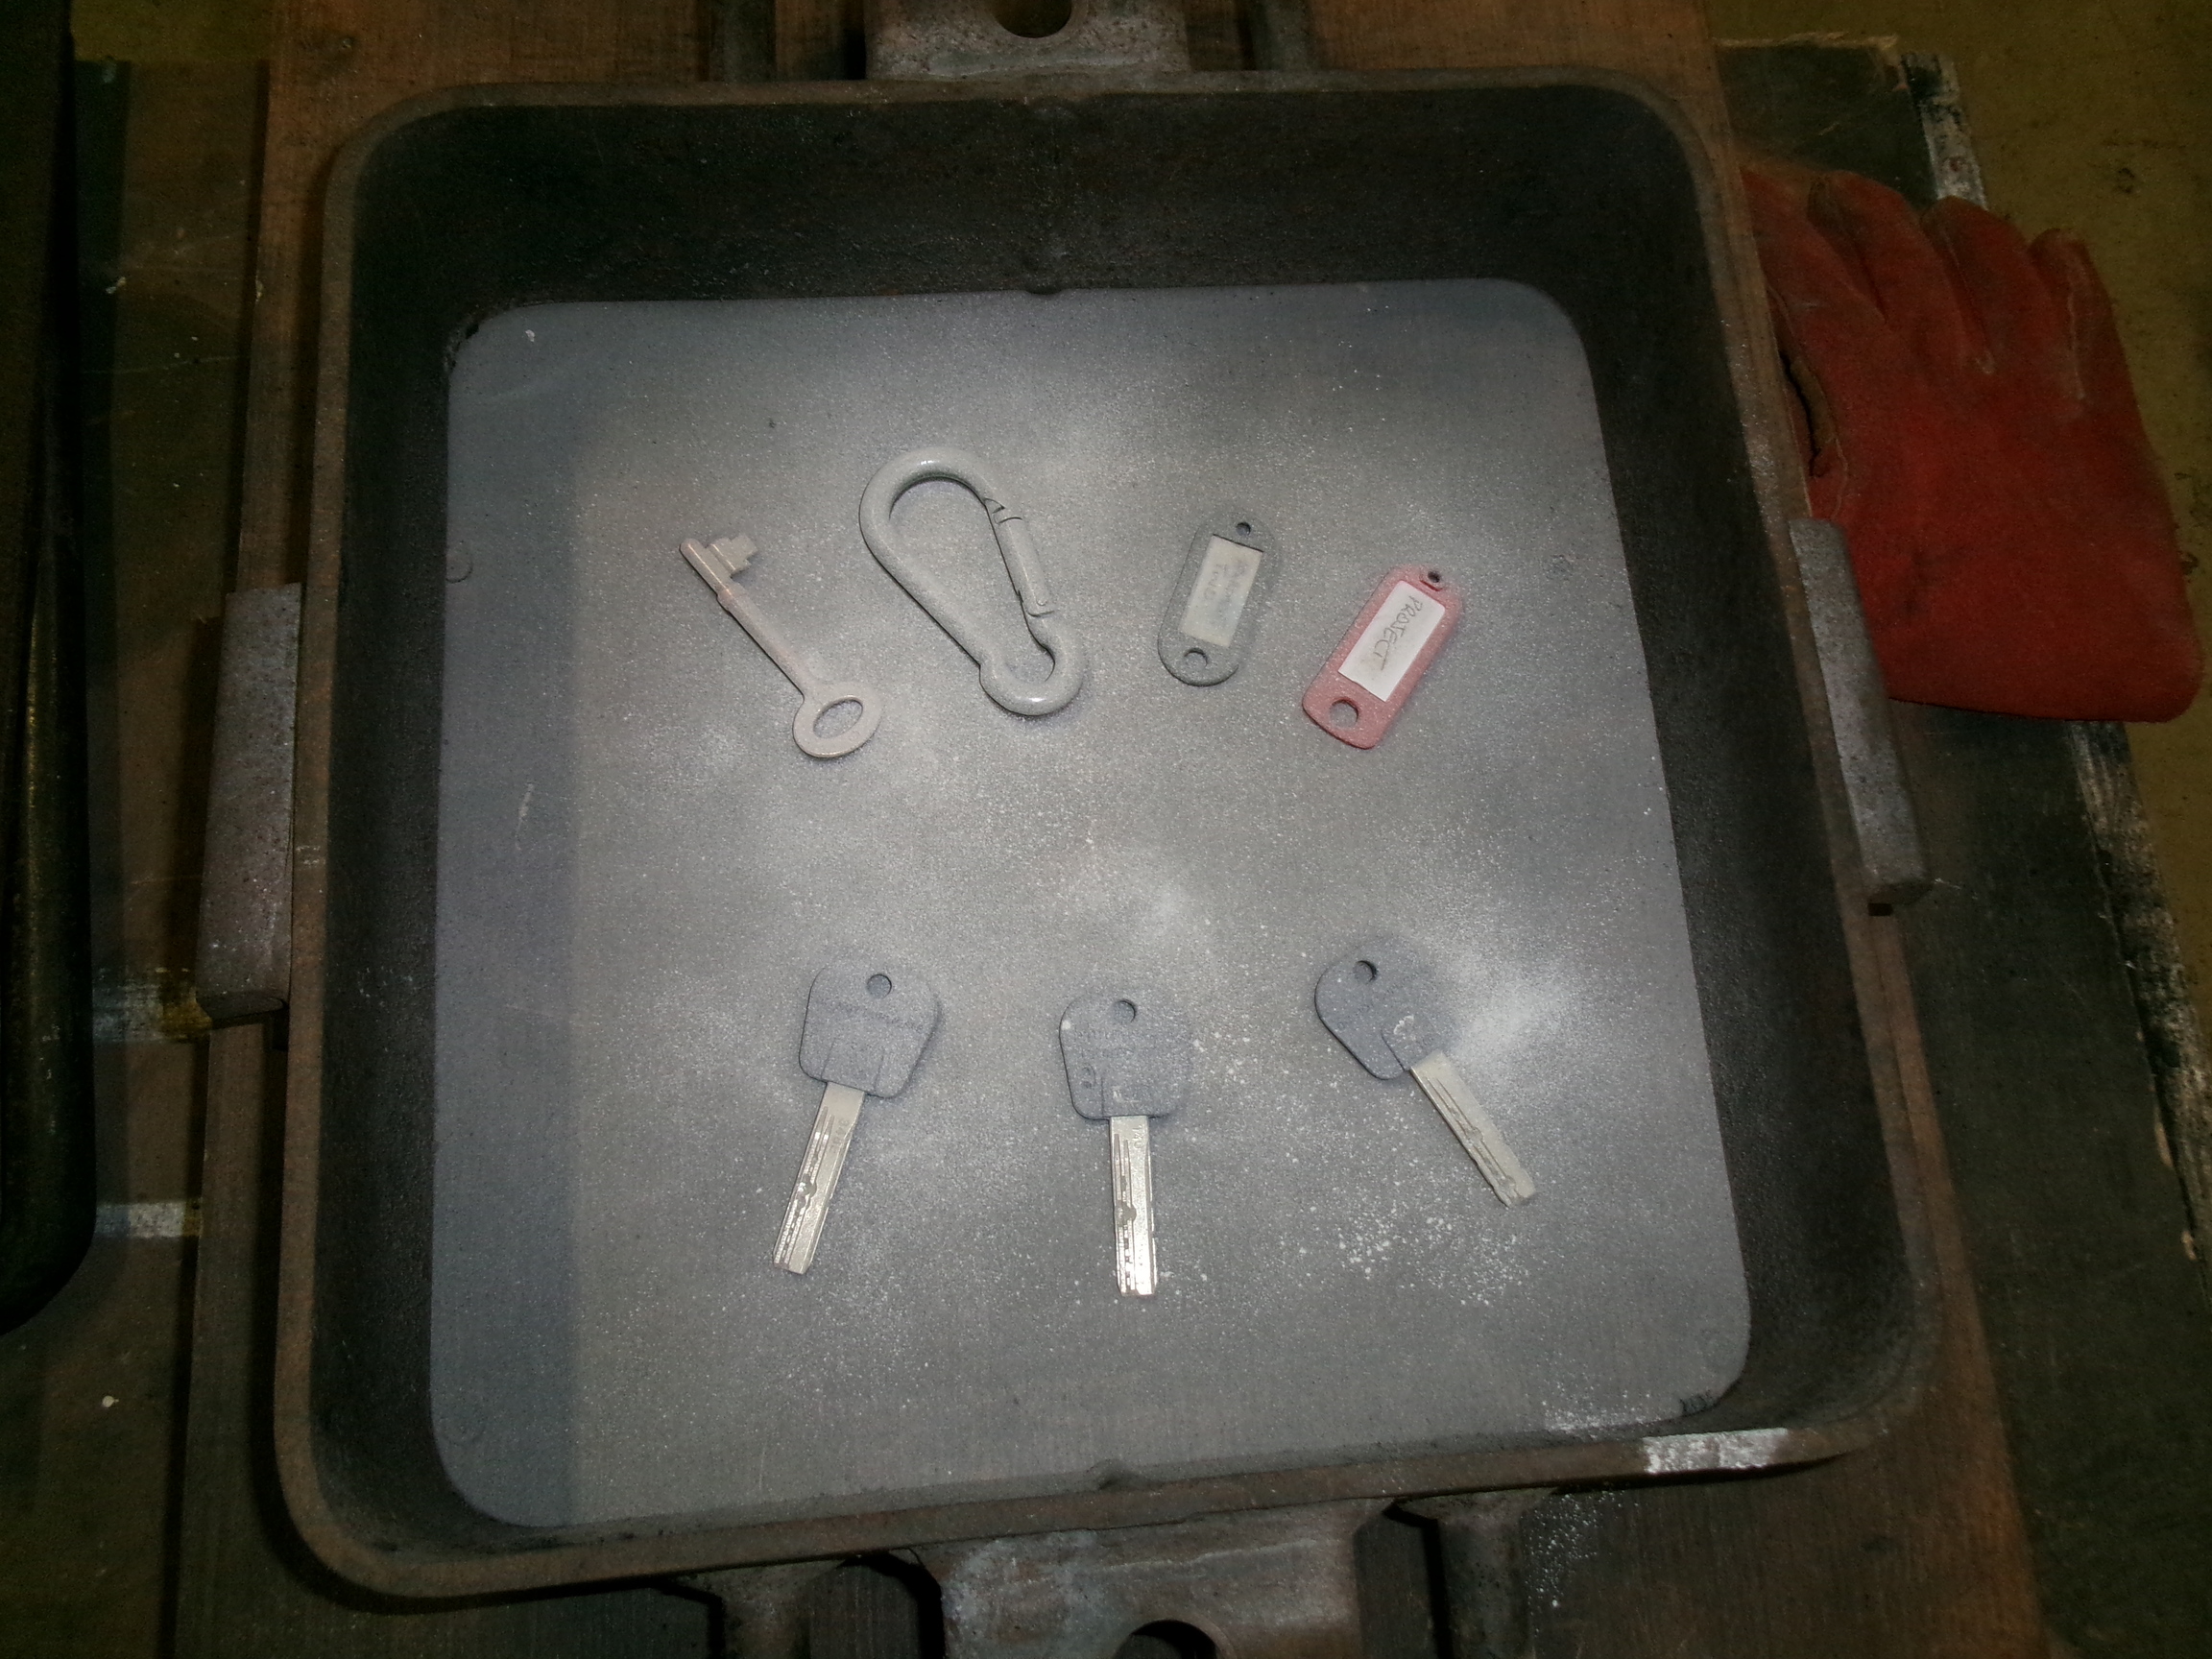
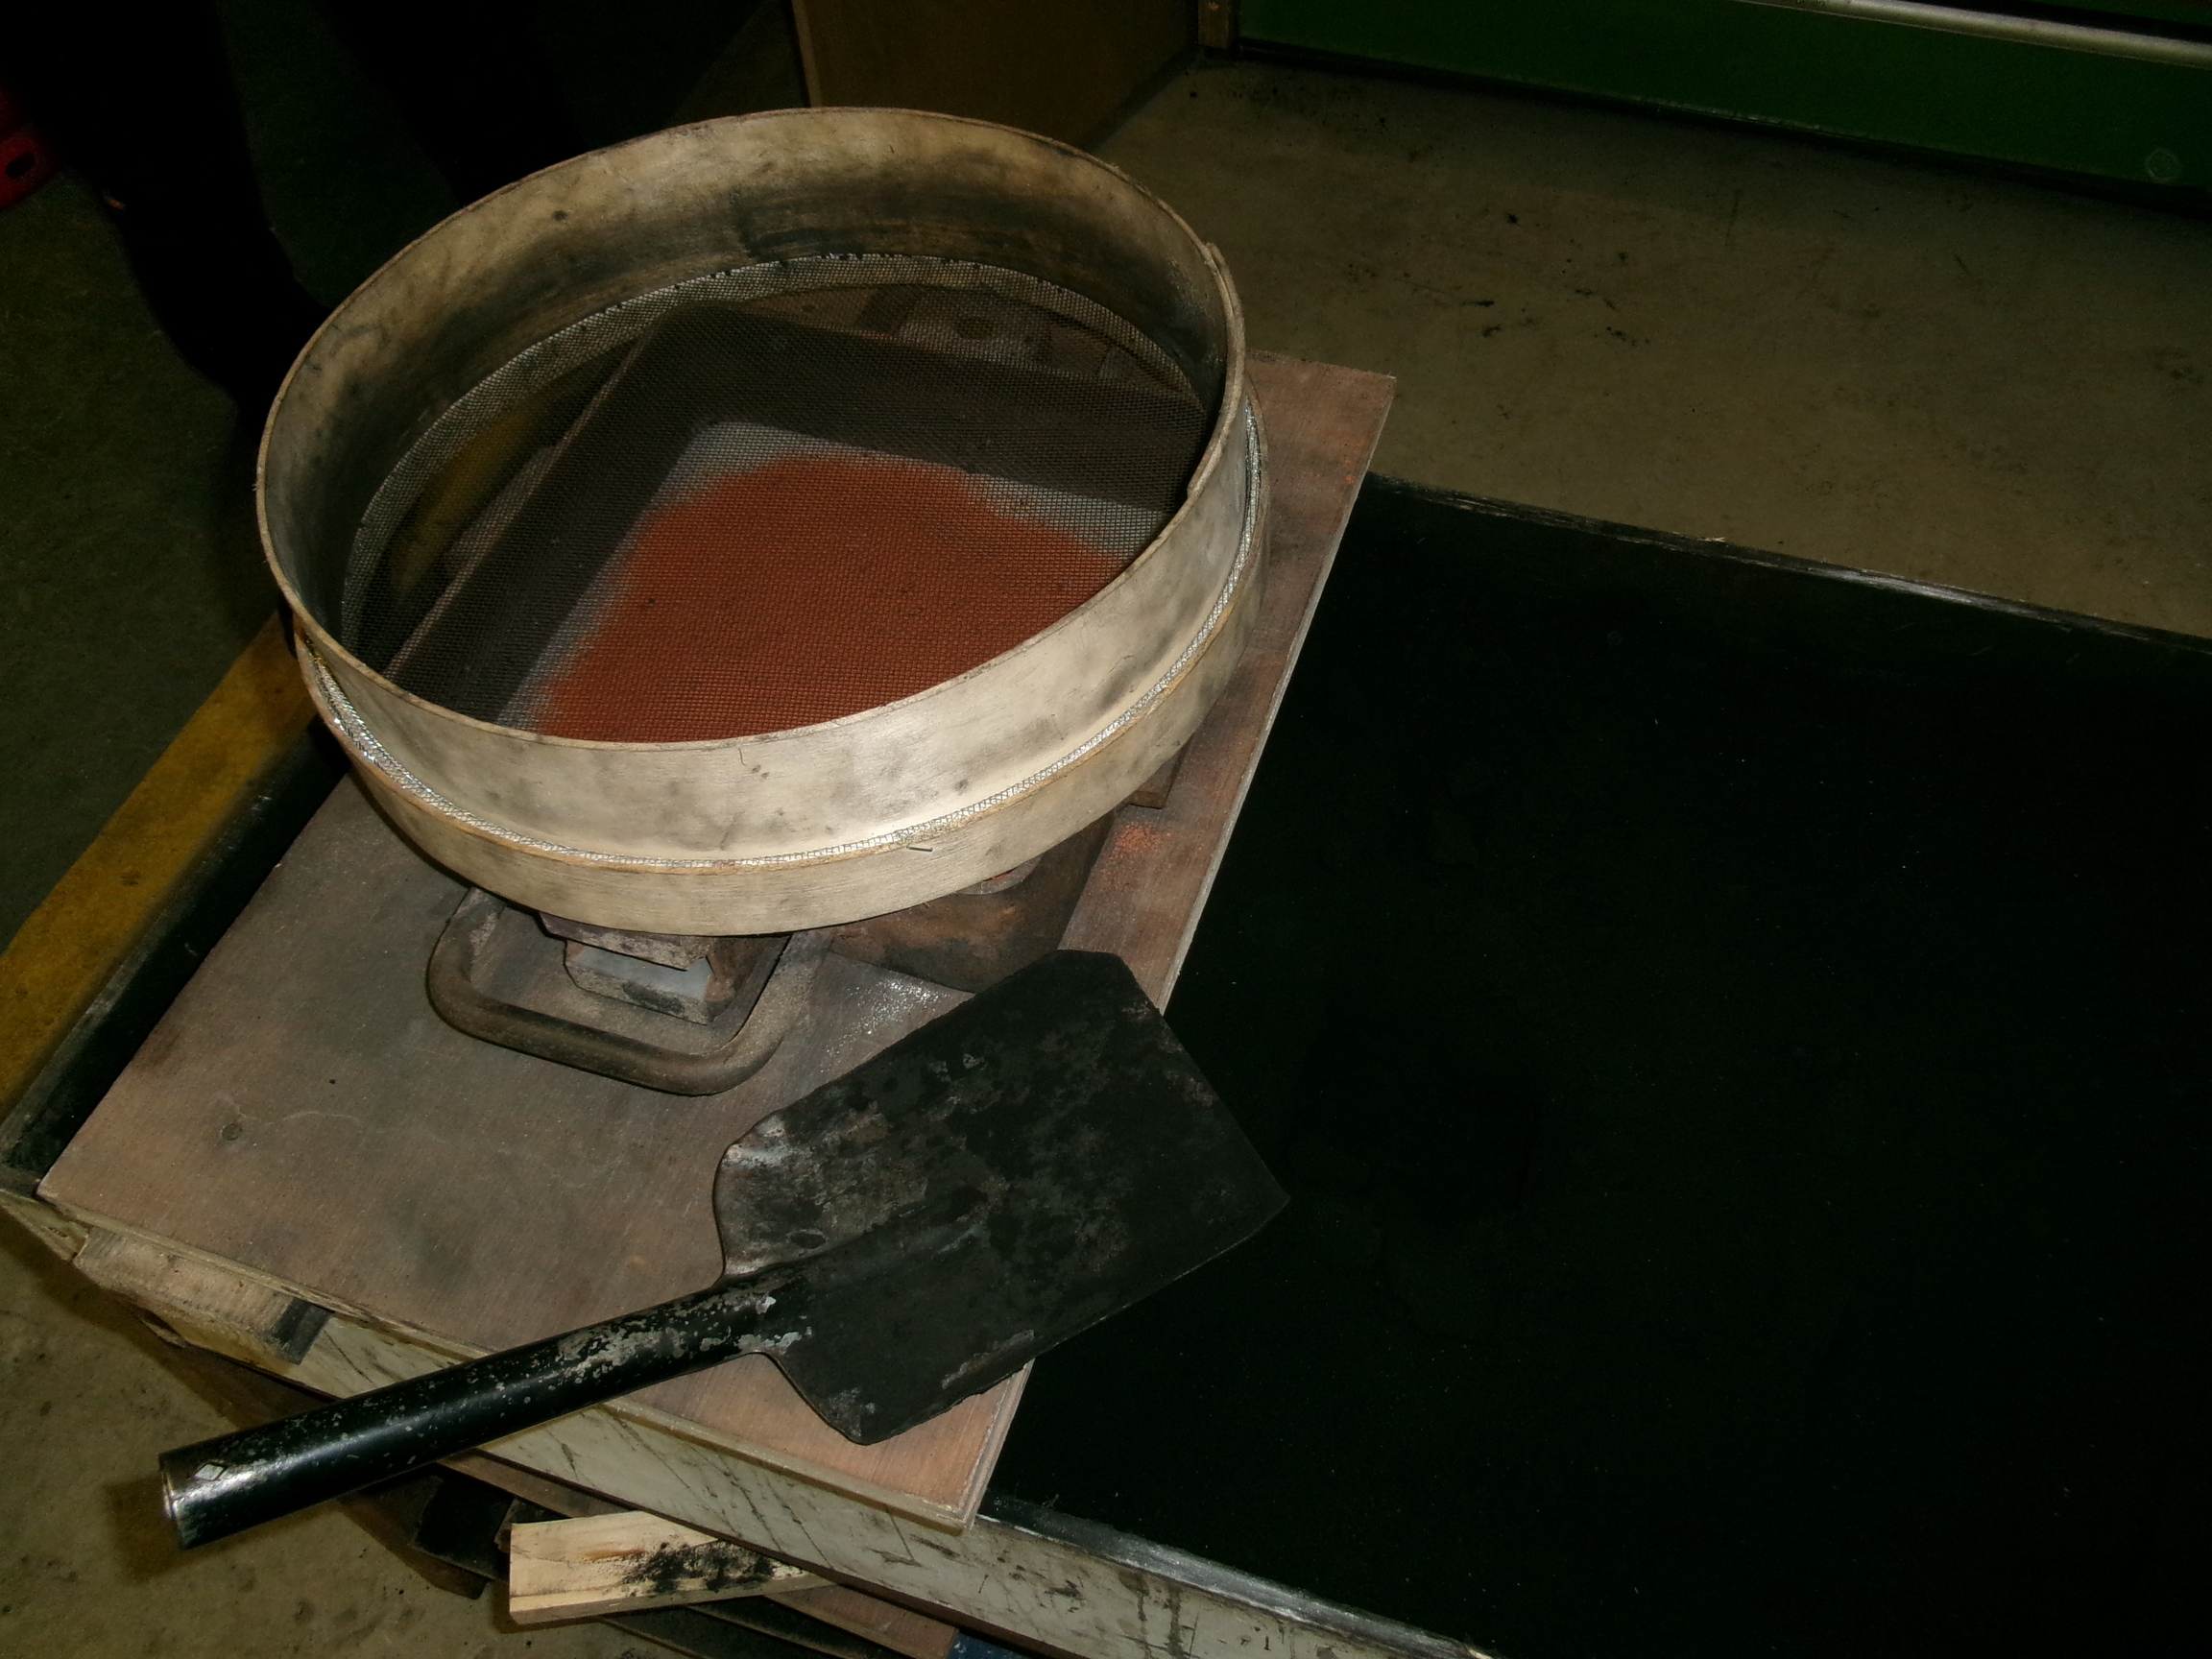
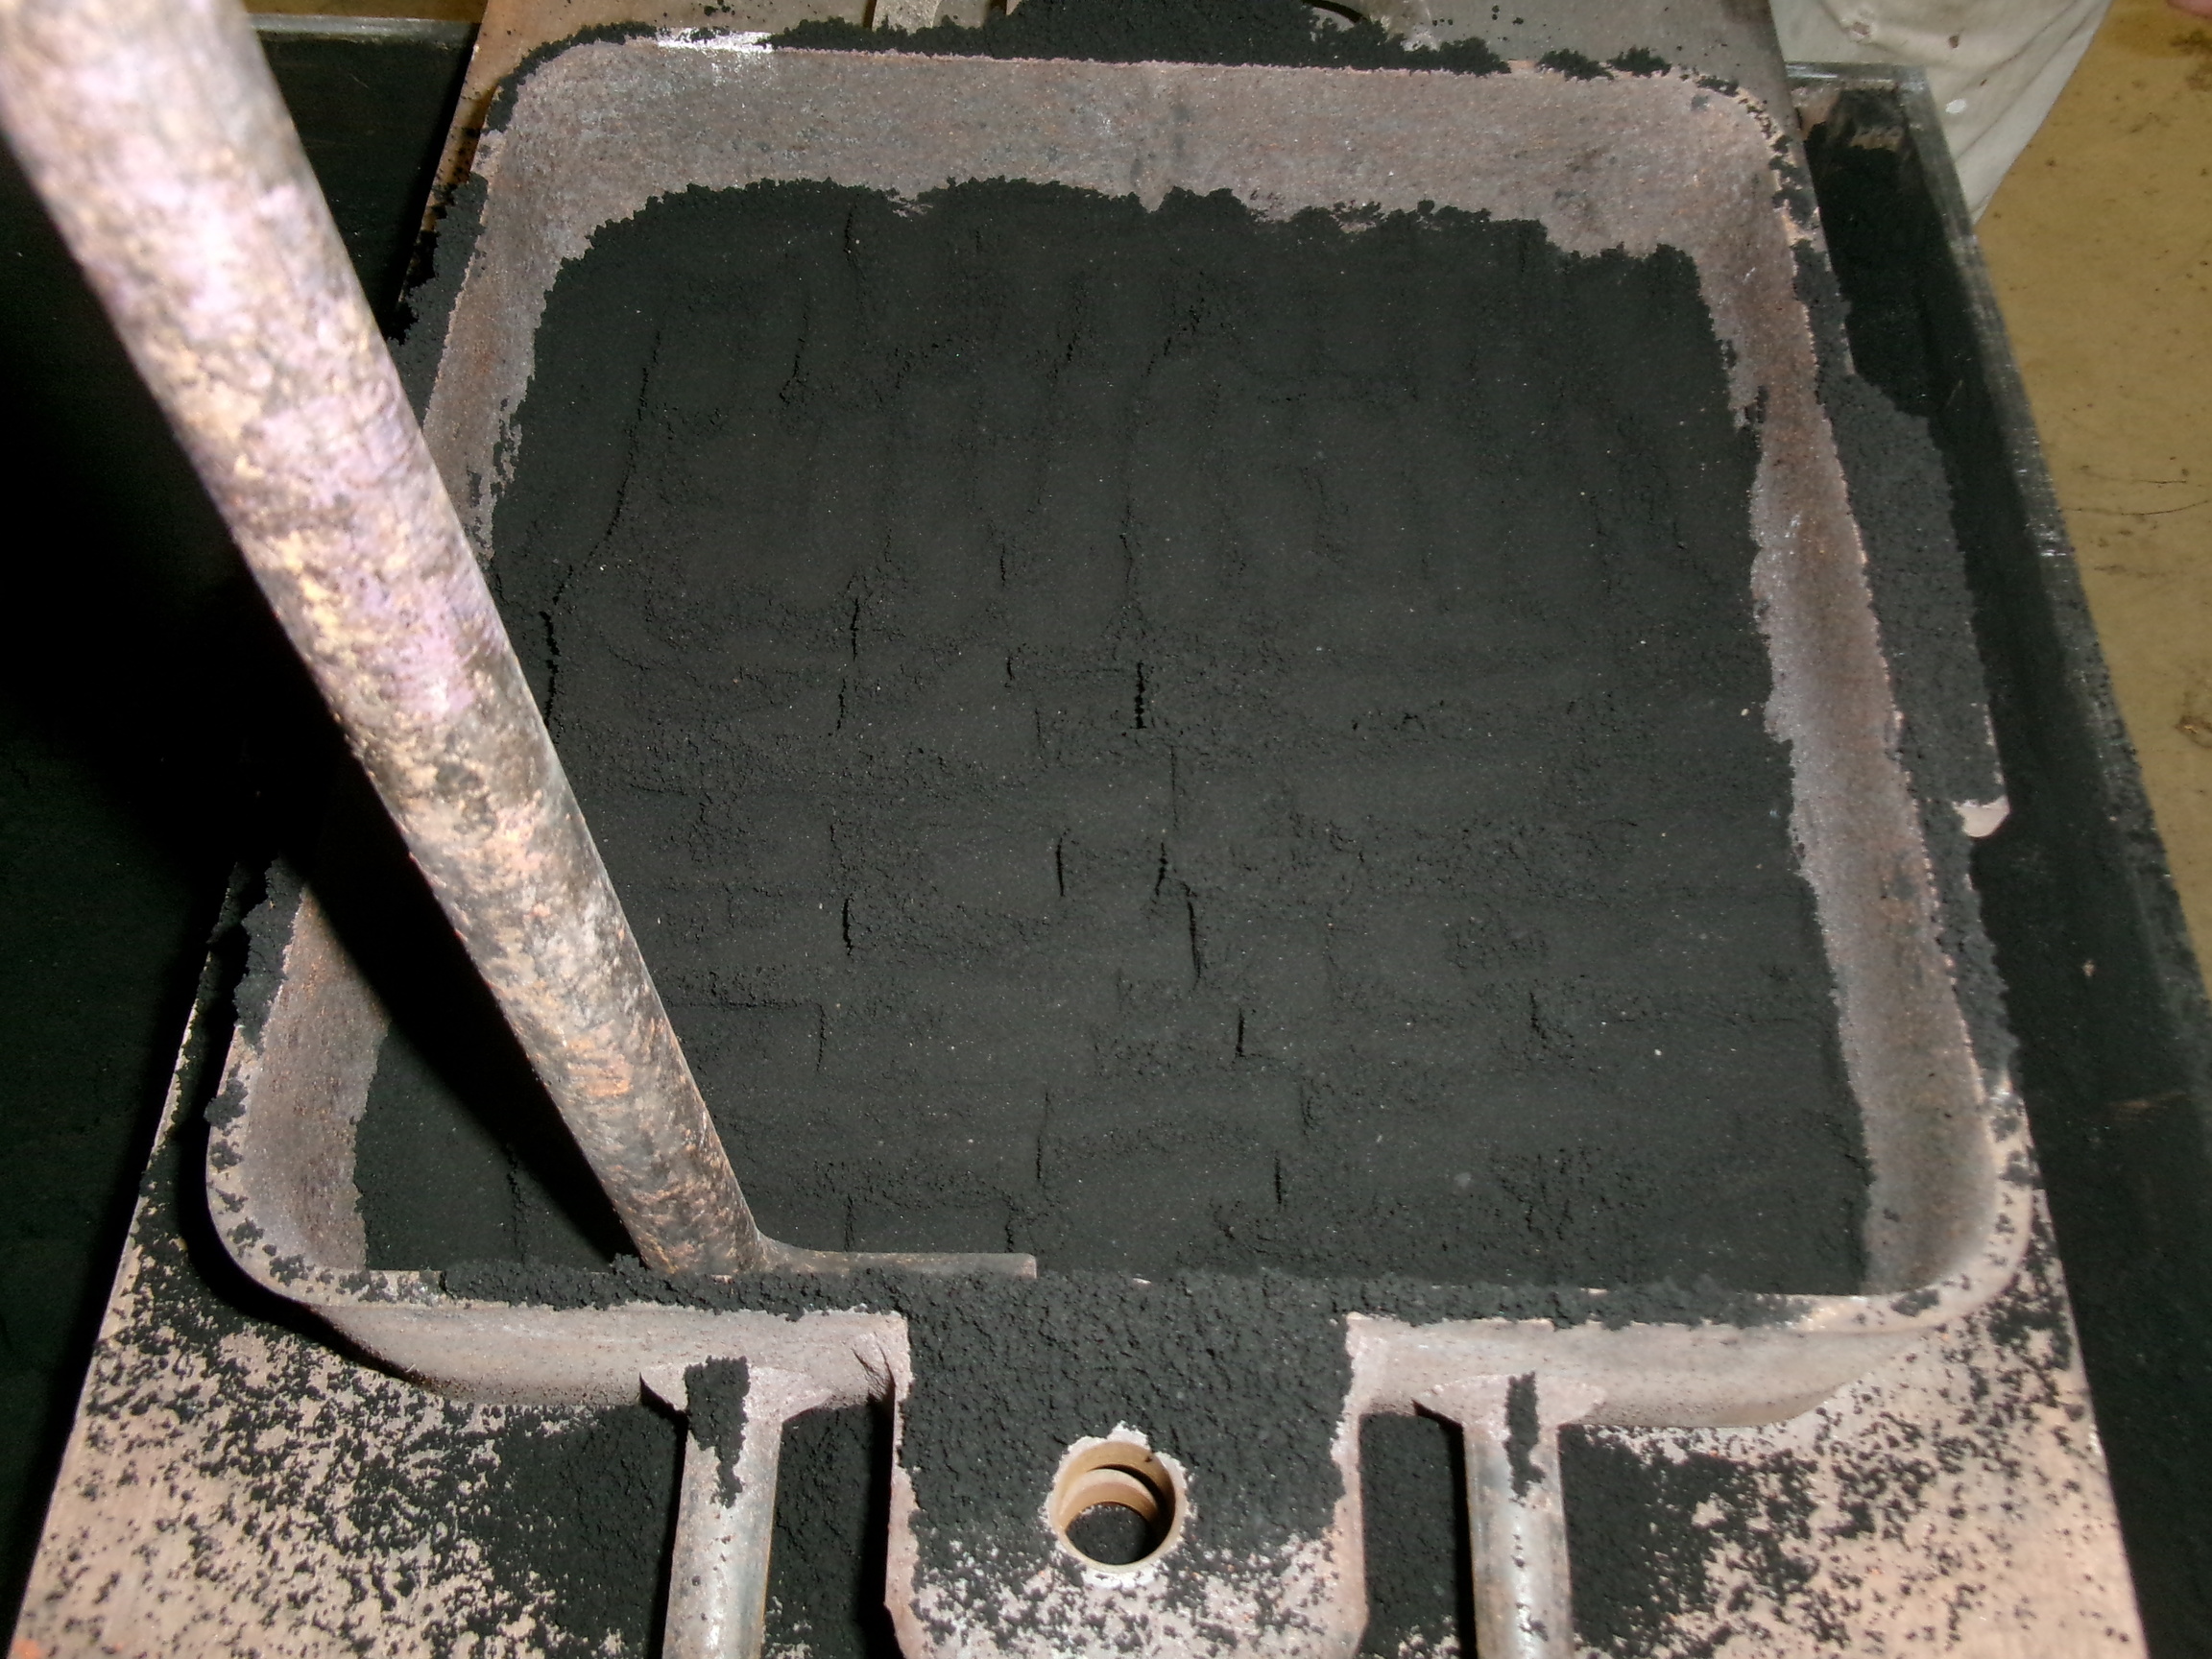
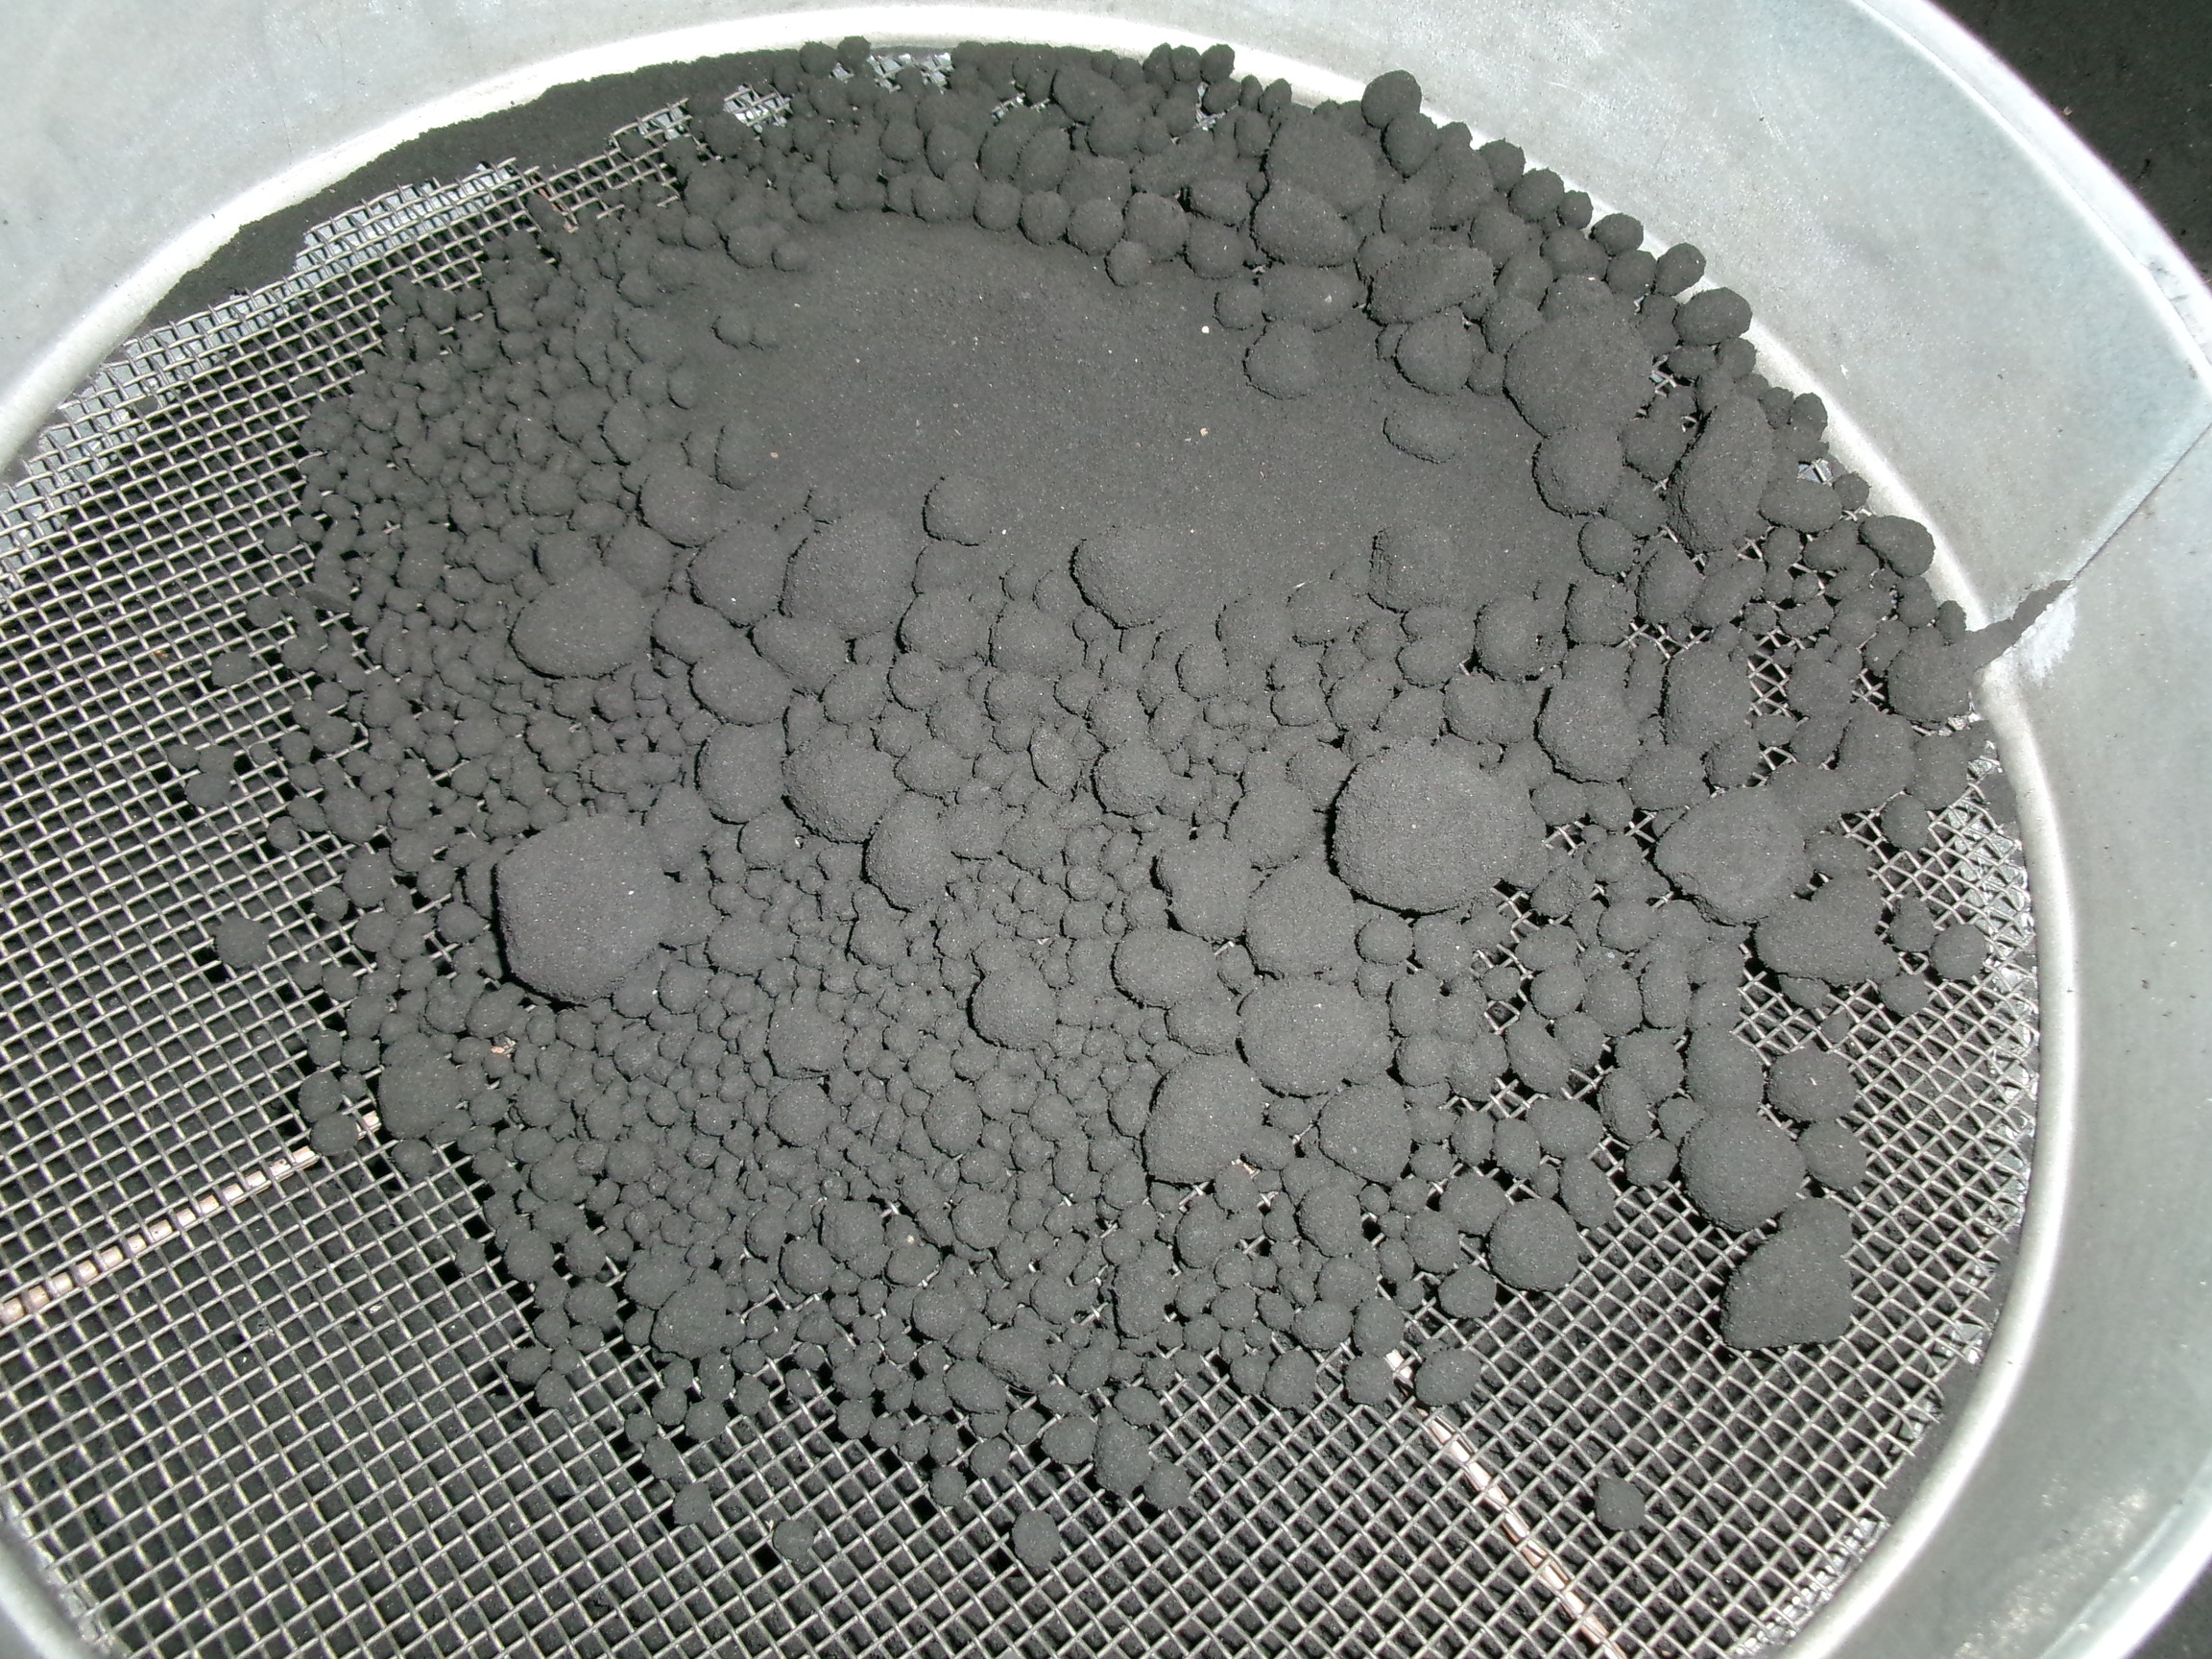
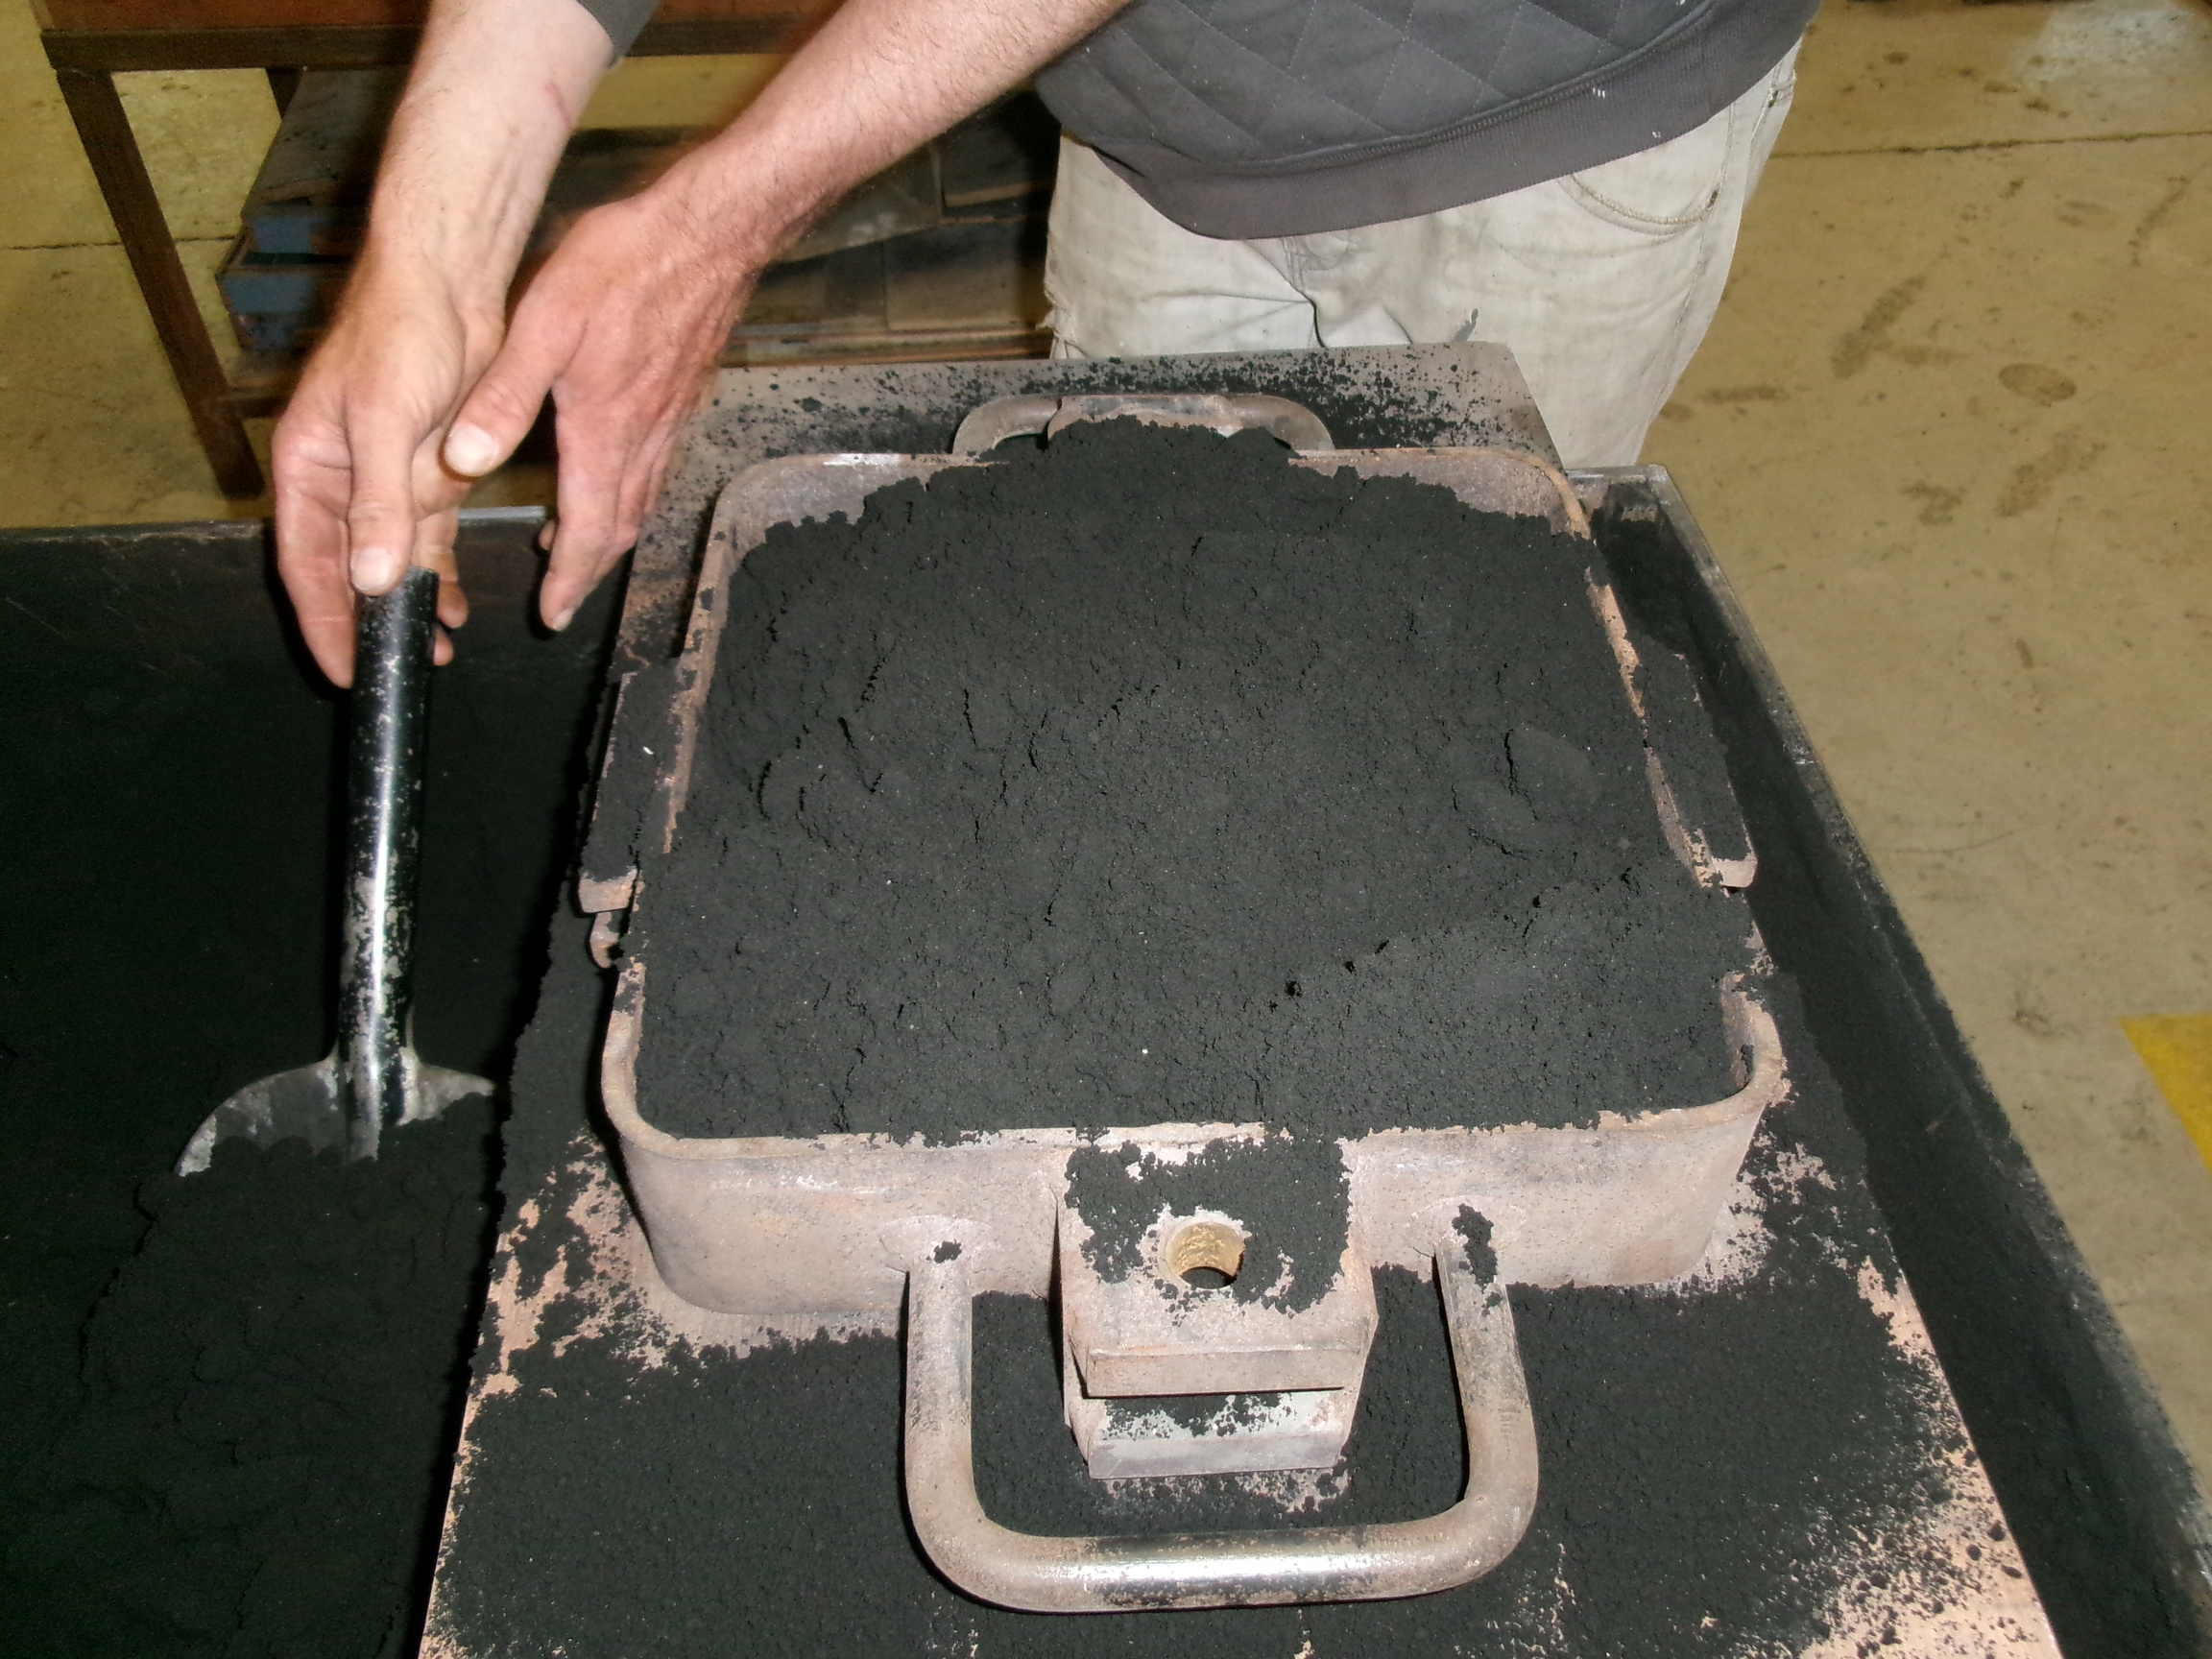
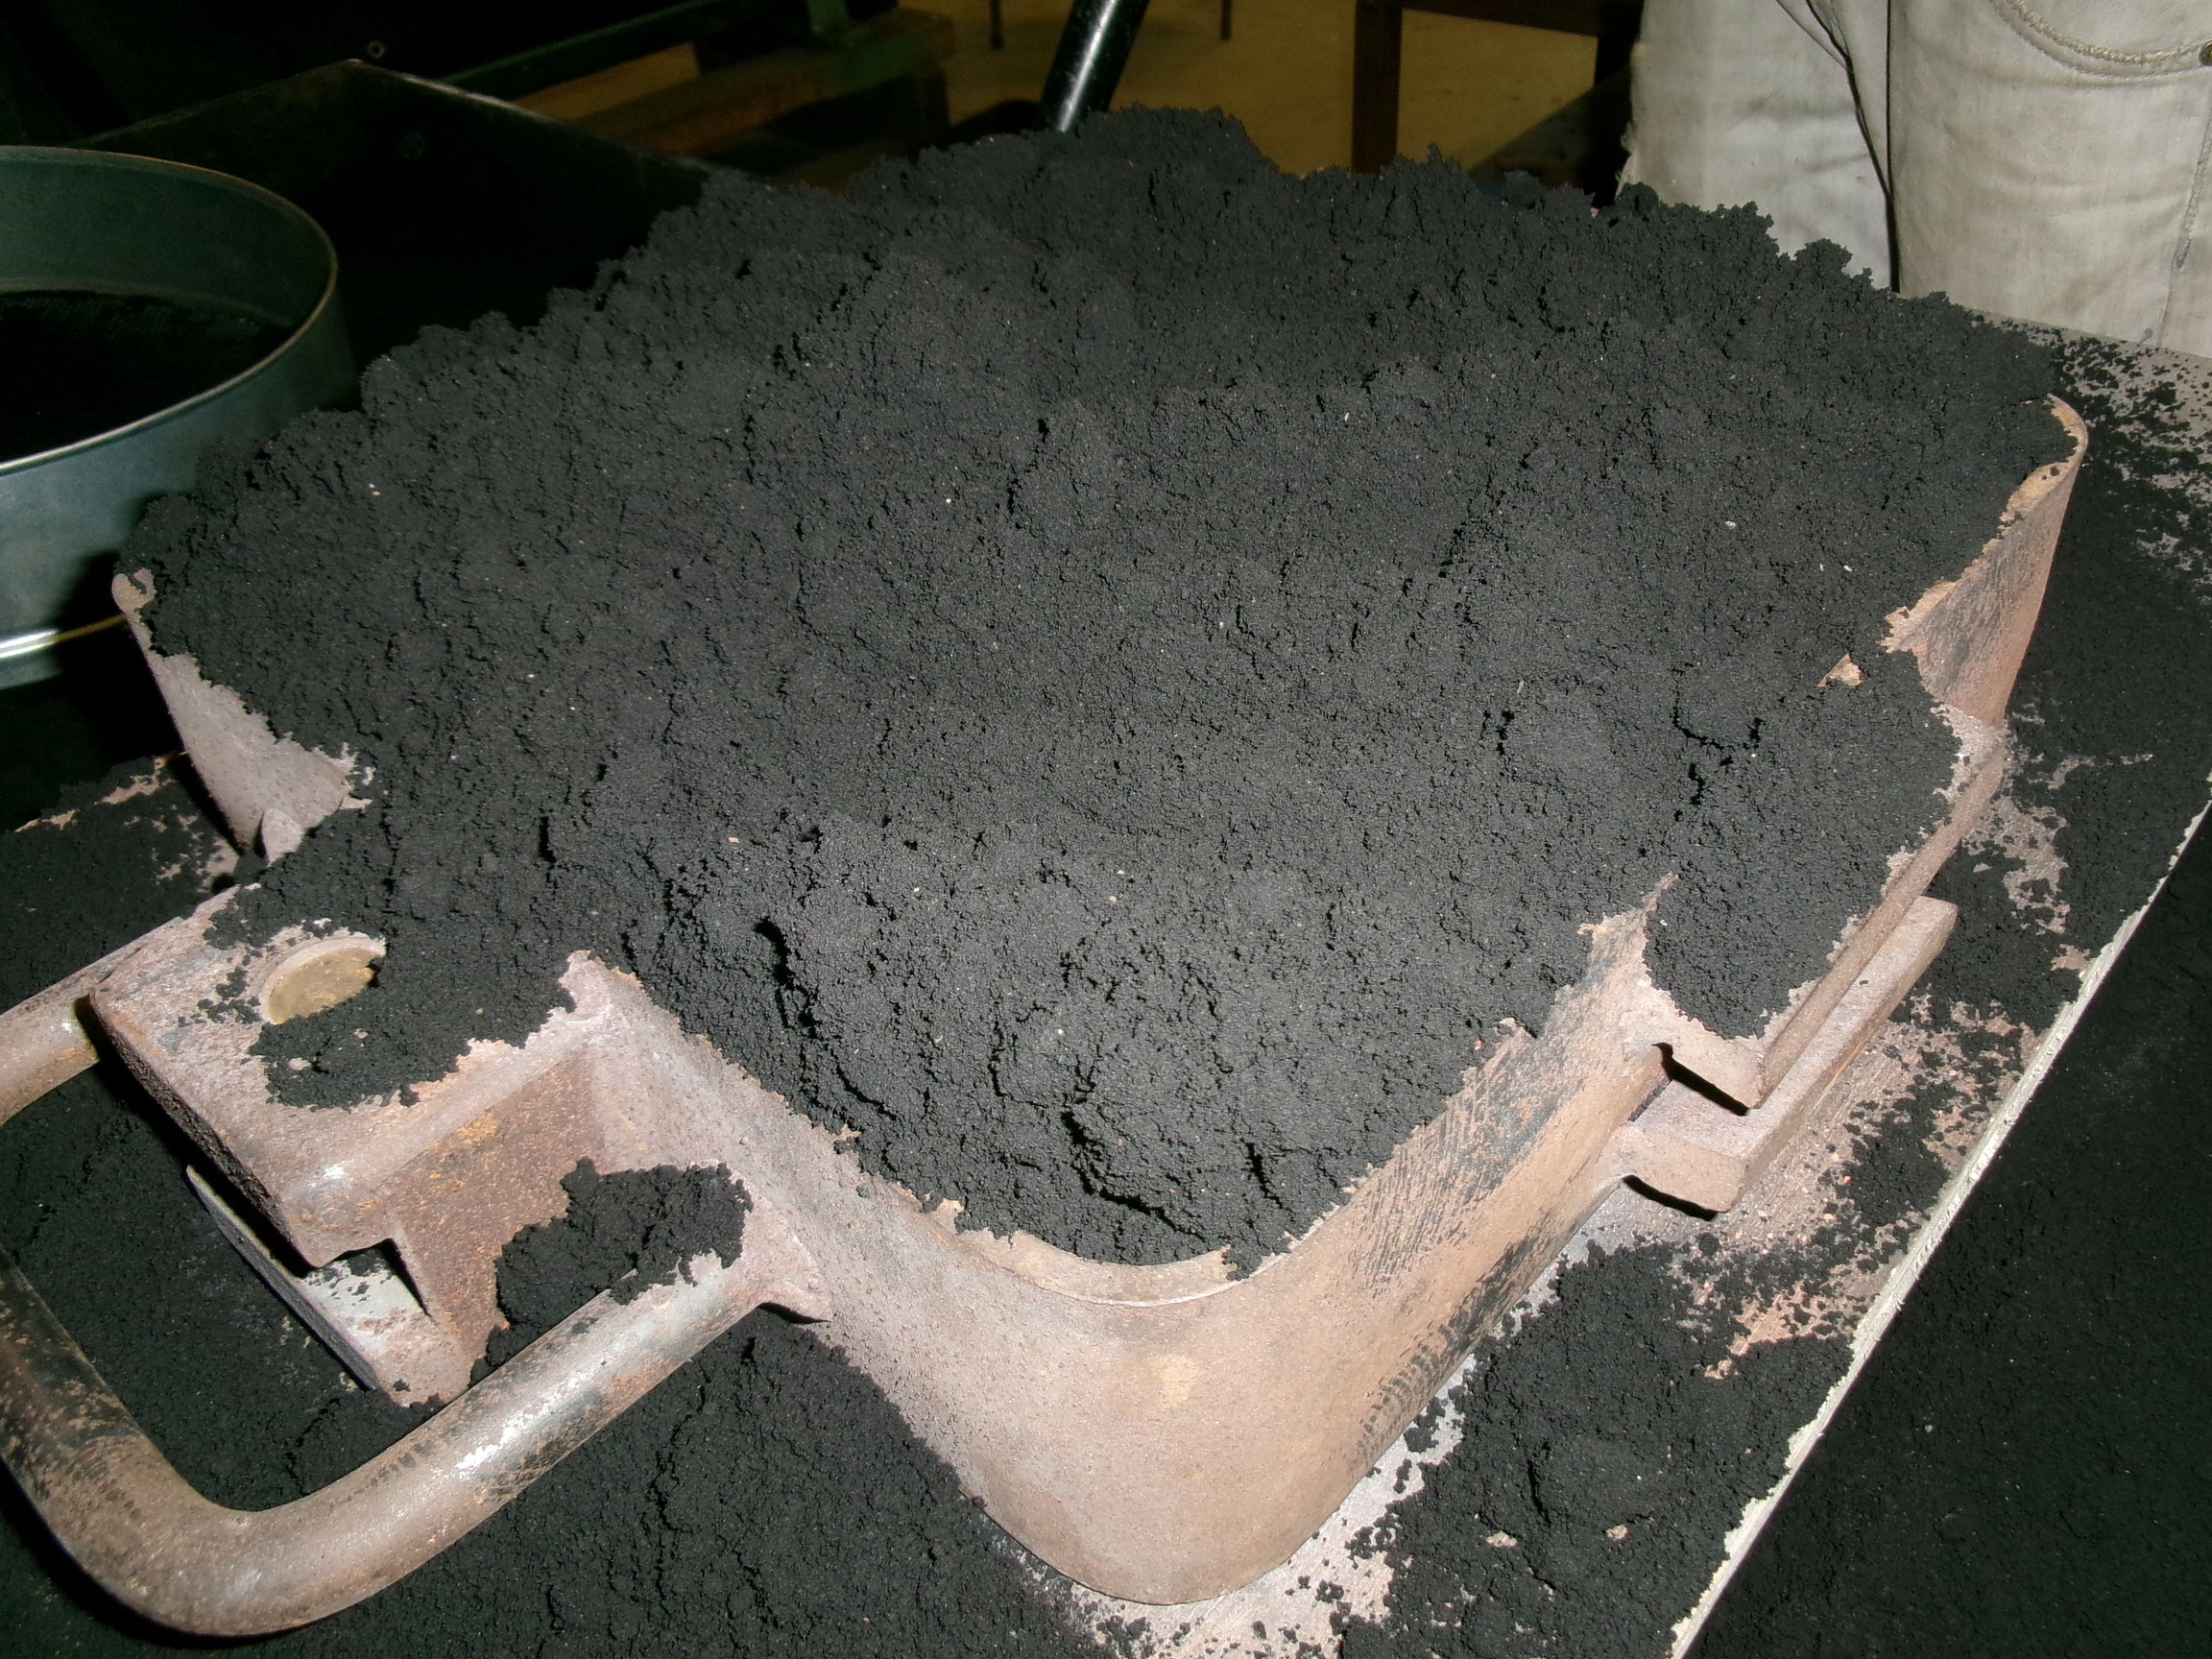
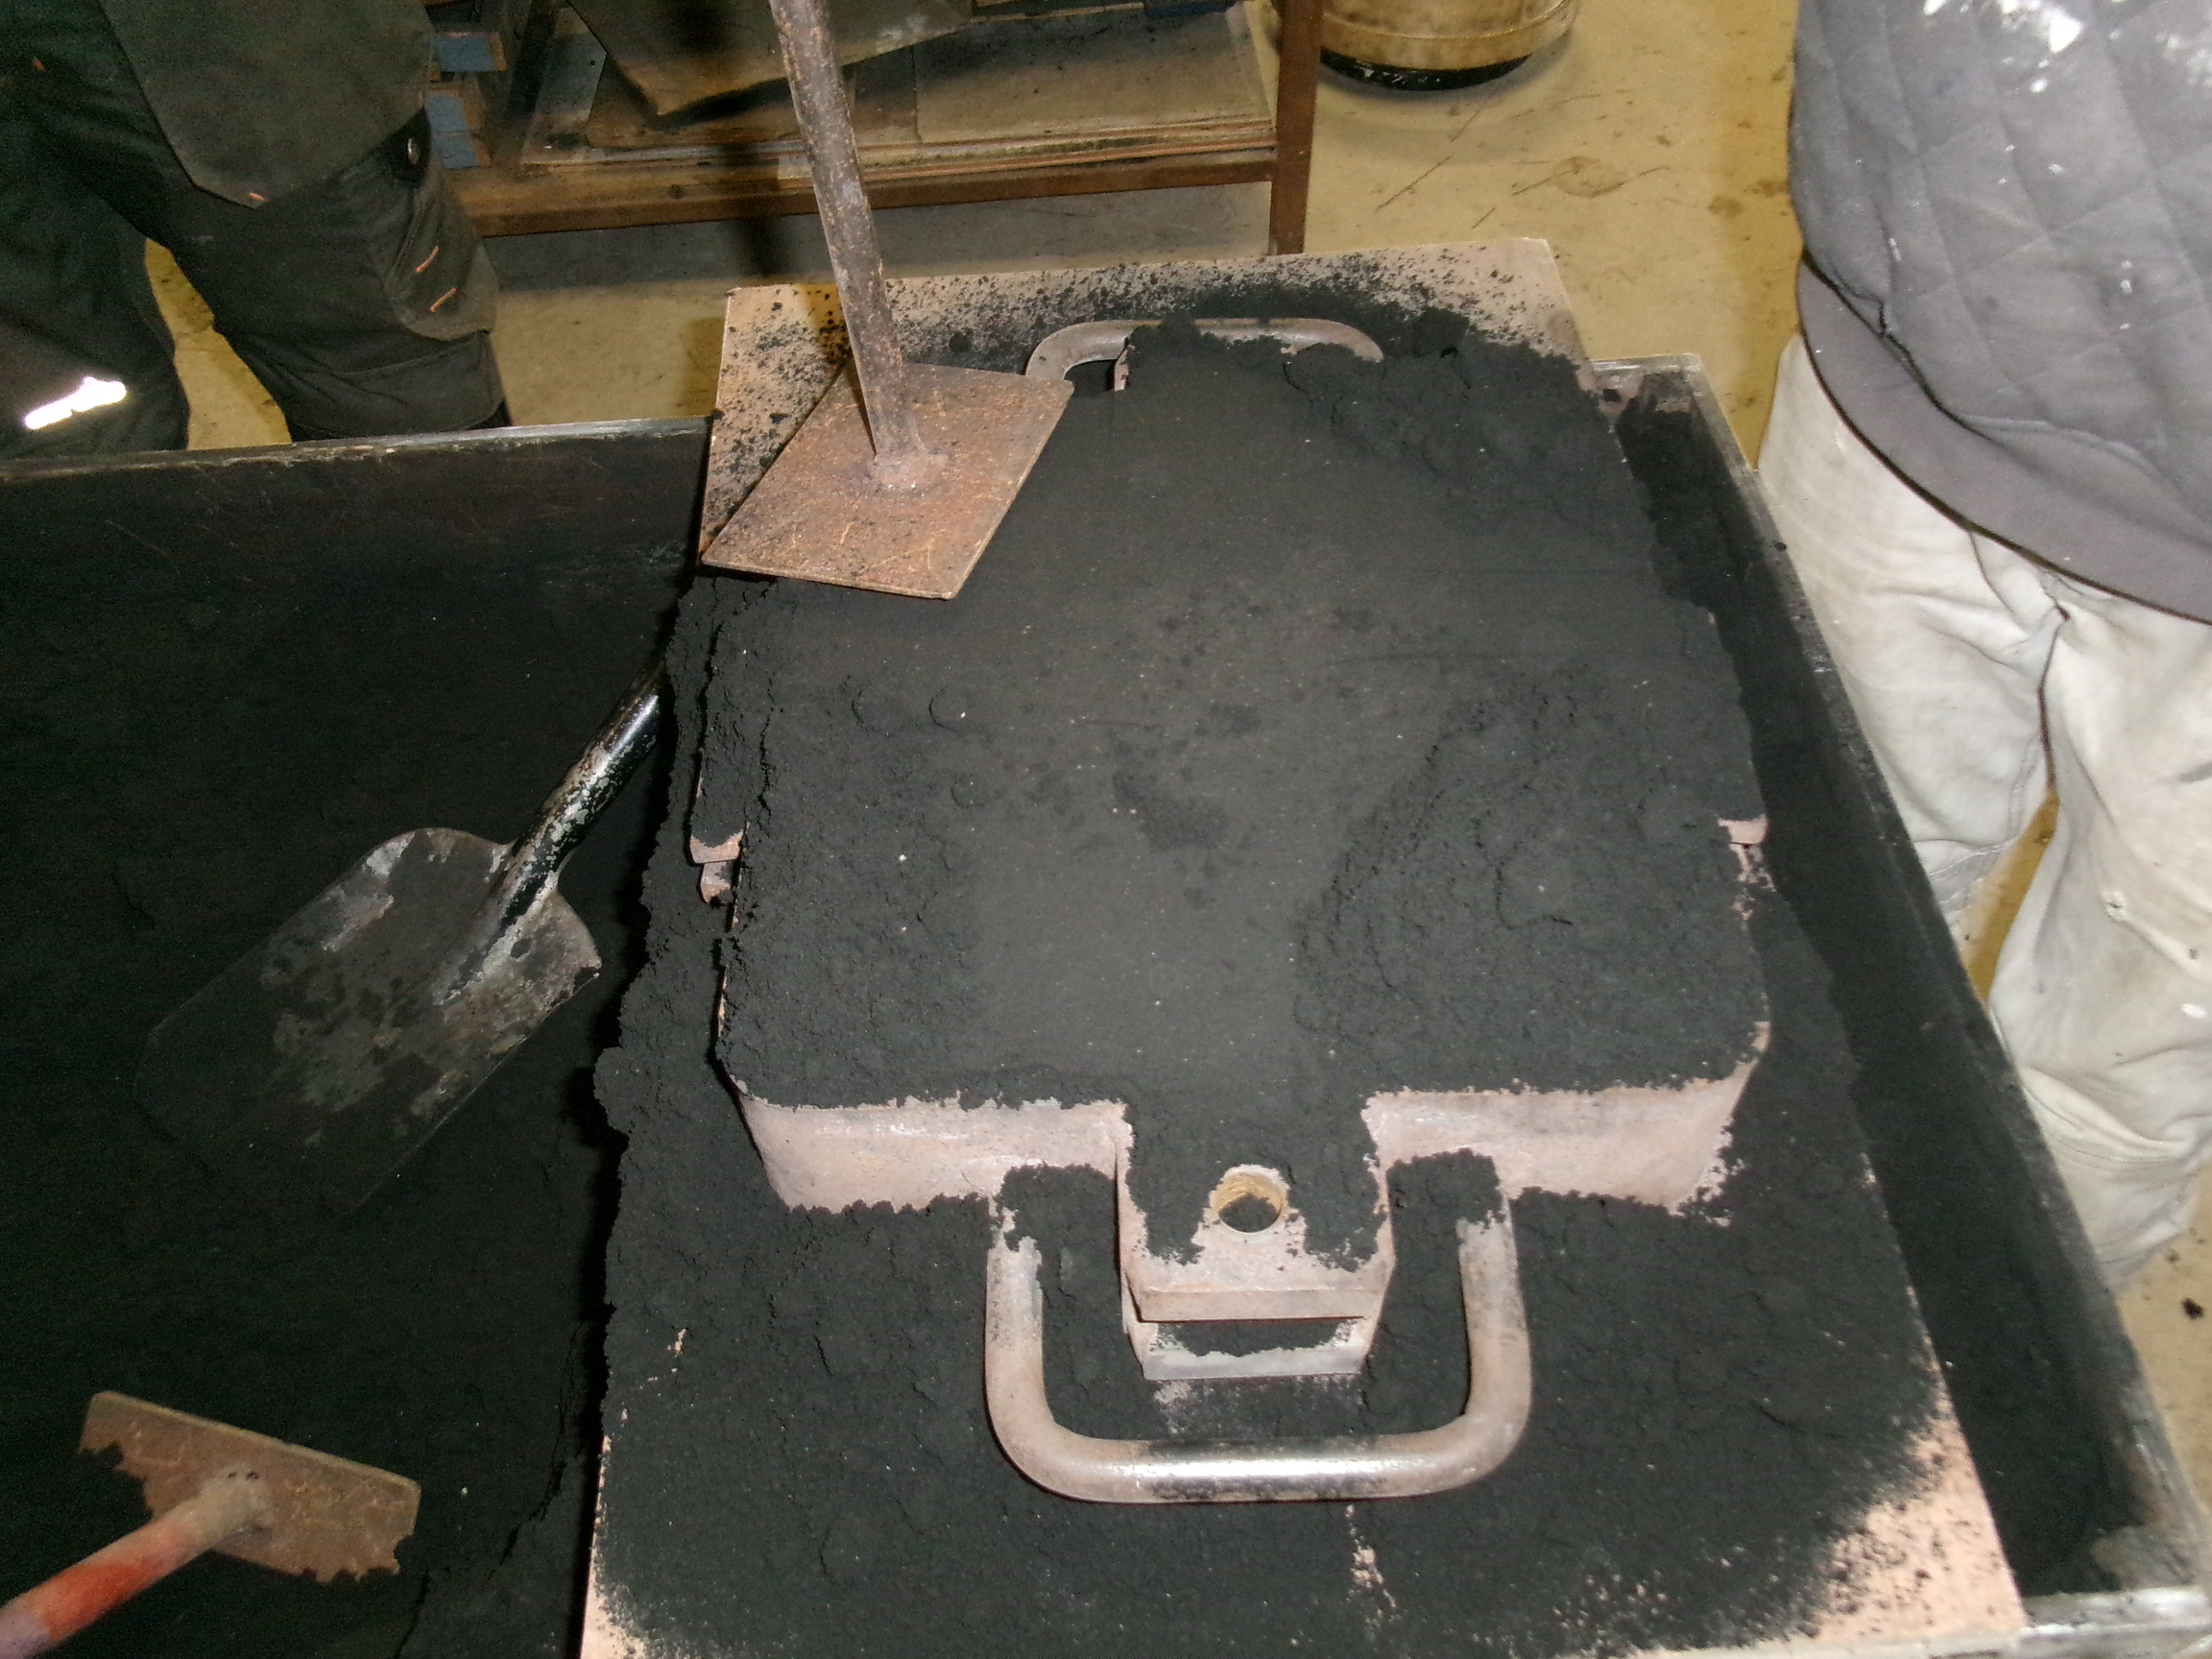
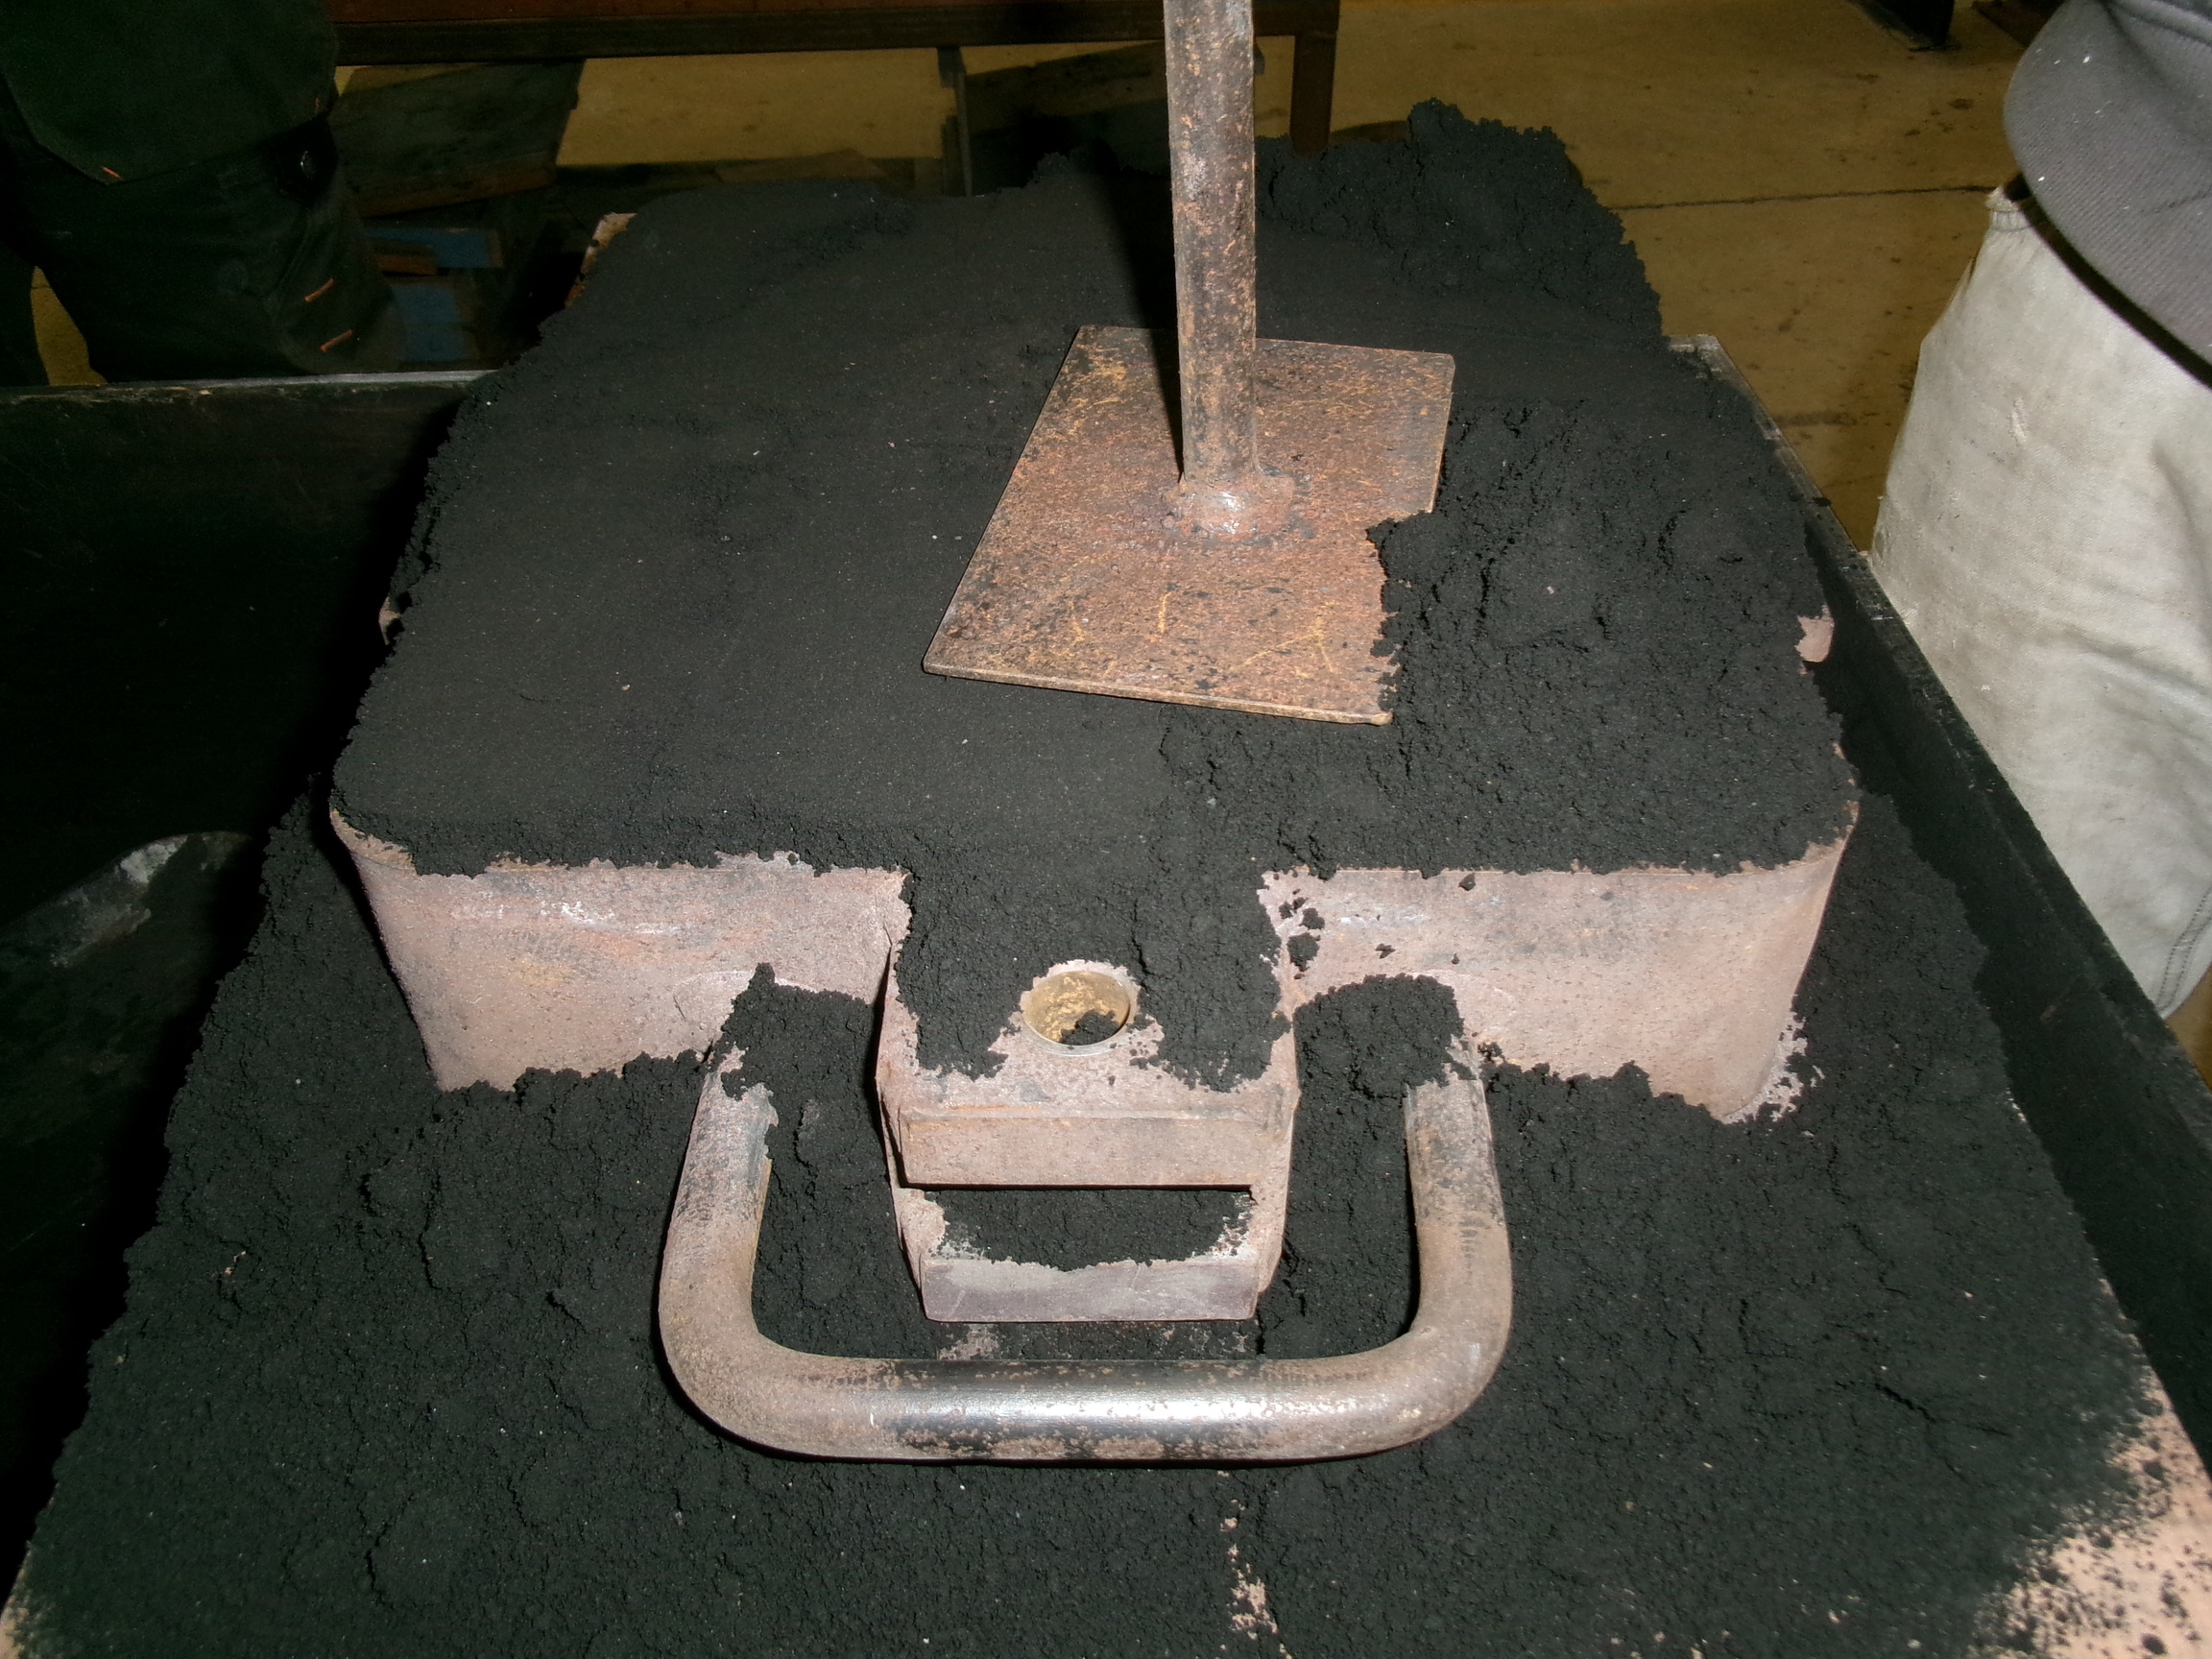
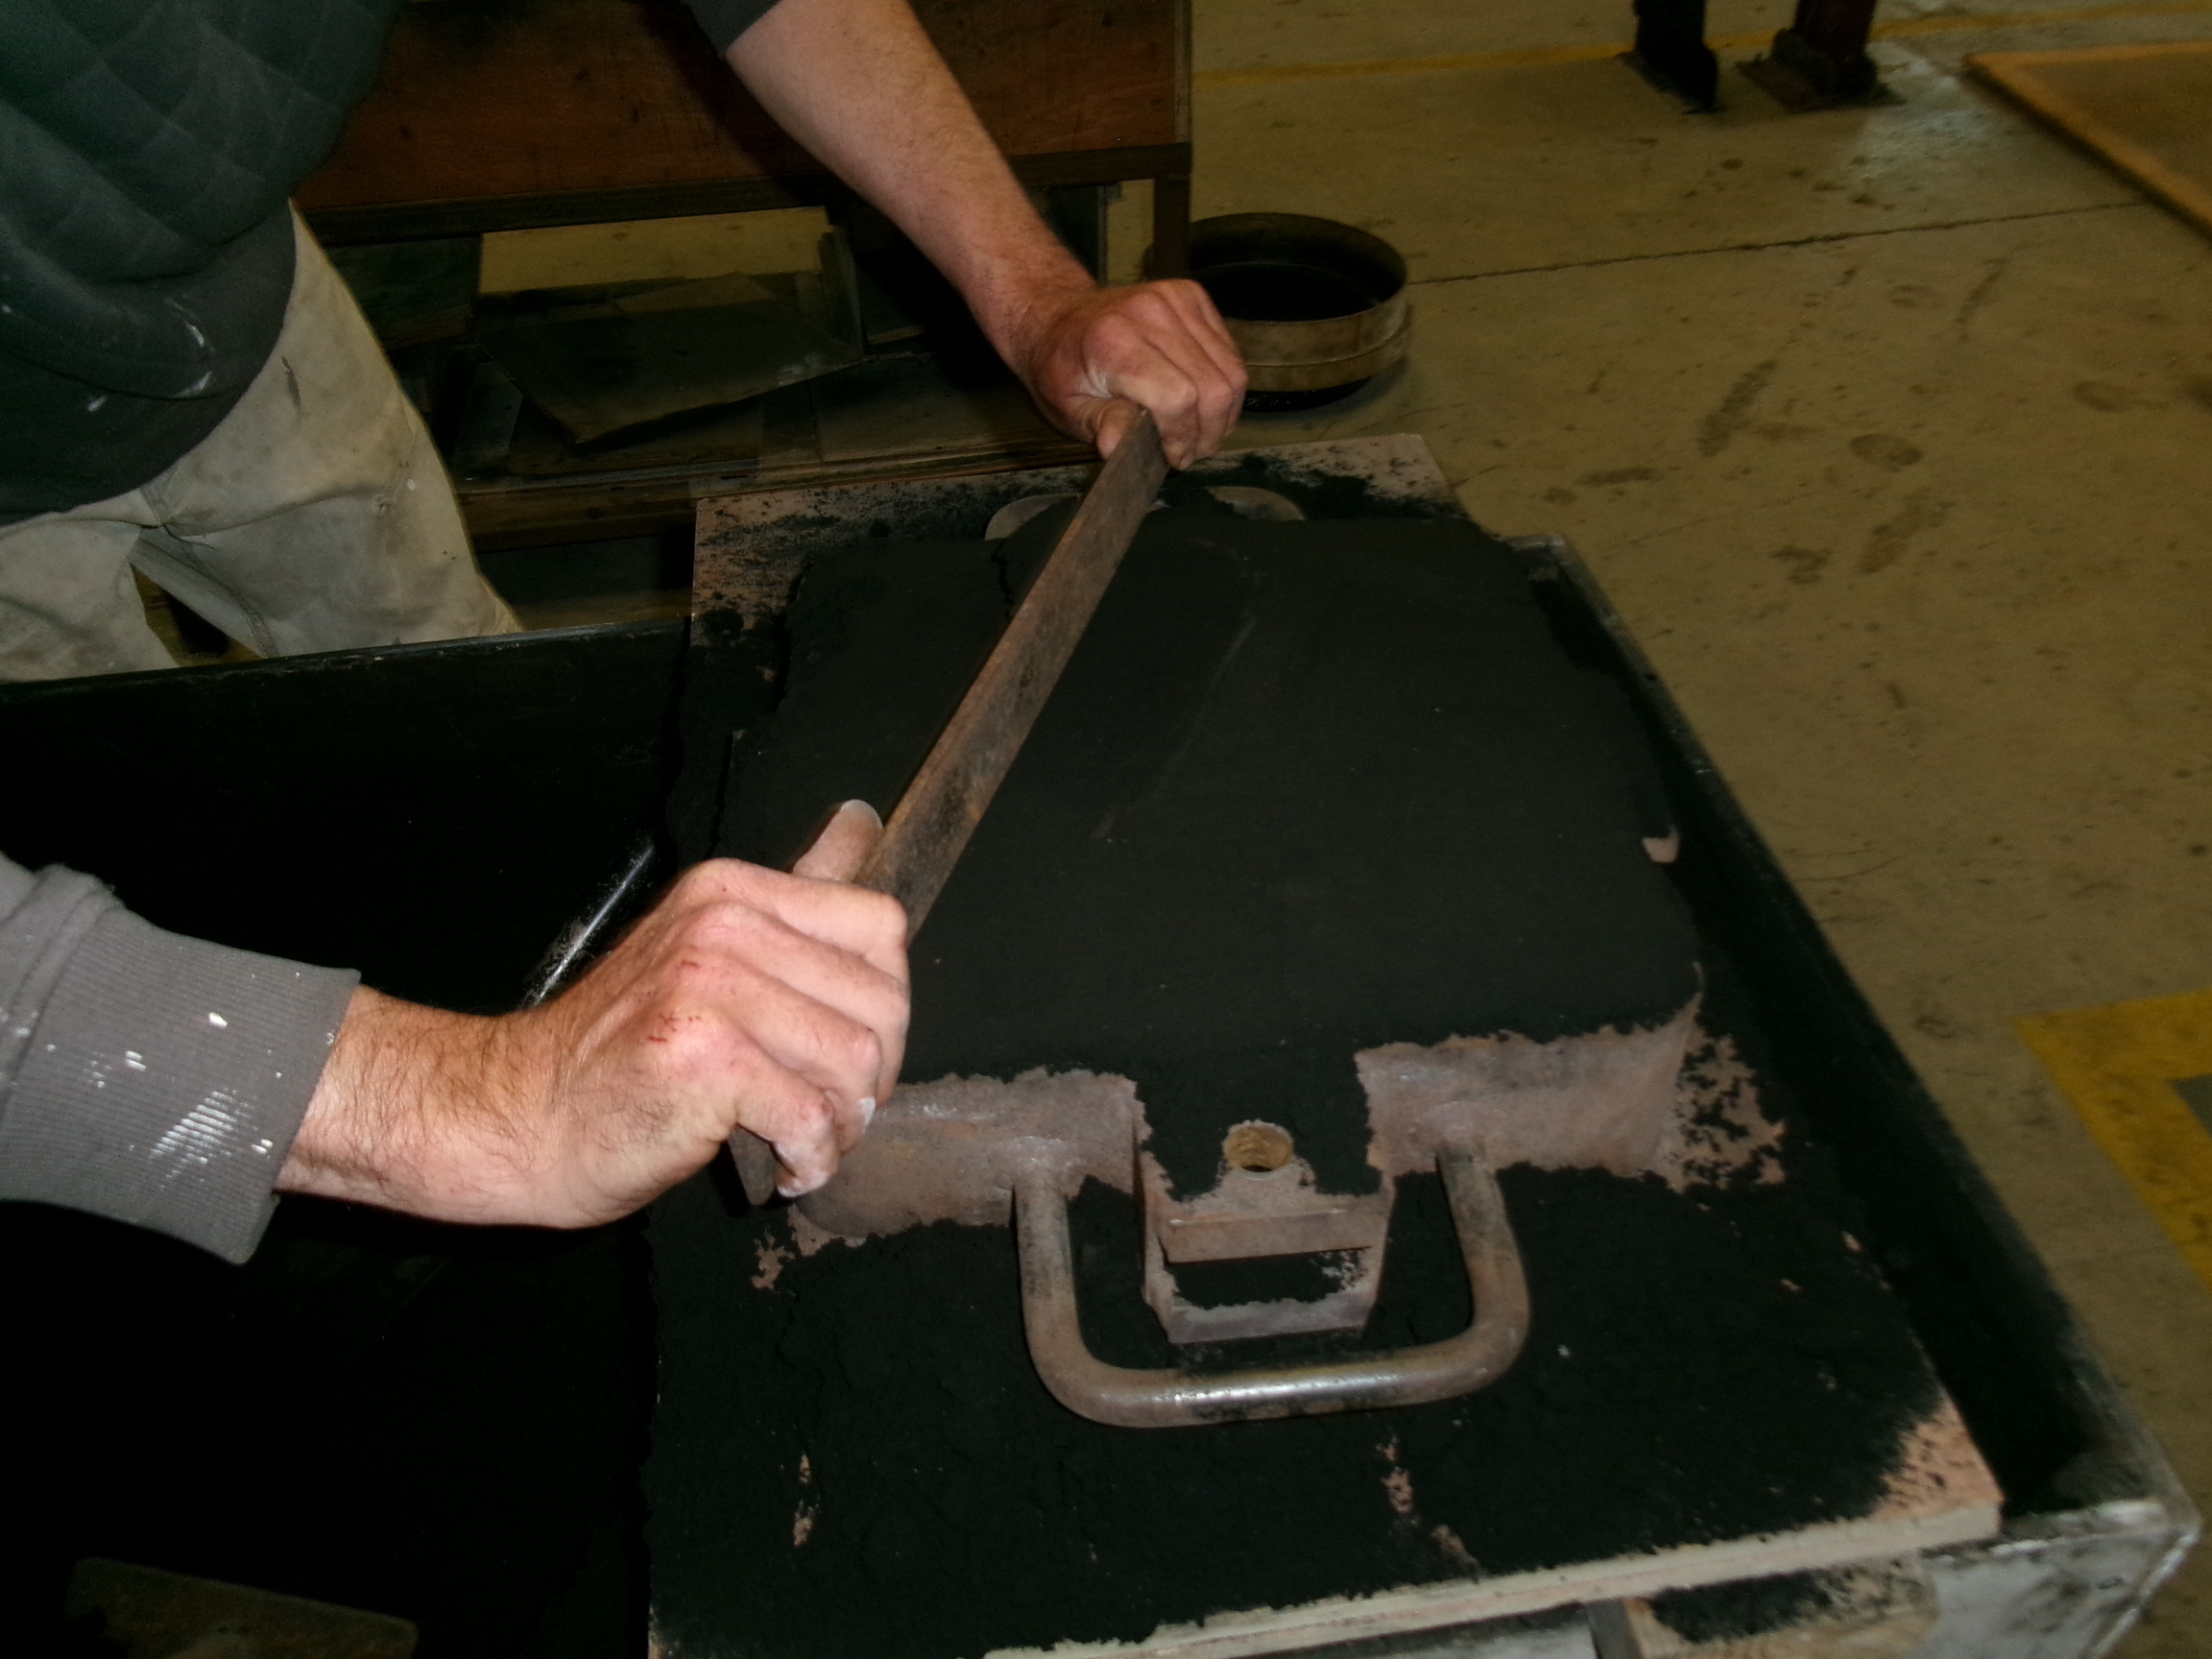
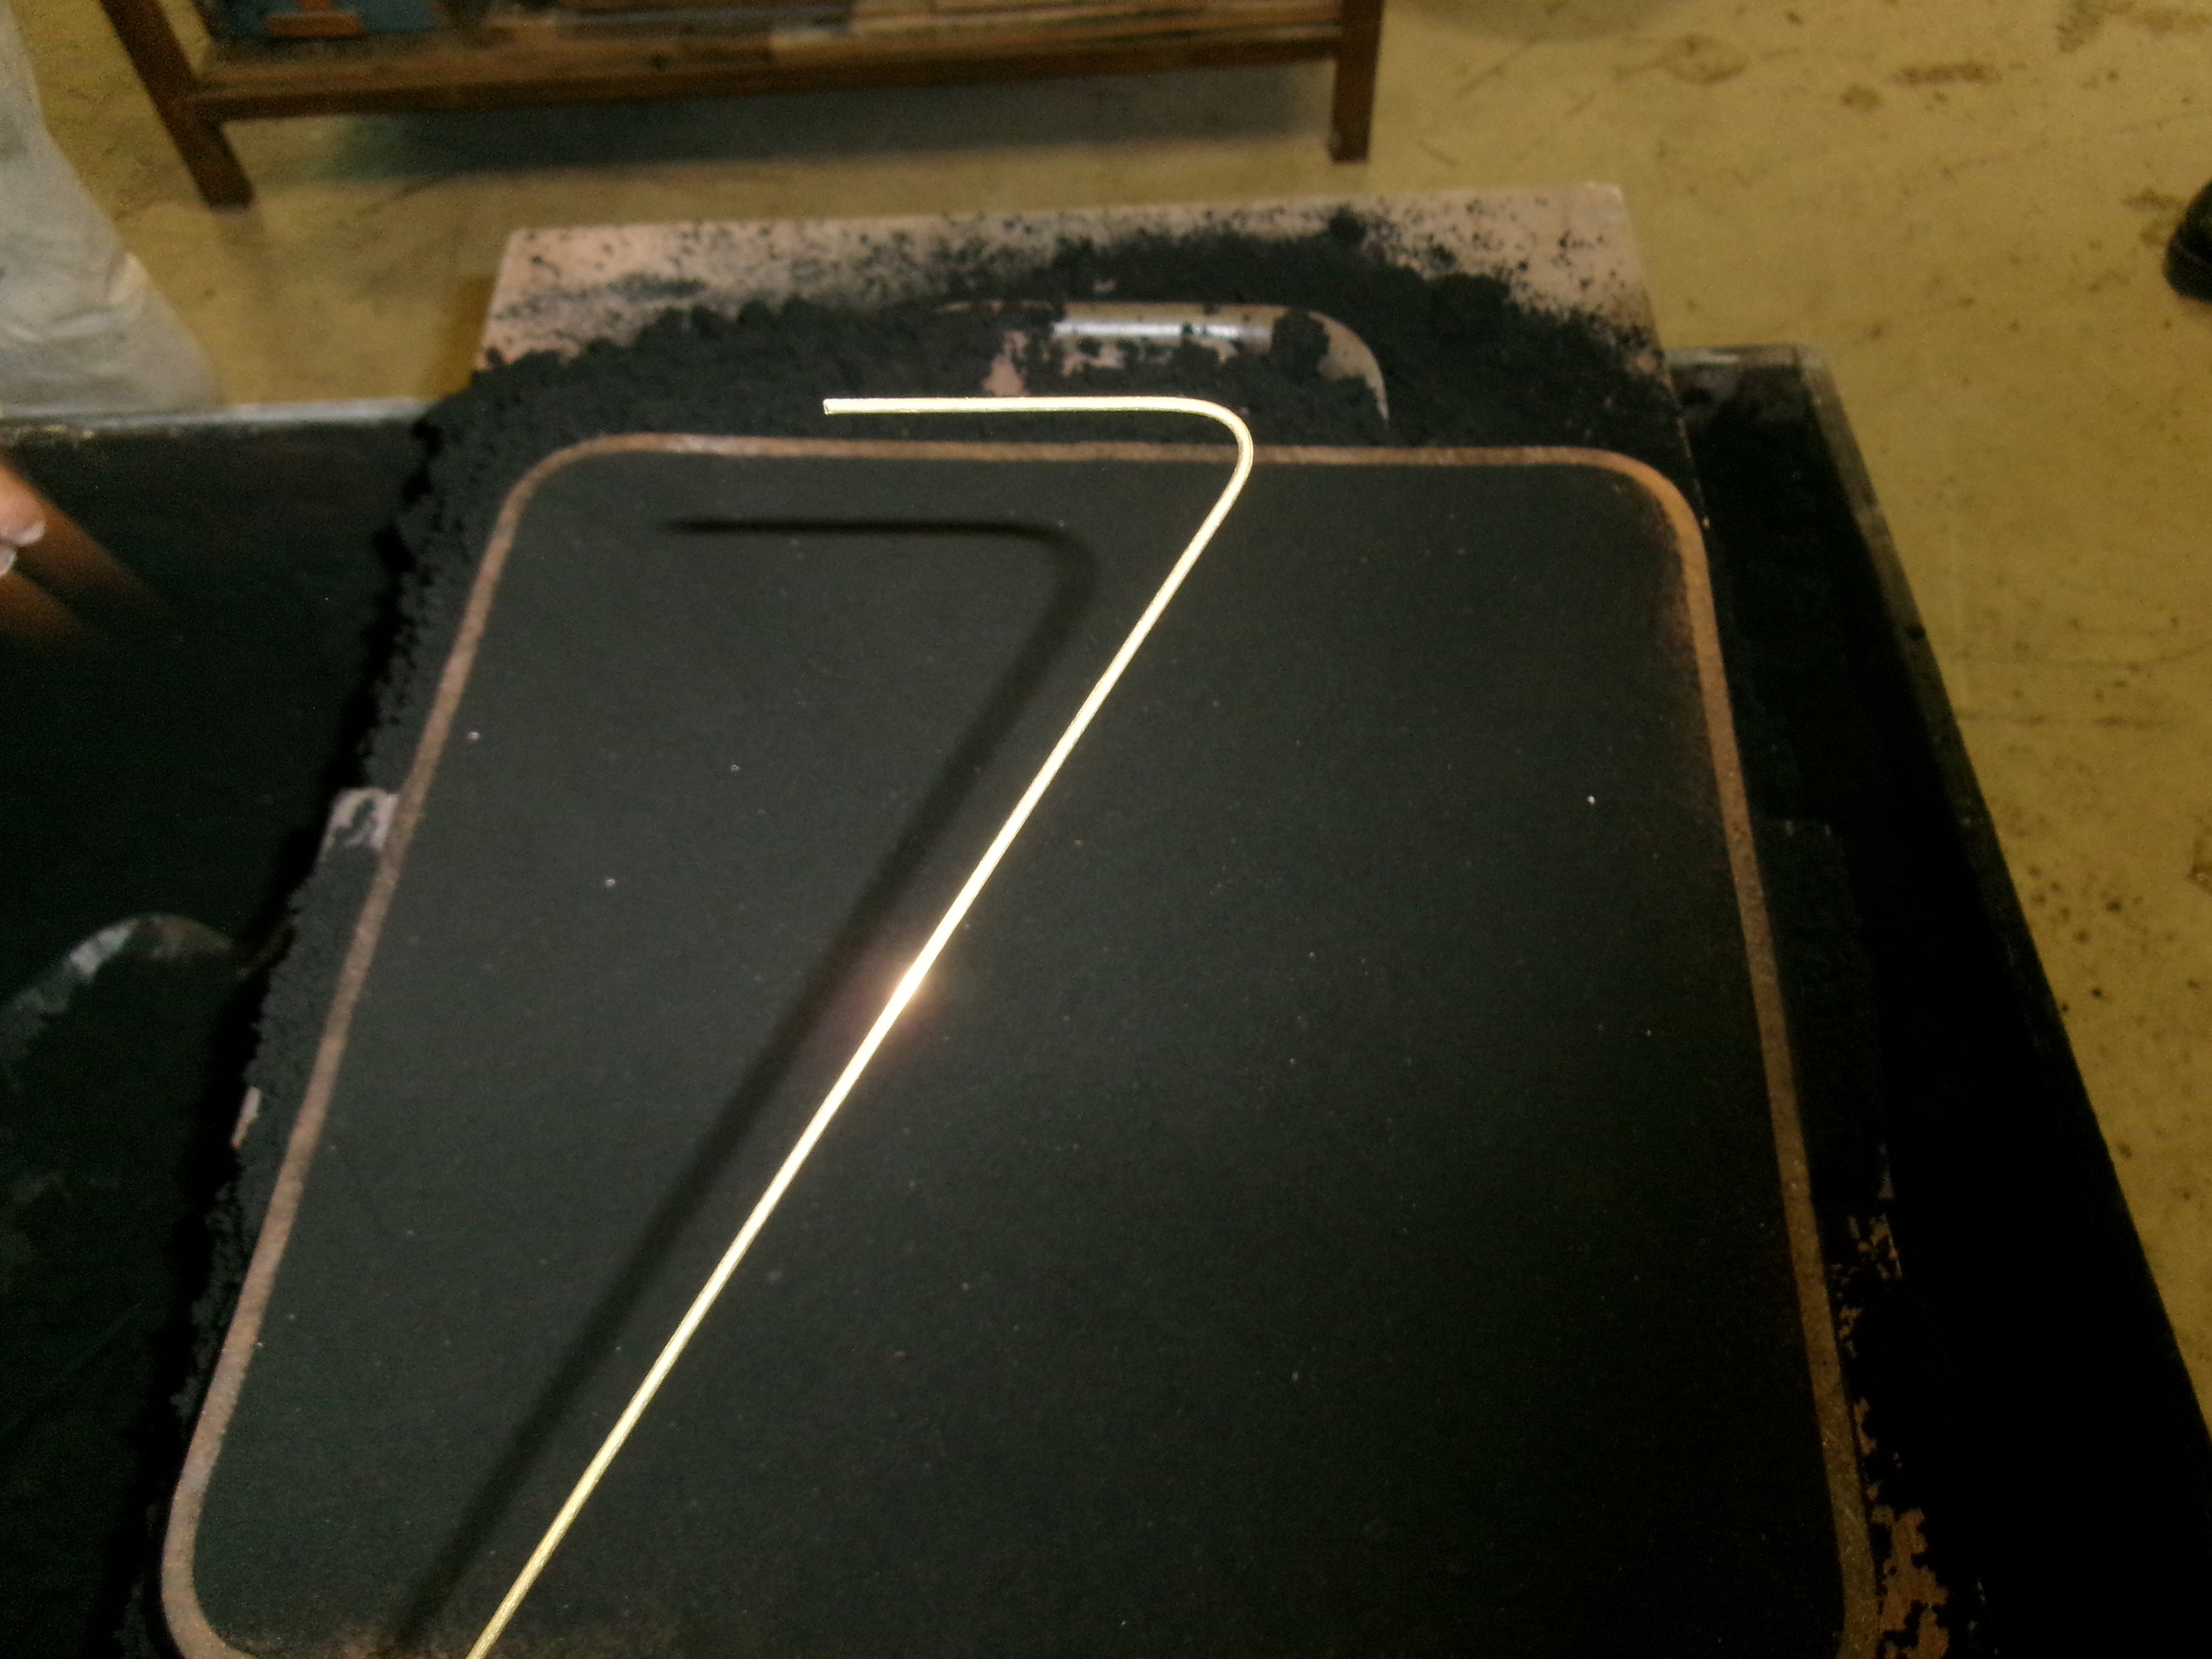
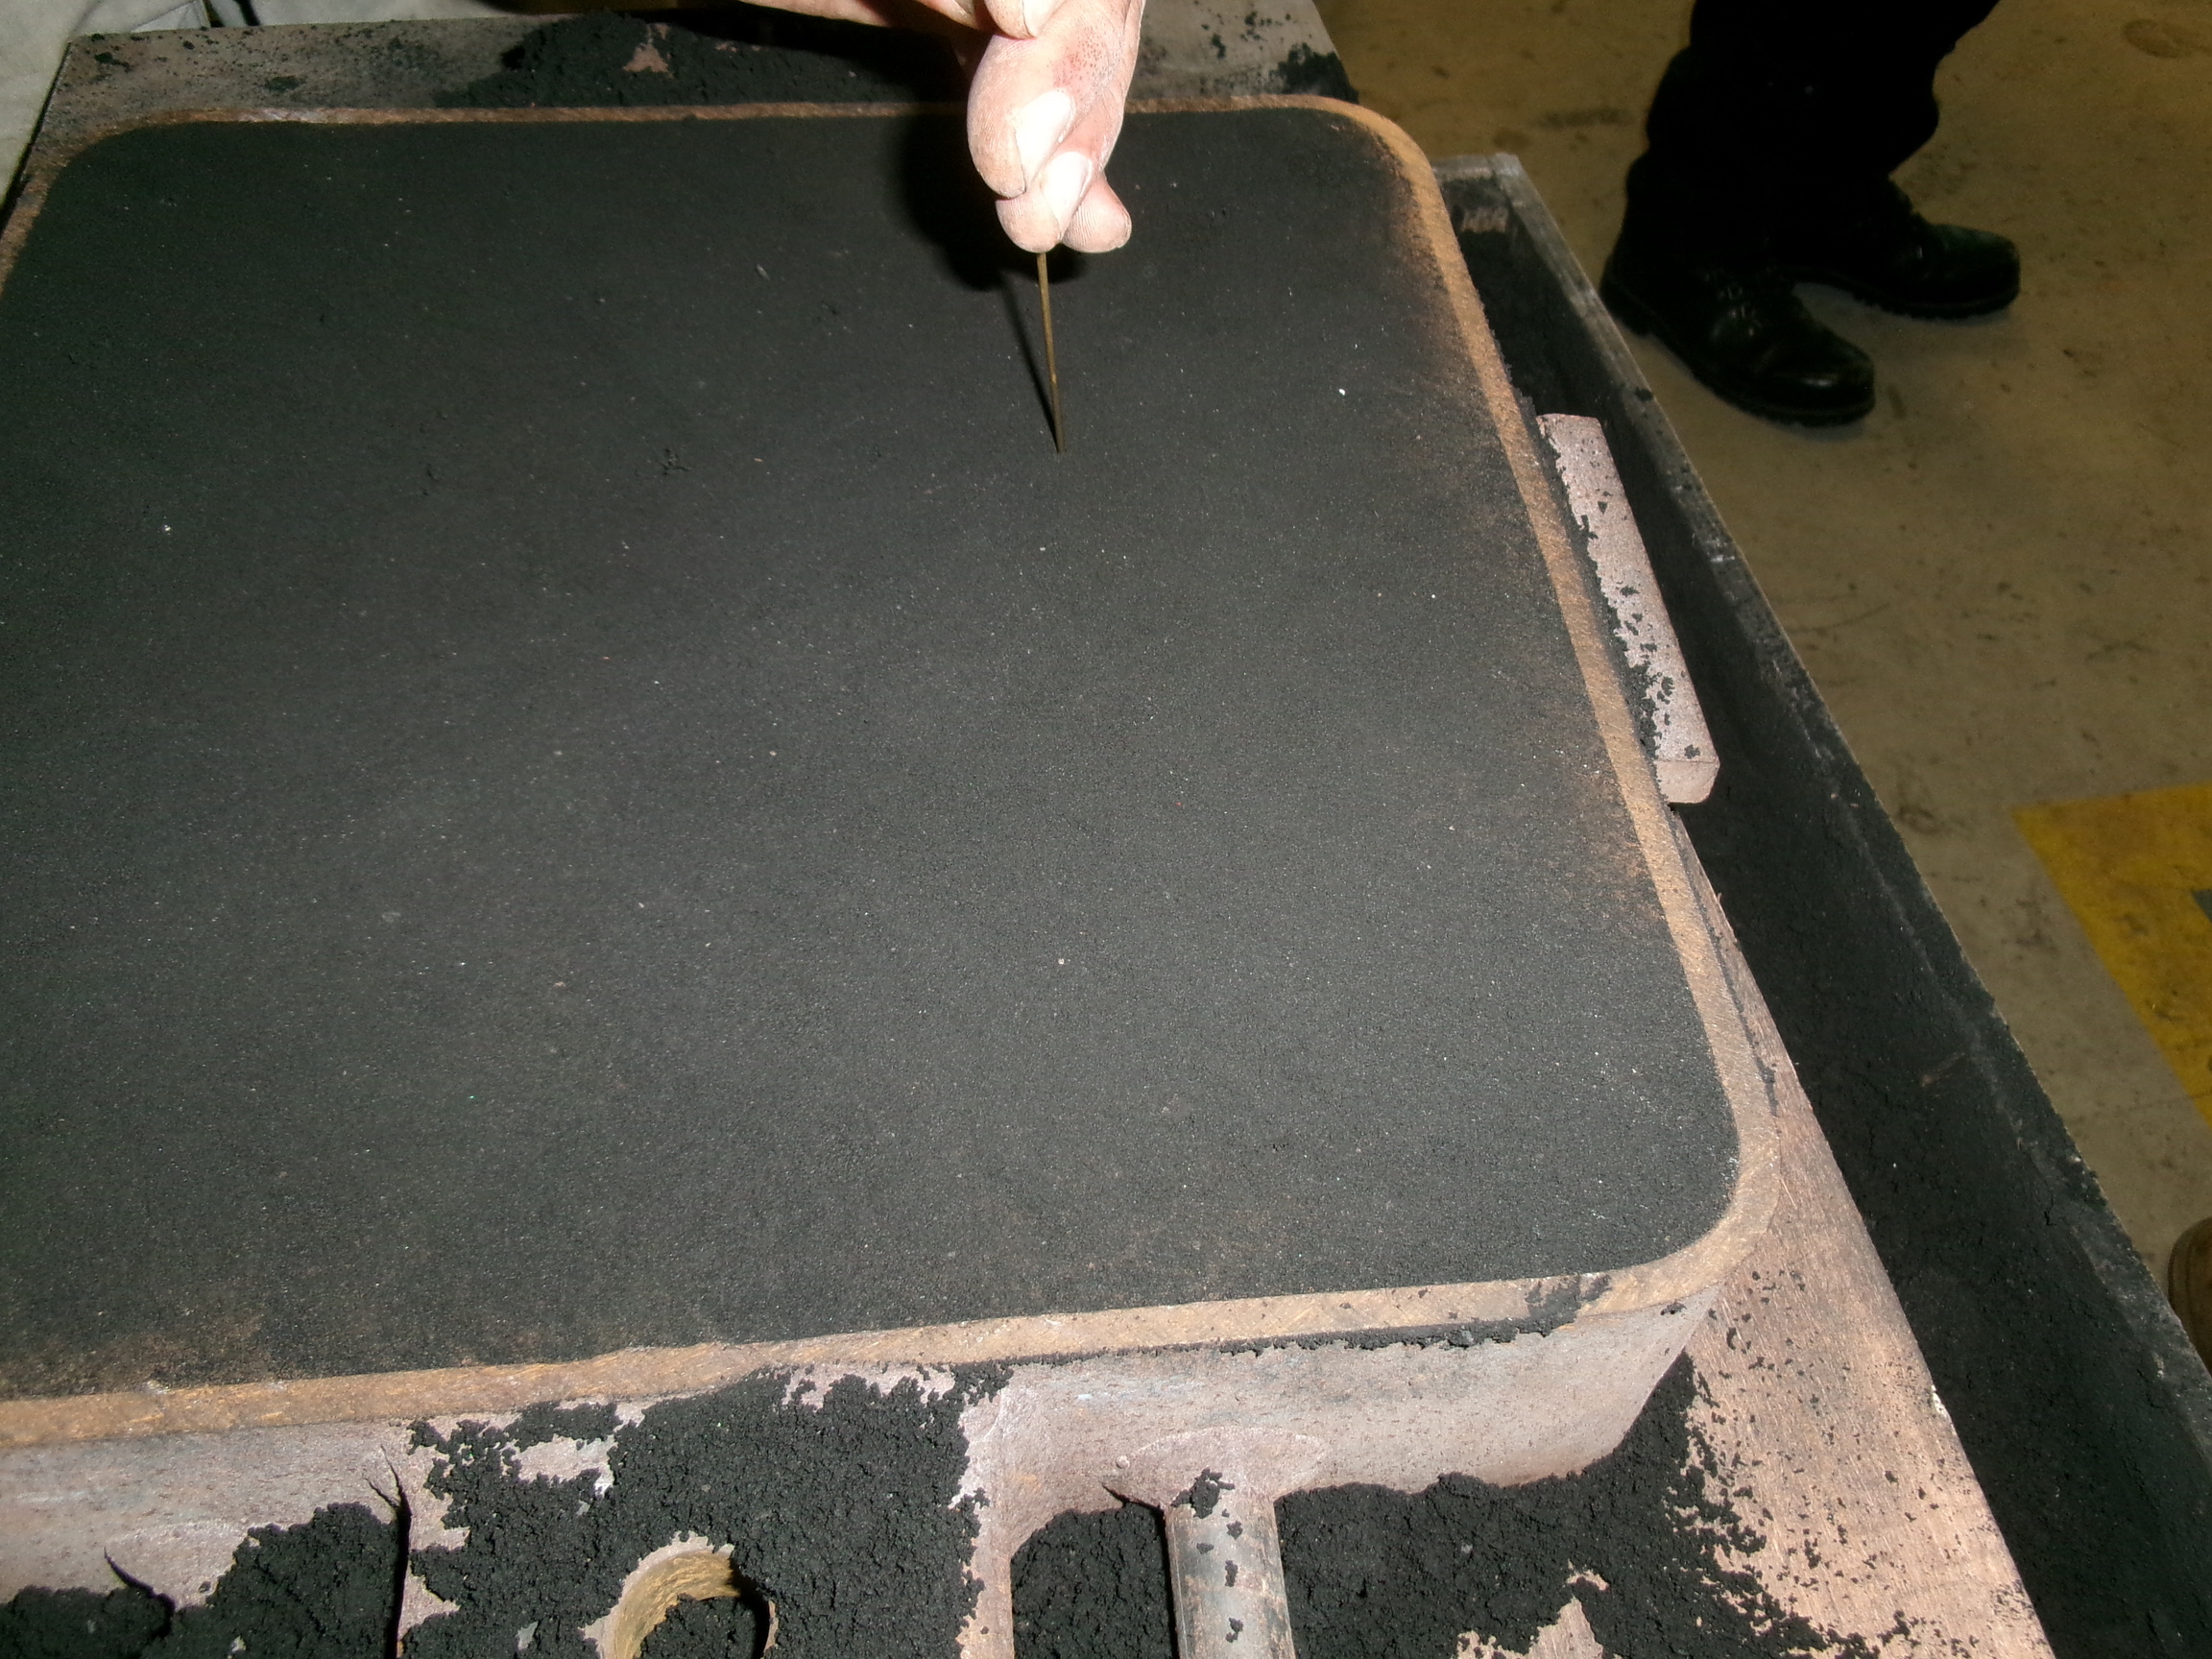
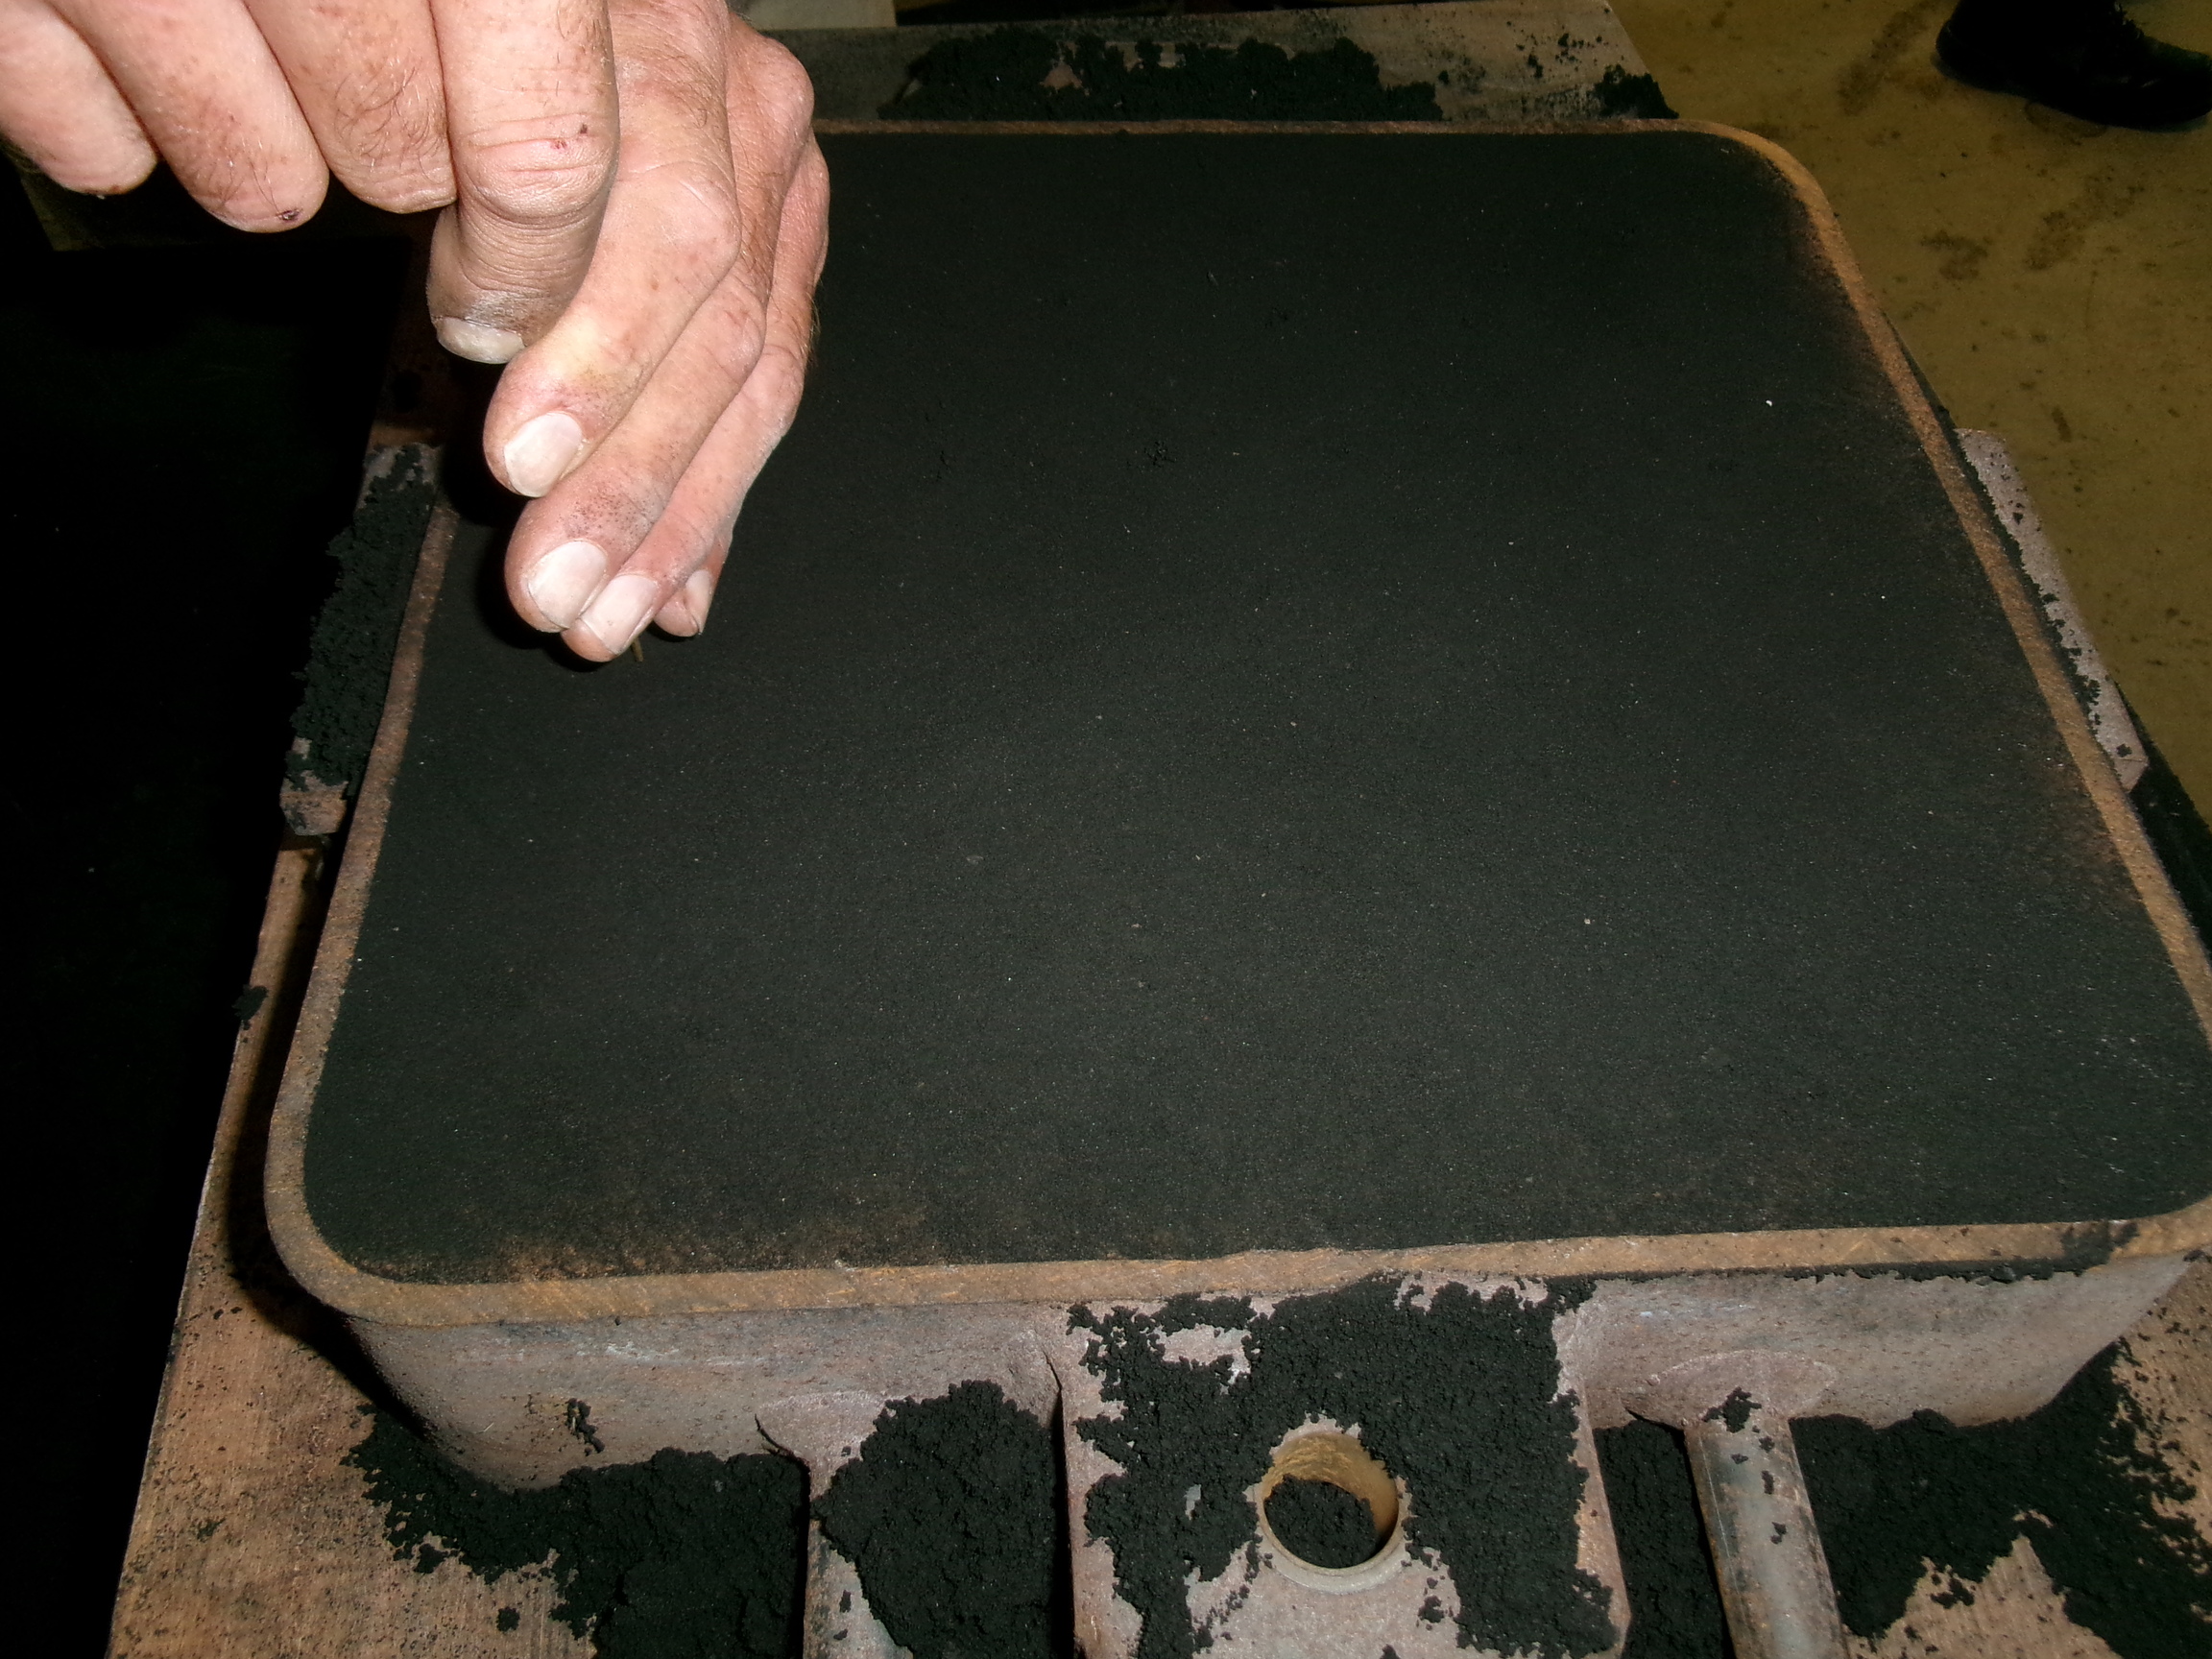
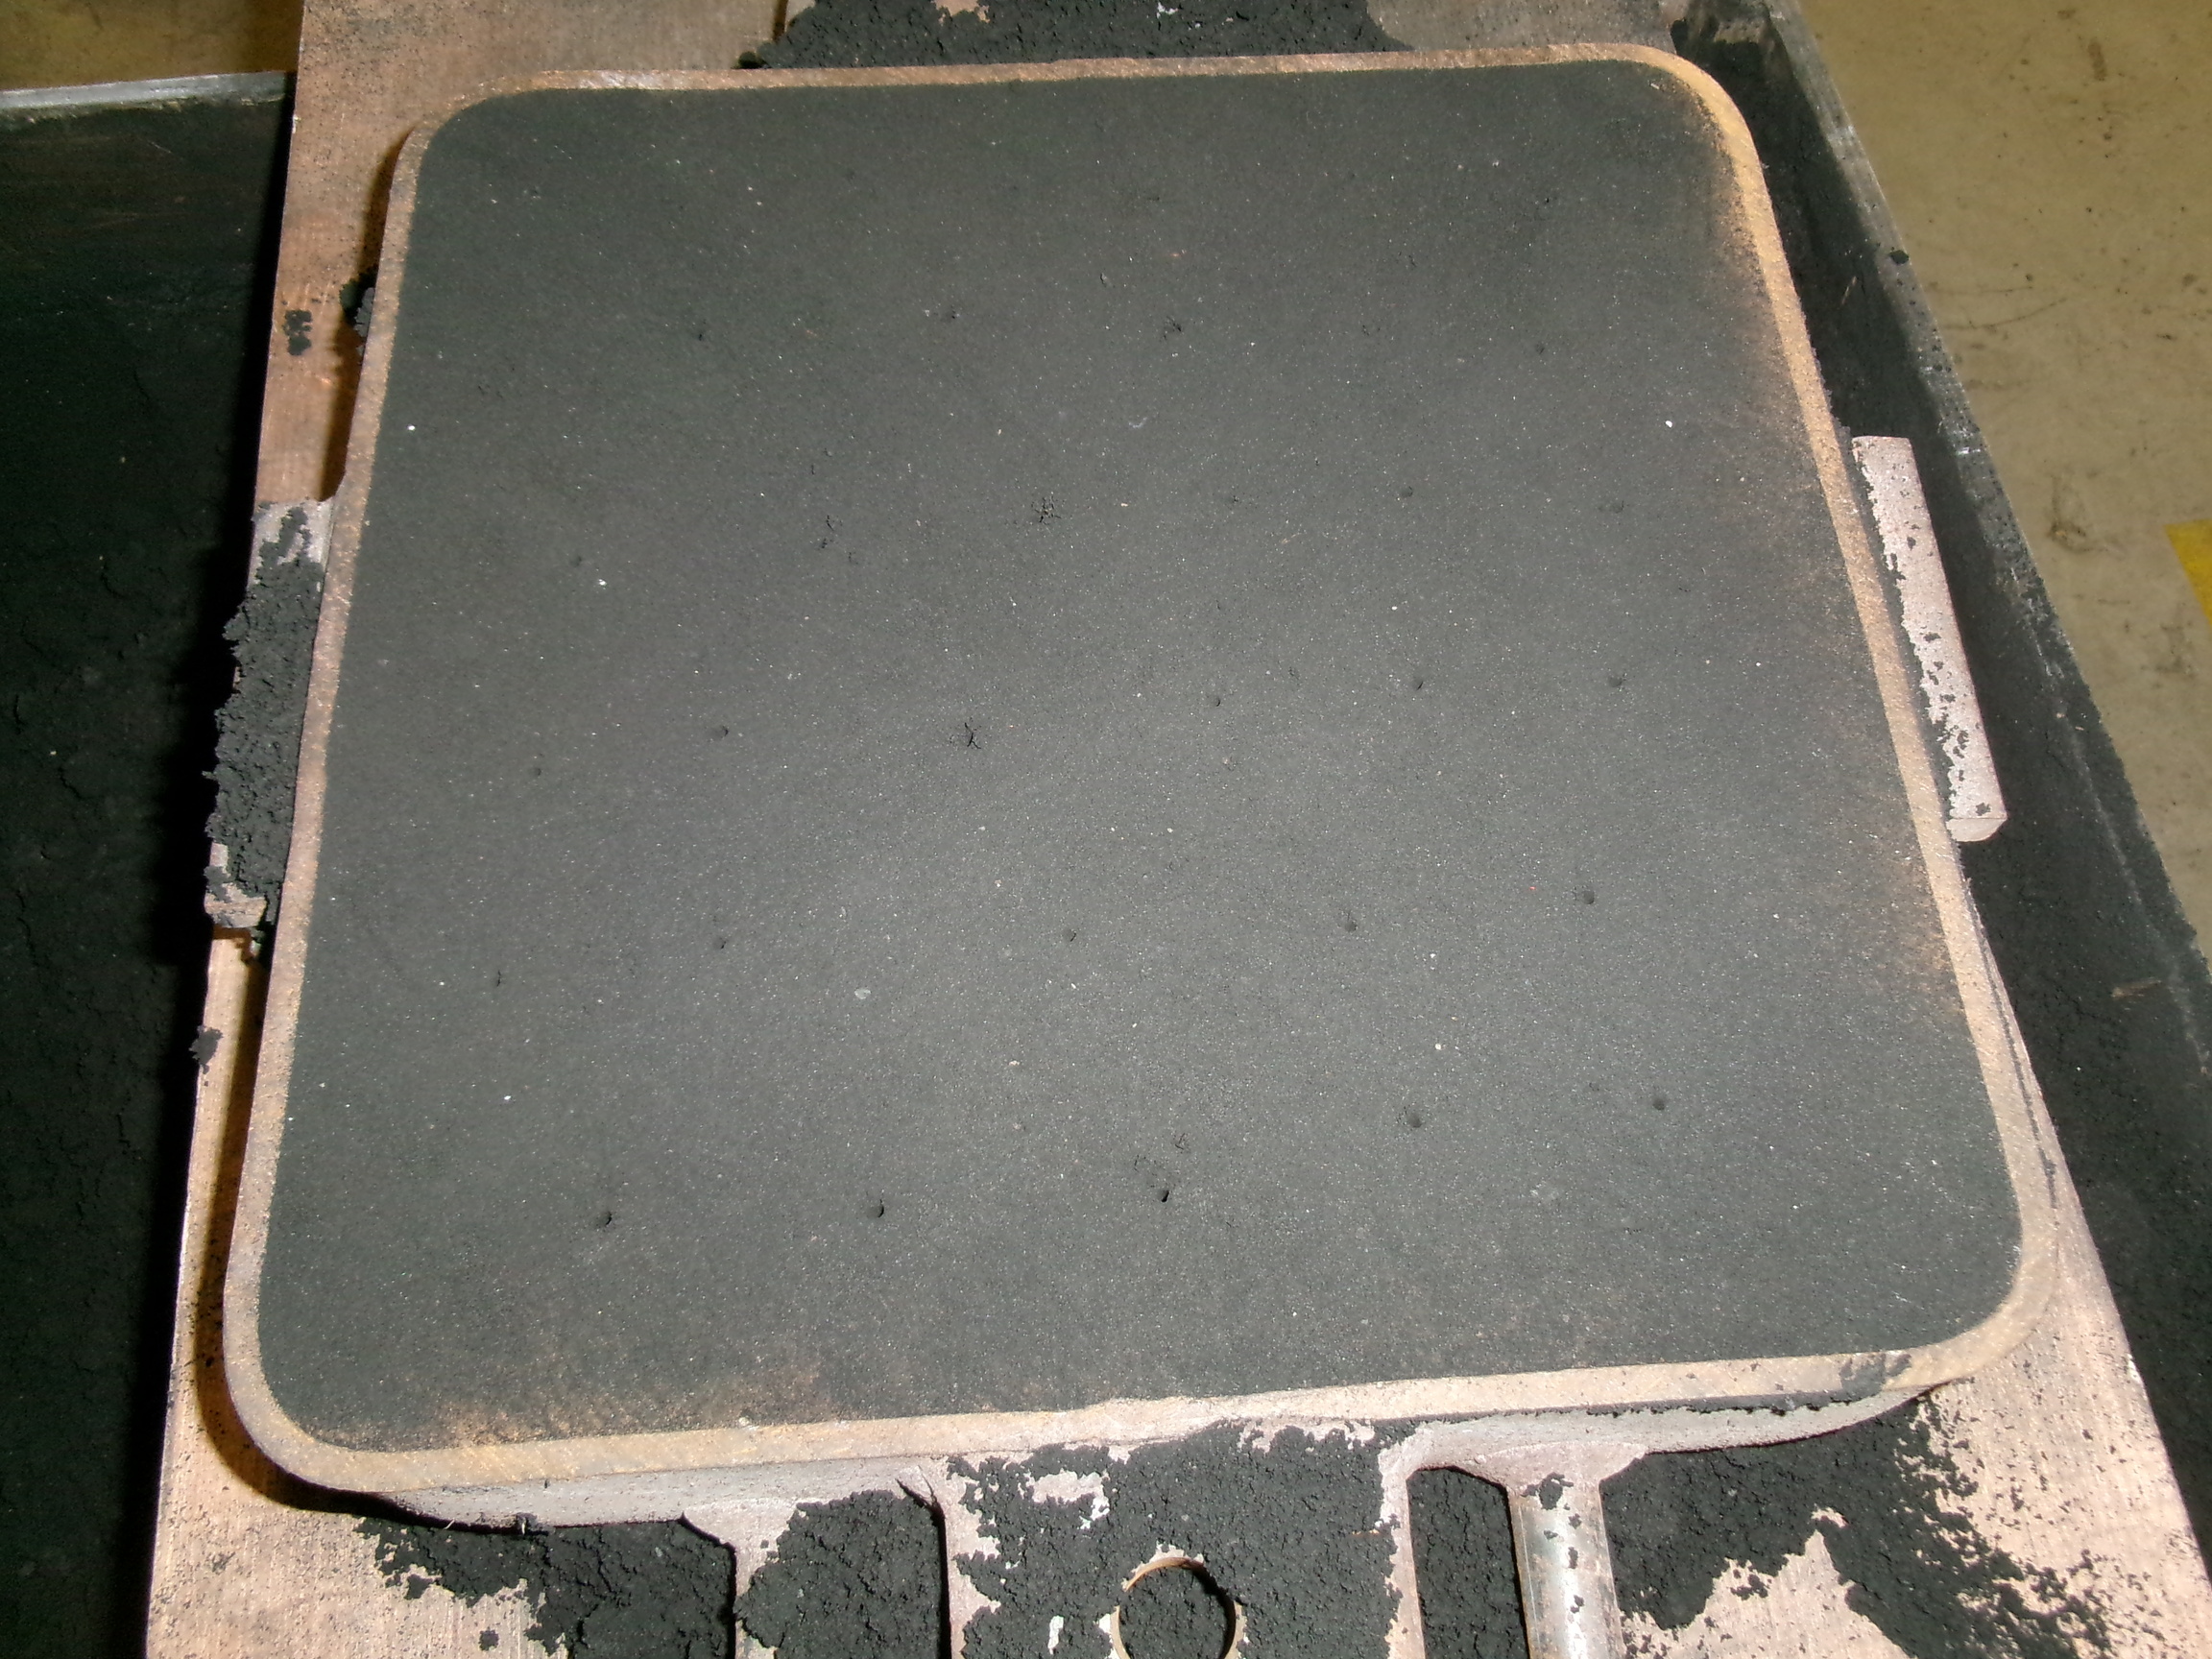
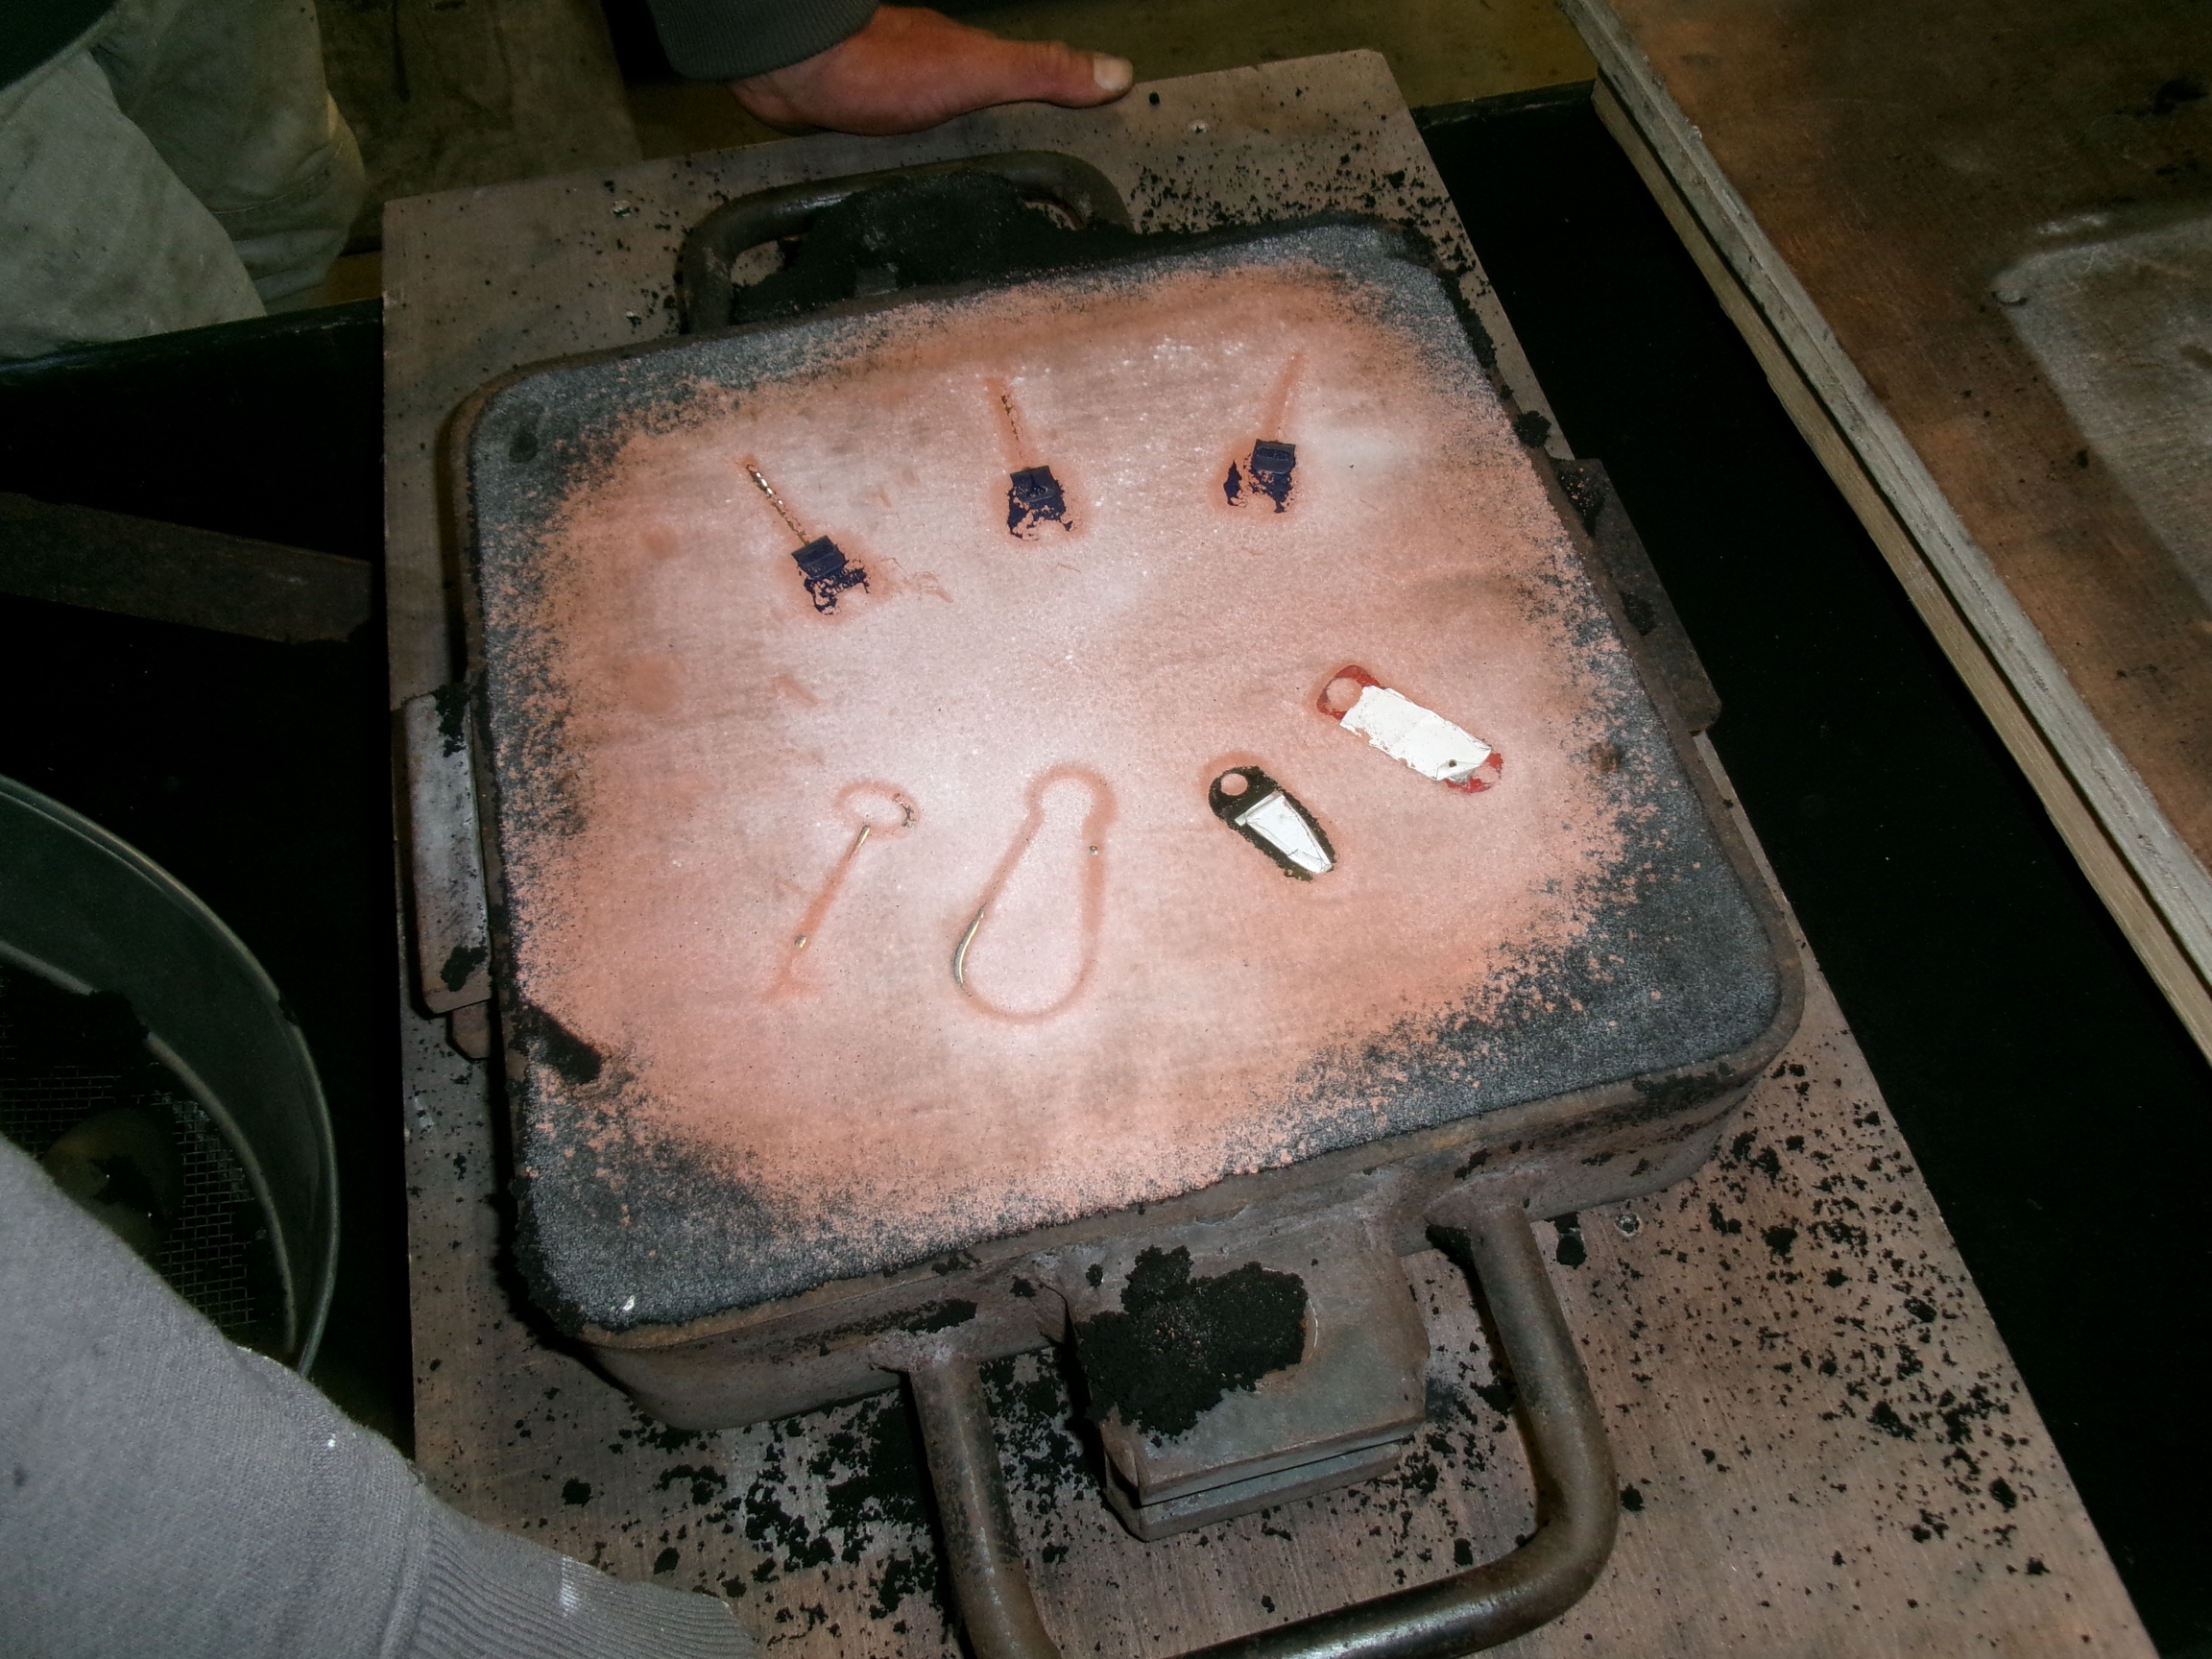
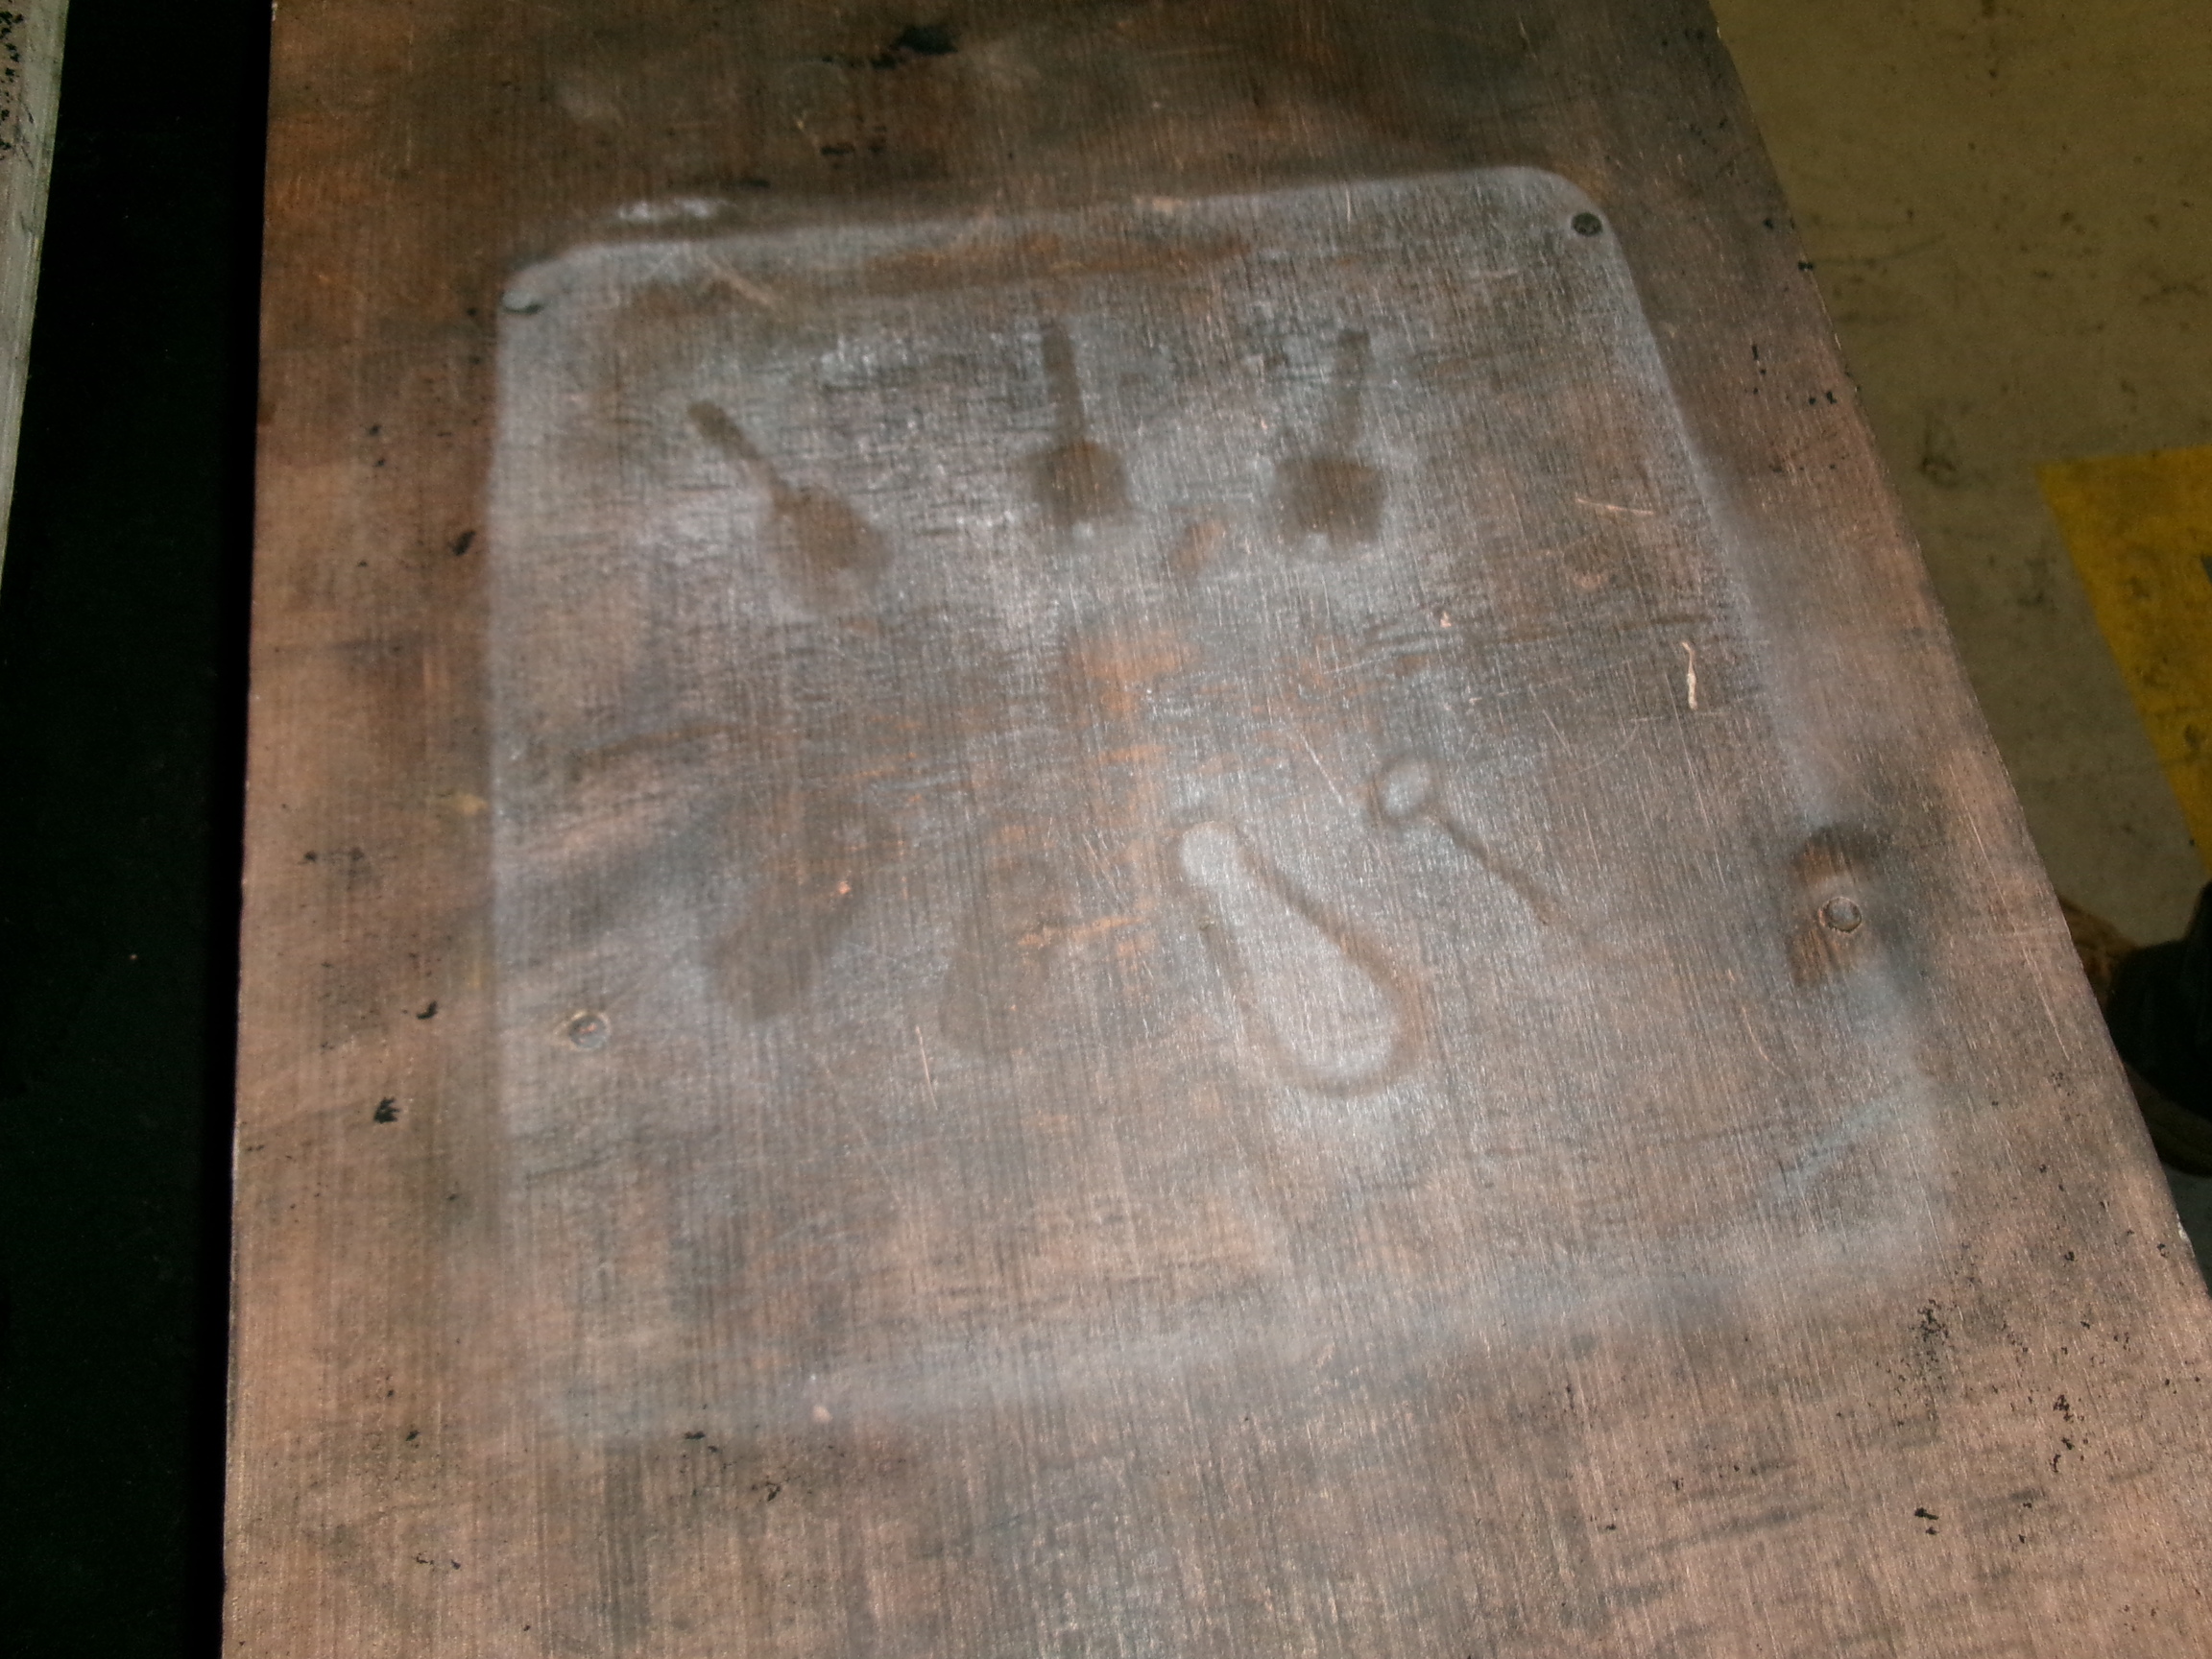
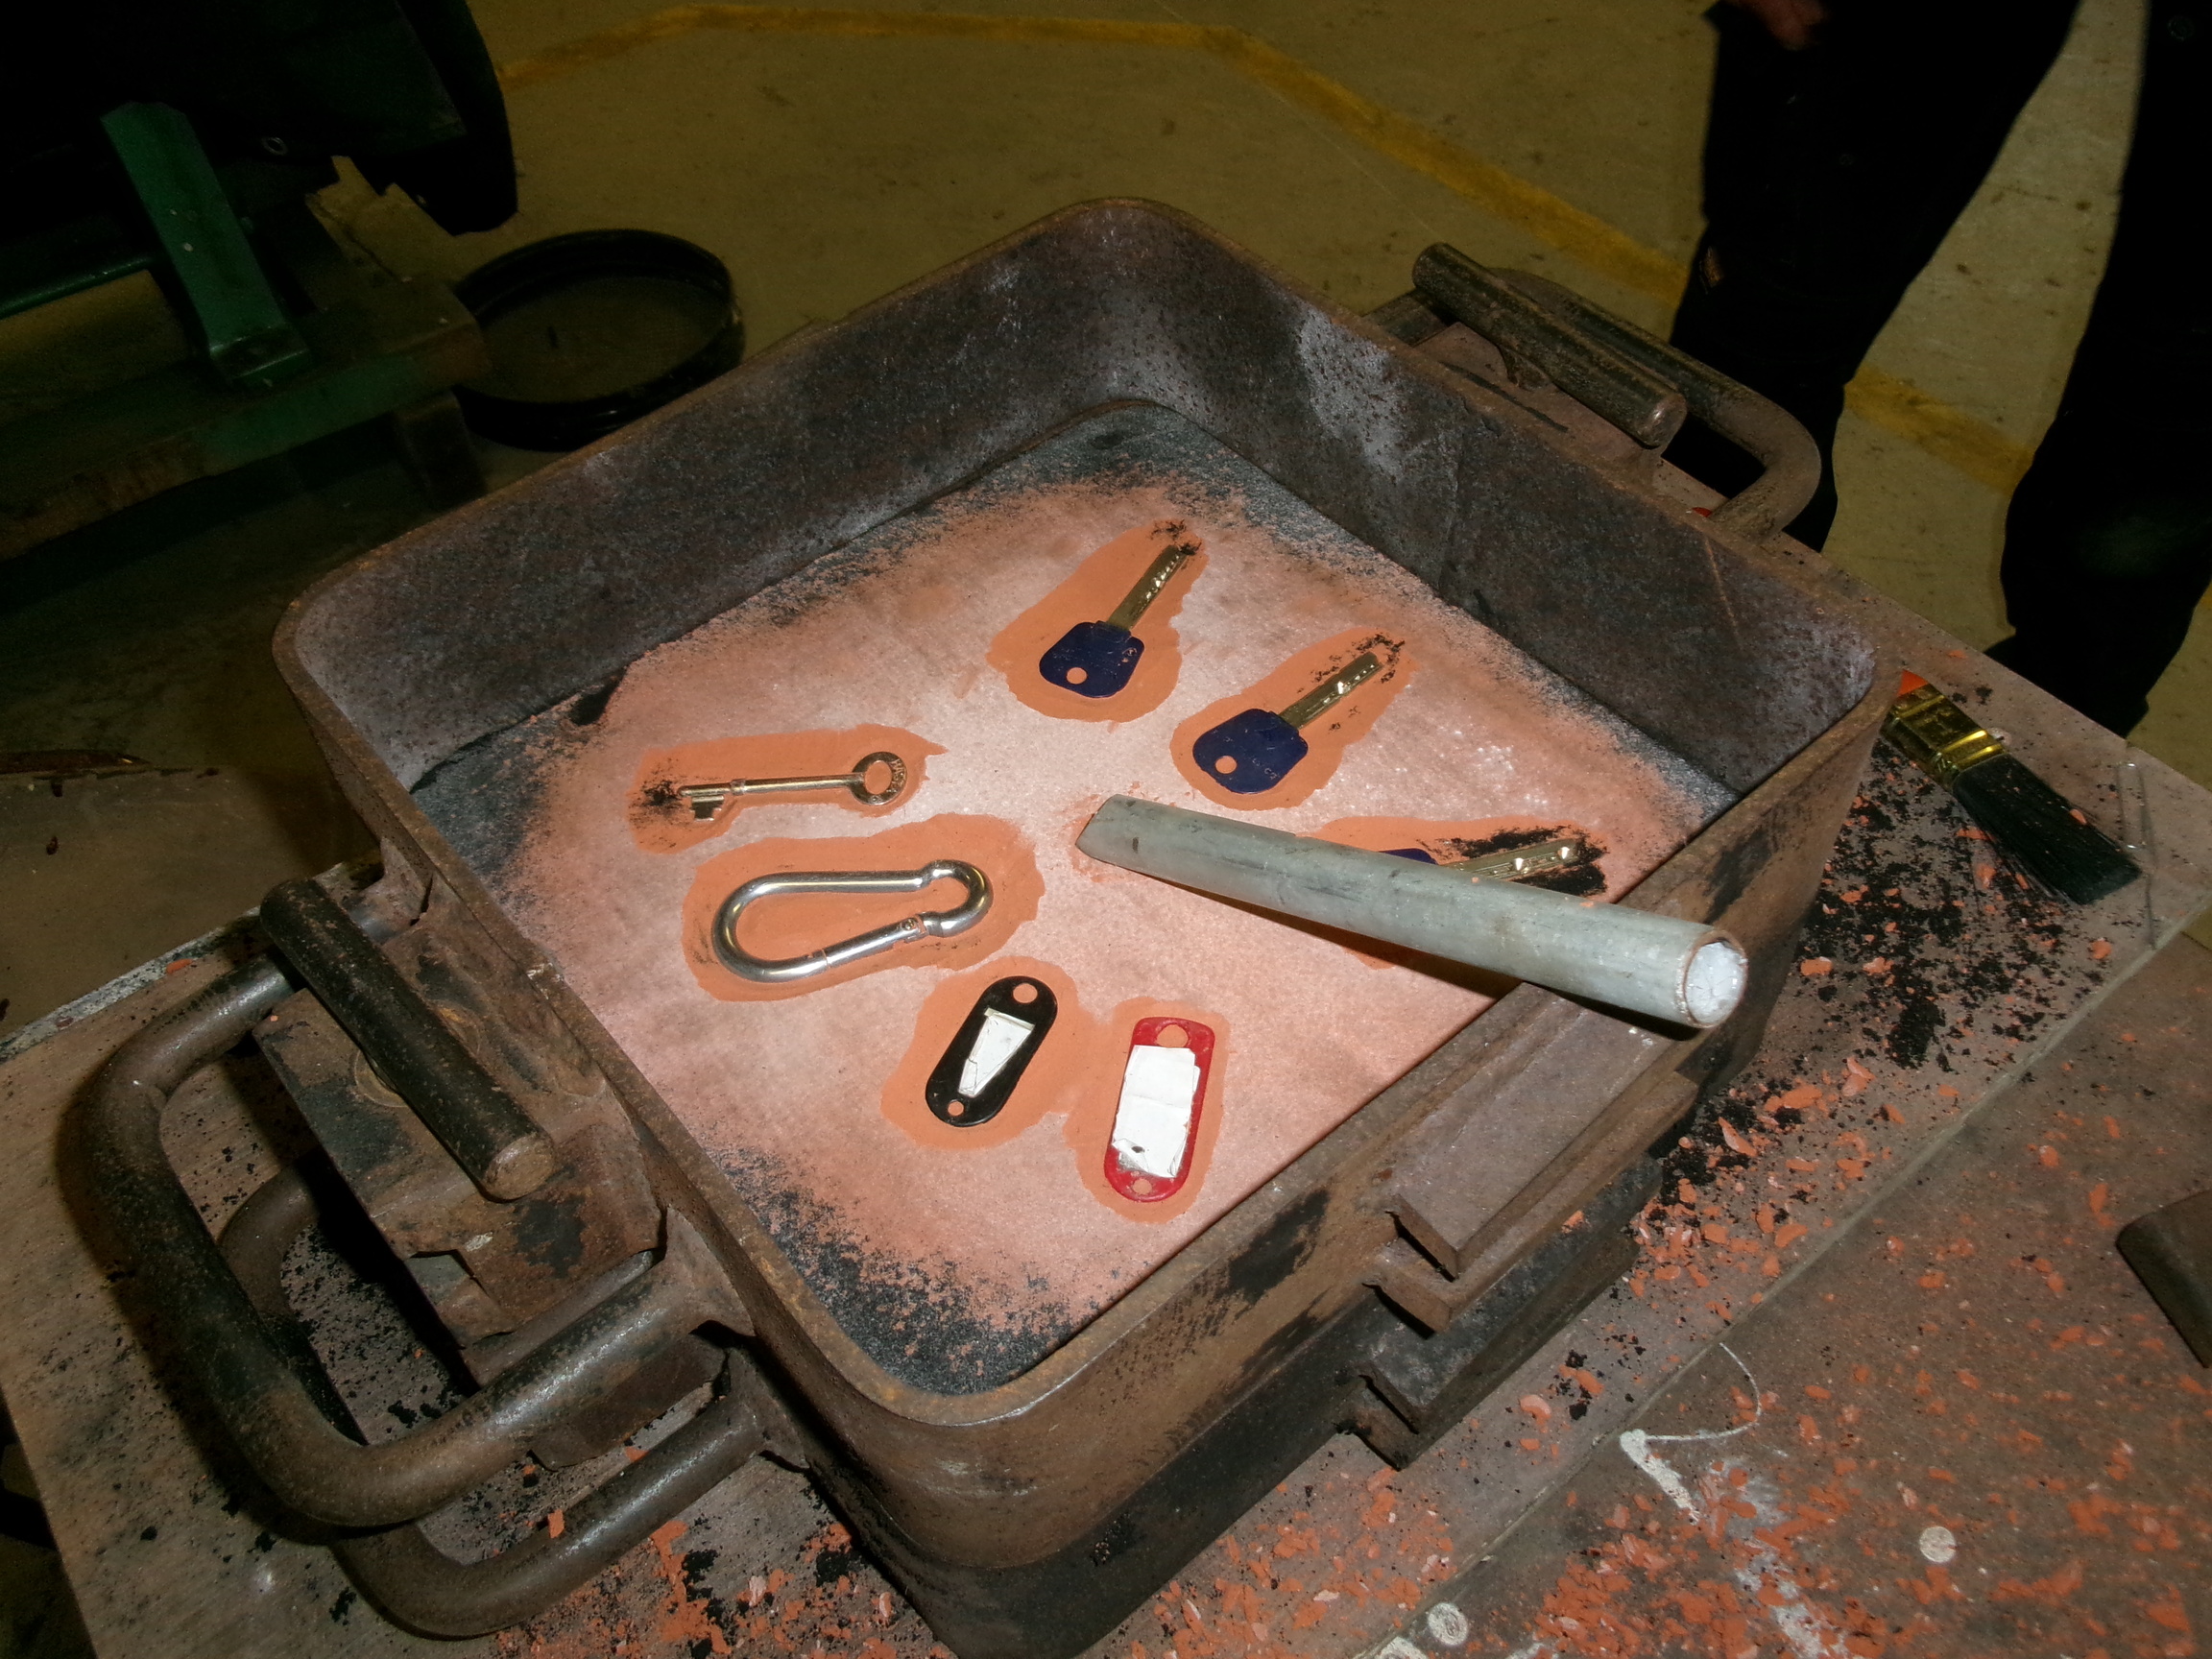
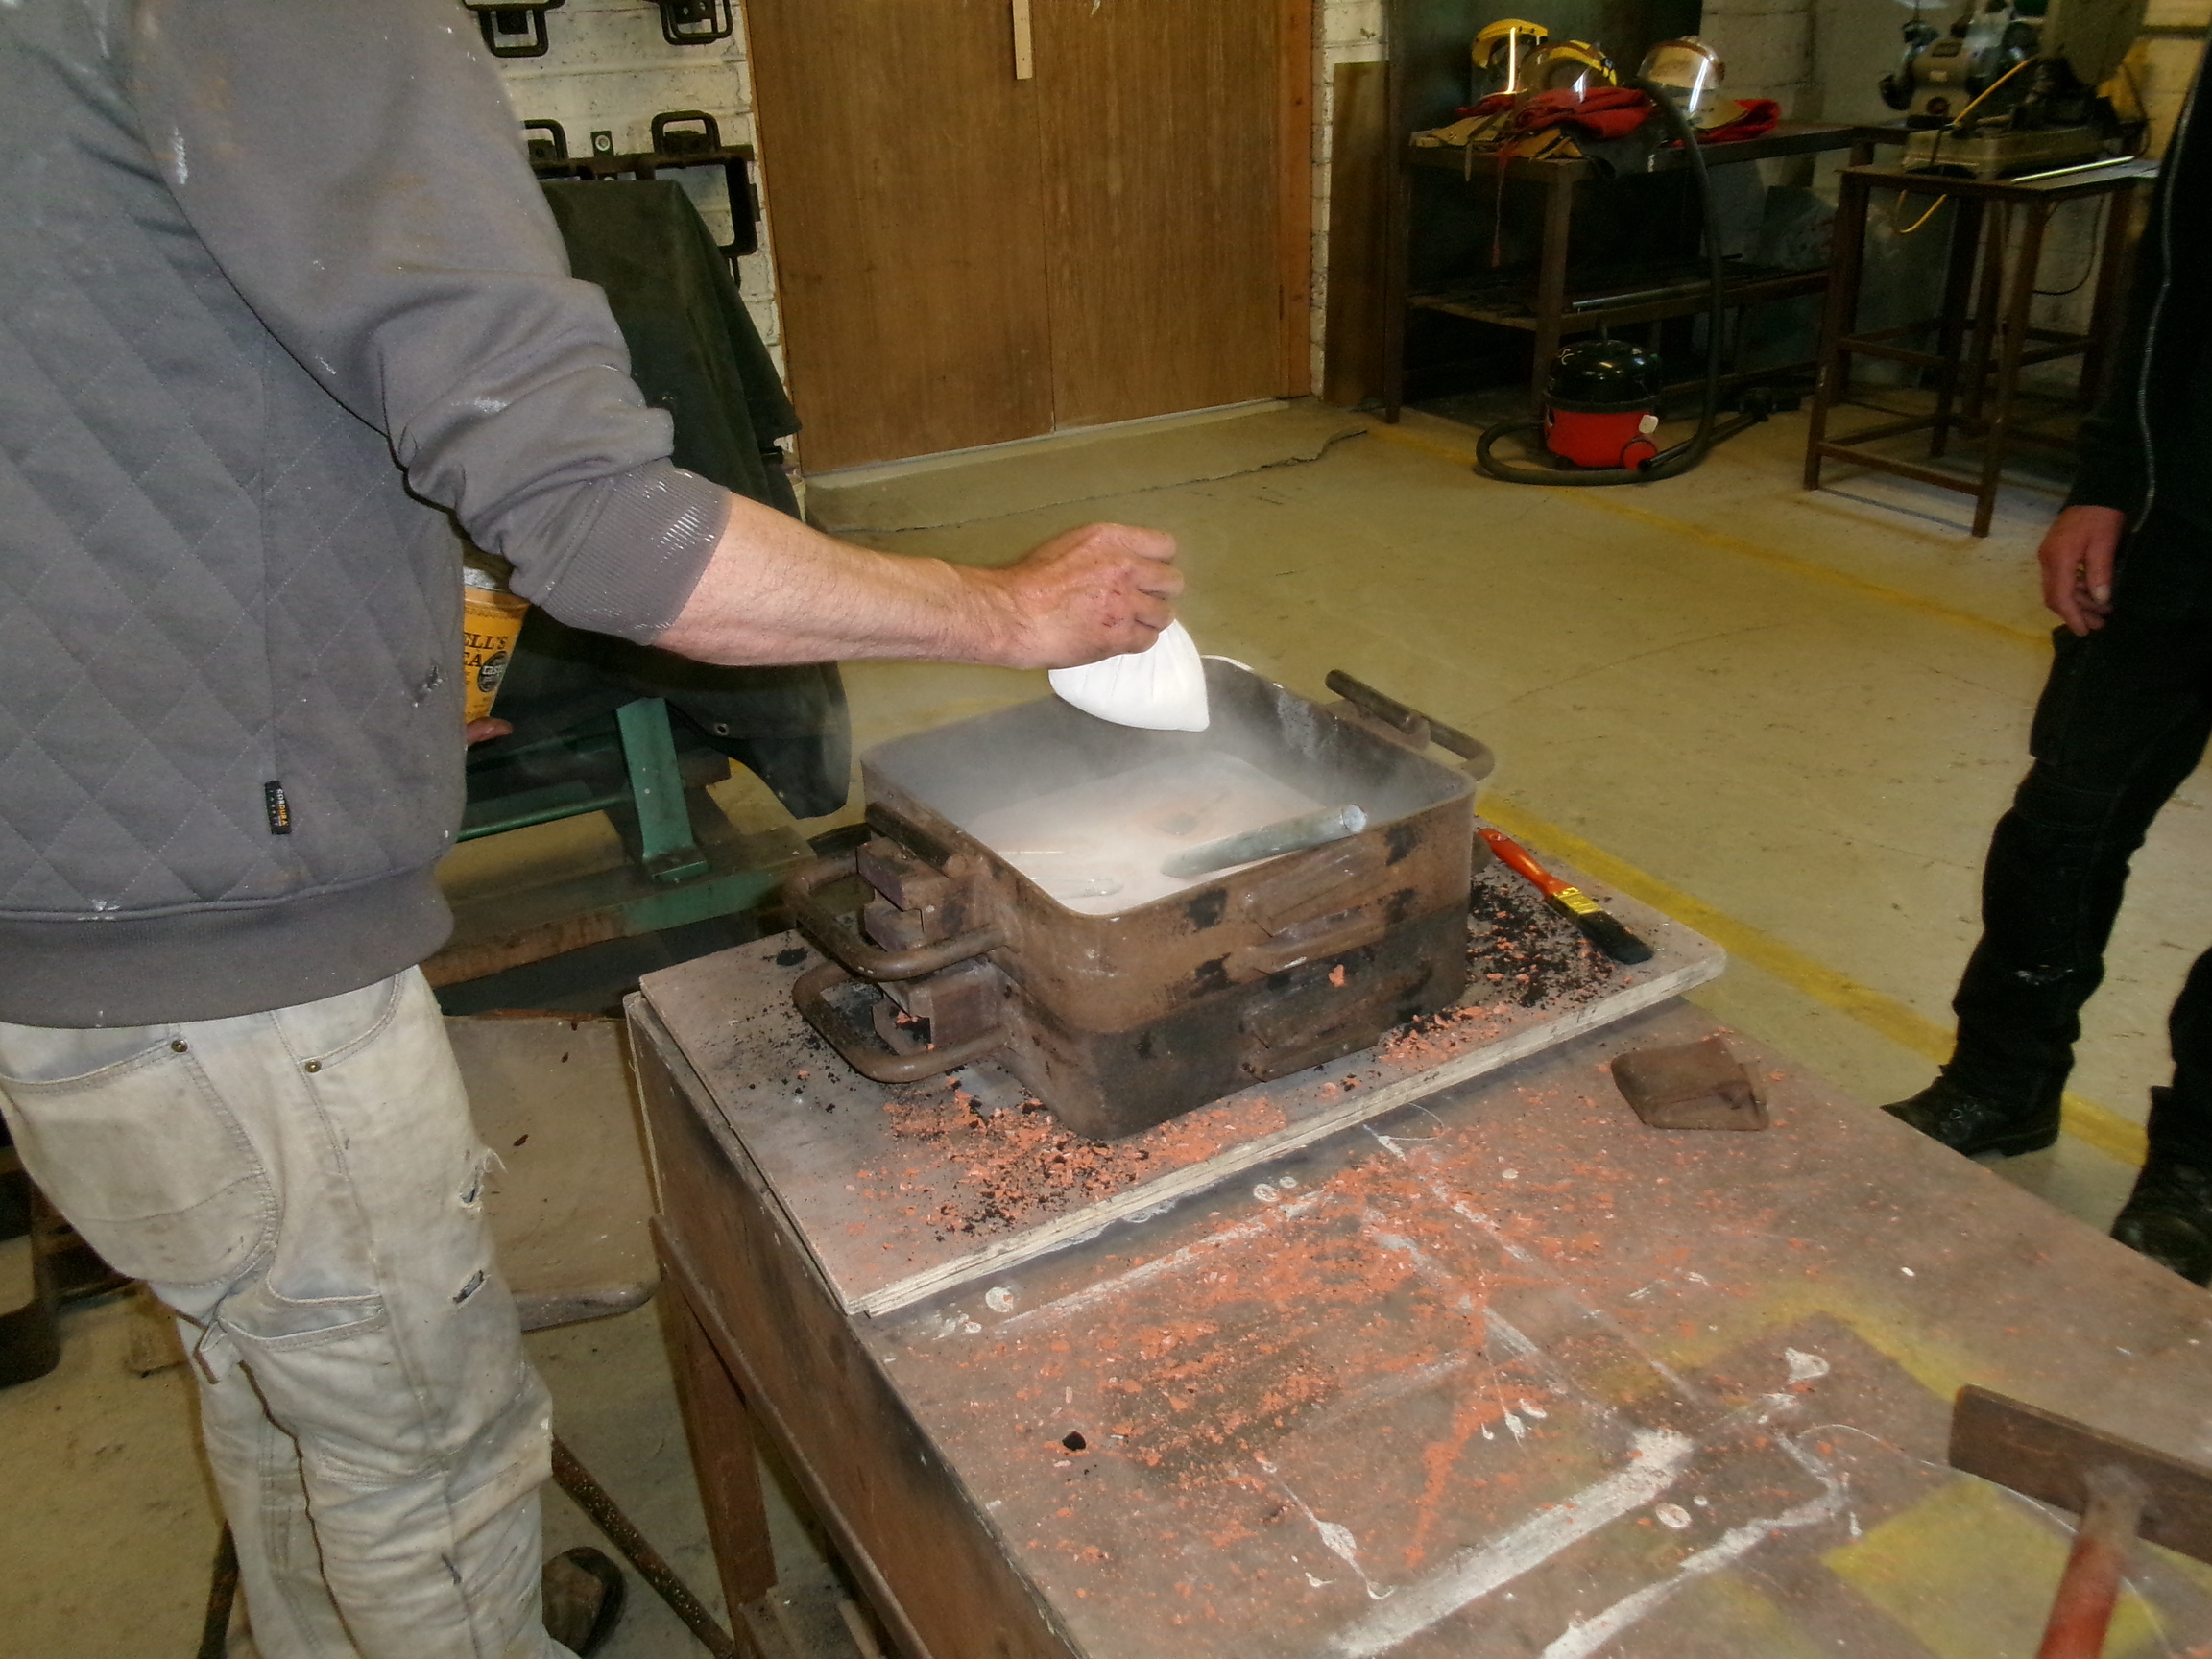
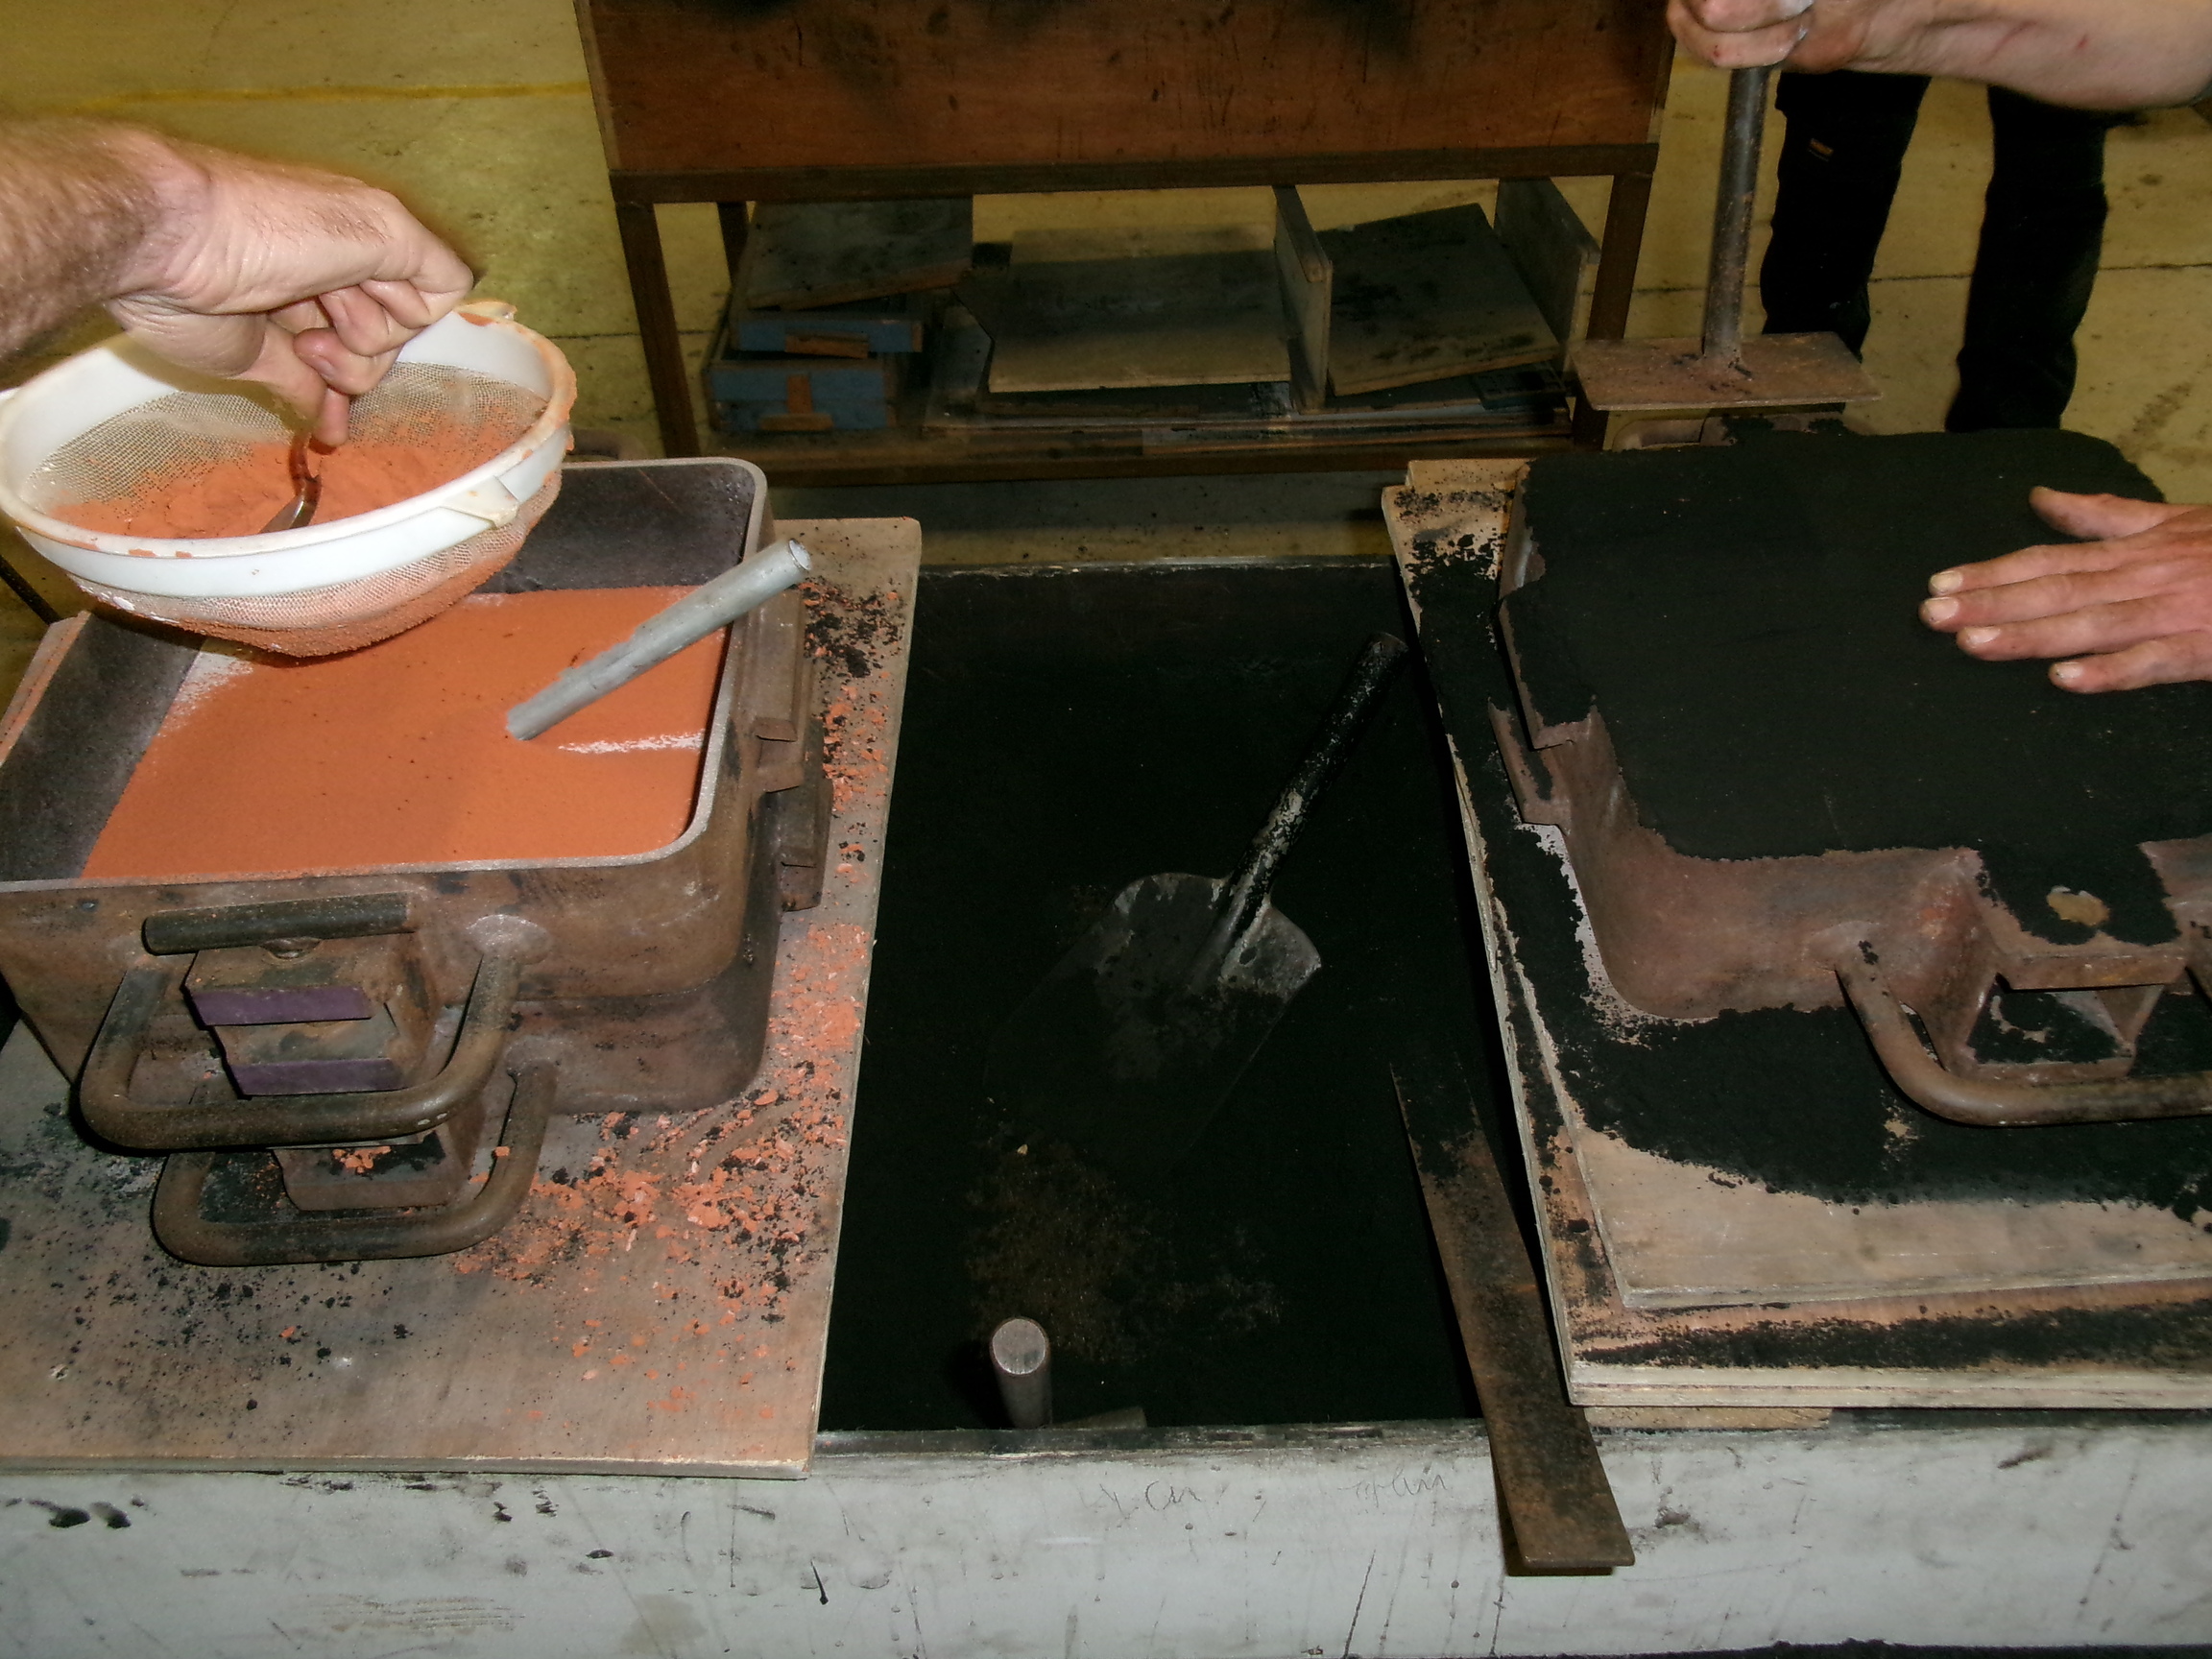
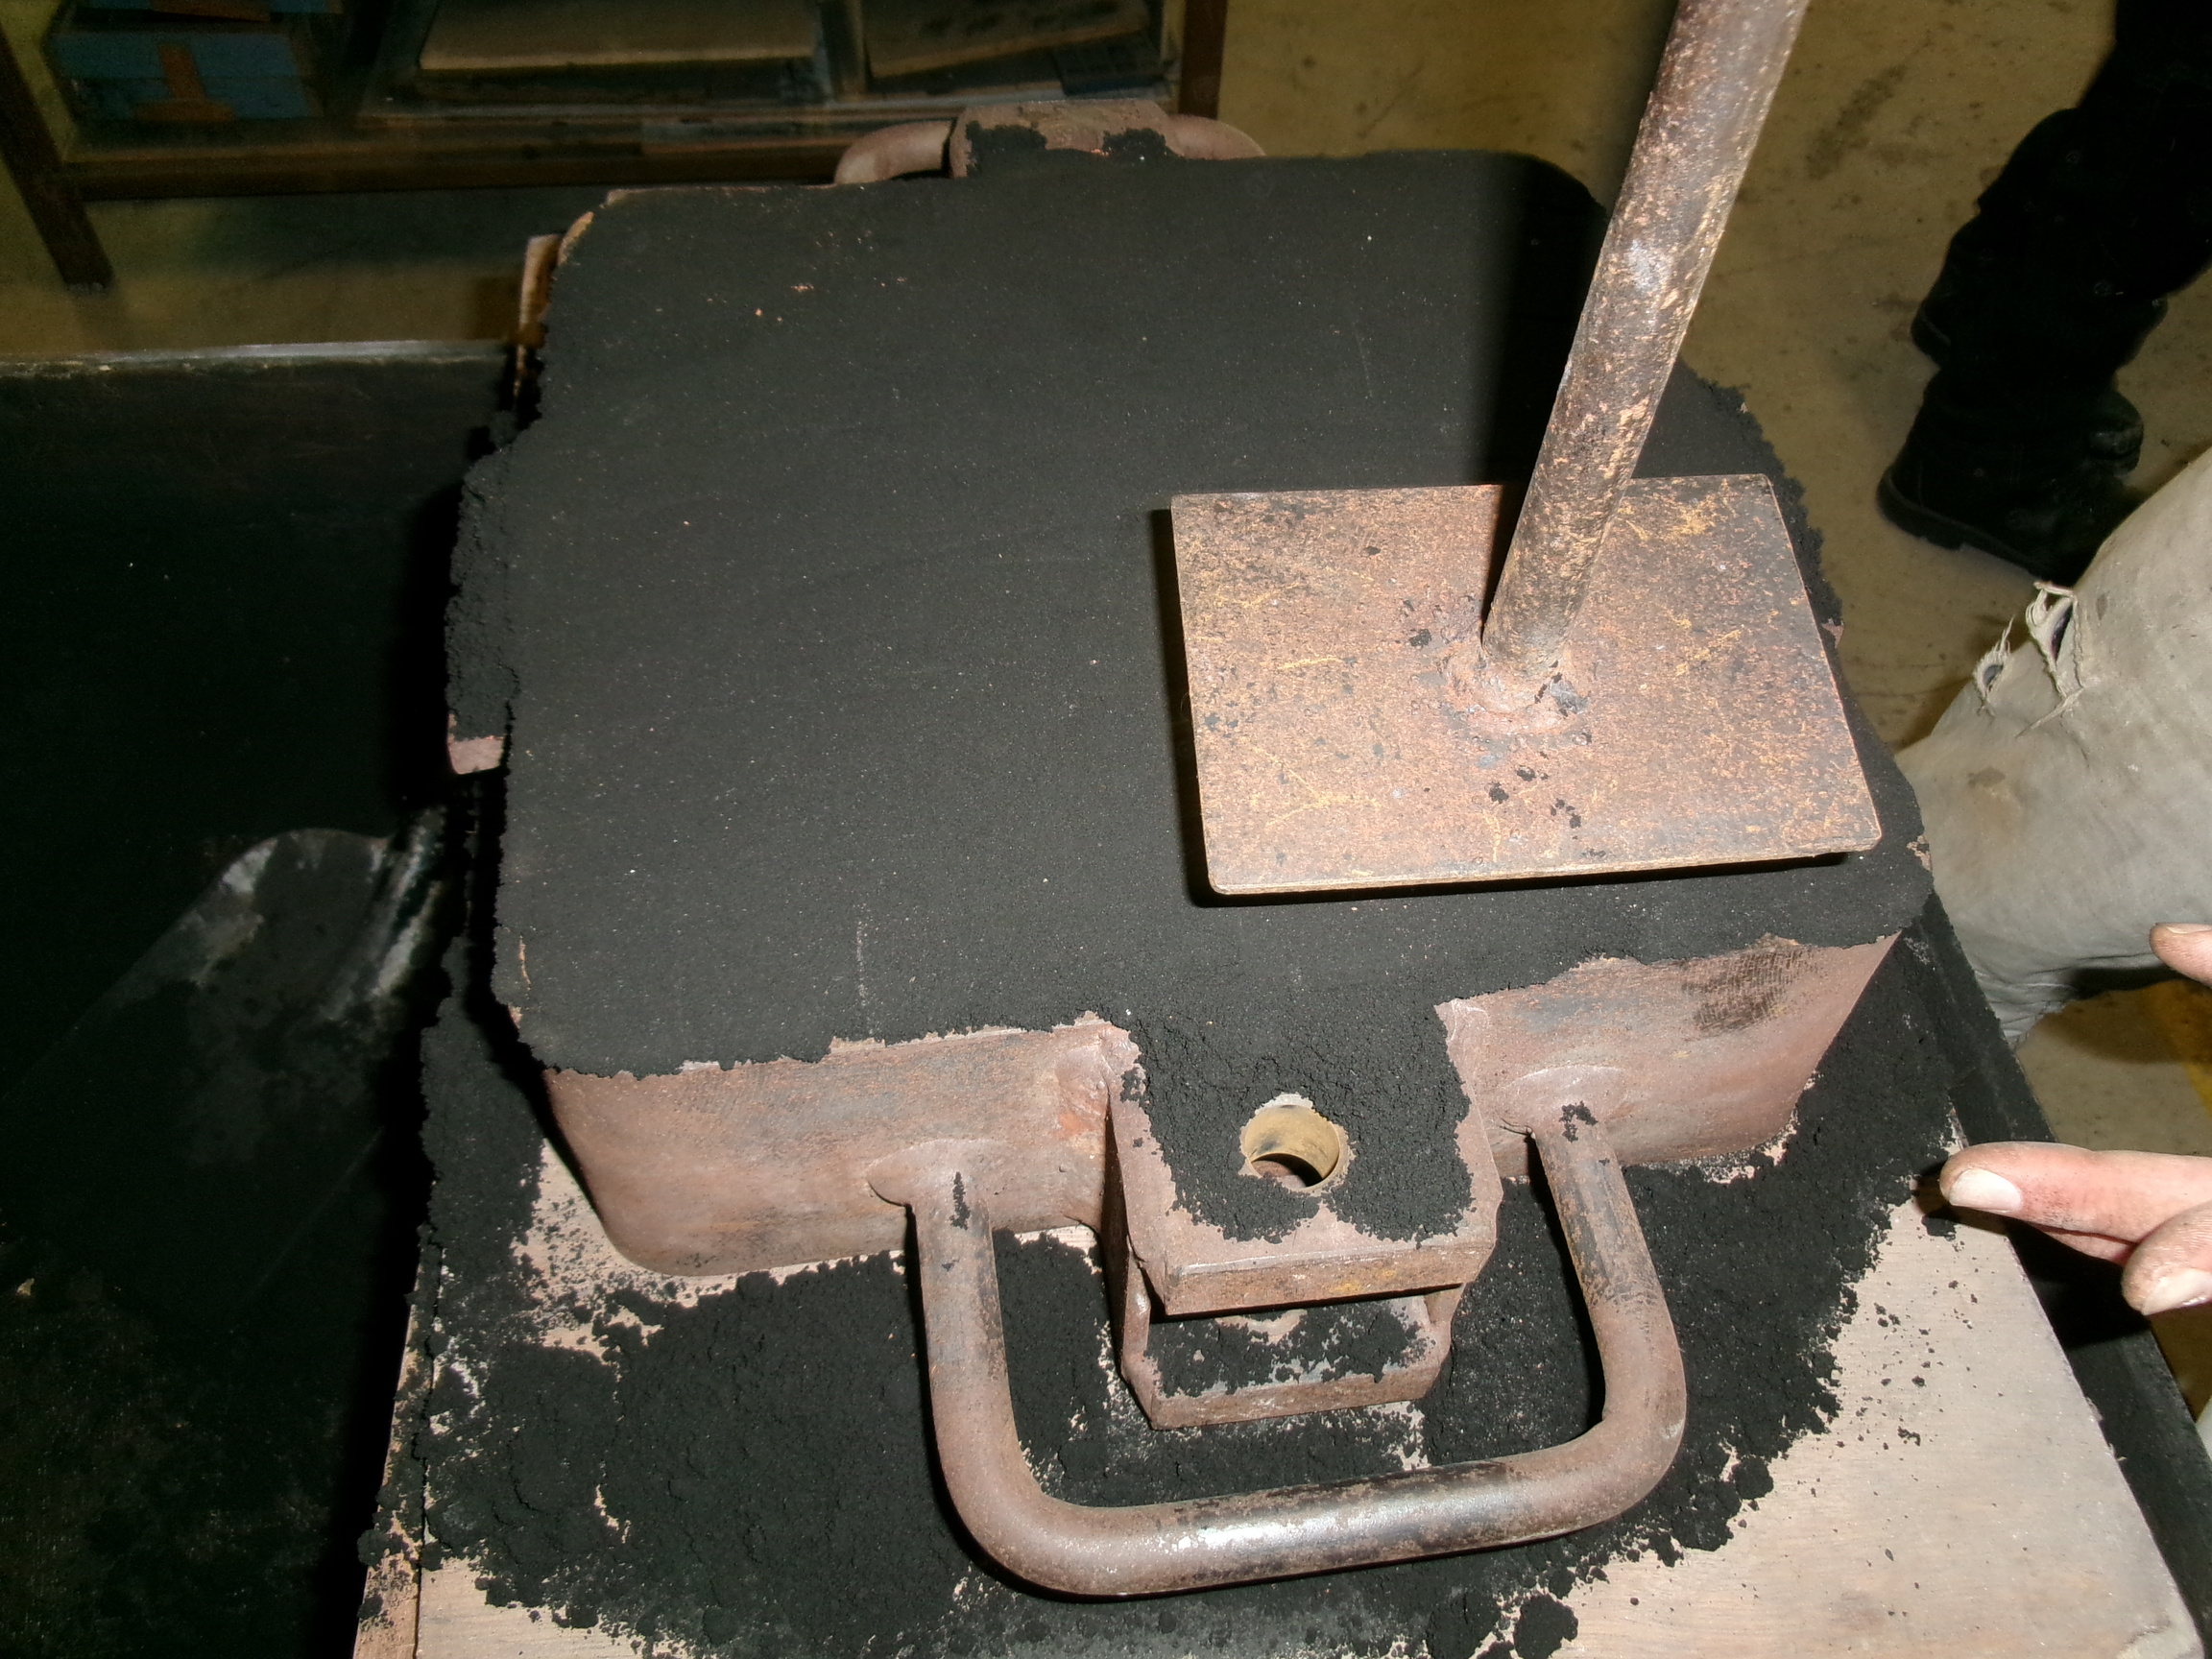
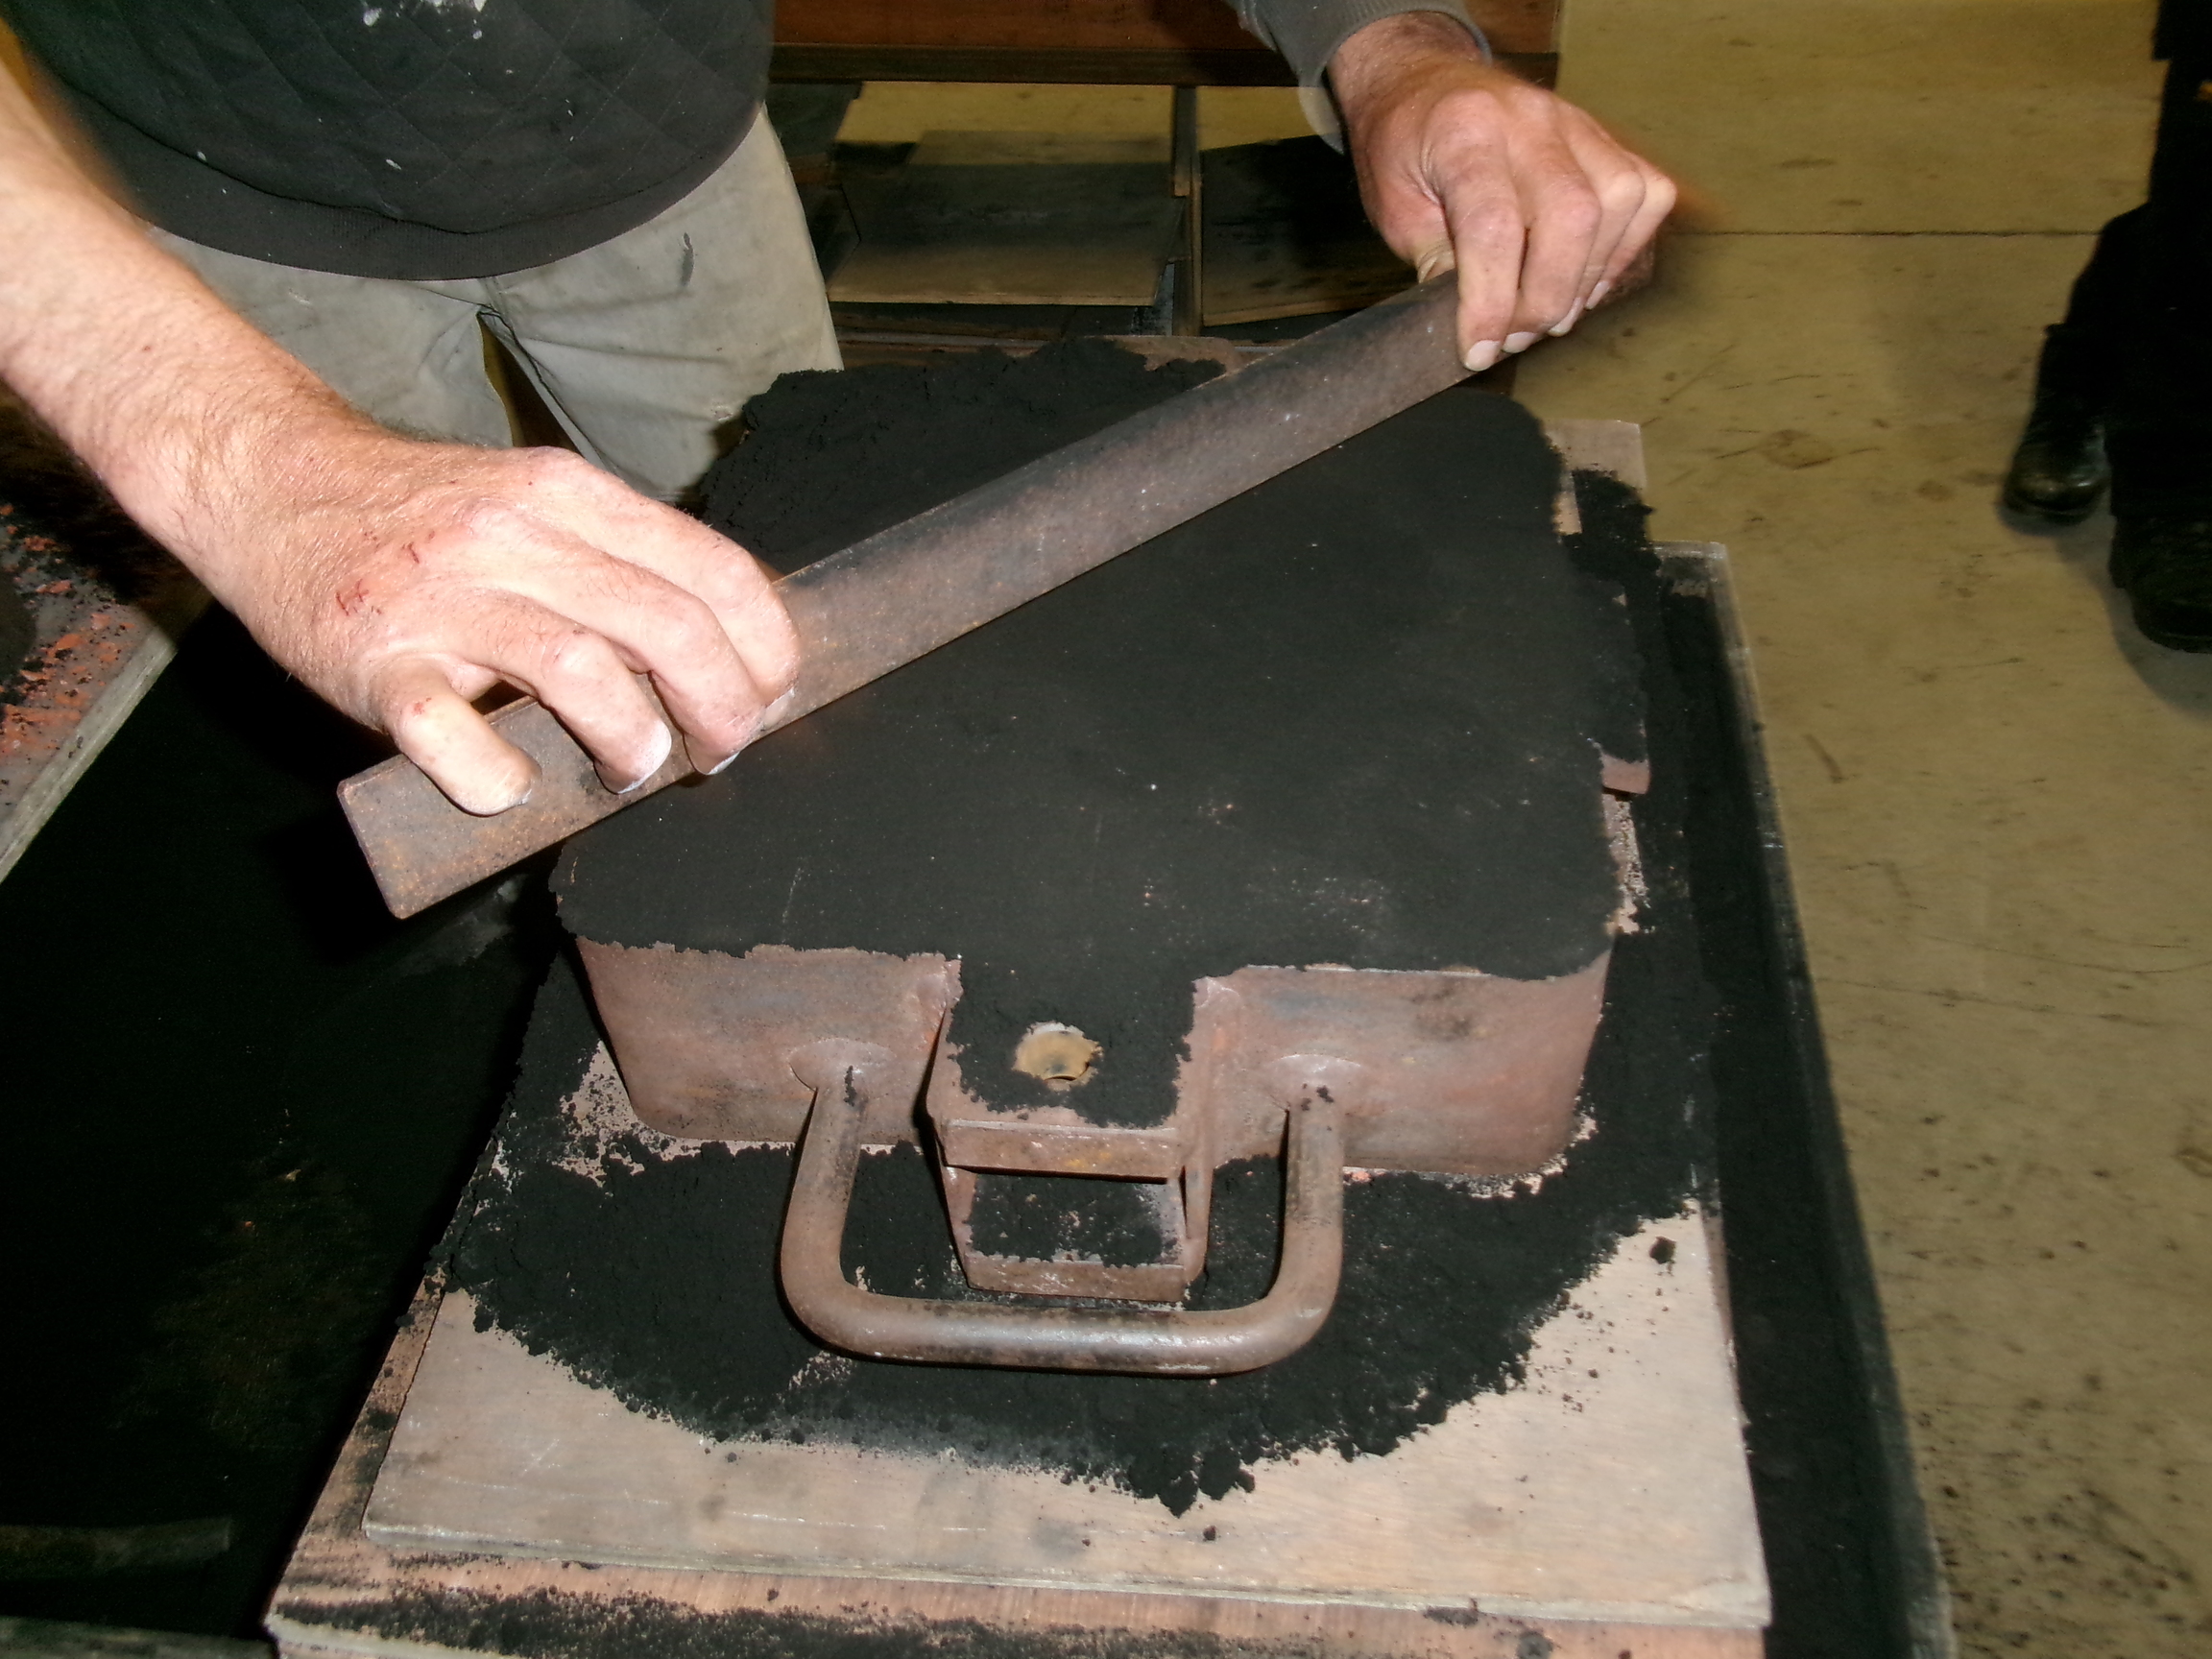
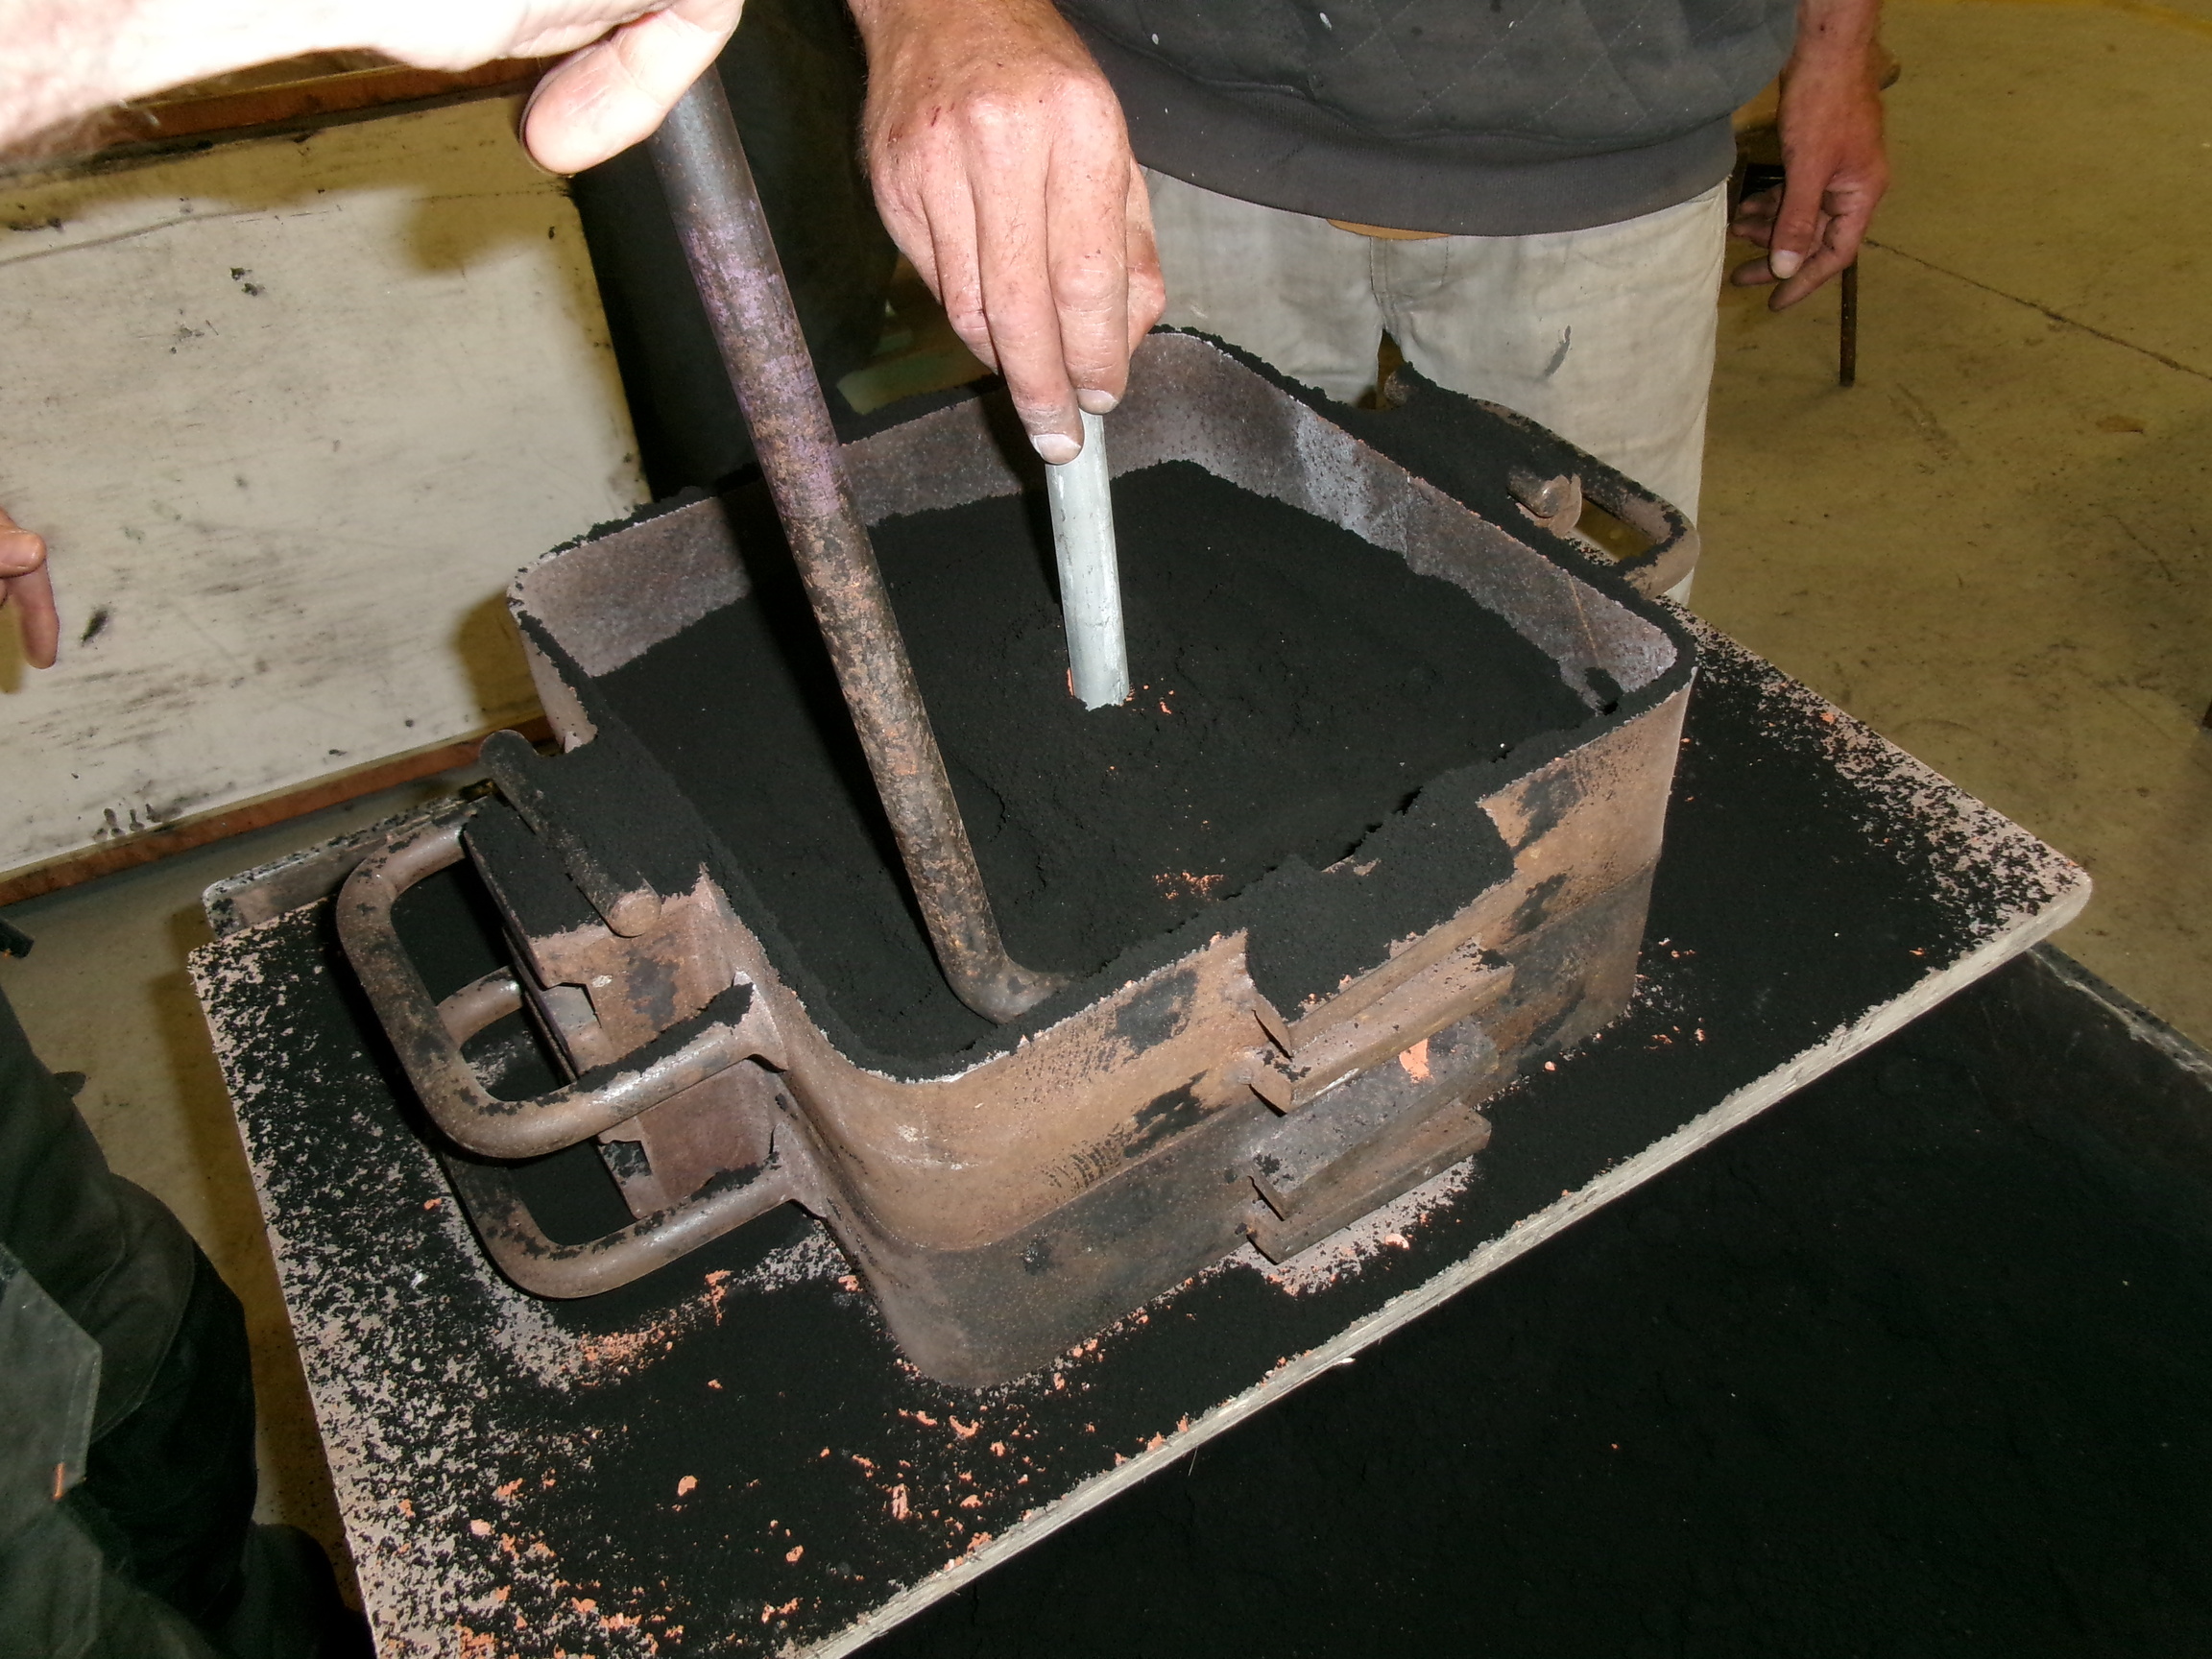
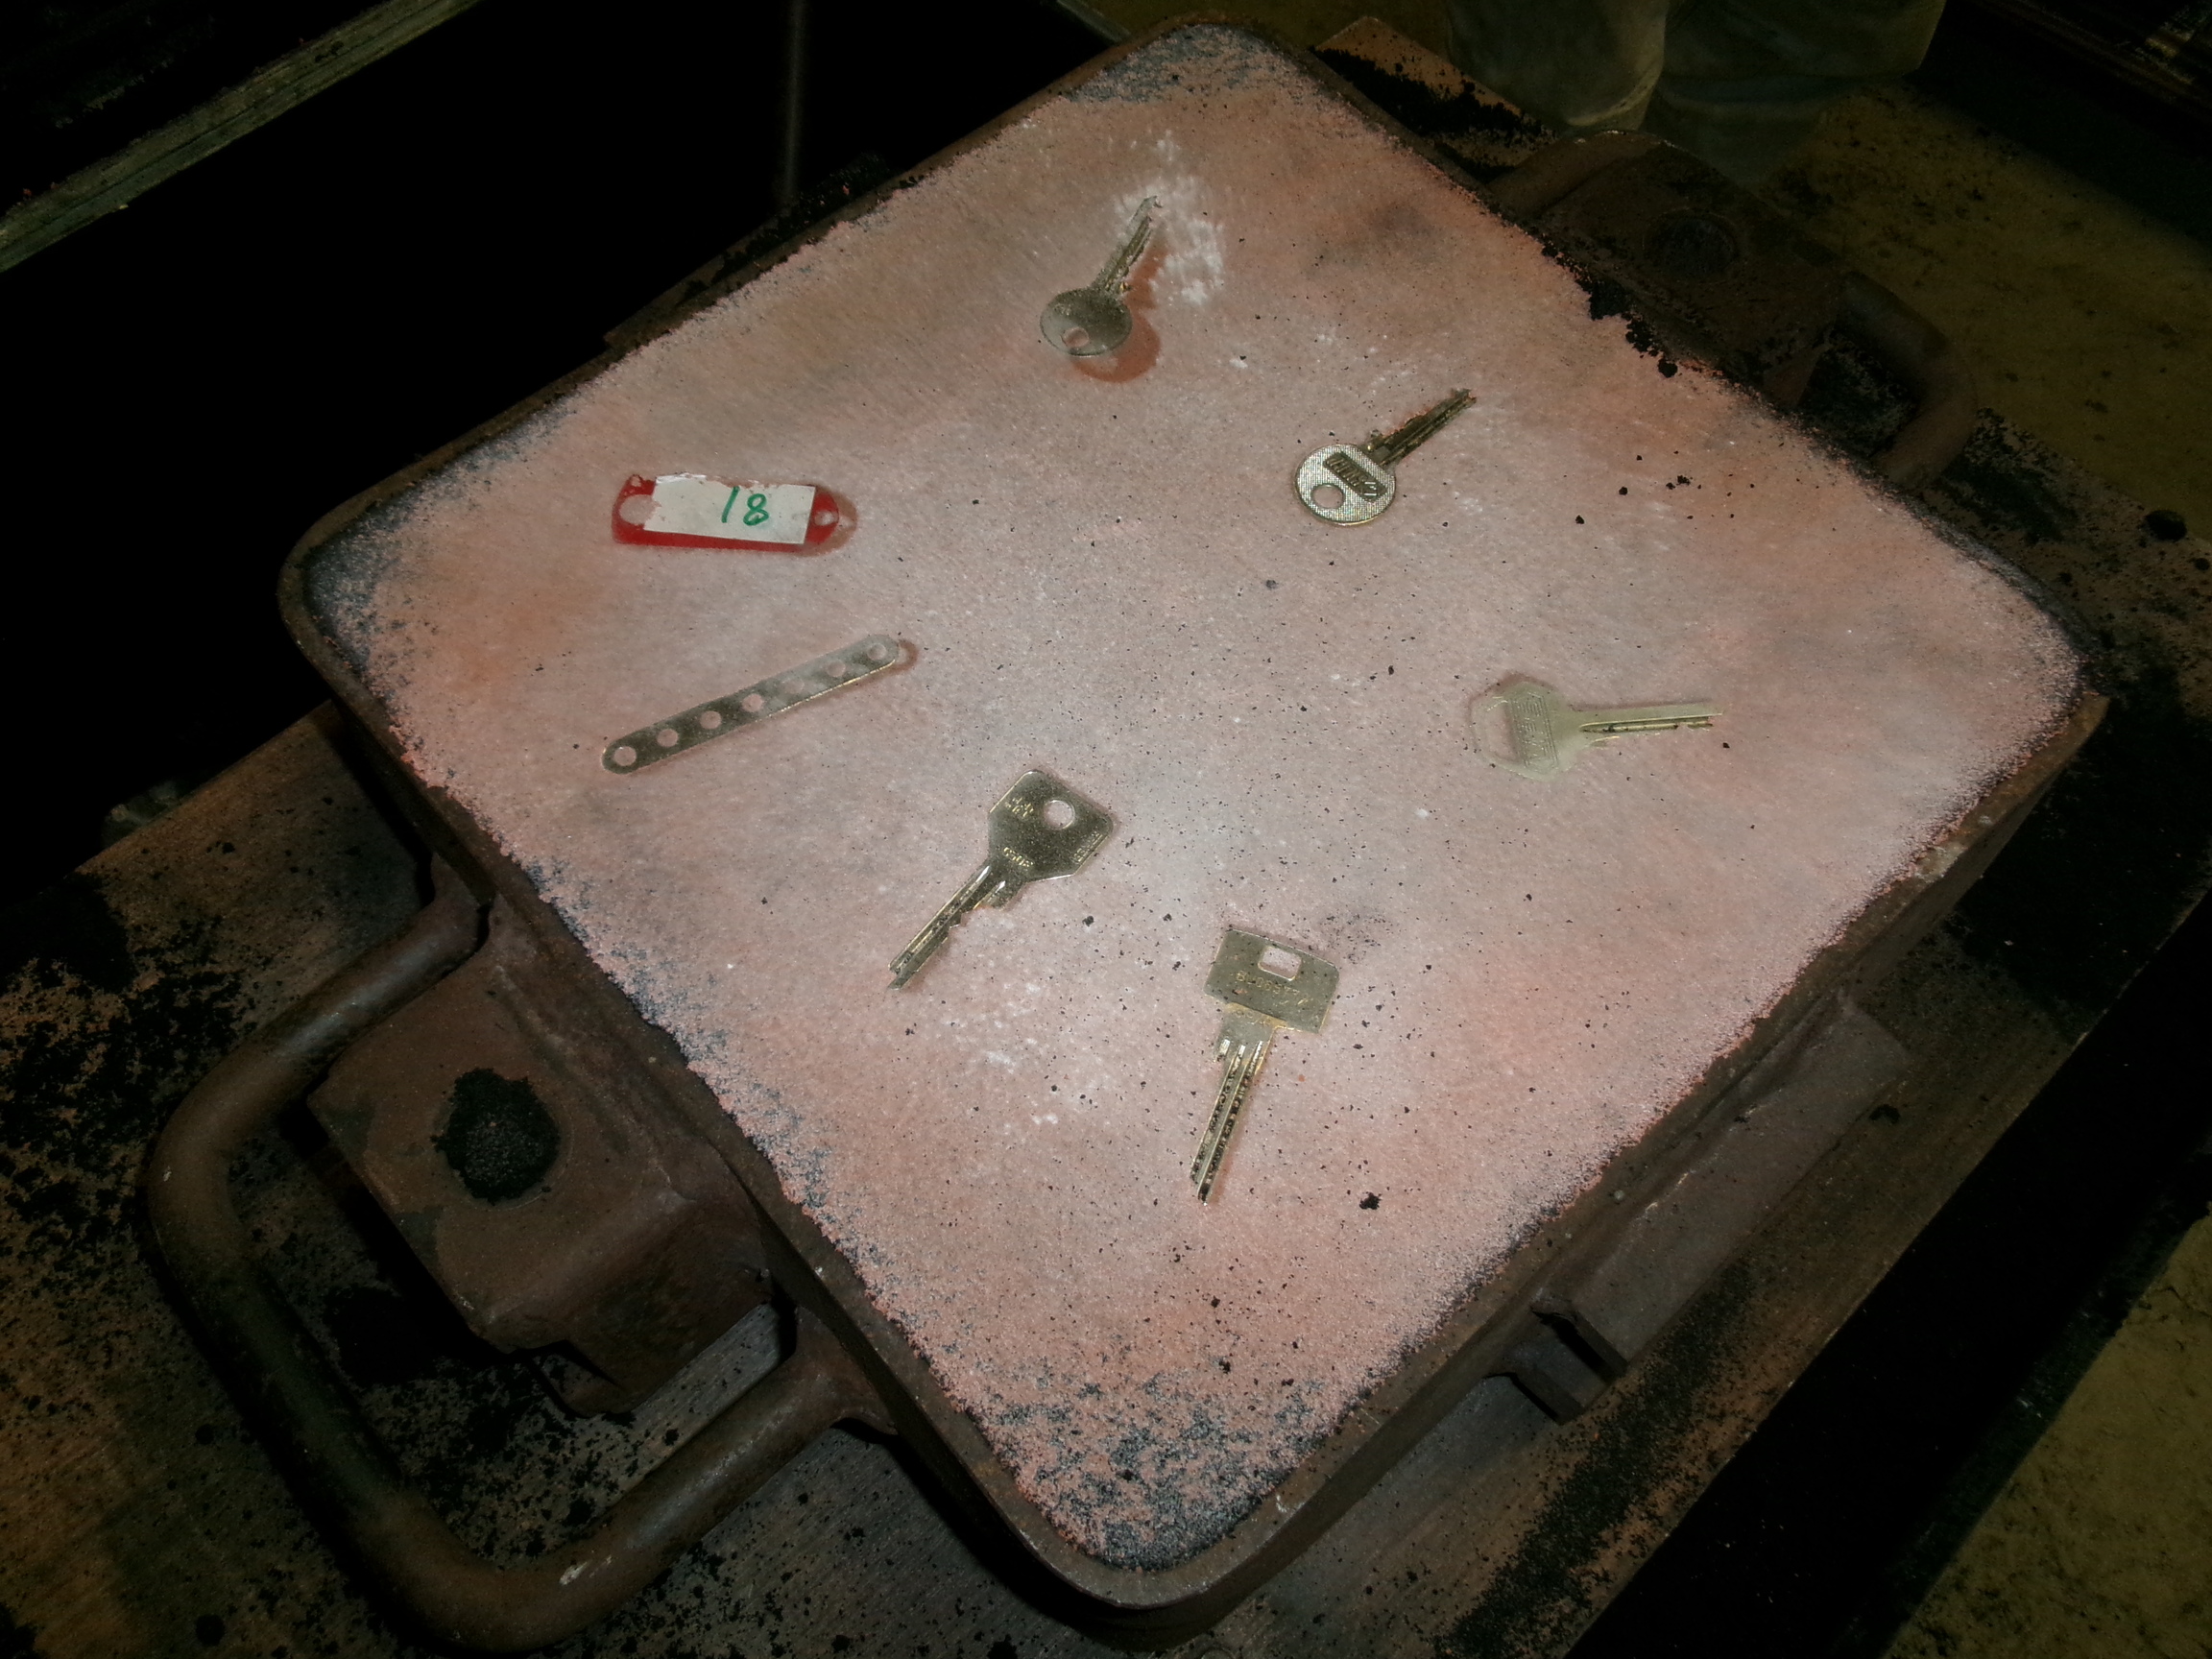
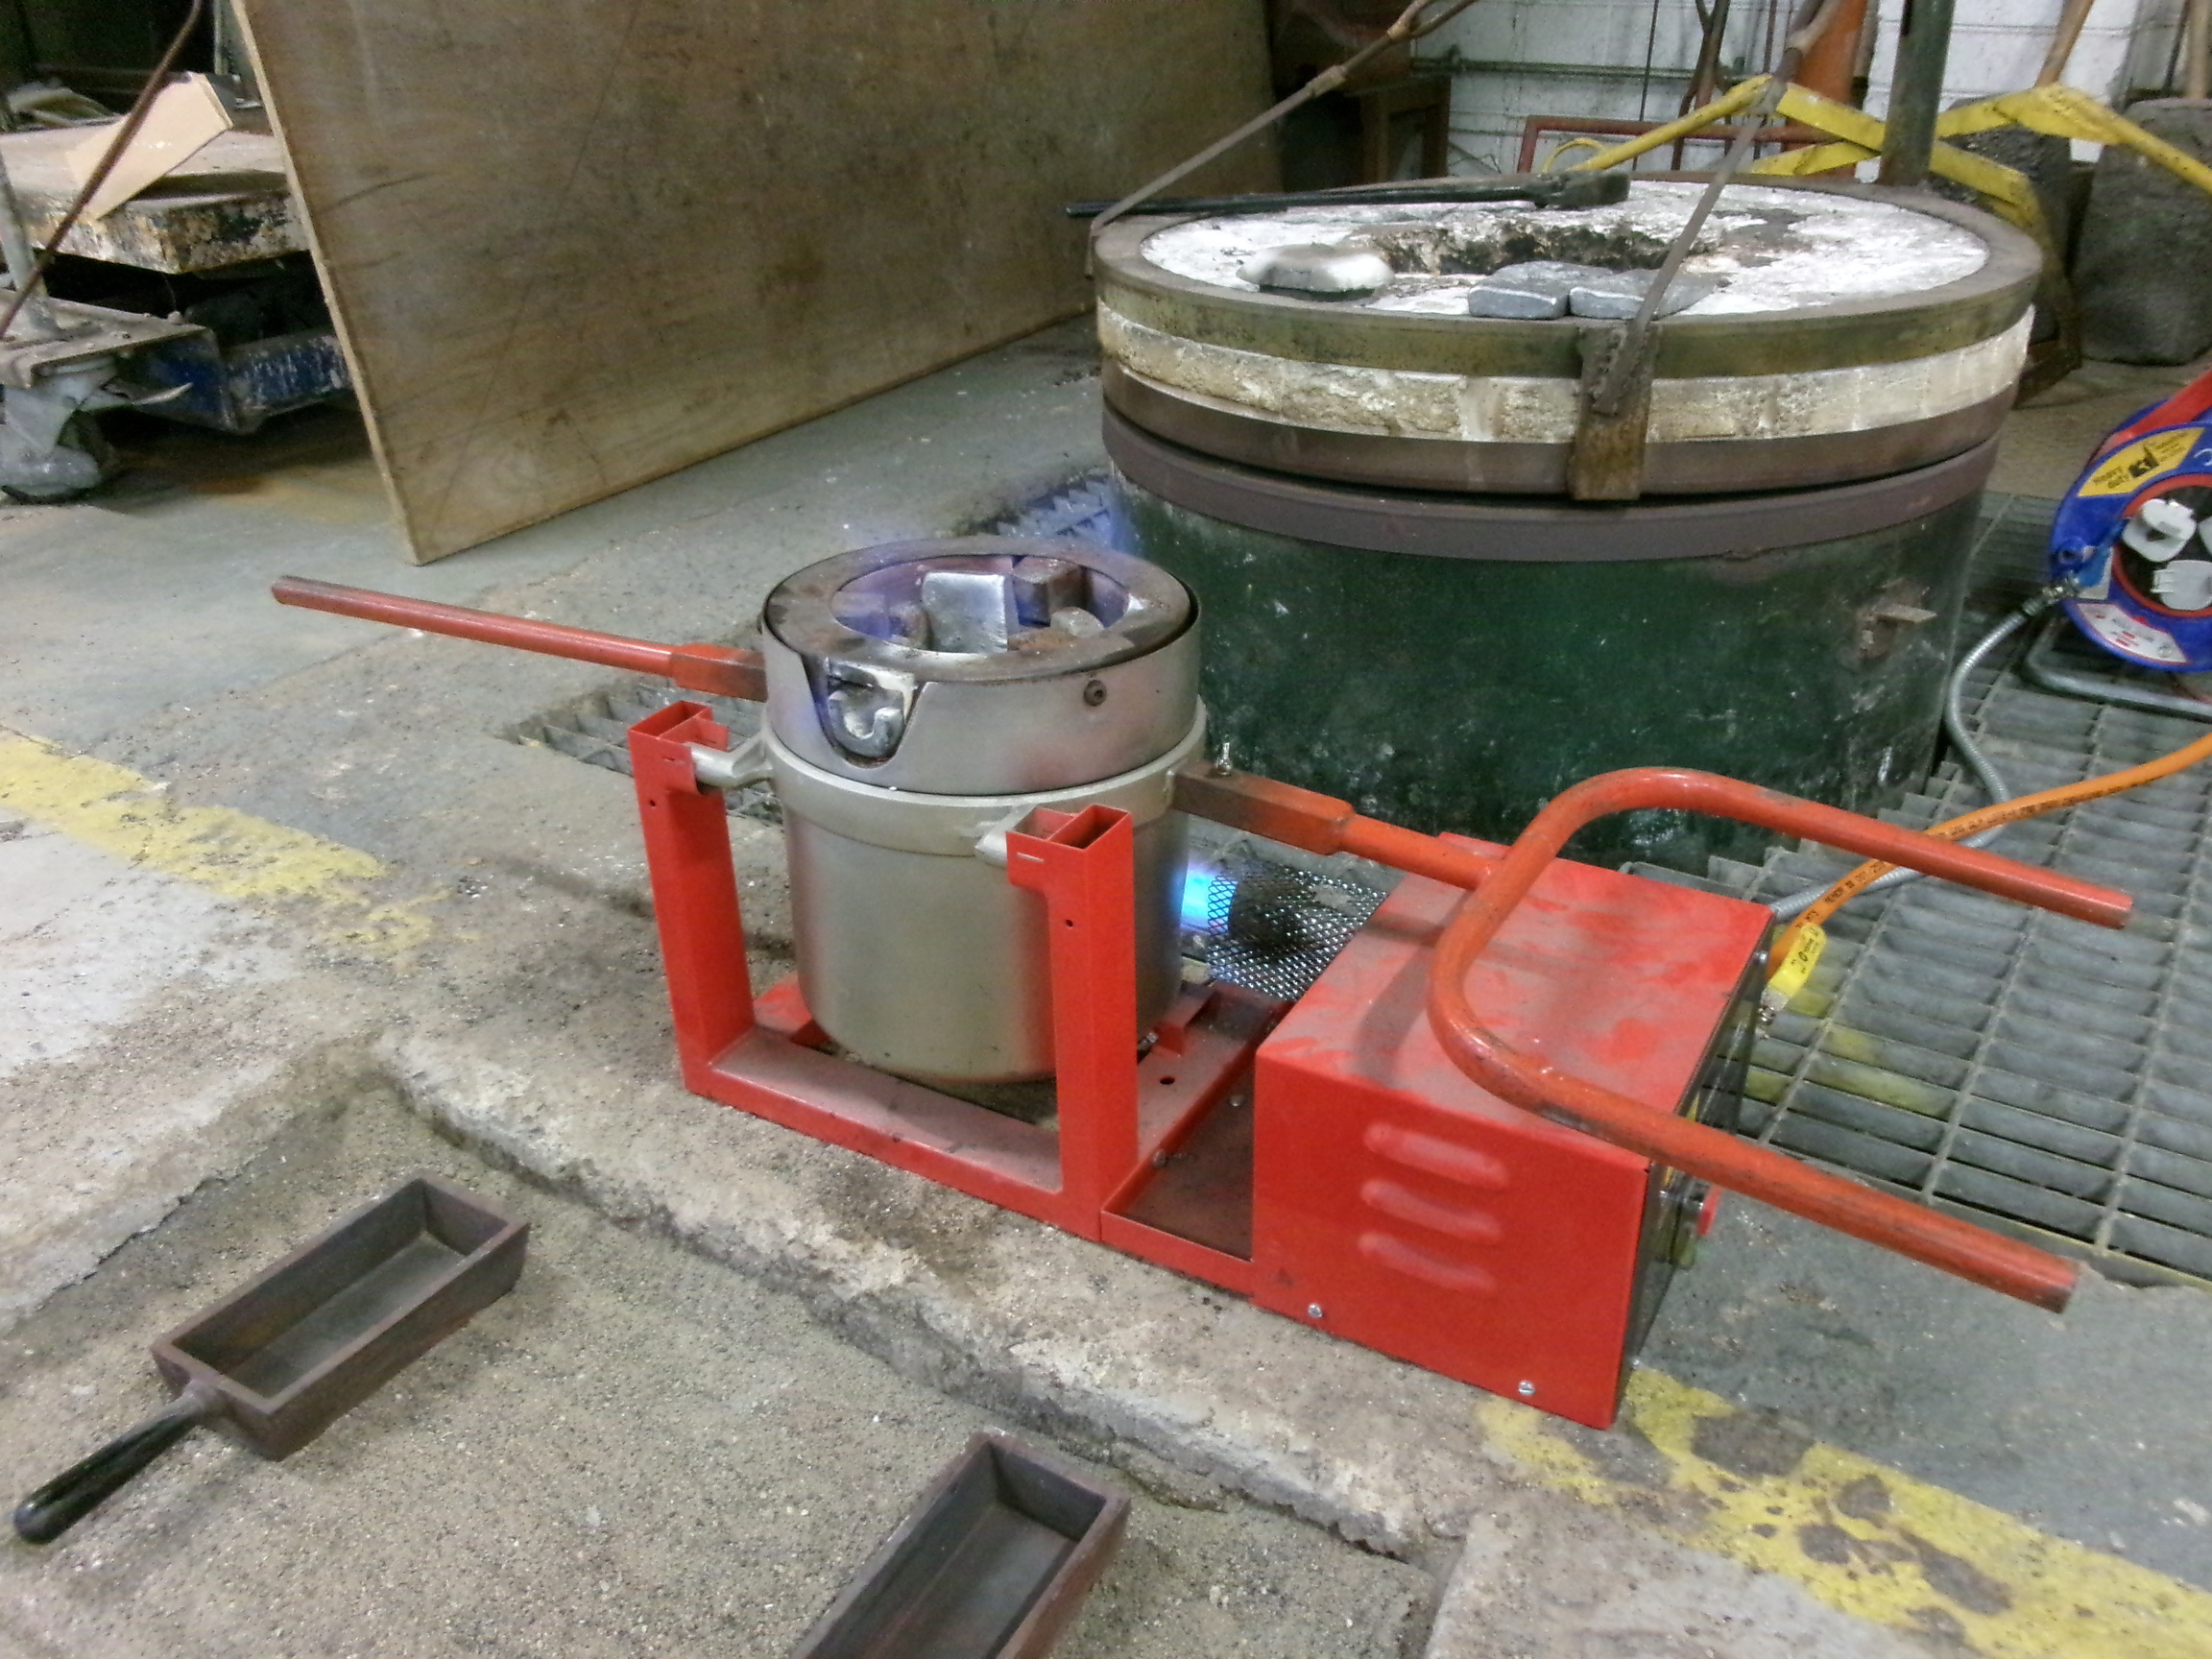
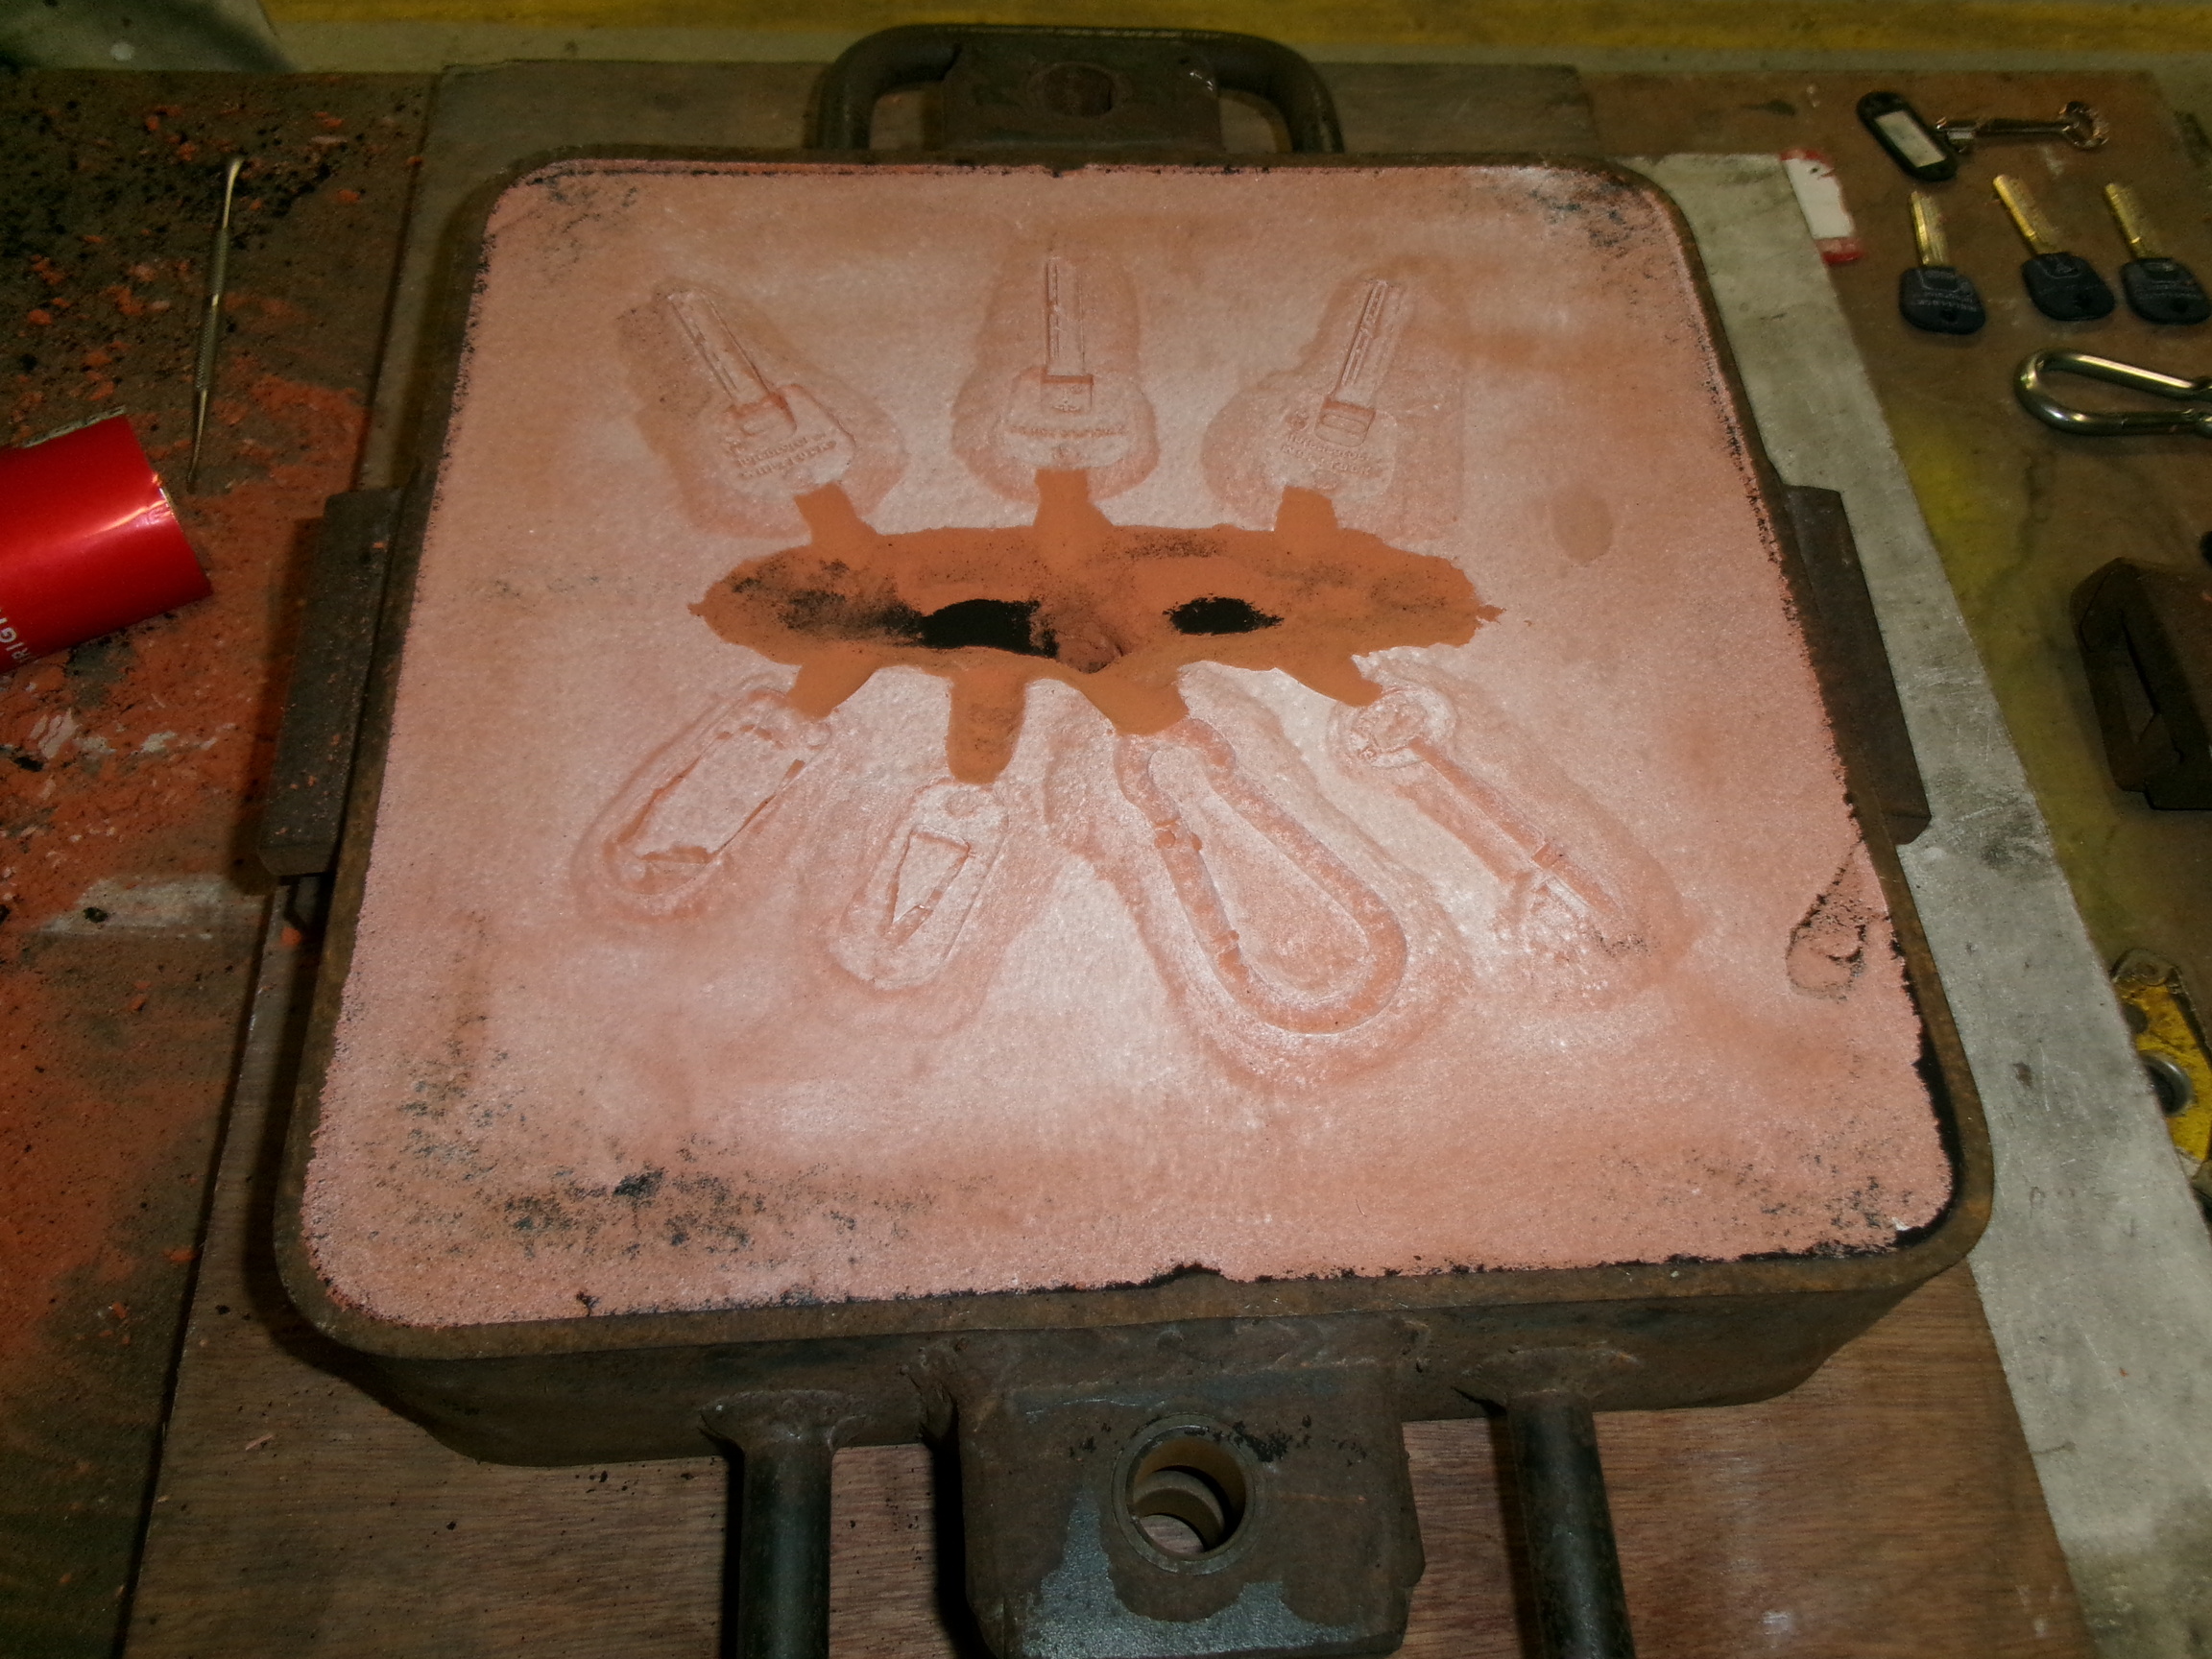
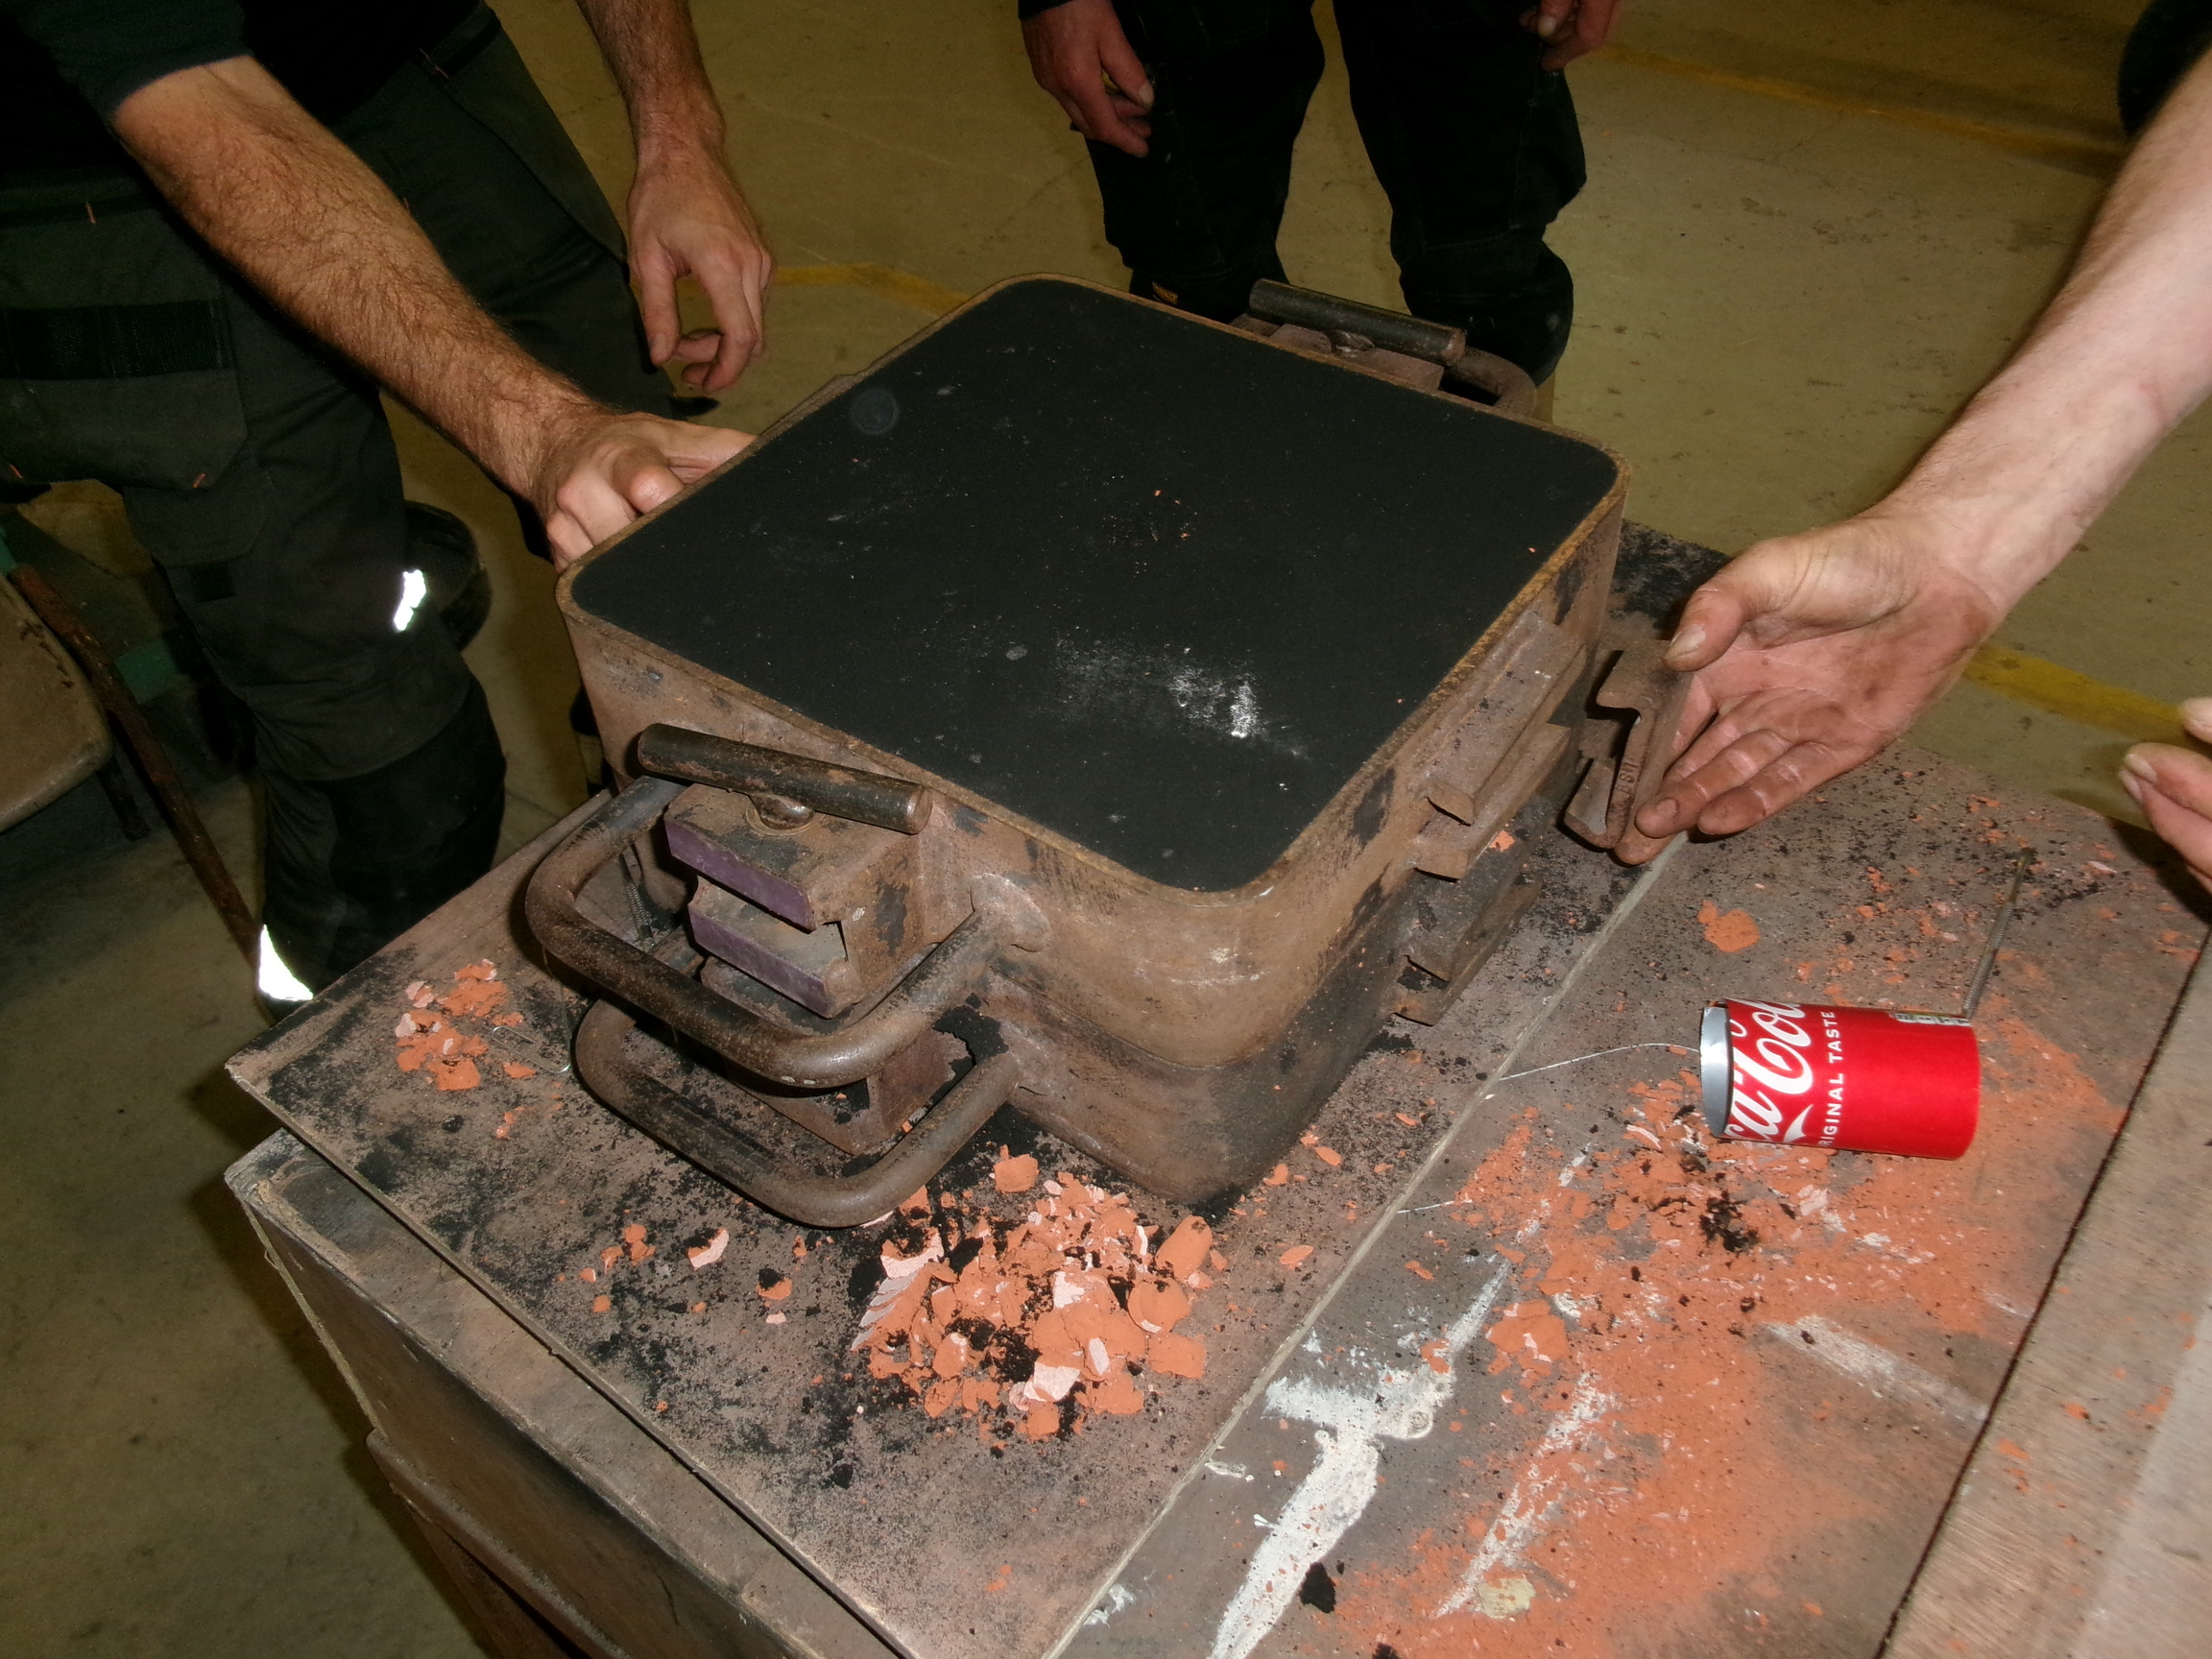
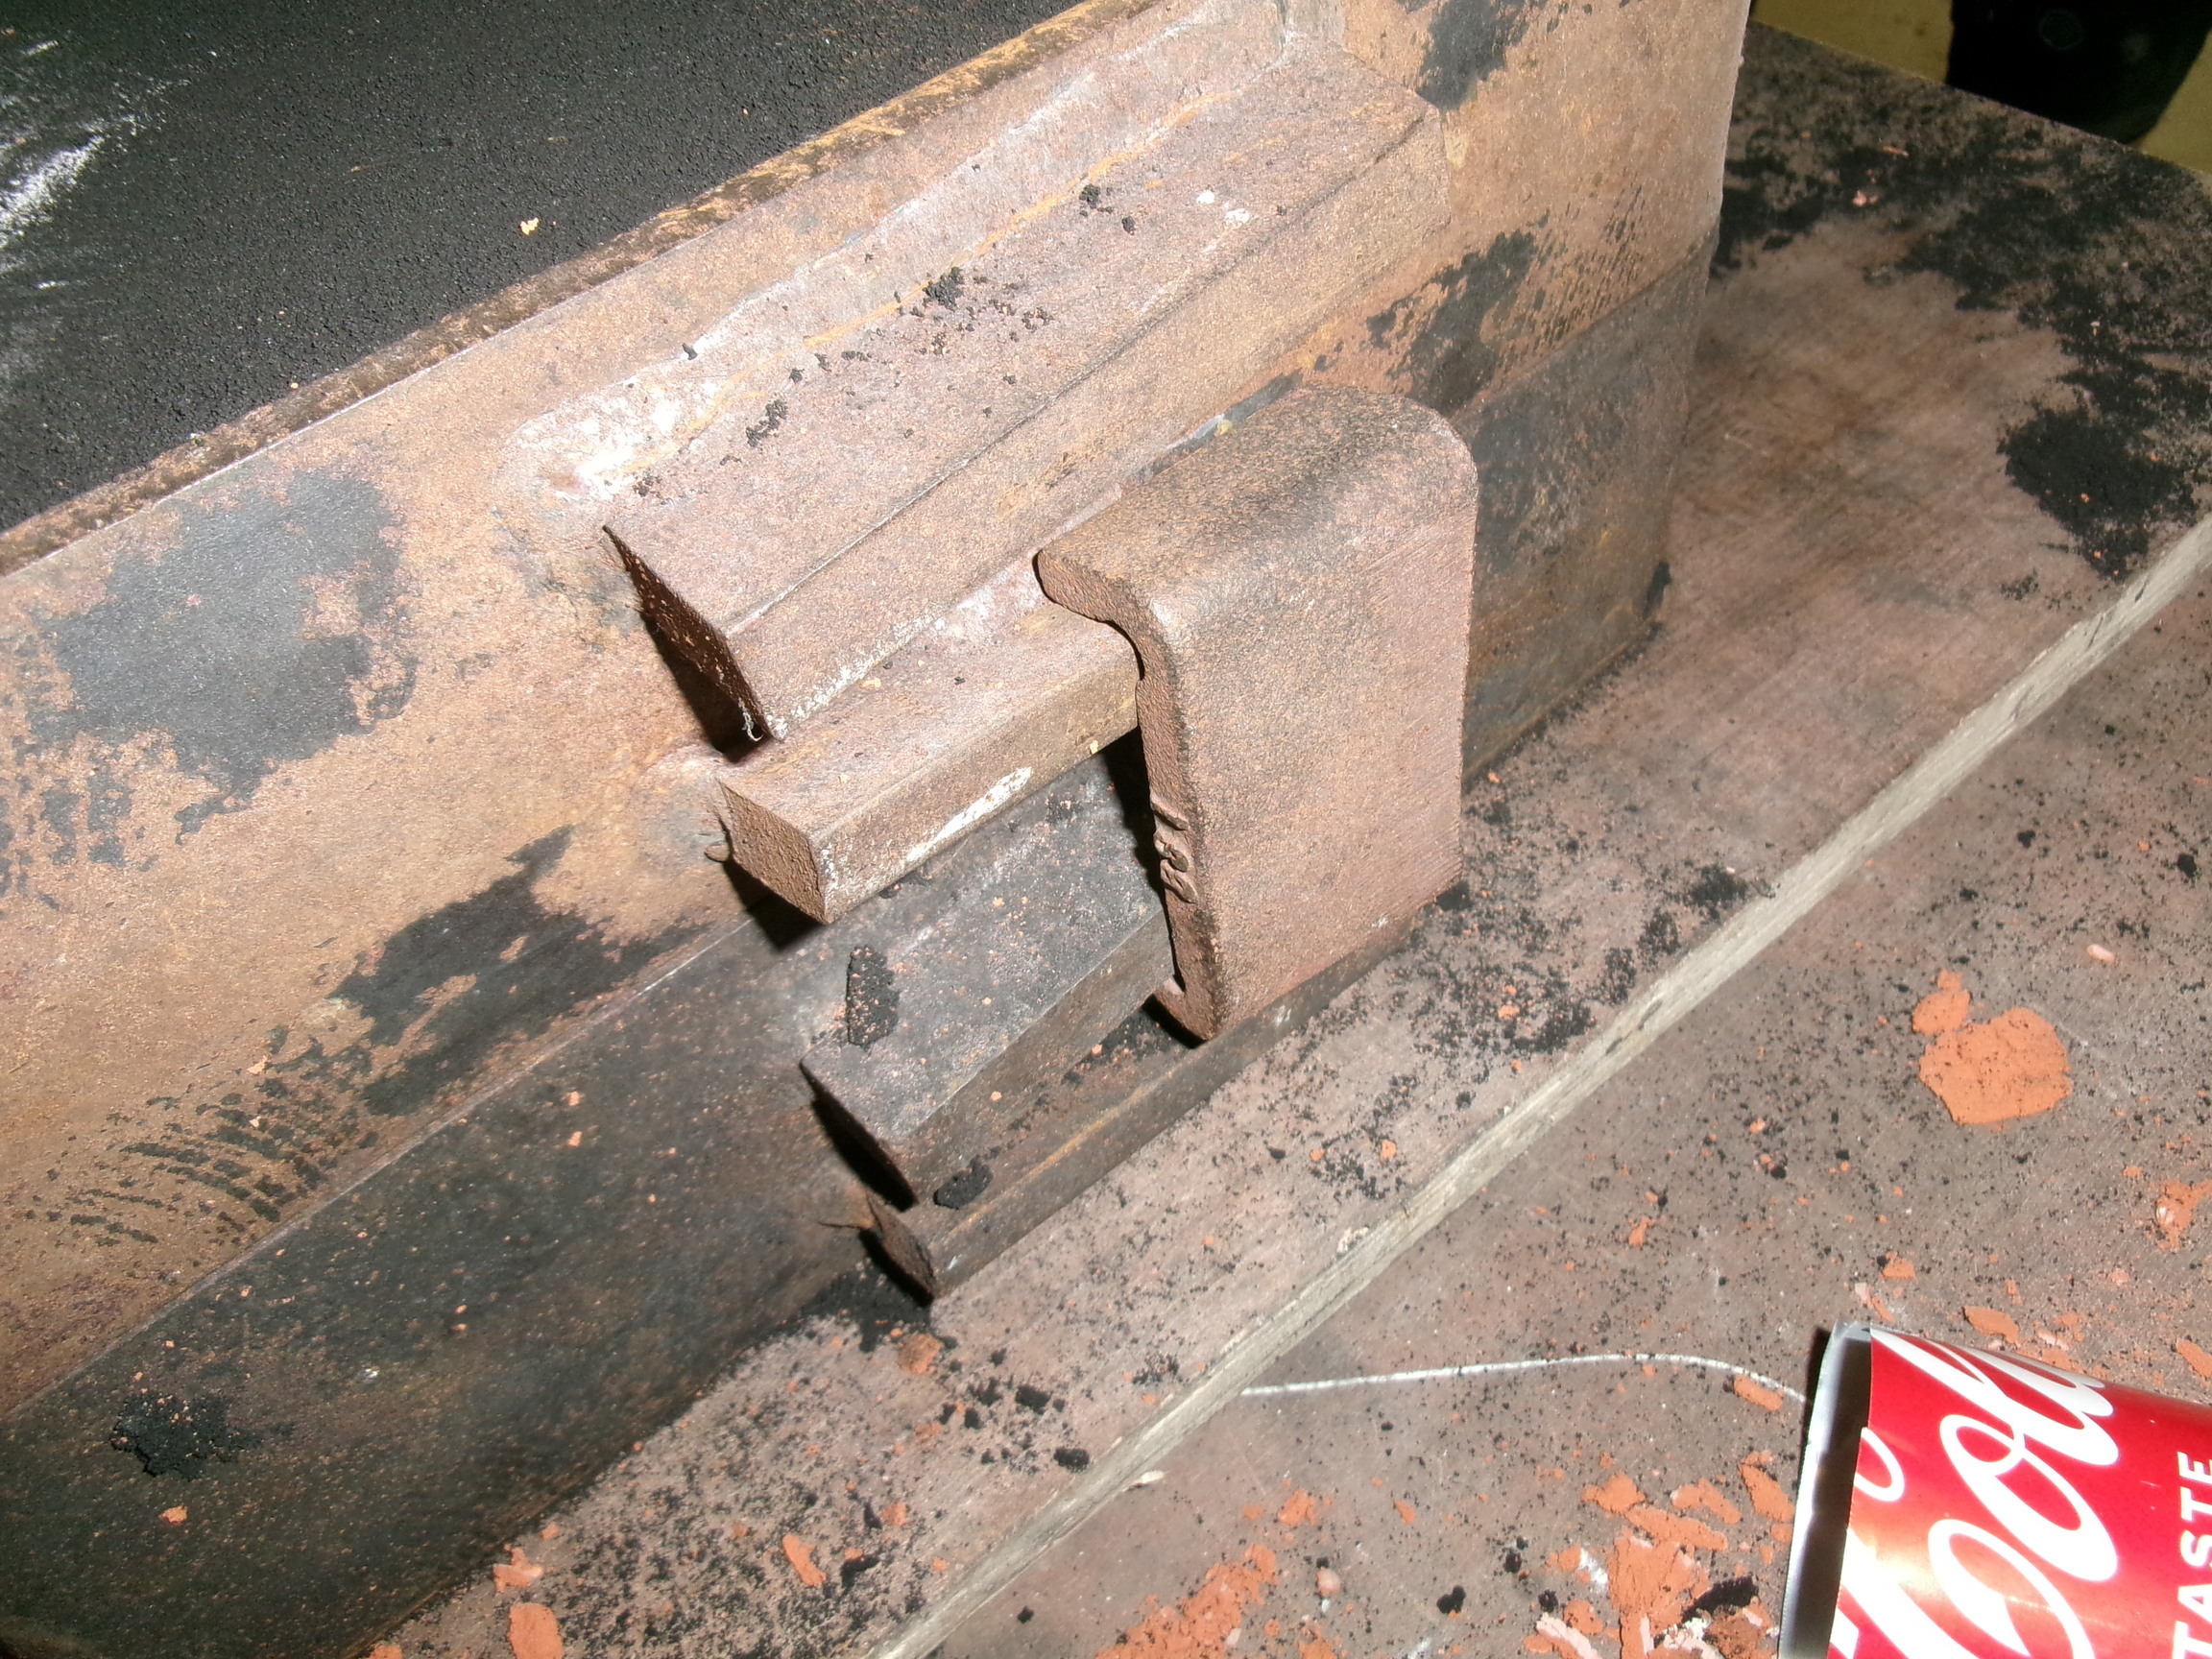
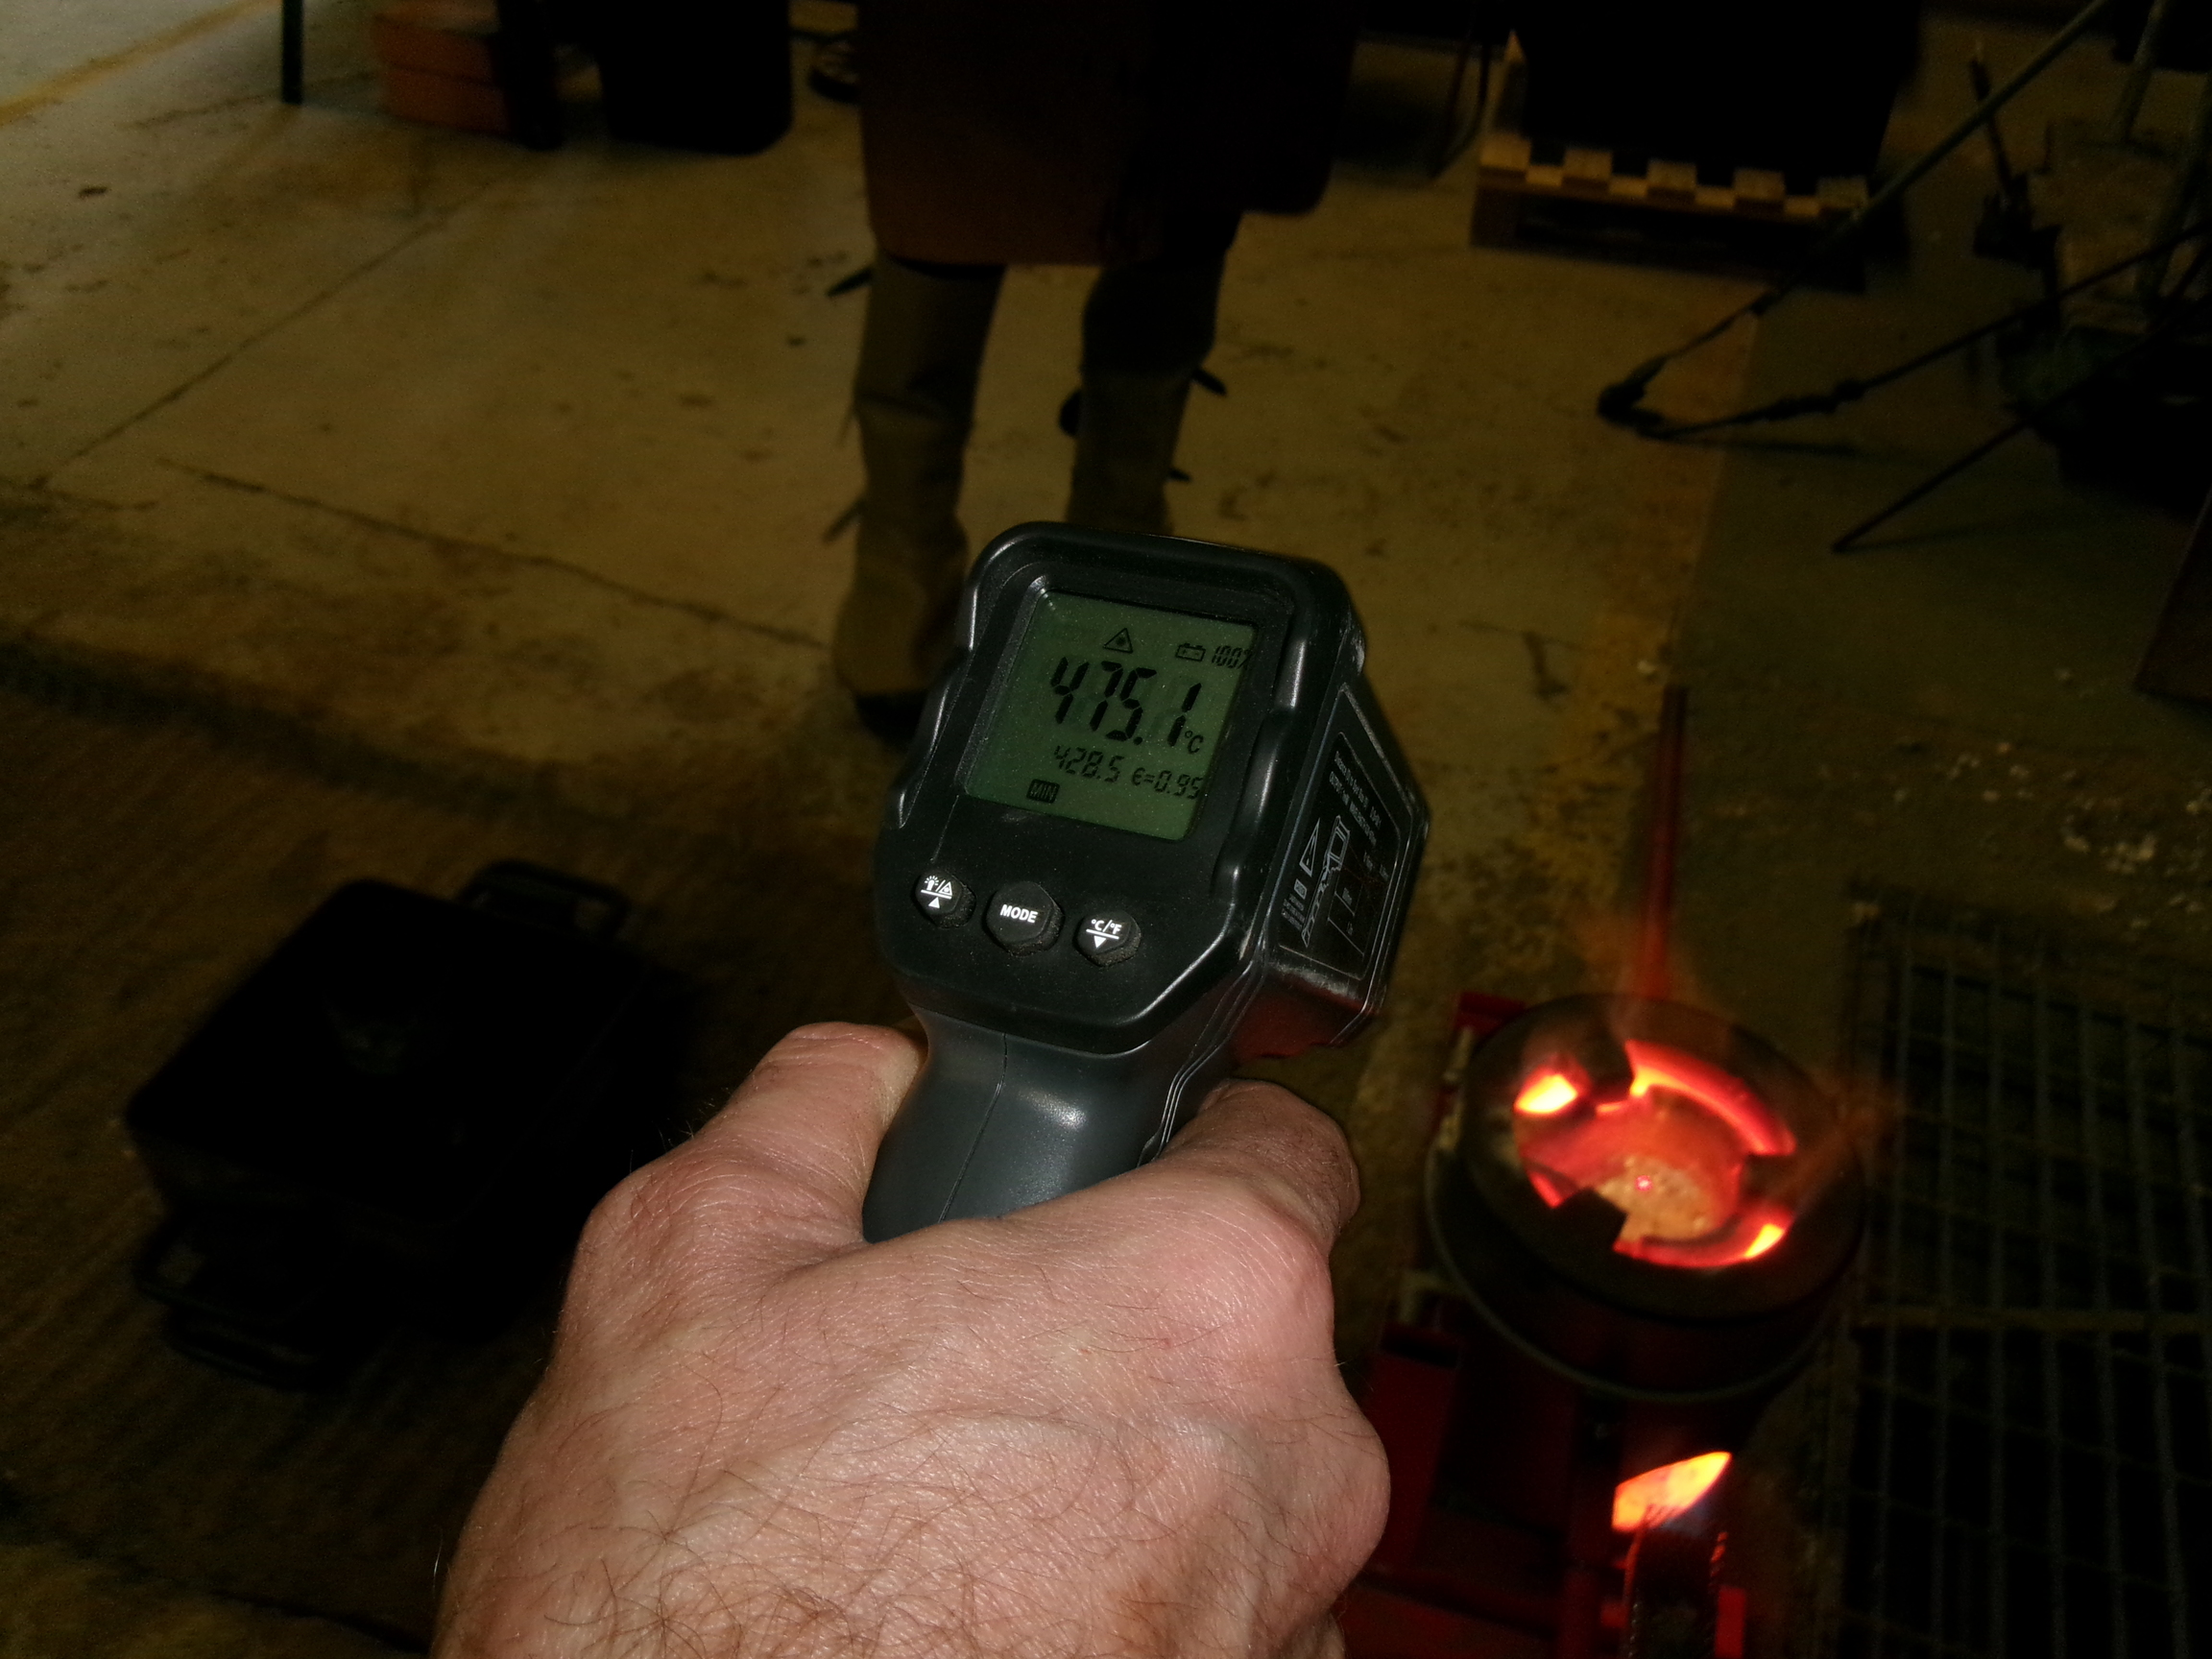
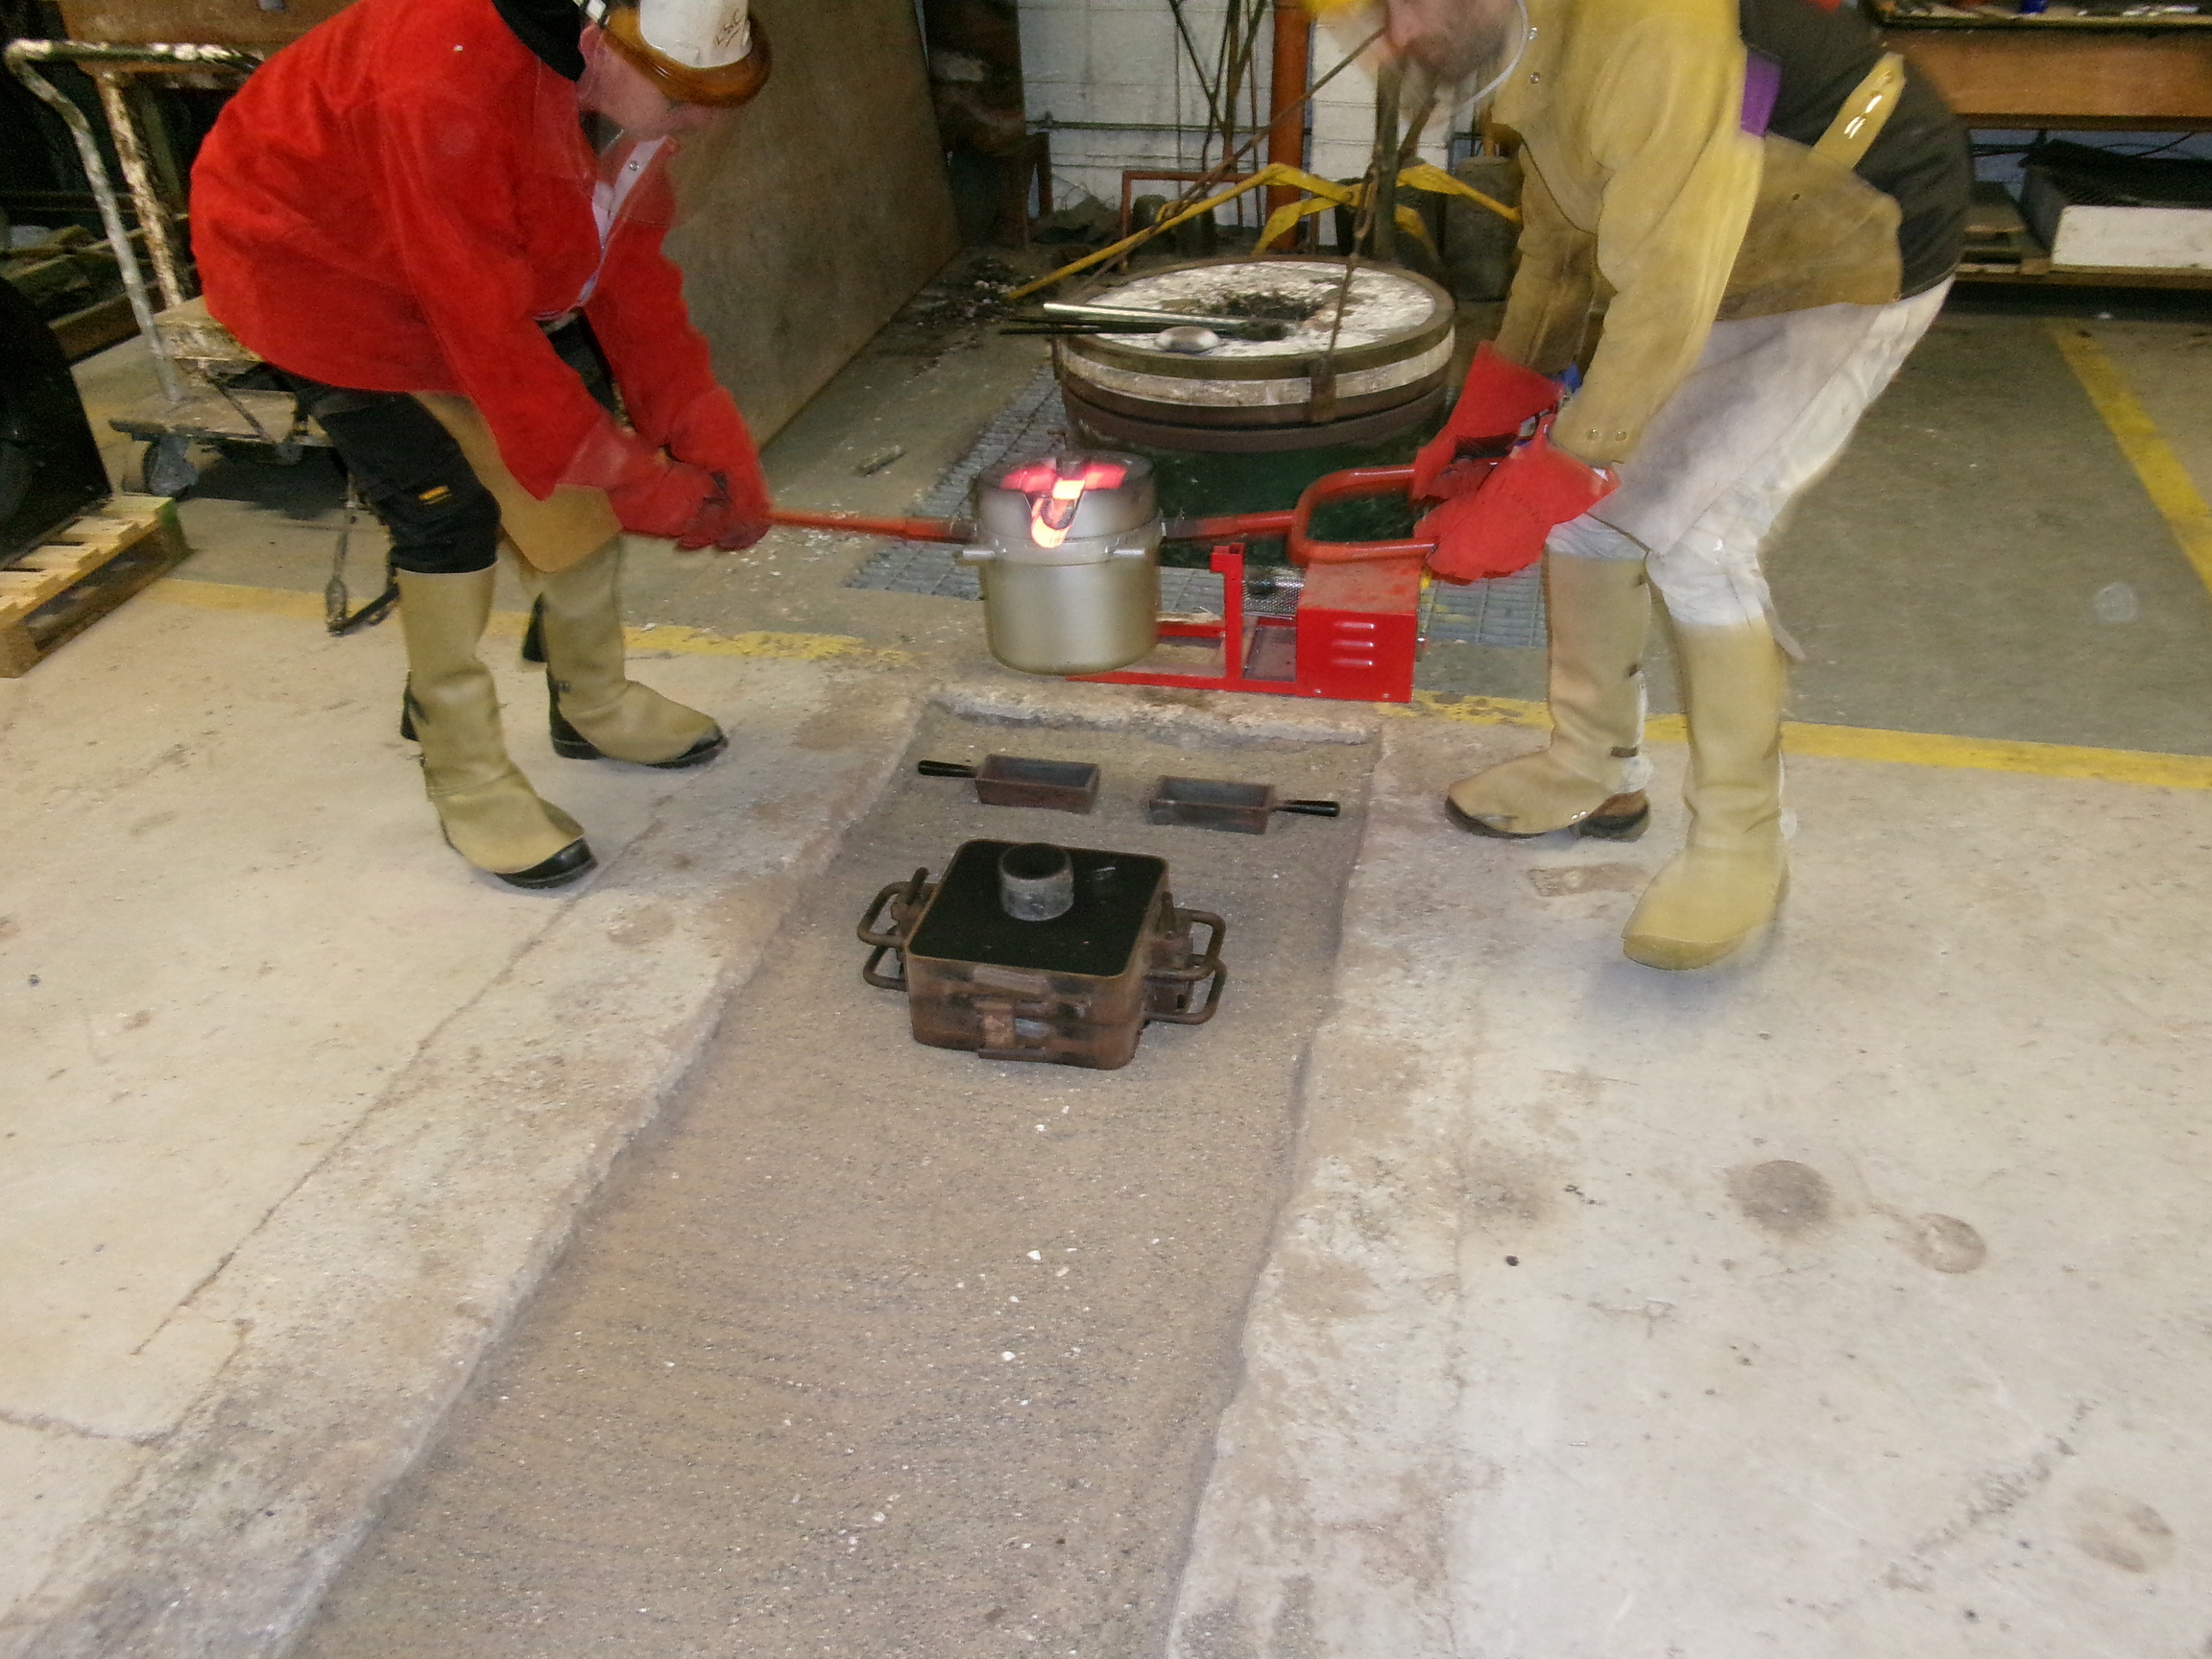
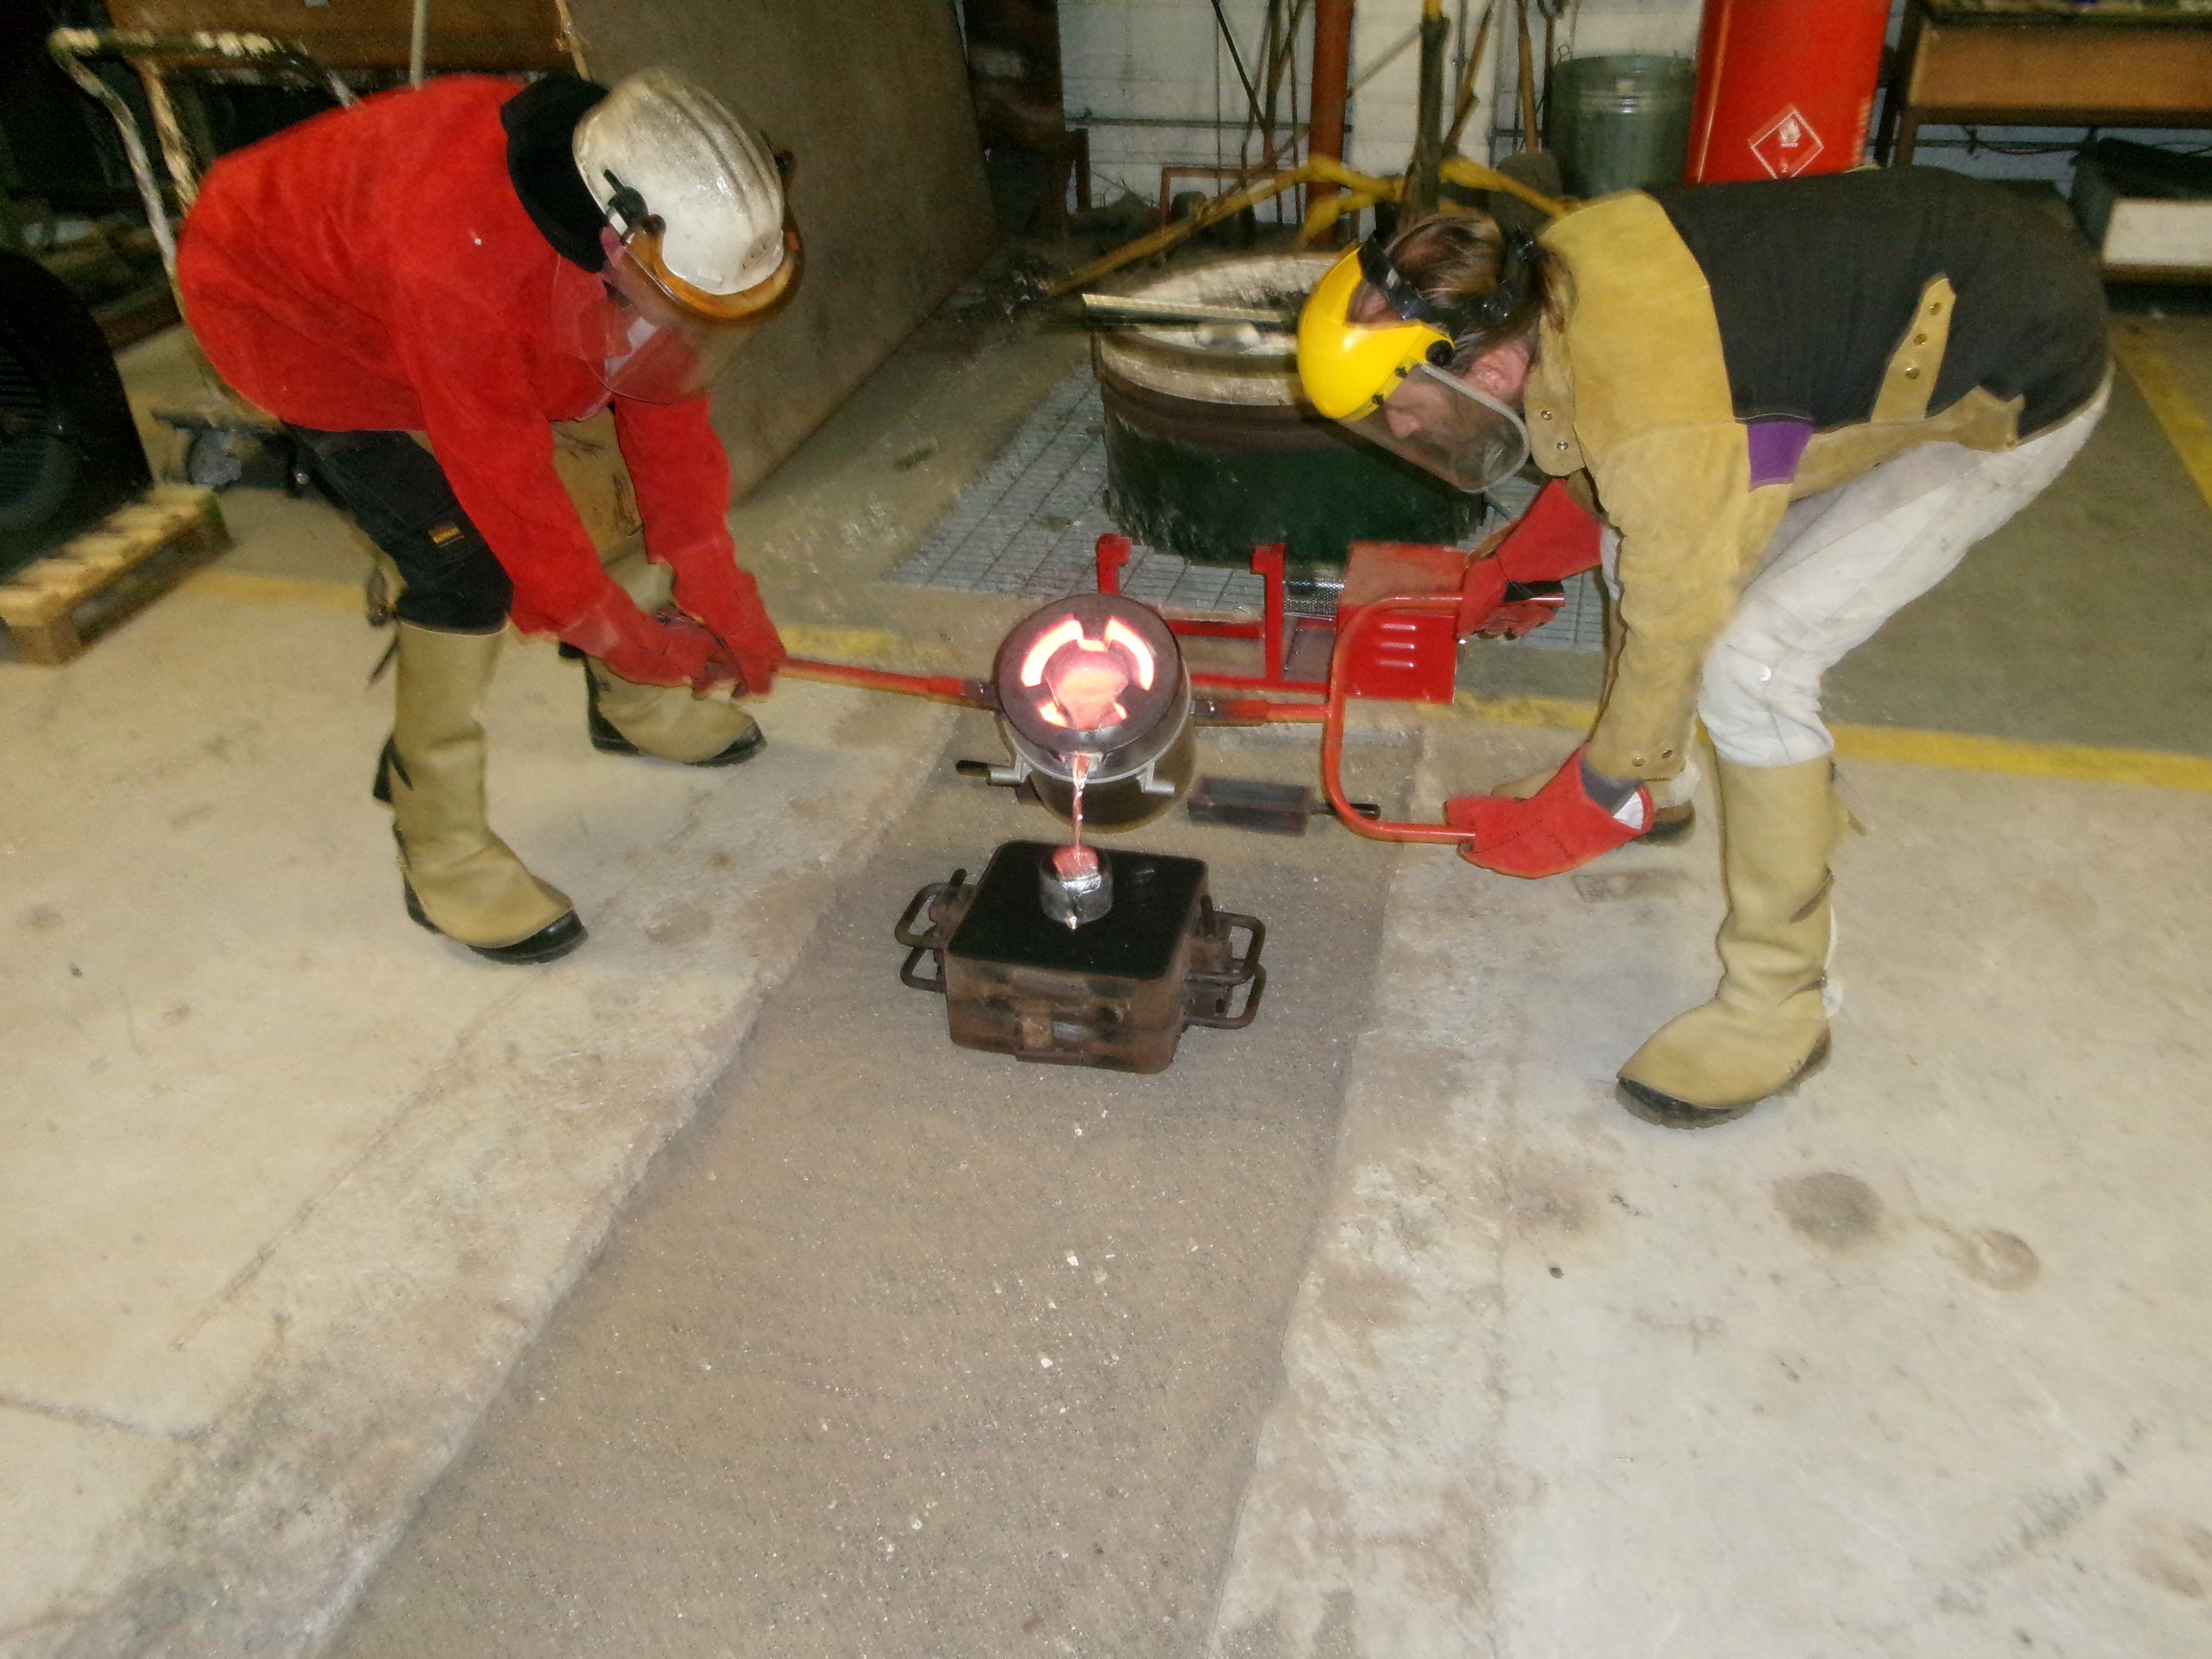
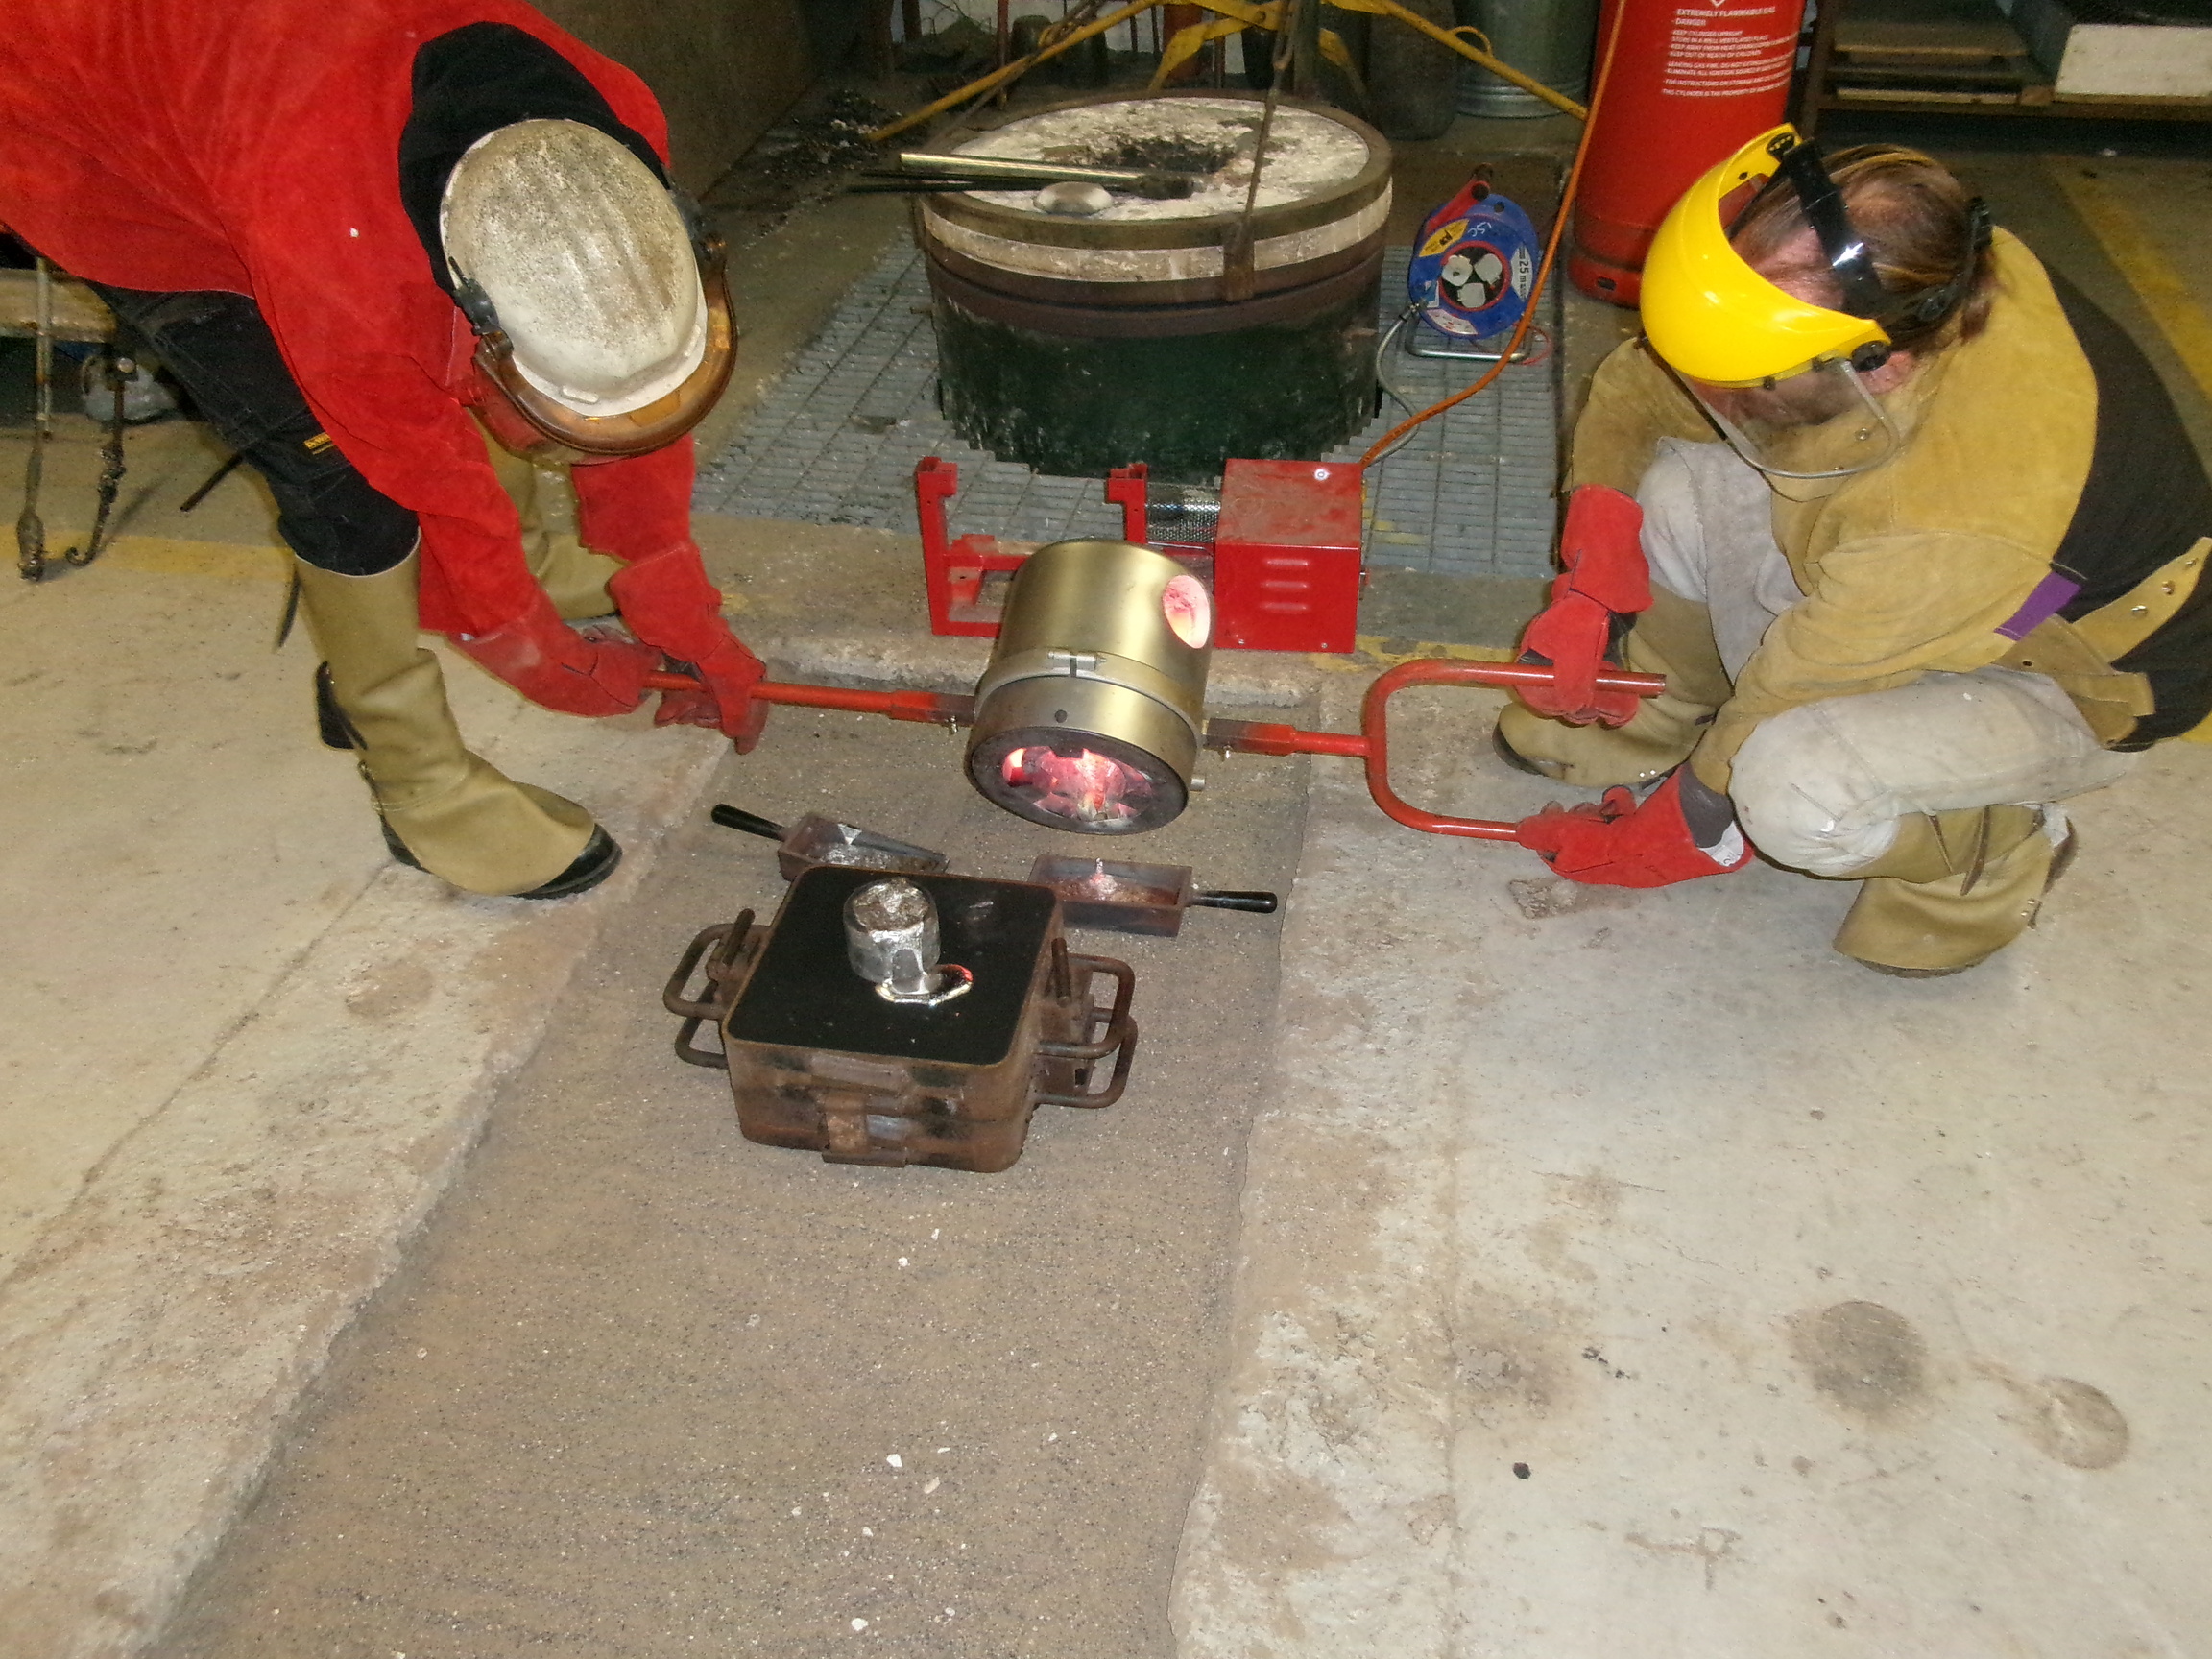
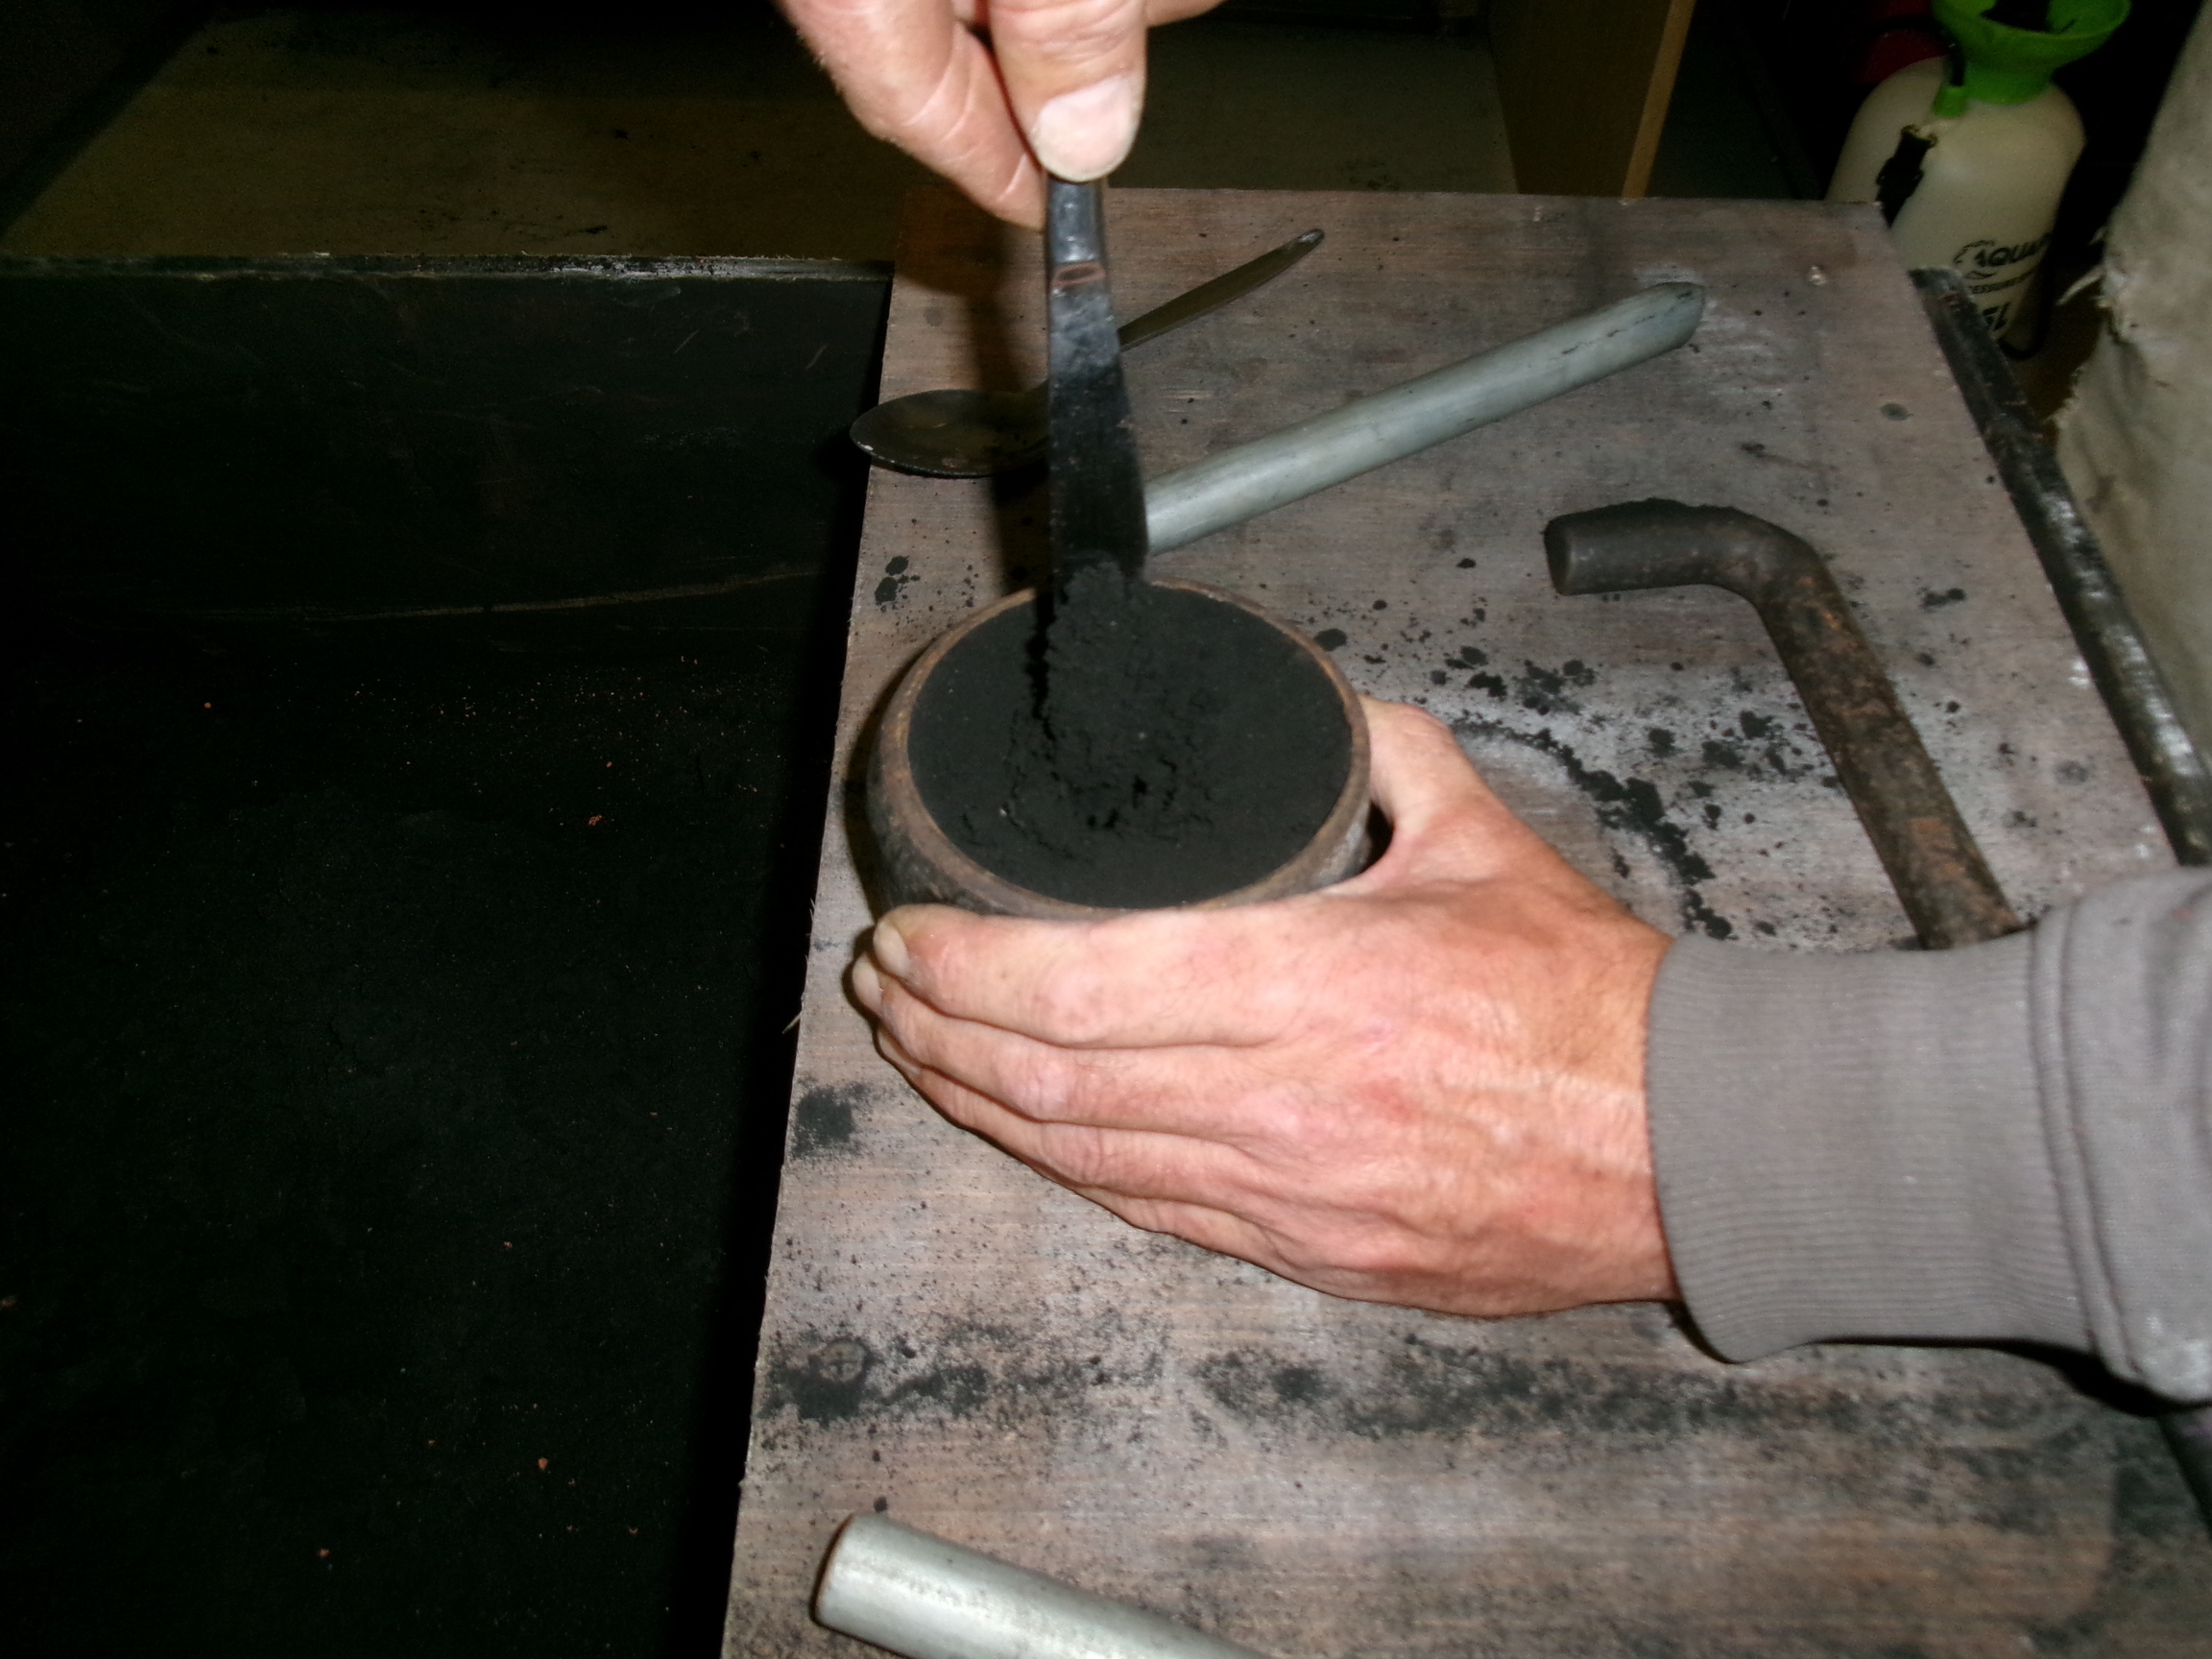
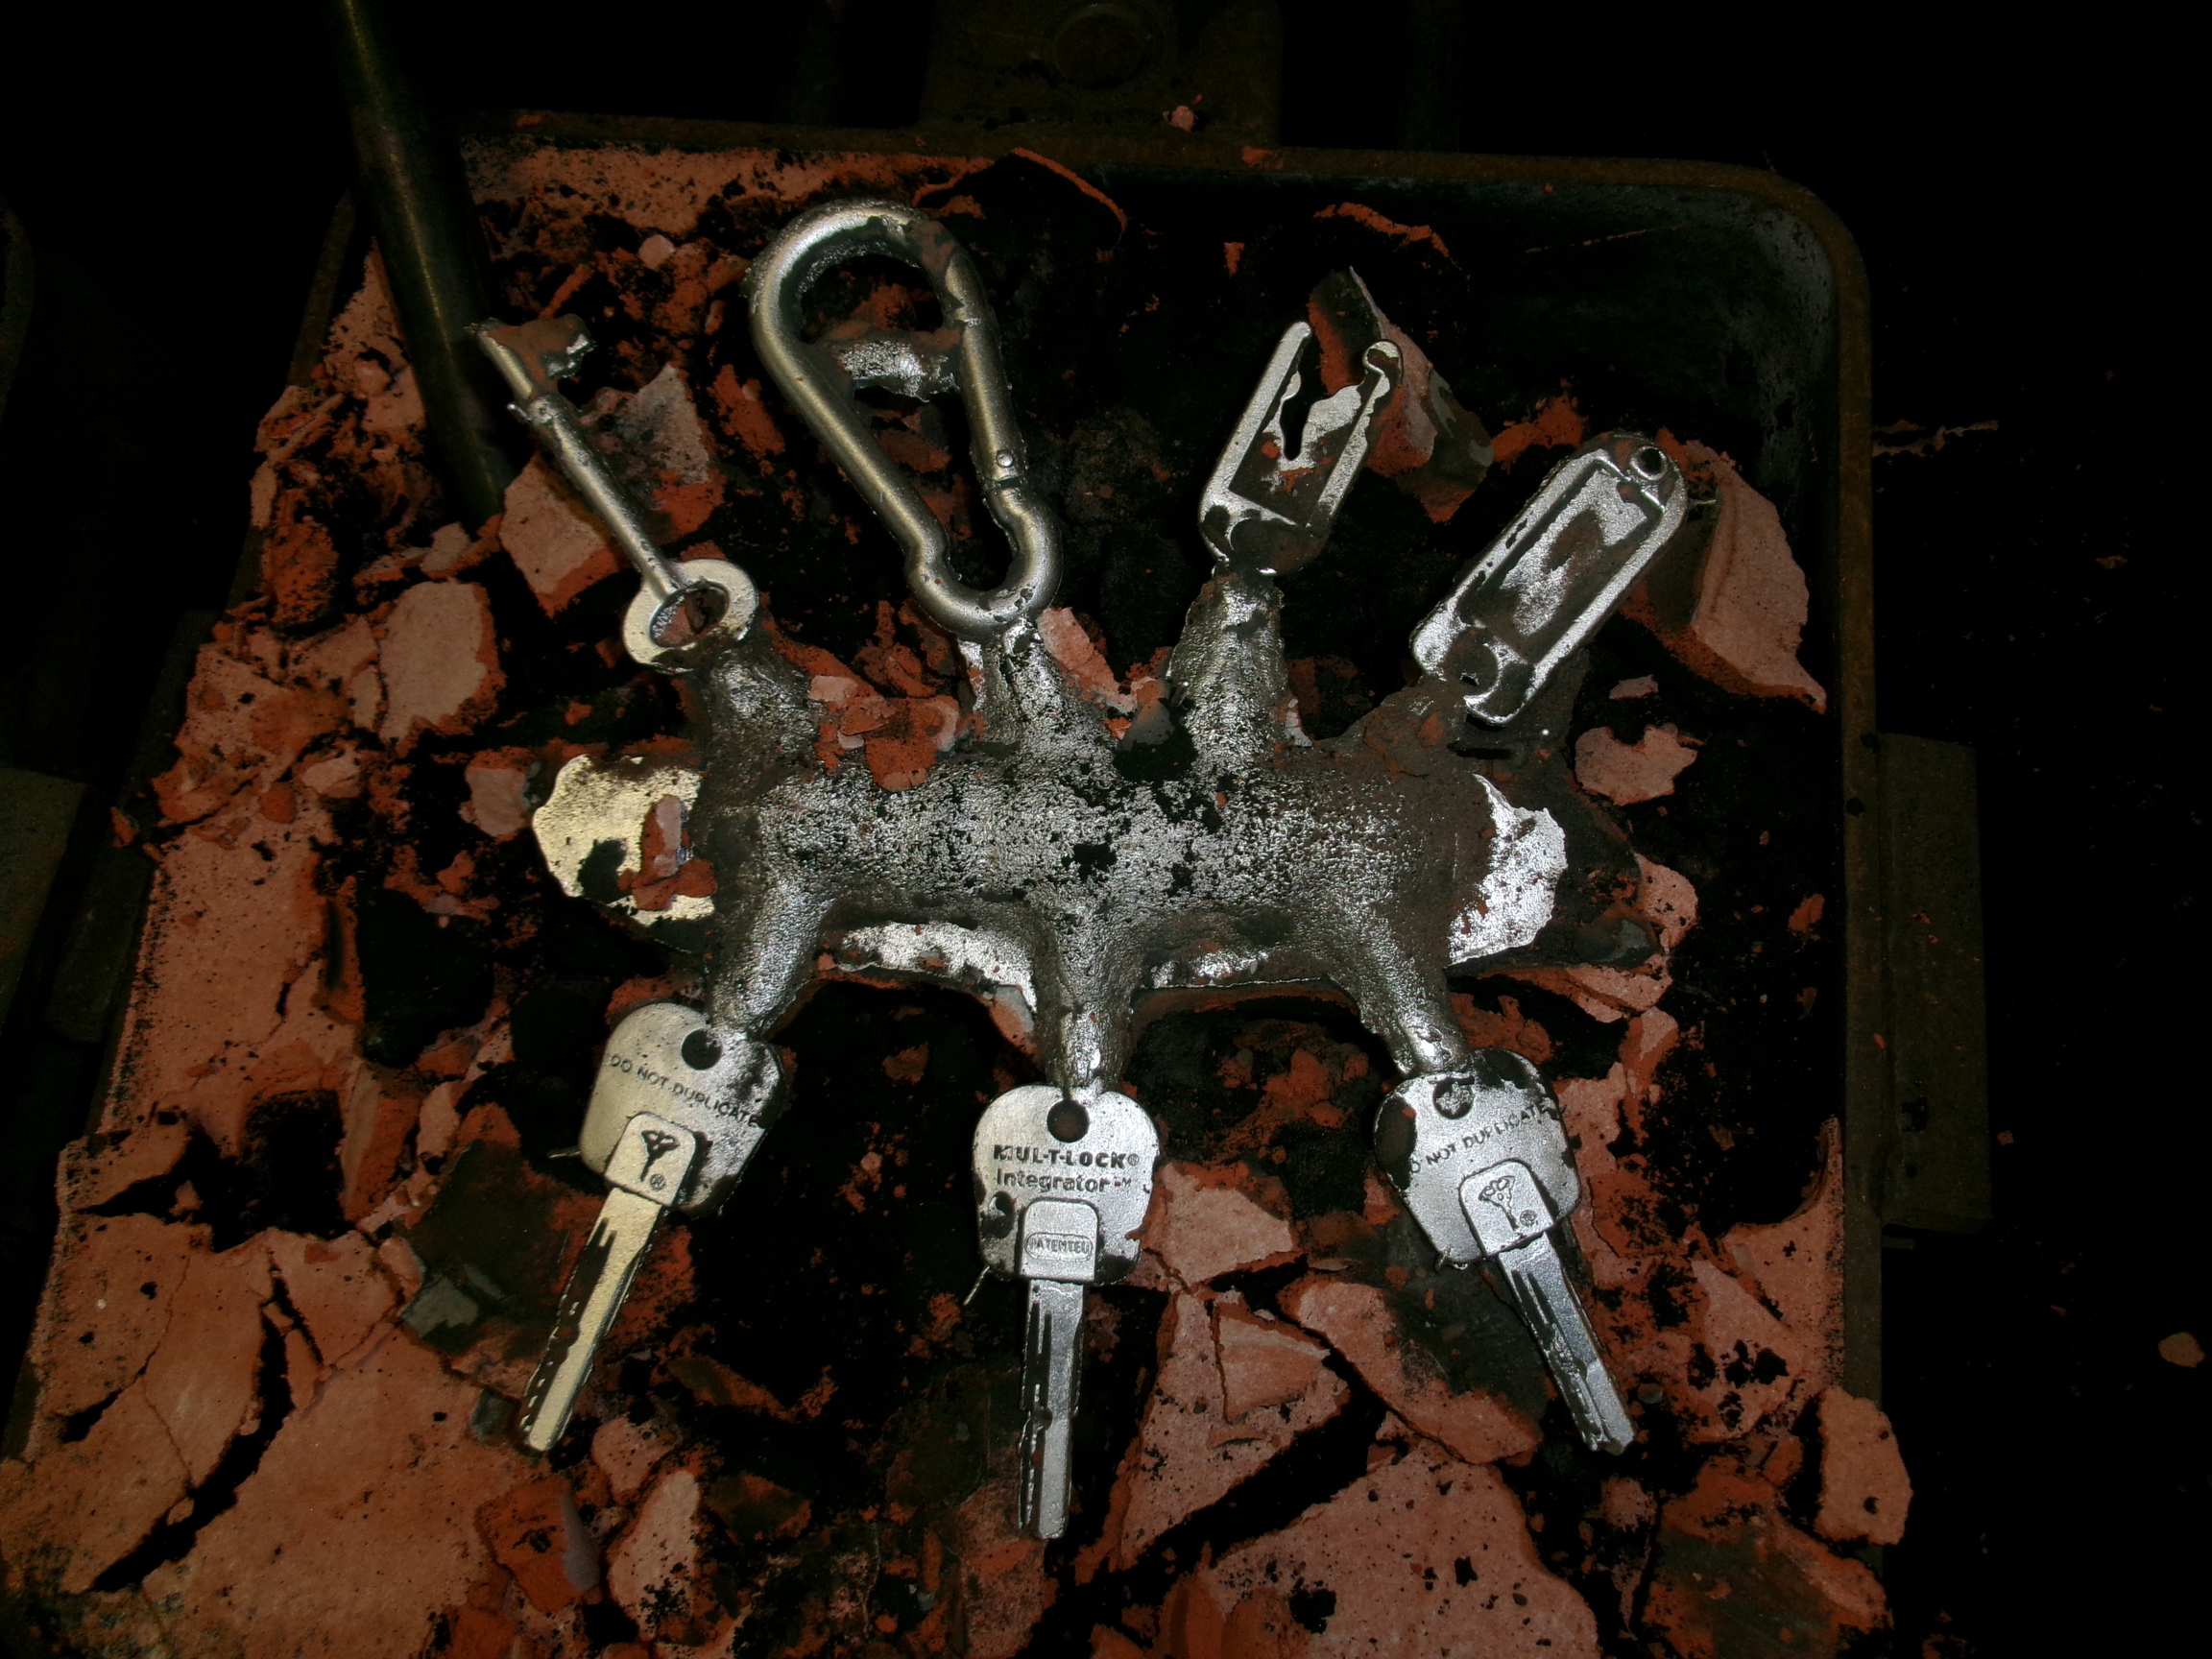
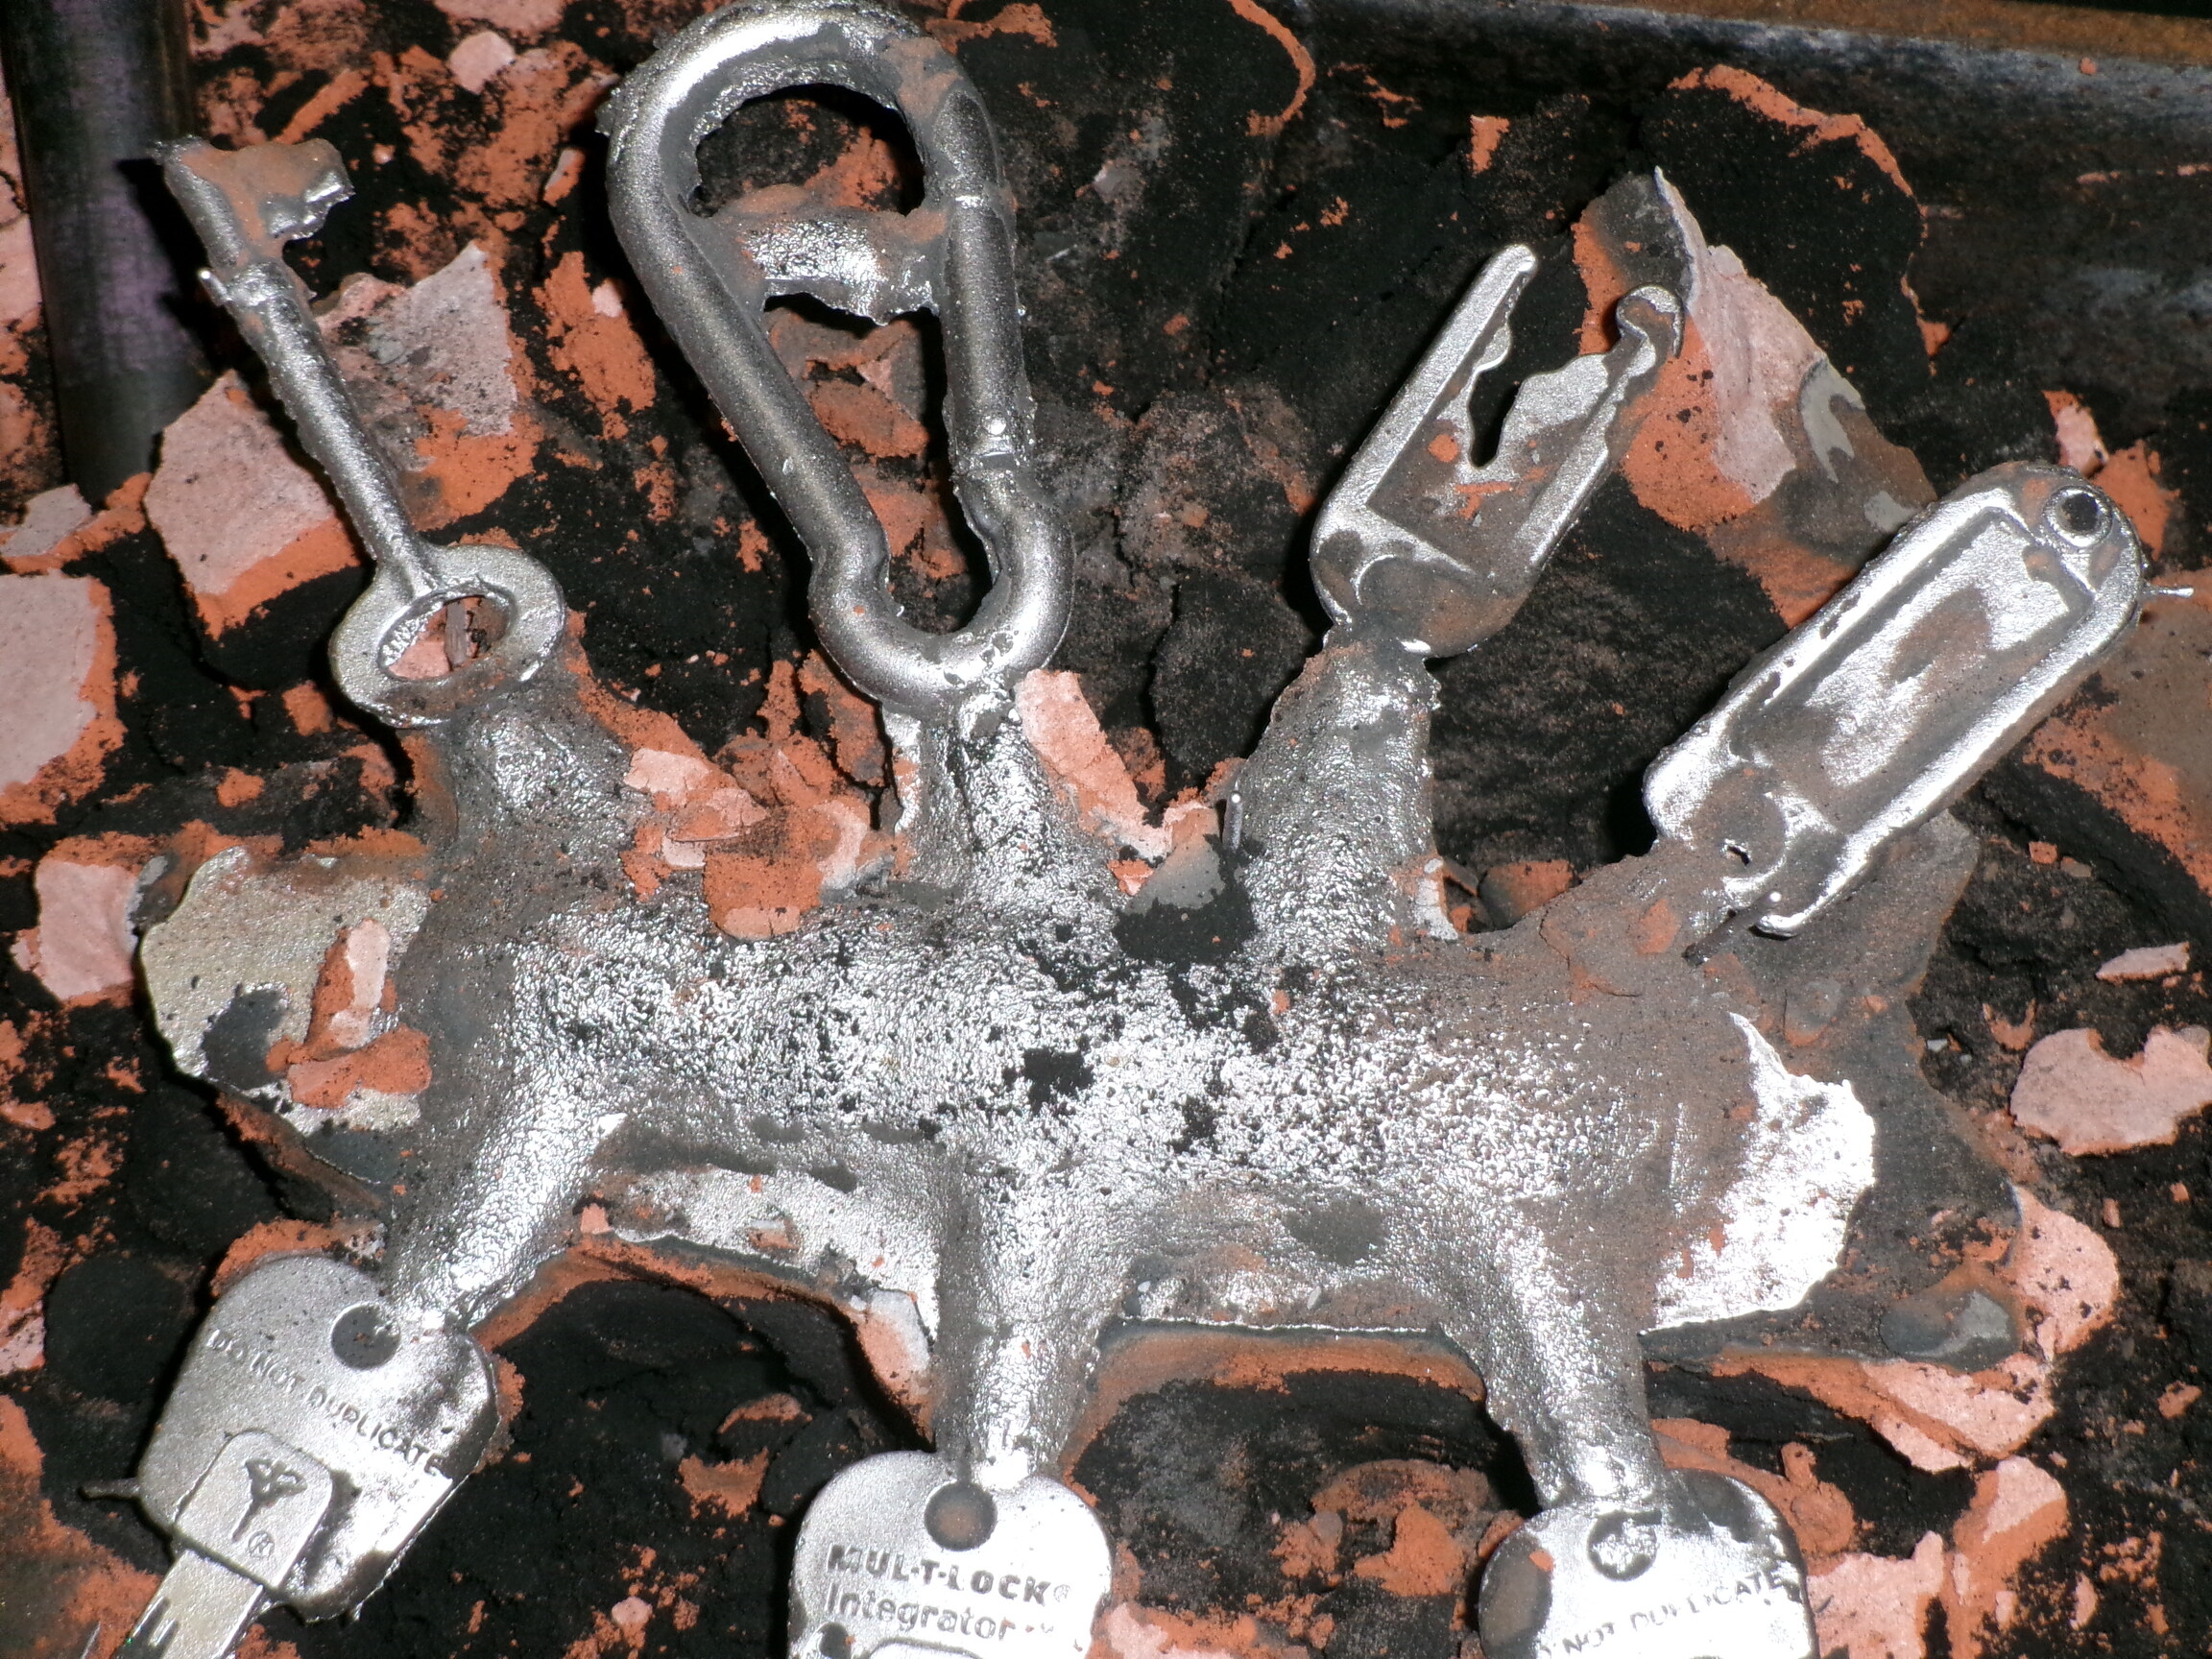
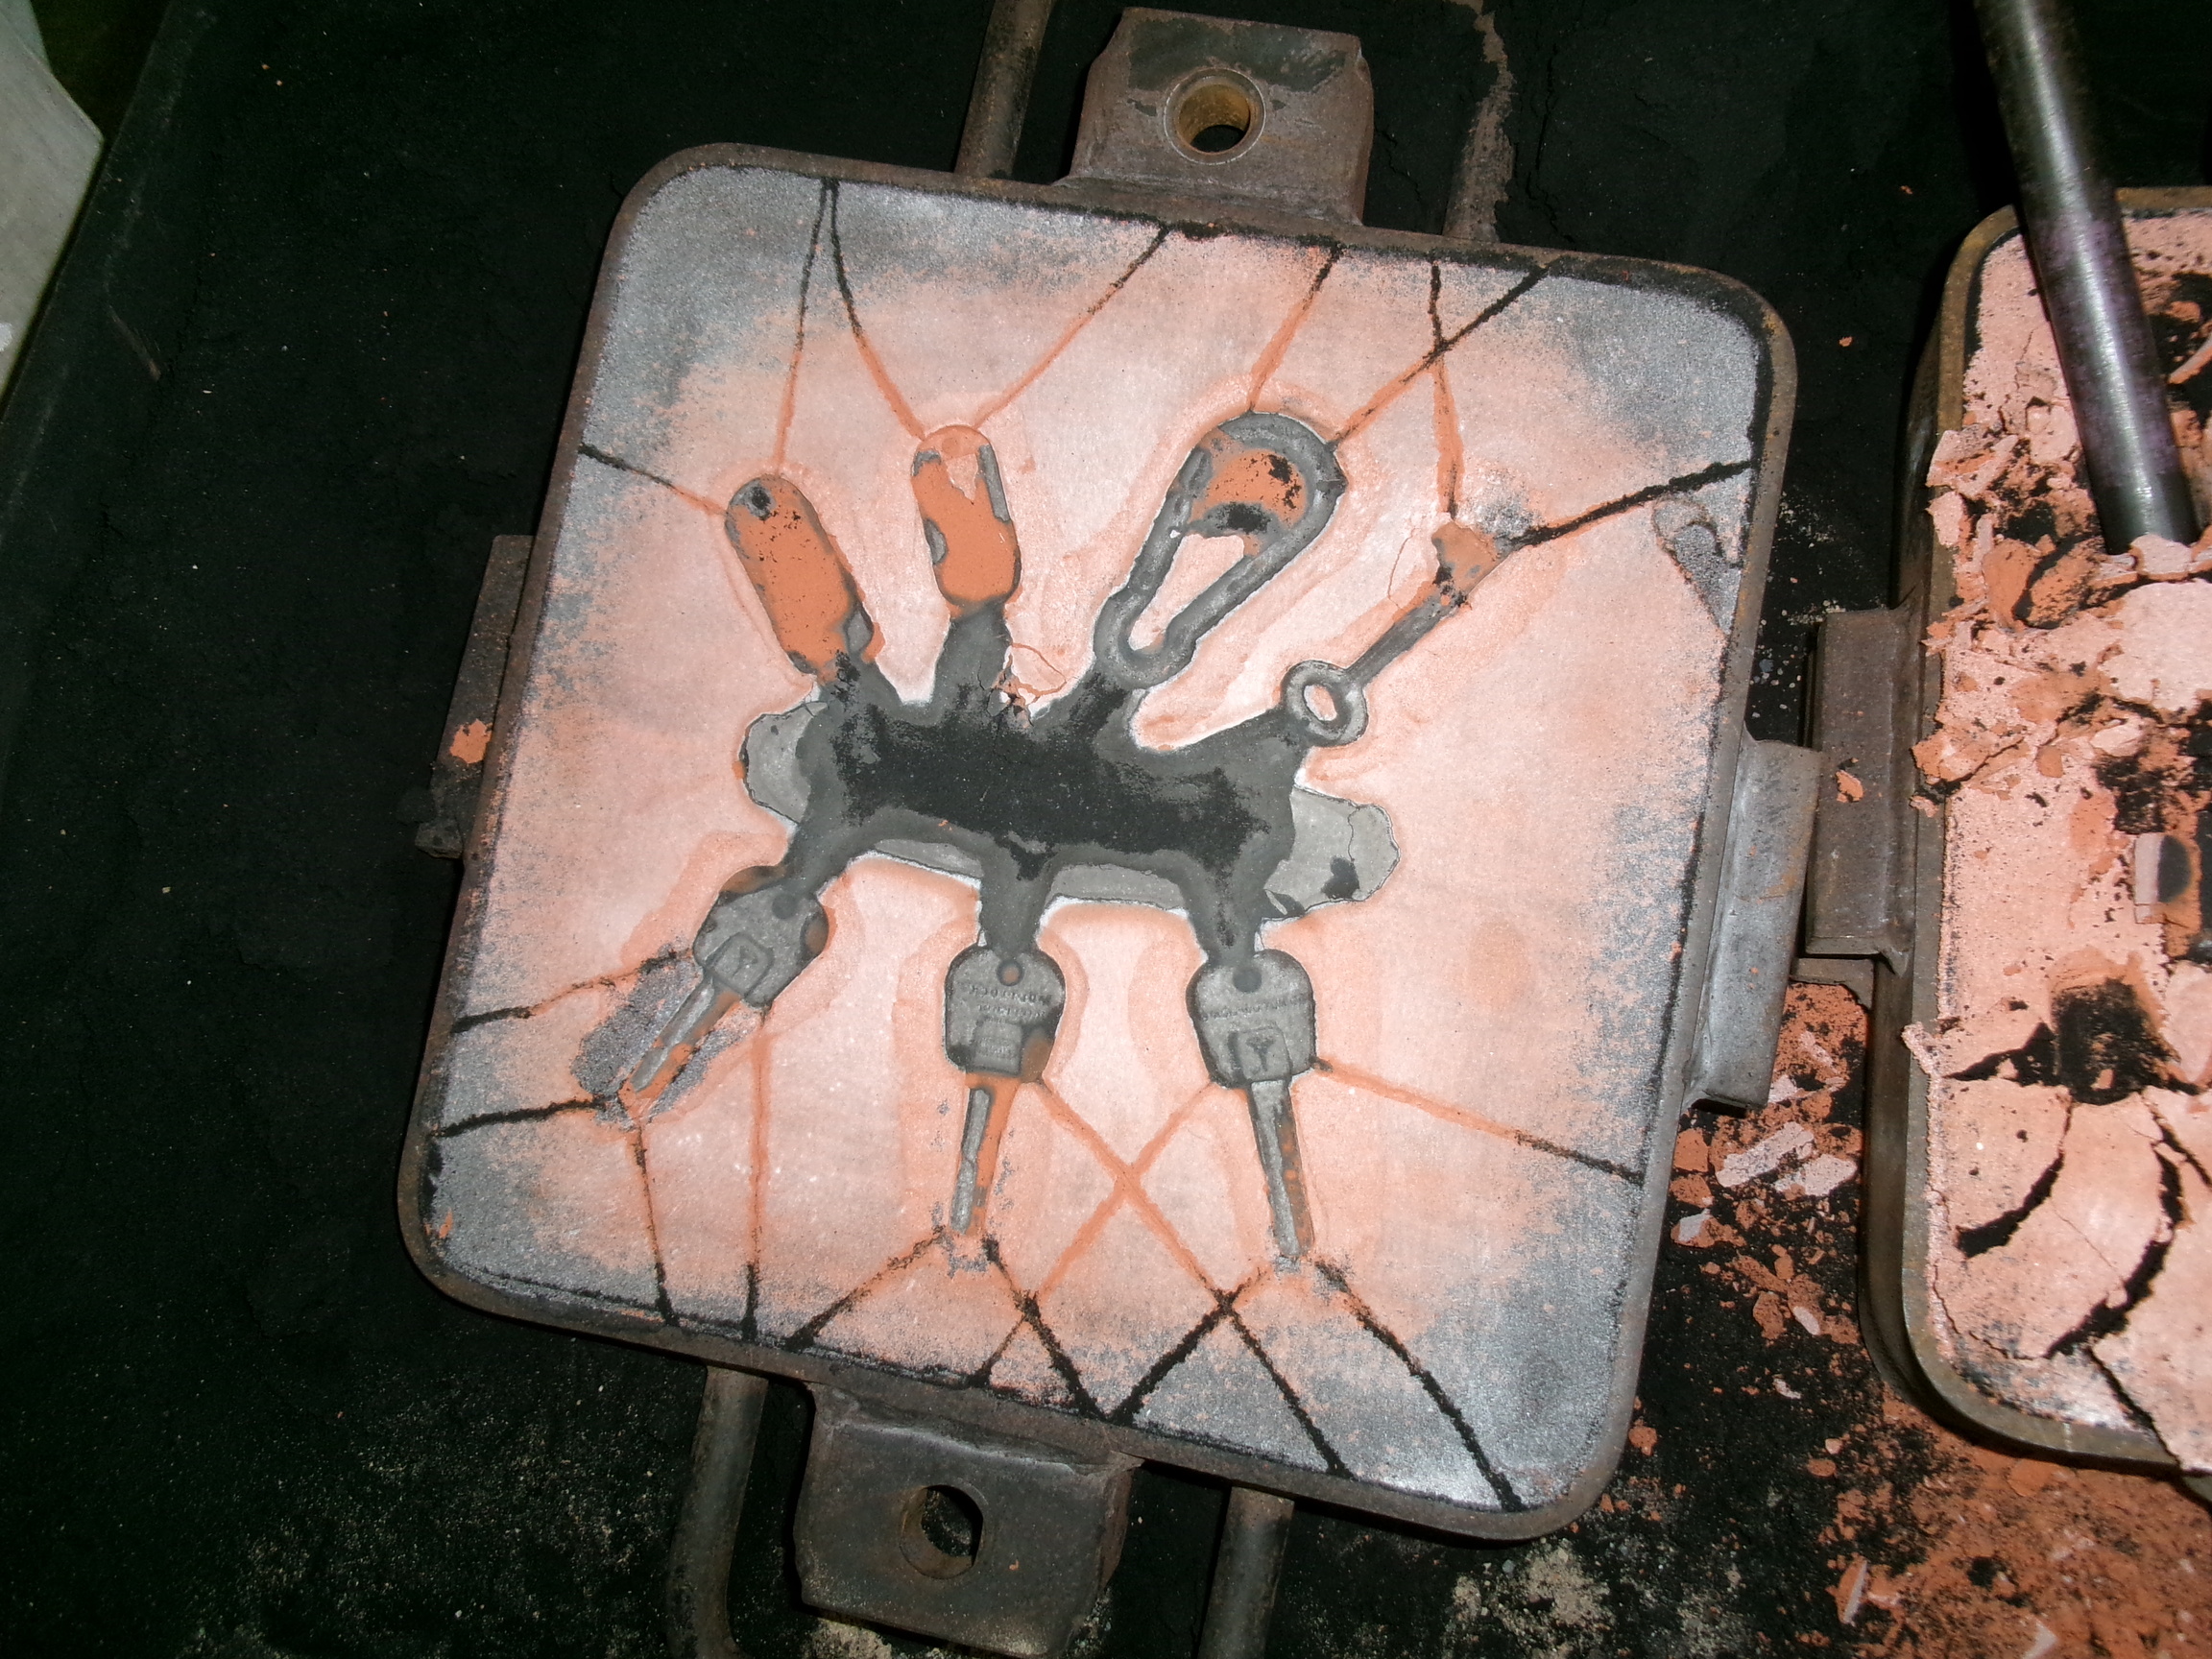
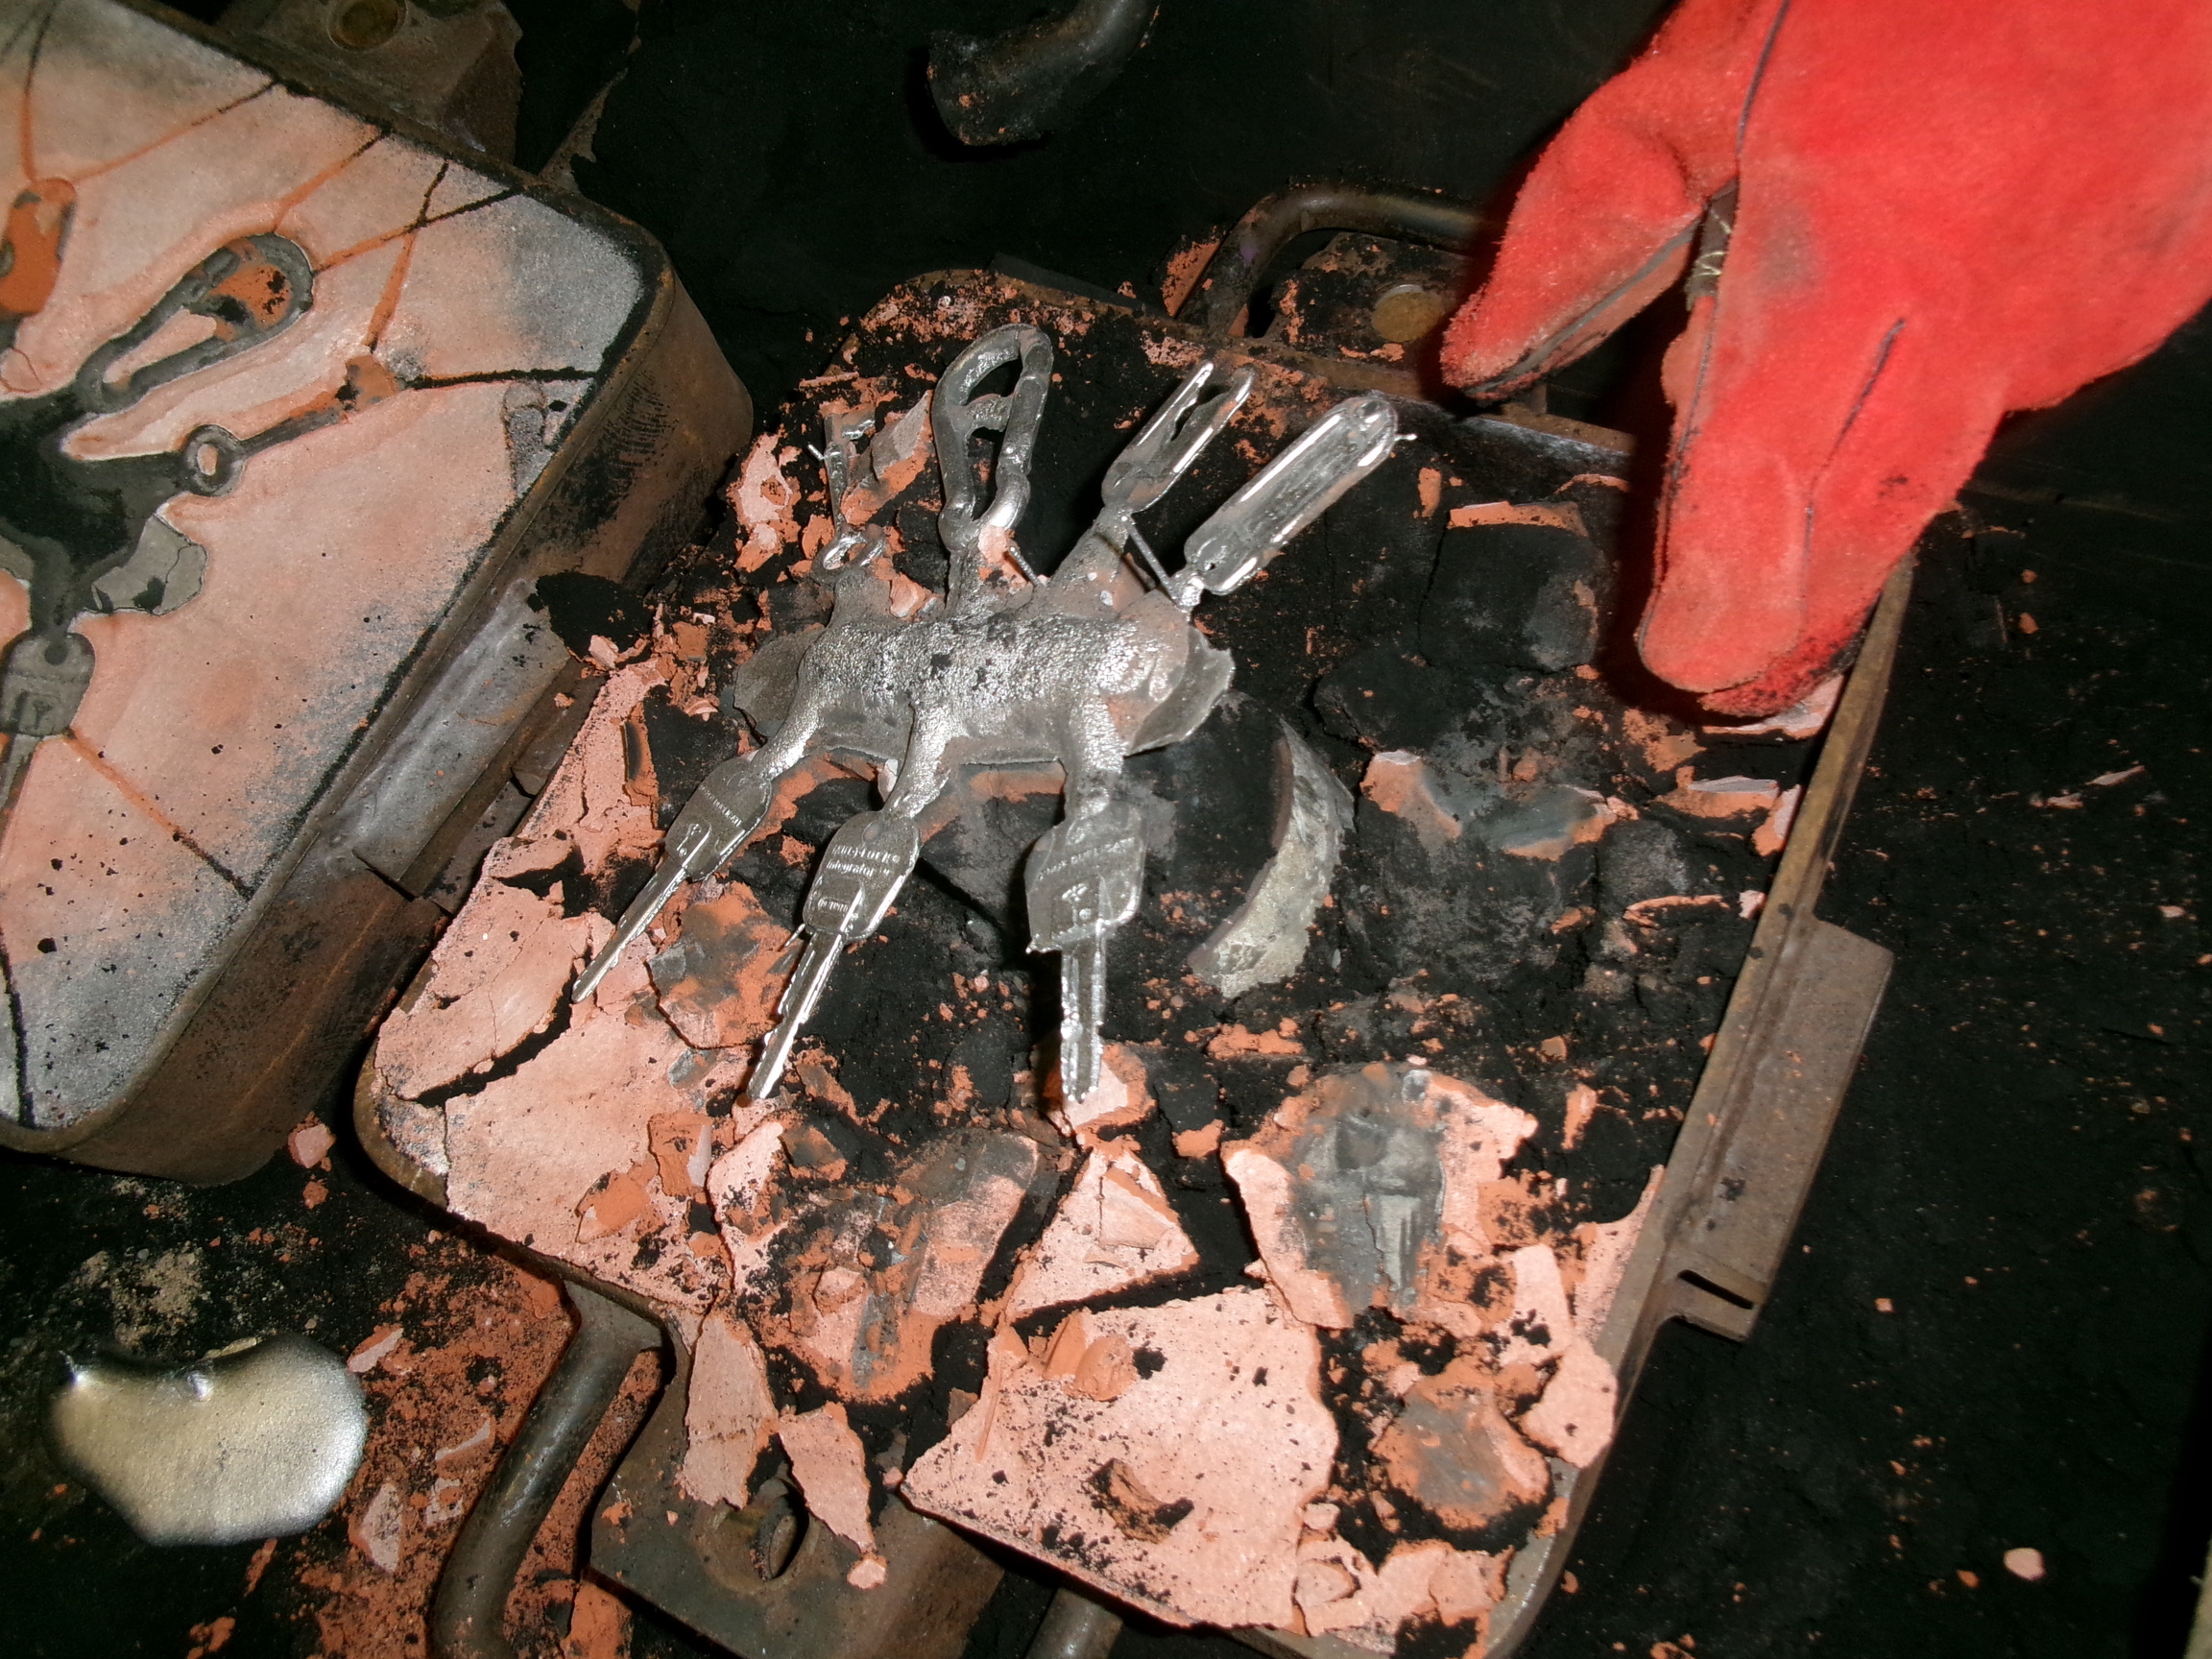
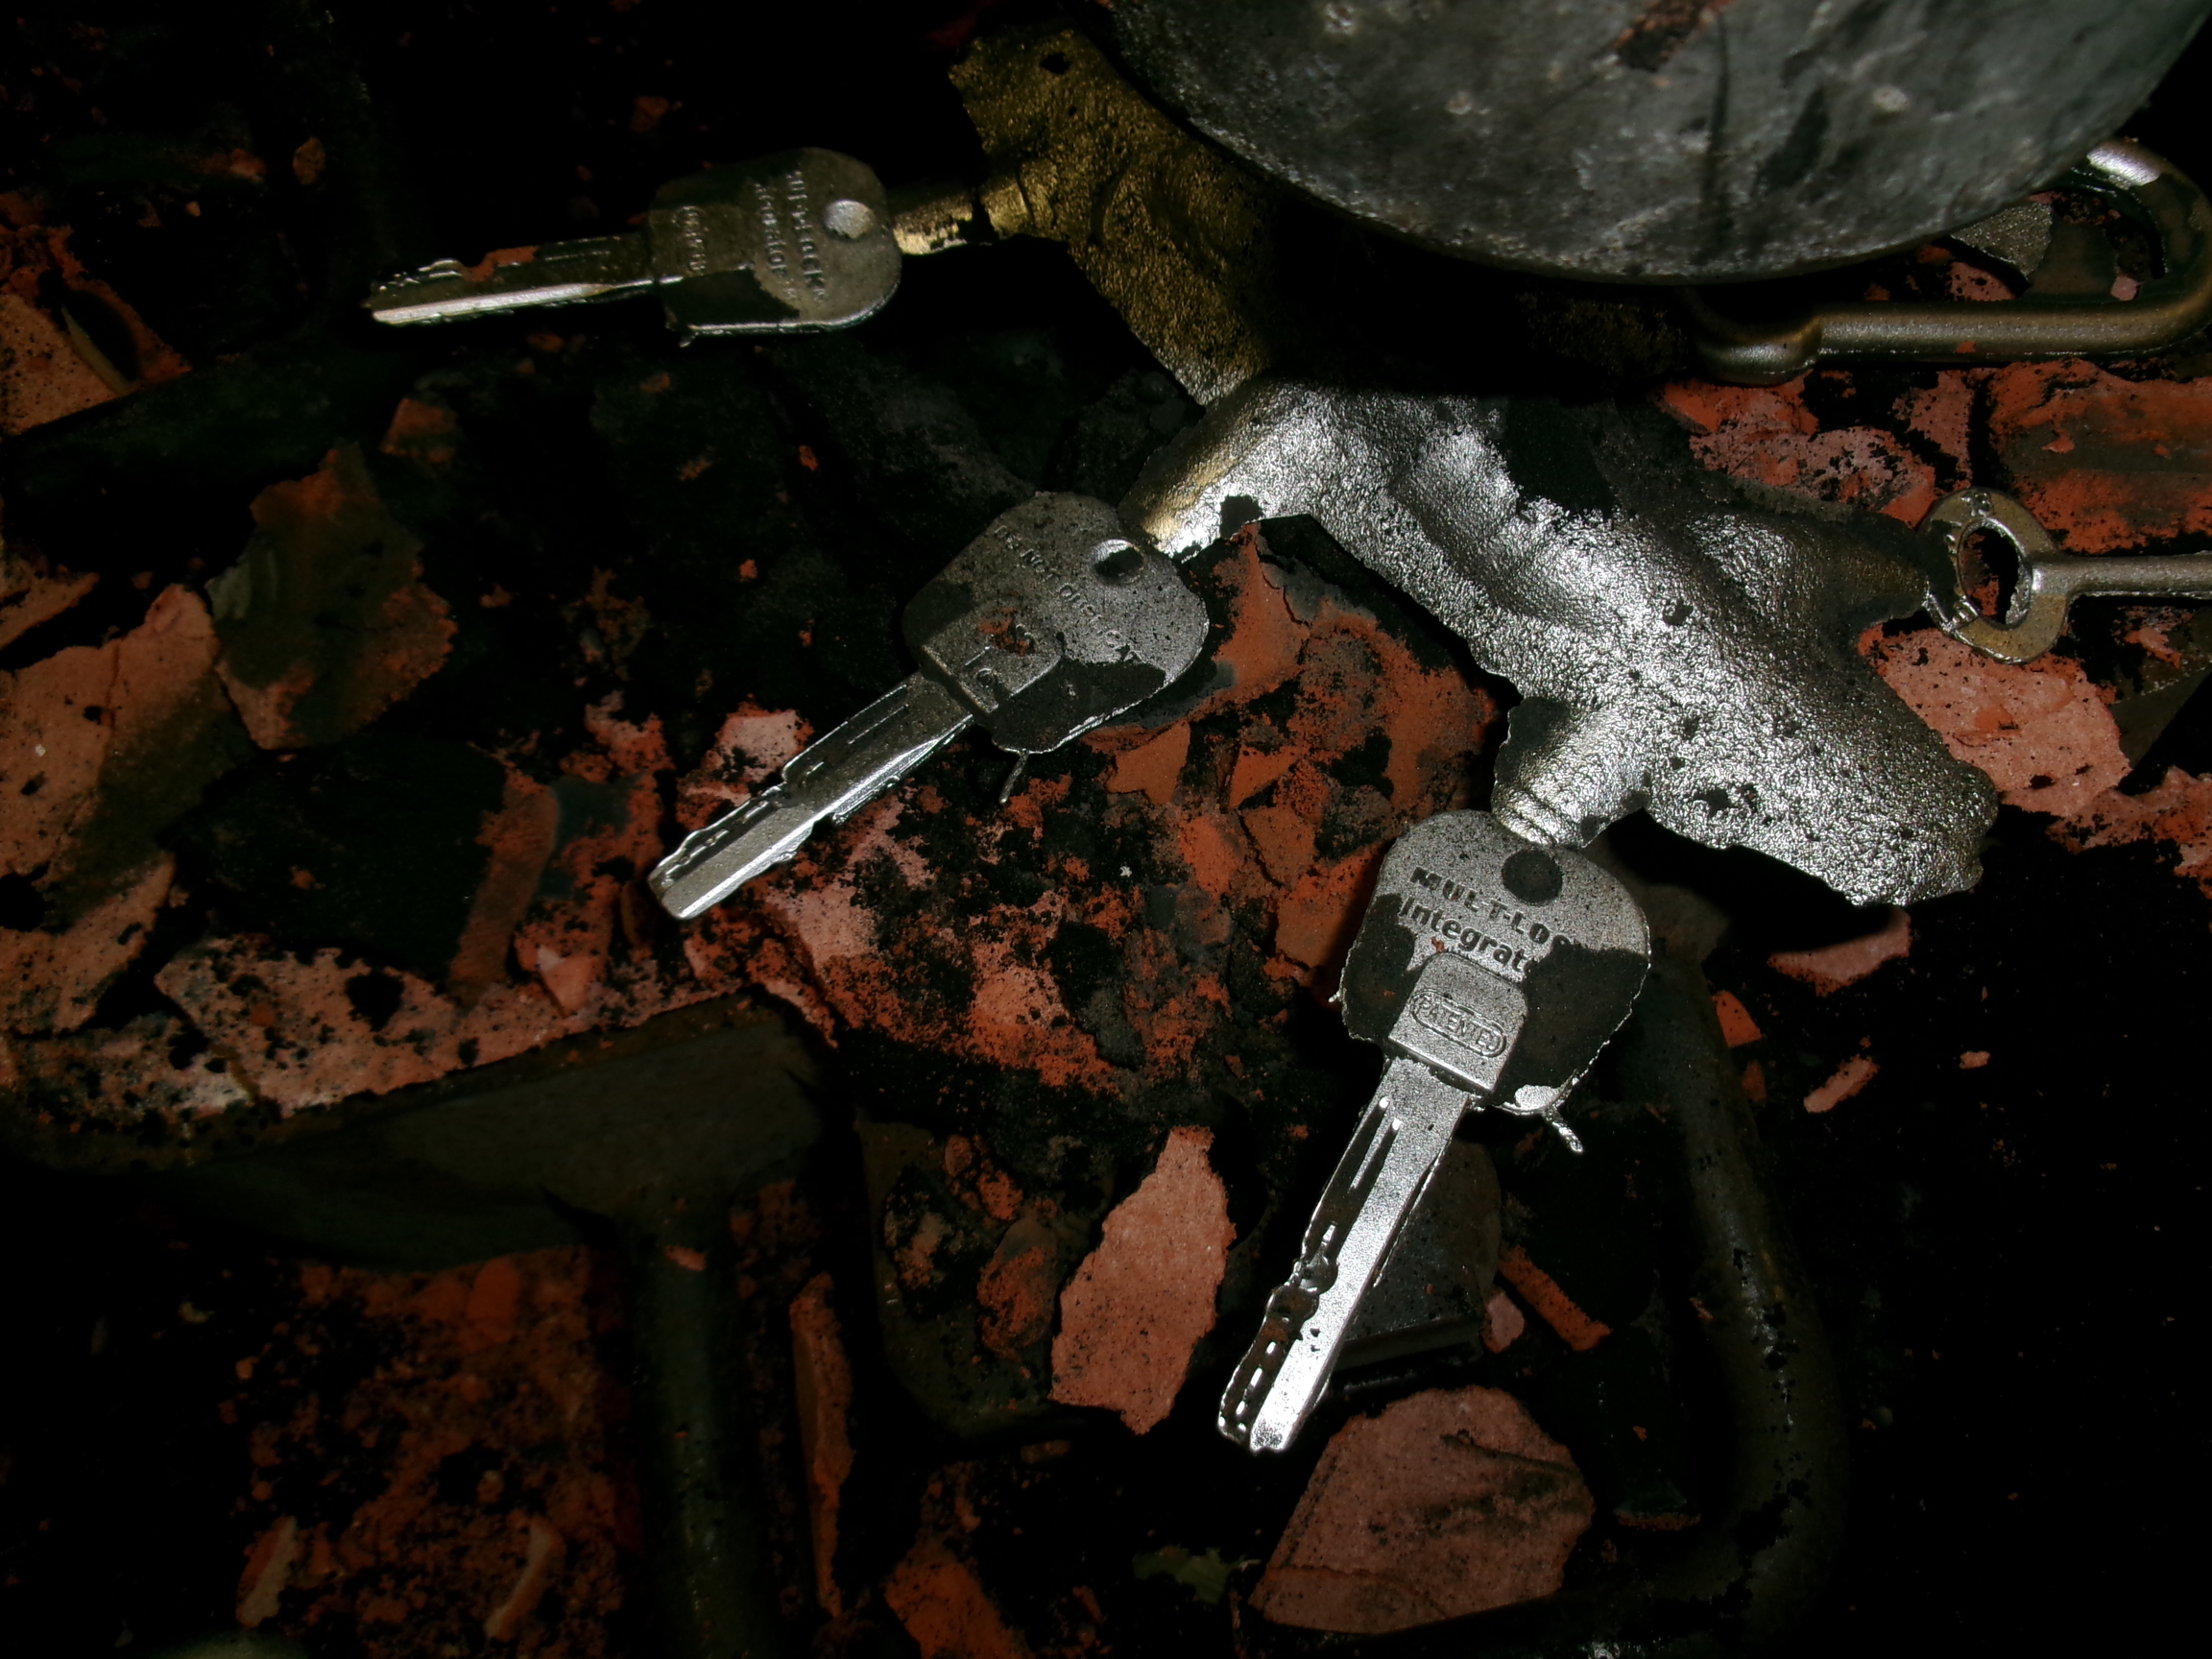
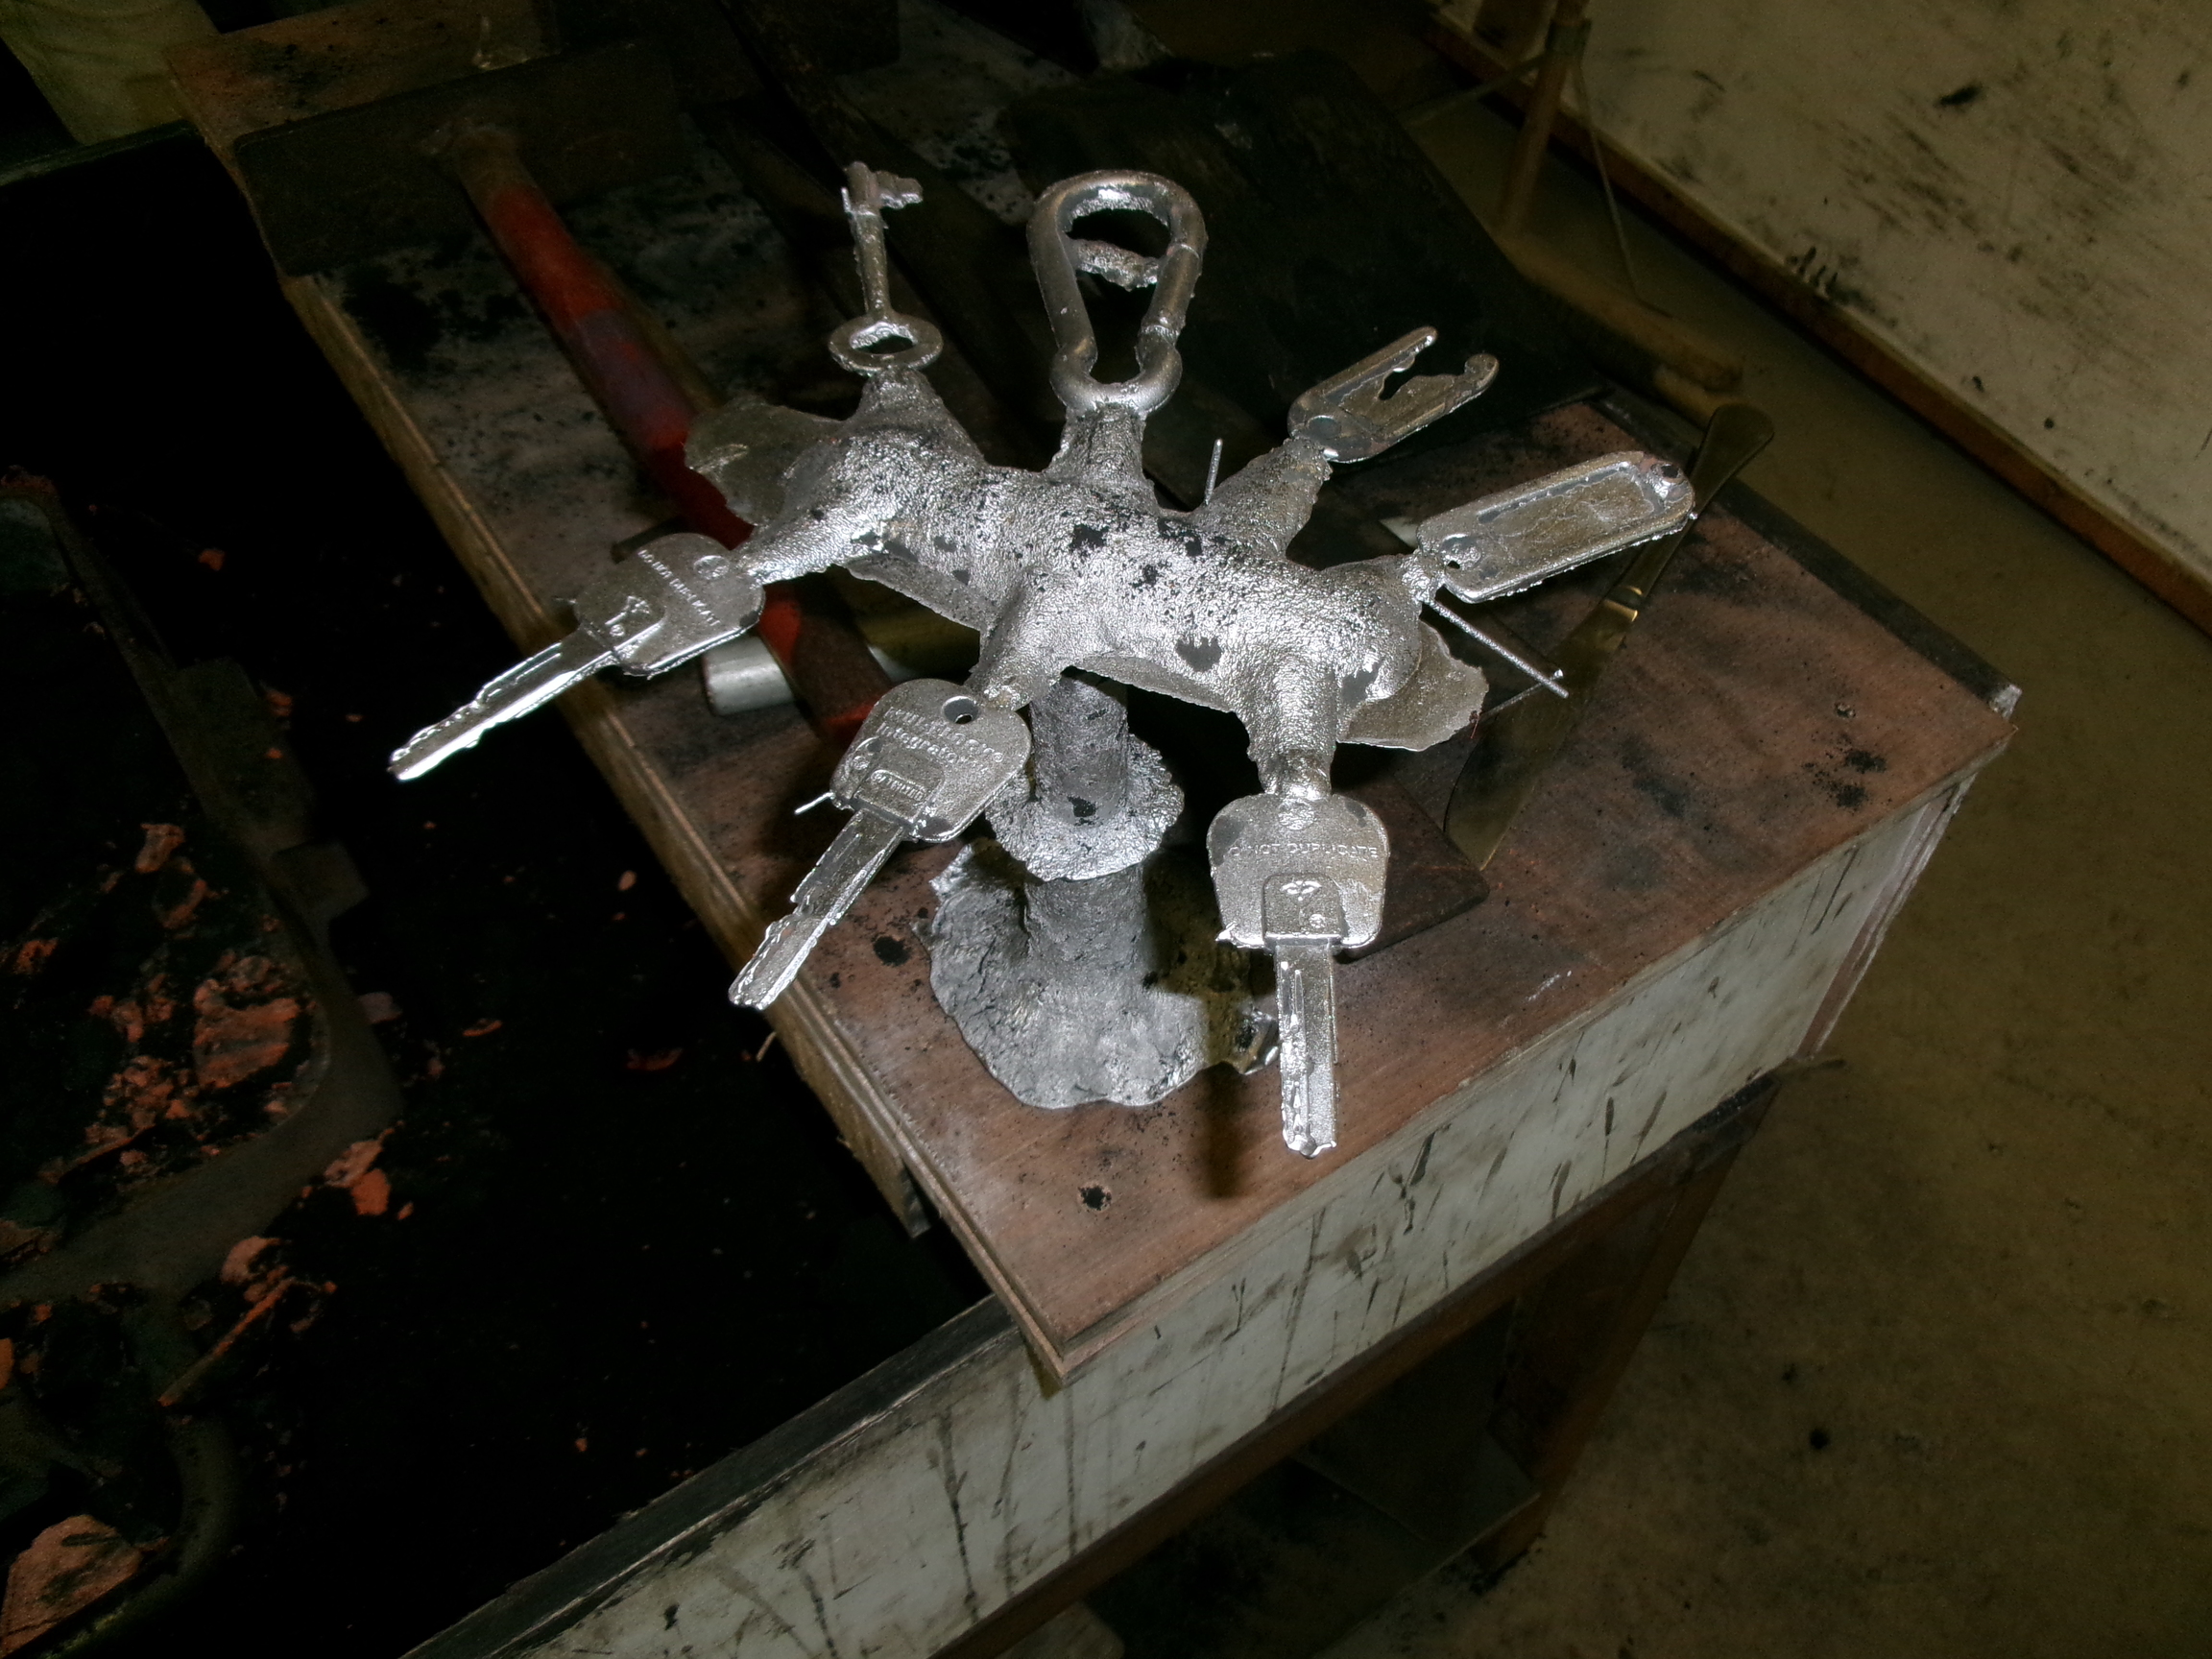
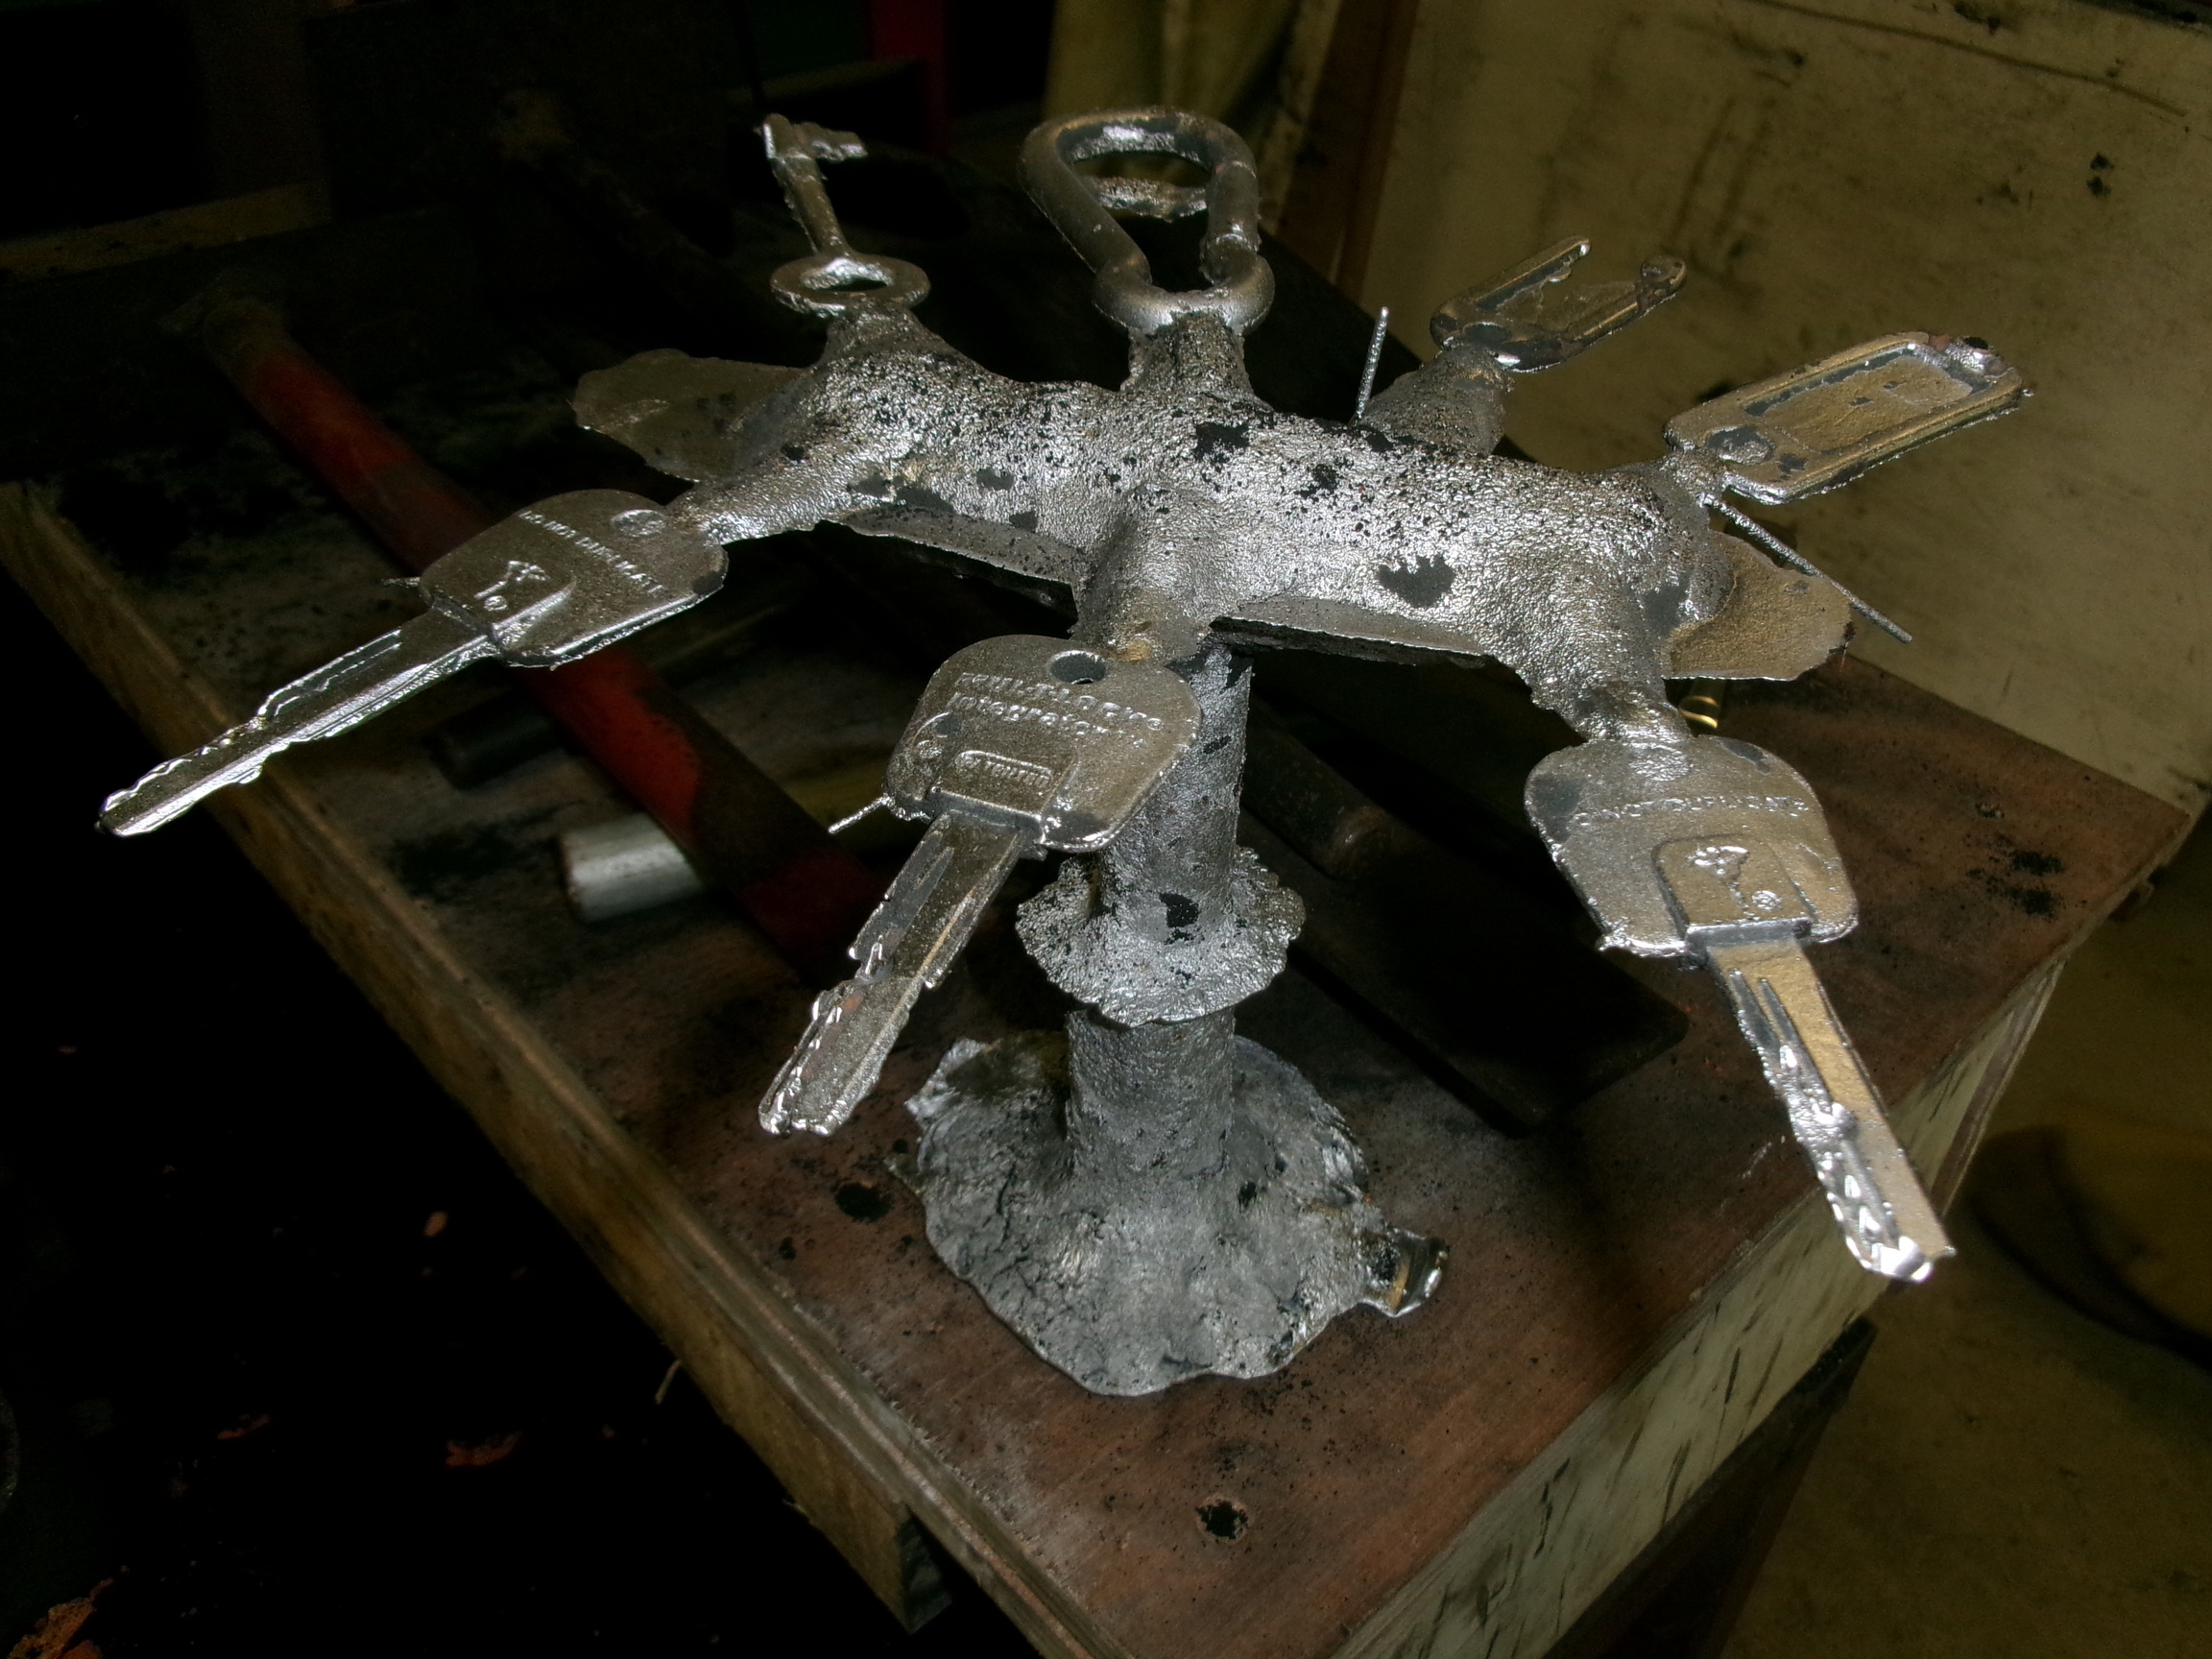
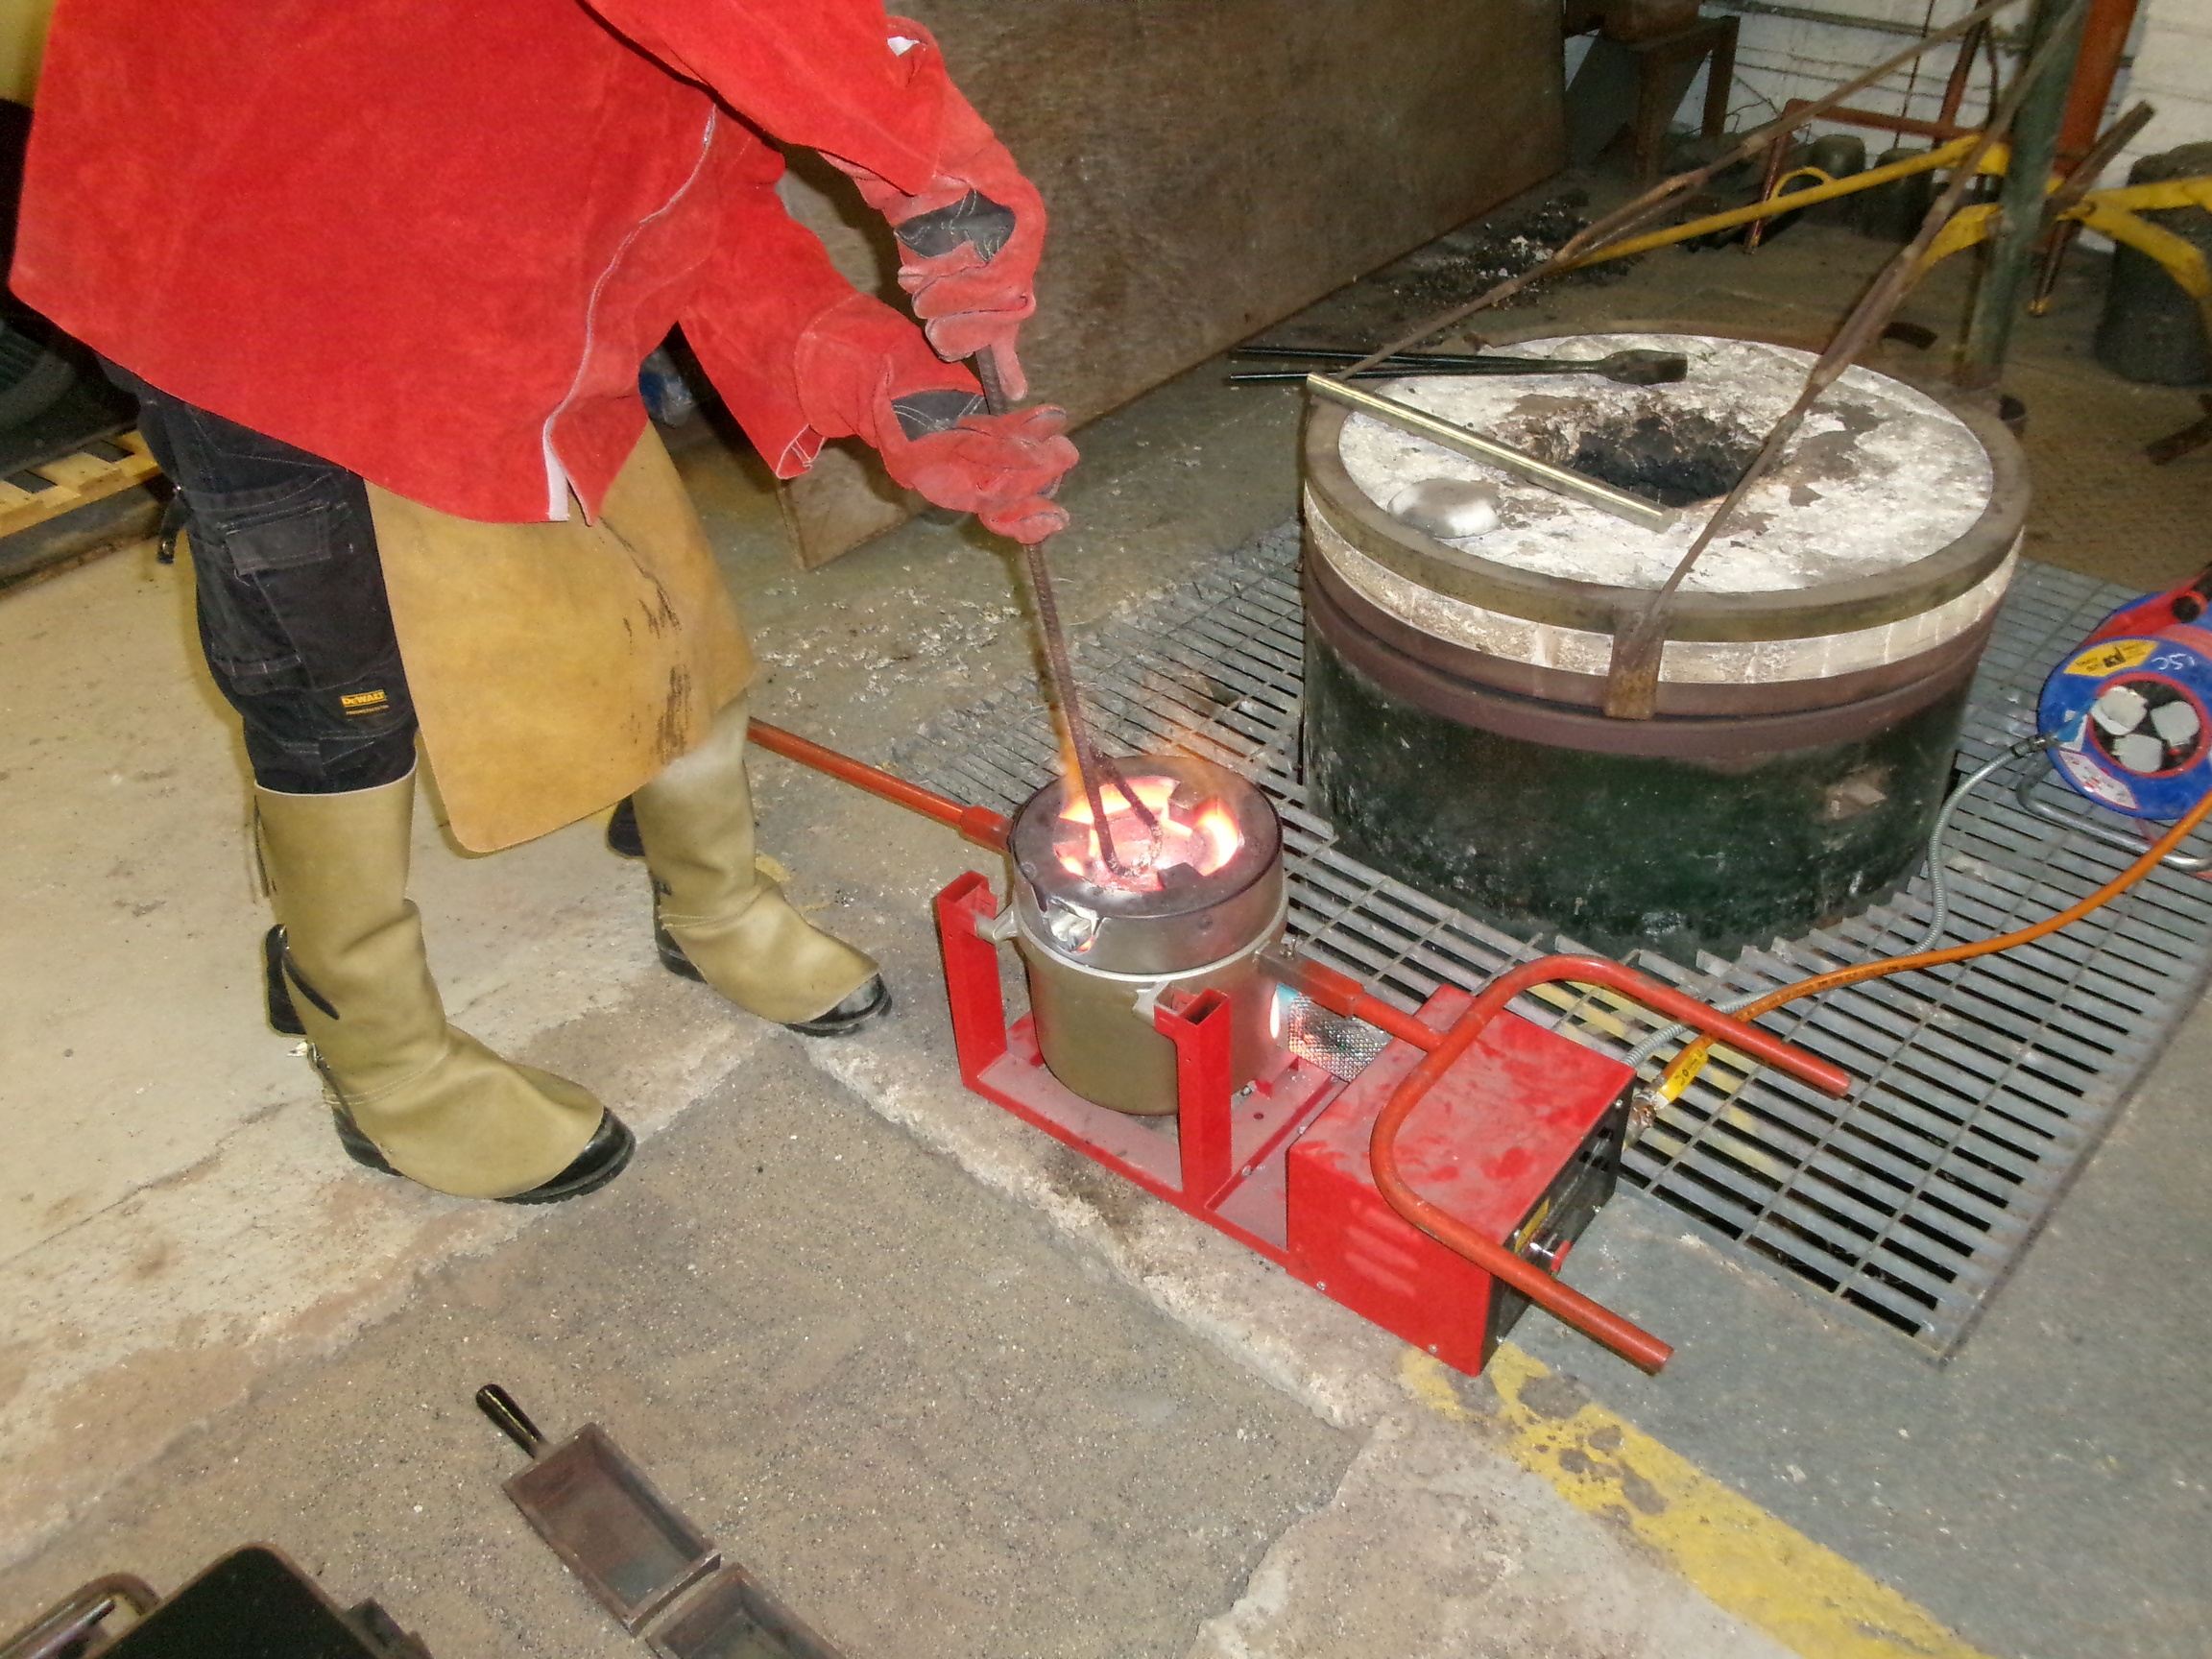
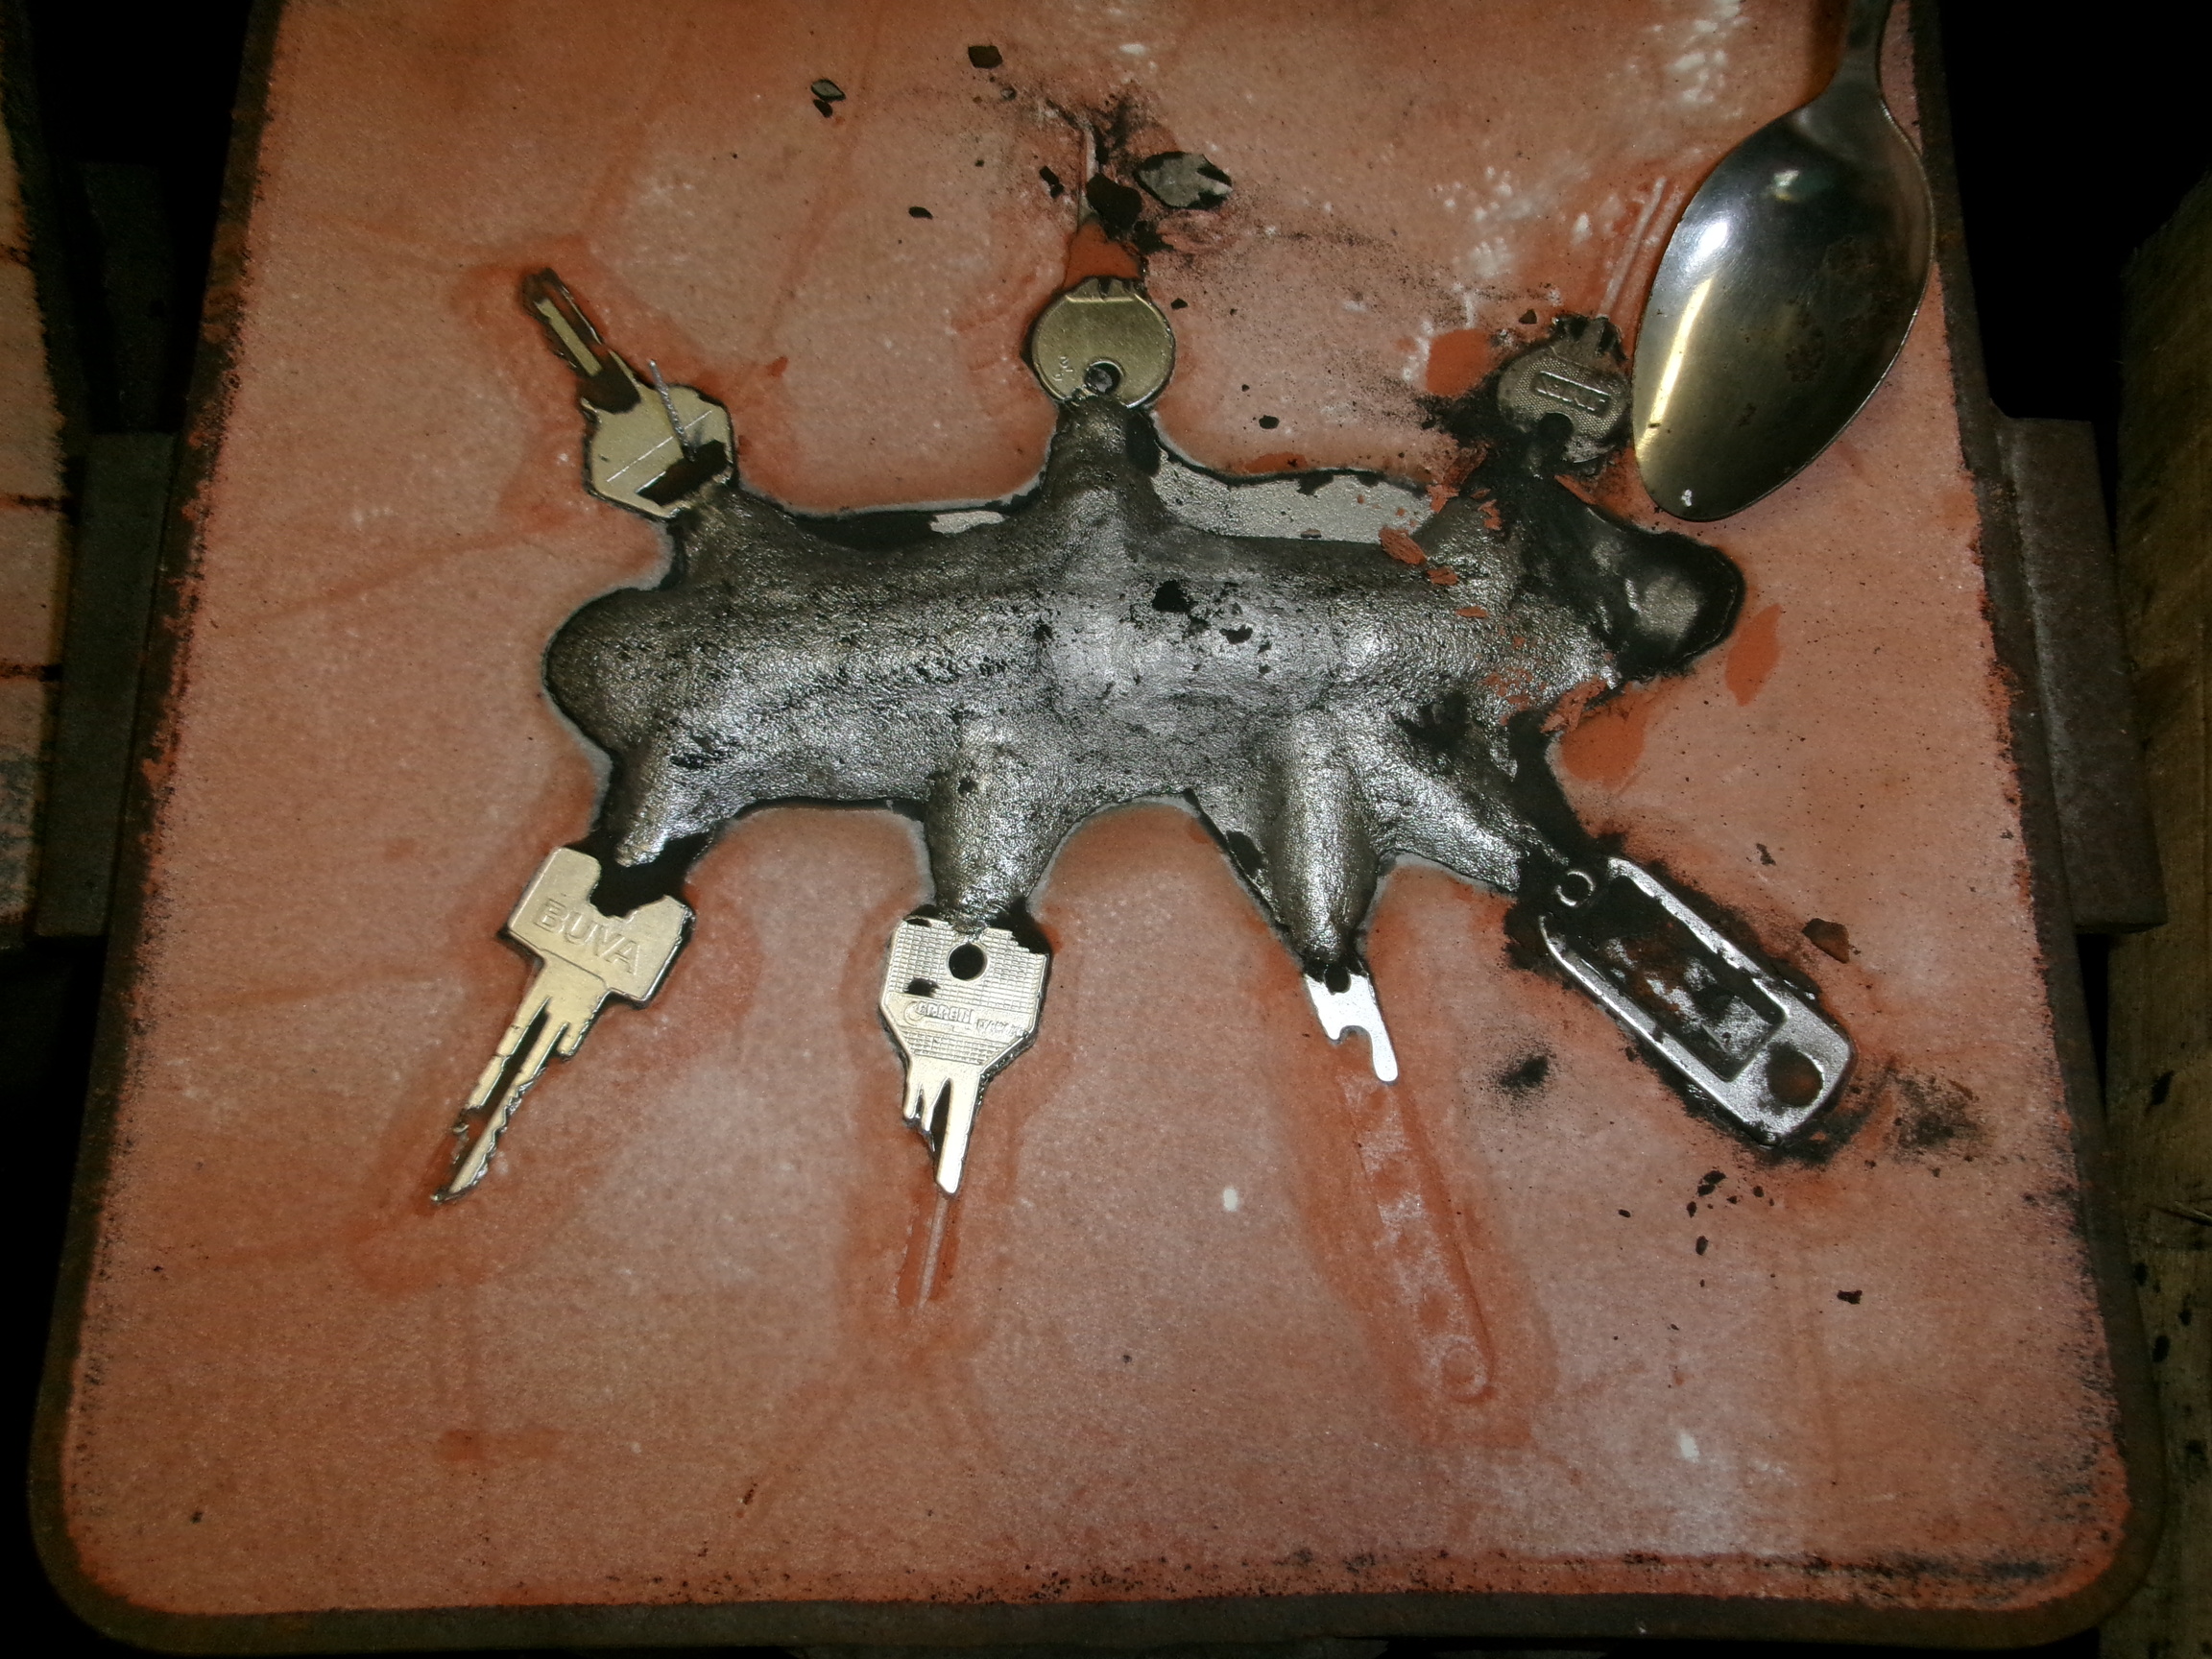
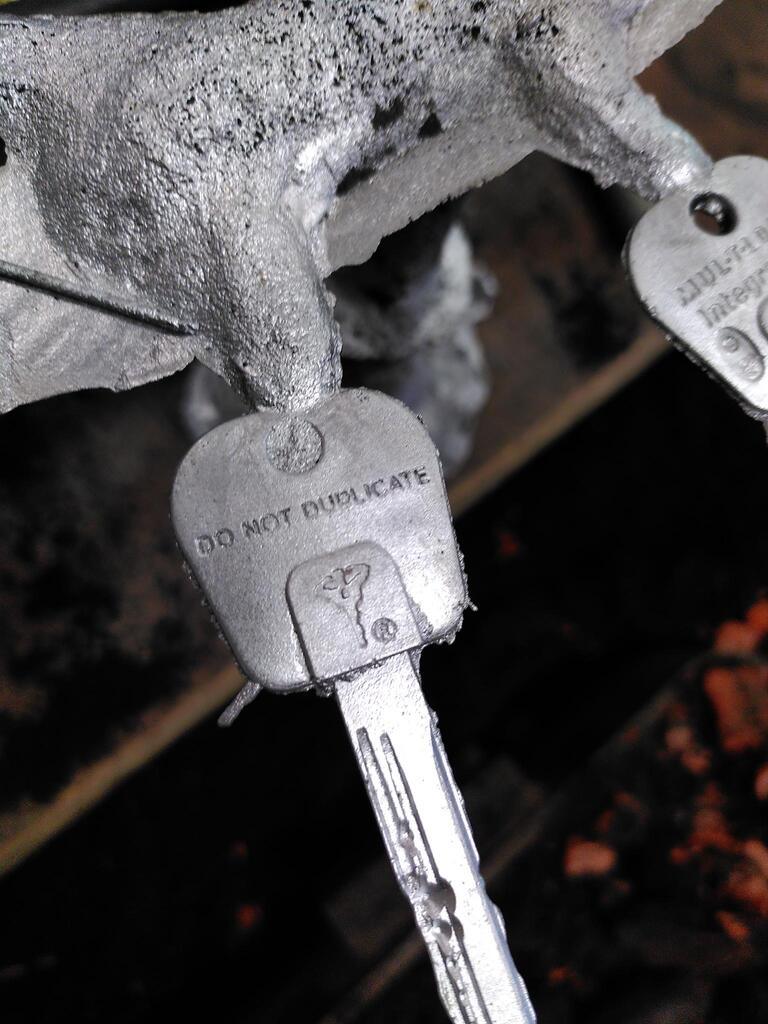
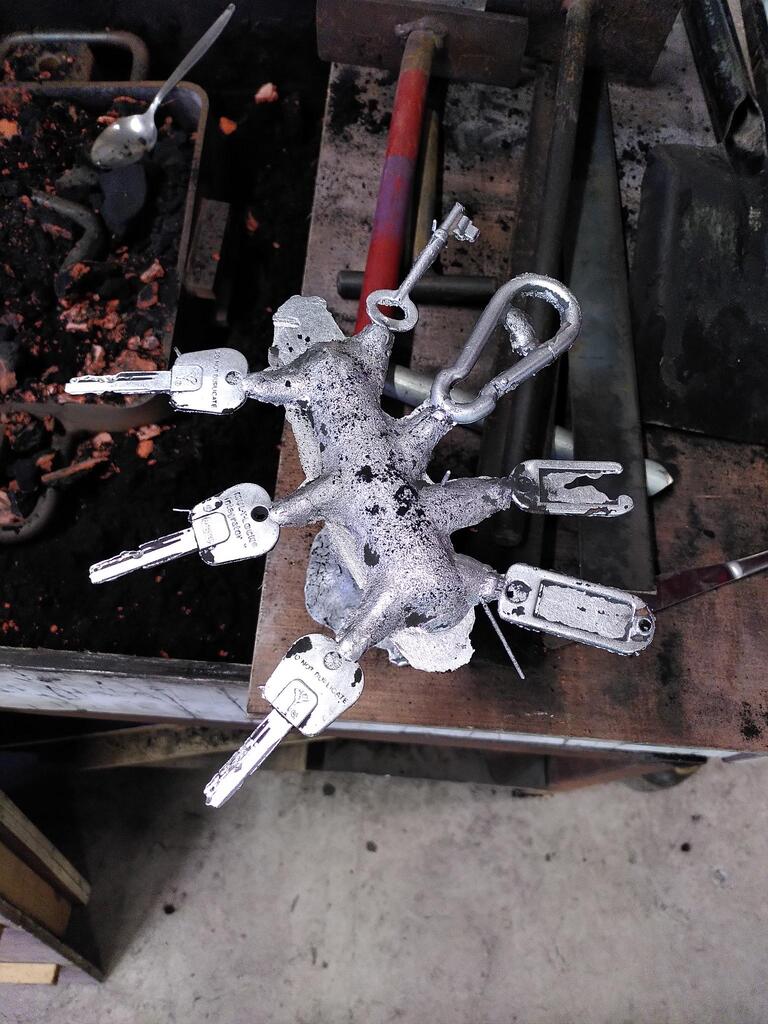
A day spent sand-casting keys (my own, and keys lent to me in Manorhamilton) at the Leitrim Sculpture Centre during an exhibition residency.
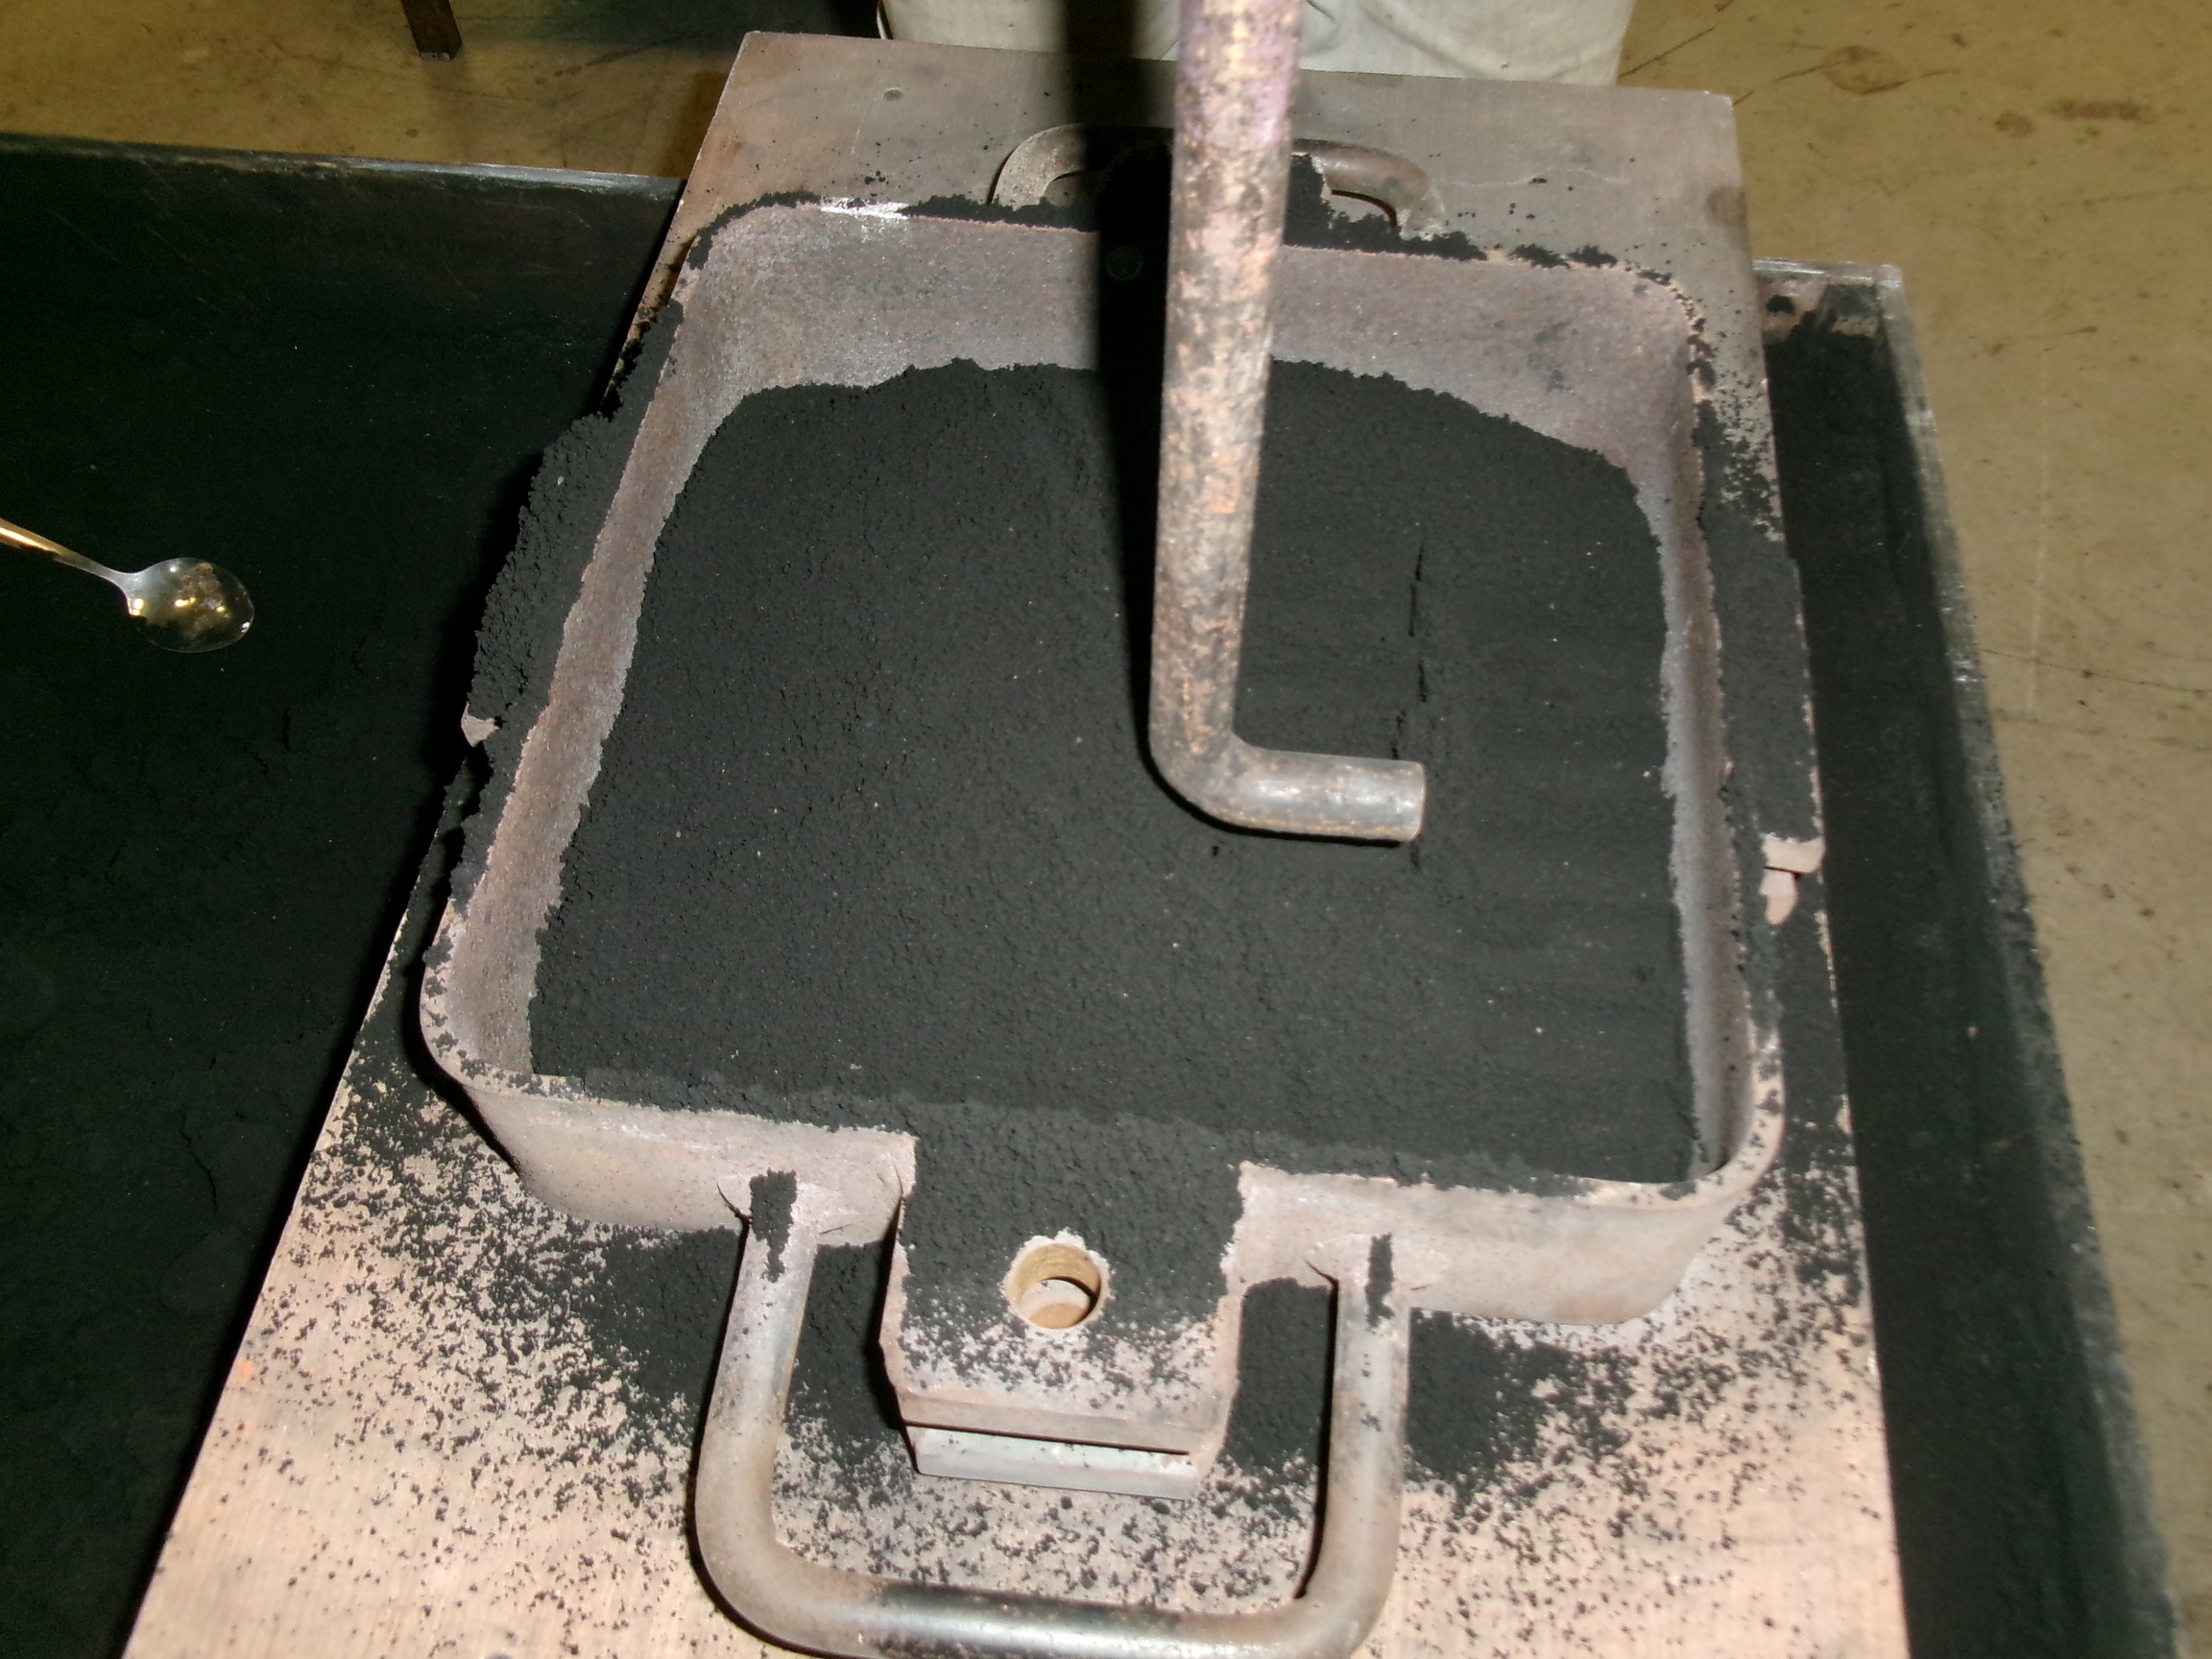
description.txt
Keys that have been lent to me during the exhibition residency. From left, keys to: my apartment, the apartment building, the Leitrim Sculpture Centre, and the project space.
The keys are arranged in a sand-casting box. Everything is lightly dusted with a white, chalky parting powder that comes from a small bag made with a porous material. The powder helps so that the keys will be easily released from the sand.
Lots of the parting powder is applied to the keys in the box. The powder is so fine that it momentarily fills the air.
The keys in the box have now been dusted well.
An orange, oily sand is then sifted over the keys, completely burying them.
A fine, wet black sand is sifted over the orange sand. This is sand with bits of clay in it that has been hydrated with water, and sifted well in the days before the sand-casting. It is black because it has been used before many times before in this foundry, and the foundry it came from originally.
The black sand is well-hydrated and finely sifted. It can be easily squeezed in the hand into a form and if you break this in half, it is a clean break. Andy says "it's really good if you can get a hand print in the sand".
The sand is compacted over the keys with a long bar.
It is important to compact the sand in the edges and corners of the box. If this is not done well, the sand could fall out, no matter how well the sand in the central area has been compacted.
The black sand in the coarse sieve begins to form pebbles after a while. You can use a spoon to break these, much like when sifting flour for baking.
After much sifting and compacting of sand, you can use a shovel to loosely fill the rest of the box.
The box is over-filled with black sand.
A compacting tool with a flat end helps to finish pushing down the sand.
More finishing of the sand compacting.
A flat-edge tool is used to scrape the top of the sand level with the top of the box. This is done because the box will soon be flipped over, and the sand needs to be relatively flat so it isn't pushed up when this happens.
A piece of brass used for brazing is what we will use to make holes in the sand. The holes allow gases to escape from the sand when it gets hot, during the metal pouring process.
Holes are pushed into the sand in rows, about 5cm apart, so that gas can be released when the hot aluminium is poured into the mold.
More gas-releasing holes pushed into the sand.
The finished grid of gas-releasing holes.
We carefully flip over the box. The keys, key tags and a carabiner are quite deeply set into the sand.
A faint image of the keys, tags and carabiner left behind in the white parting powder on the wooden board that the box was originally placed on.
Carefully digging around the keys with a wax-carving tool, so that they won't be undercast, and also so that a clear impression of the top half of the keys can be made. It also makes it easier to remove the objects from the mold before the metal is poured into it.
Another box is put on top, with a steel pipe that will make a hole for where the metal will eventually be poured into the cast.
More dusting with the parting powder.
Starting to sieve oily orange sand into the top half of the first casting mold, while preparing the bottom half of the second casting mold.
Finishing off the compacting of the bottom half of the second mold with the flat end tool.
Scraping the sand level on the bottom half of the second mold.
Starting to pack down the black sand into the top half of the first mold. One person packs down the sand, the other holds the pipe which will make the hole for the metal to be poured into. This should be vertical for a good pour. Eventually, the compacted sand will hold it in place.
The bottom half of the second mold is flipped over. The keys, a key tag and a piece of a meccano construction set is embedded into the sand.
Carefully digging out the sand around the keys again.
The steel pipe is twisted carefully, and then removed from the top half box of the first mold.
The orange sand at the bottom of the mold is now visible again through the pouring hole.
The top half of the first mold is flipped over.
The impressions the keys have left in the sand are quite clear.
Carefully tapping the keys to release them, then gently removing them from the mold with a wax-carving tool.
A piece of aluminium from a soft drink can makes a good sand-carving tool. This helps to carve smooth channels into the sand.
Carving channels into the sand. The metal will flow from a central reservoir, through the channels, to the keys.
Long, thin channels are cut into the sand with the wax-carving tool. These extend from the edges of the keys to the edge of the box. They will take care of any excess metal poured into the mold.
An aluminium ingot is placed into the crucible.
The gas is turned on, and the crucible begins to heat up. It takes about 45 minutes to an hour for the metal to heat to a good temperature for pouring.
A reservoir is cut into the sand of the top half box of the first mold. There are also channels cut into the sand leading to the keys. The channels need to be quite smooth, or the metal might not flow evenly.
The top half box of the first mold is flipped over onto the bottom half box. This needs to be aligned with the pins that hold the two boxes together.
Metal clips, called "dogs", are tapped into ridges on the sides of the boxes, holding them together tightly.
A pouring cup, made of black sand compacted into a steel ring.
The pouring cup is placed on top of the mold. The hole in the cup aligns with the hole in the top half box.
The mold is placed in front of the crucible, in a channel of sand. Nearby are two molds for pouring ingots. Any excess aluminium will need to be poured into ingots while the metal is hot, so that it can be used later.
Measuring the temperature of the molten aluminium.
The temperature is 475.1 degrees celsius. The metal is now ready to pour.
The crucible is lifted away from the gas flame.
The metal is poured into the pouring cup. It needs to be poured at a smooth pace, not too fast and not too slow.
The excess molten metal is poured into an ingot mold.
The poured metal is left to cool in the mold.
The top half of the second mold is flipped over.
Carving a reservoir into the bottom half of the second mold.
All of the keys are carefully removed, and then any sharp edges in the channels and reservoir are smoothed out by hand.
Preparing the pouring cup for the second mold. A bread knife is used to carve out a conical hole into the sand.
The cast from the first mold is released from the sand.
A closer view of the first mold sand cast.
The bottom half box of the first mold. The heat of the molten metal has scorched the orange sand.
Knocking the rest of the sand free from the first cast.
A closer view of the first cast.
The first cast with sand brushed away.
A closer view of the first cast.
The ingot has been melted and the metal is almost hot enough to pour again. To prepare, impurities on the surface are removed from the molten metal.
The second cast has been poured, and is now cool enough to release.
A close-up of one of the keys from the first cast. The words "DO NOT DUPLICATE" can be read clearly.