Sand-casting a computer keyboard into an aluminium form in the foundry at the Leitrim Sculpture Centre, a process which took 3 days of preparation.
description.txt
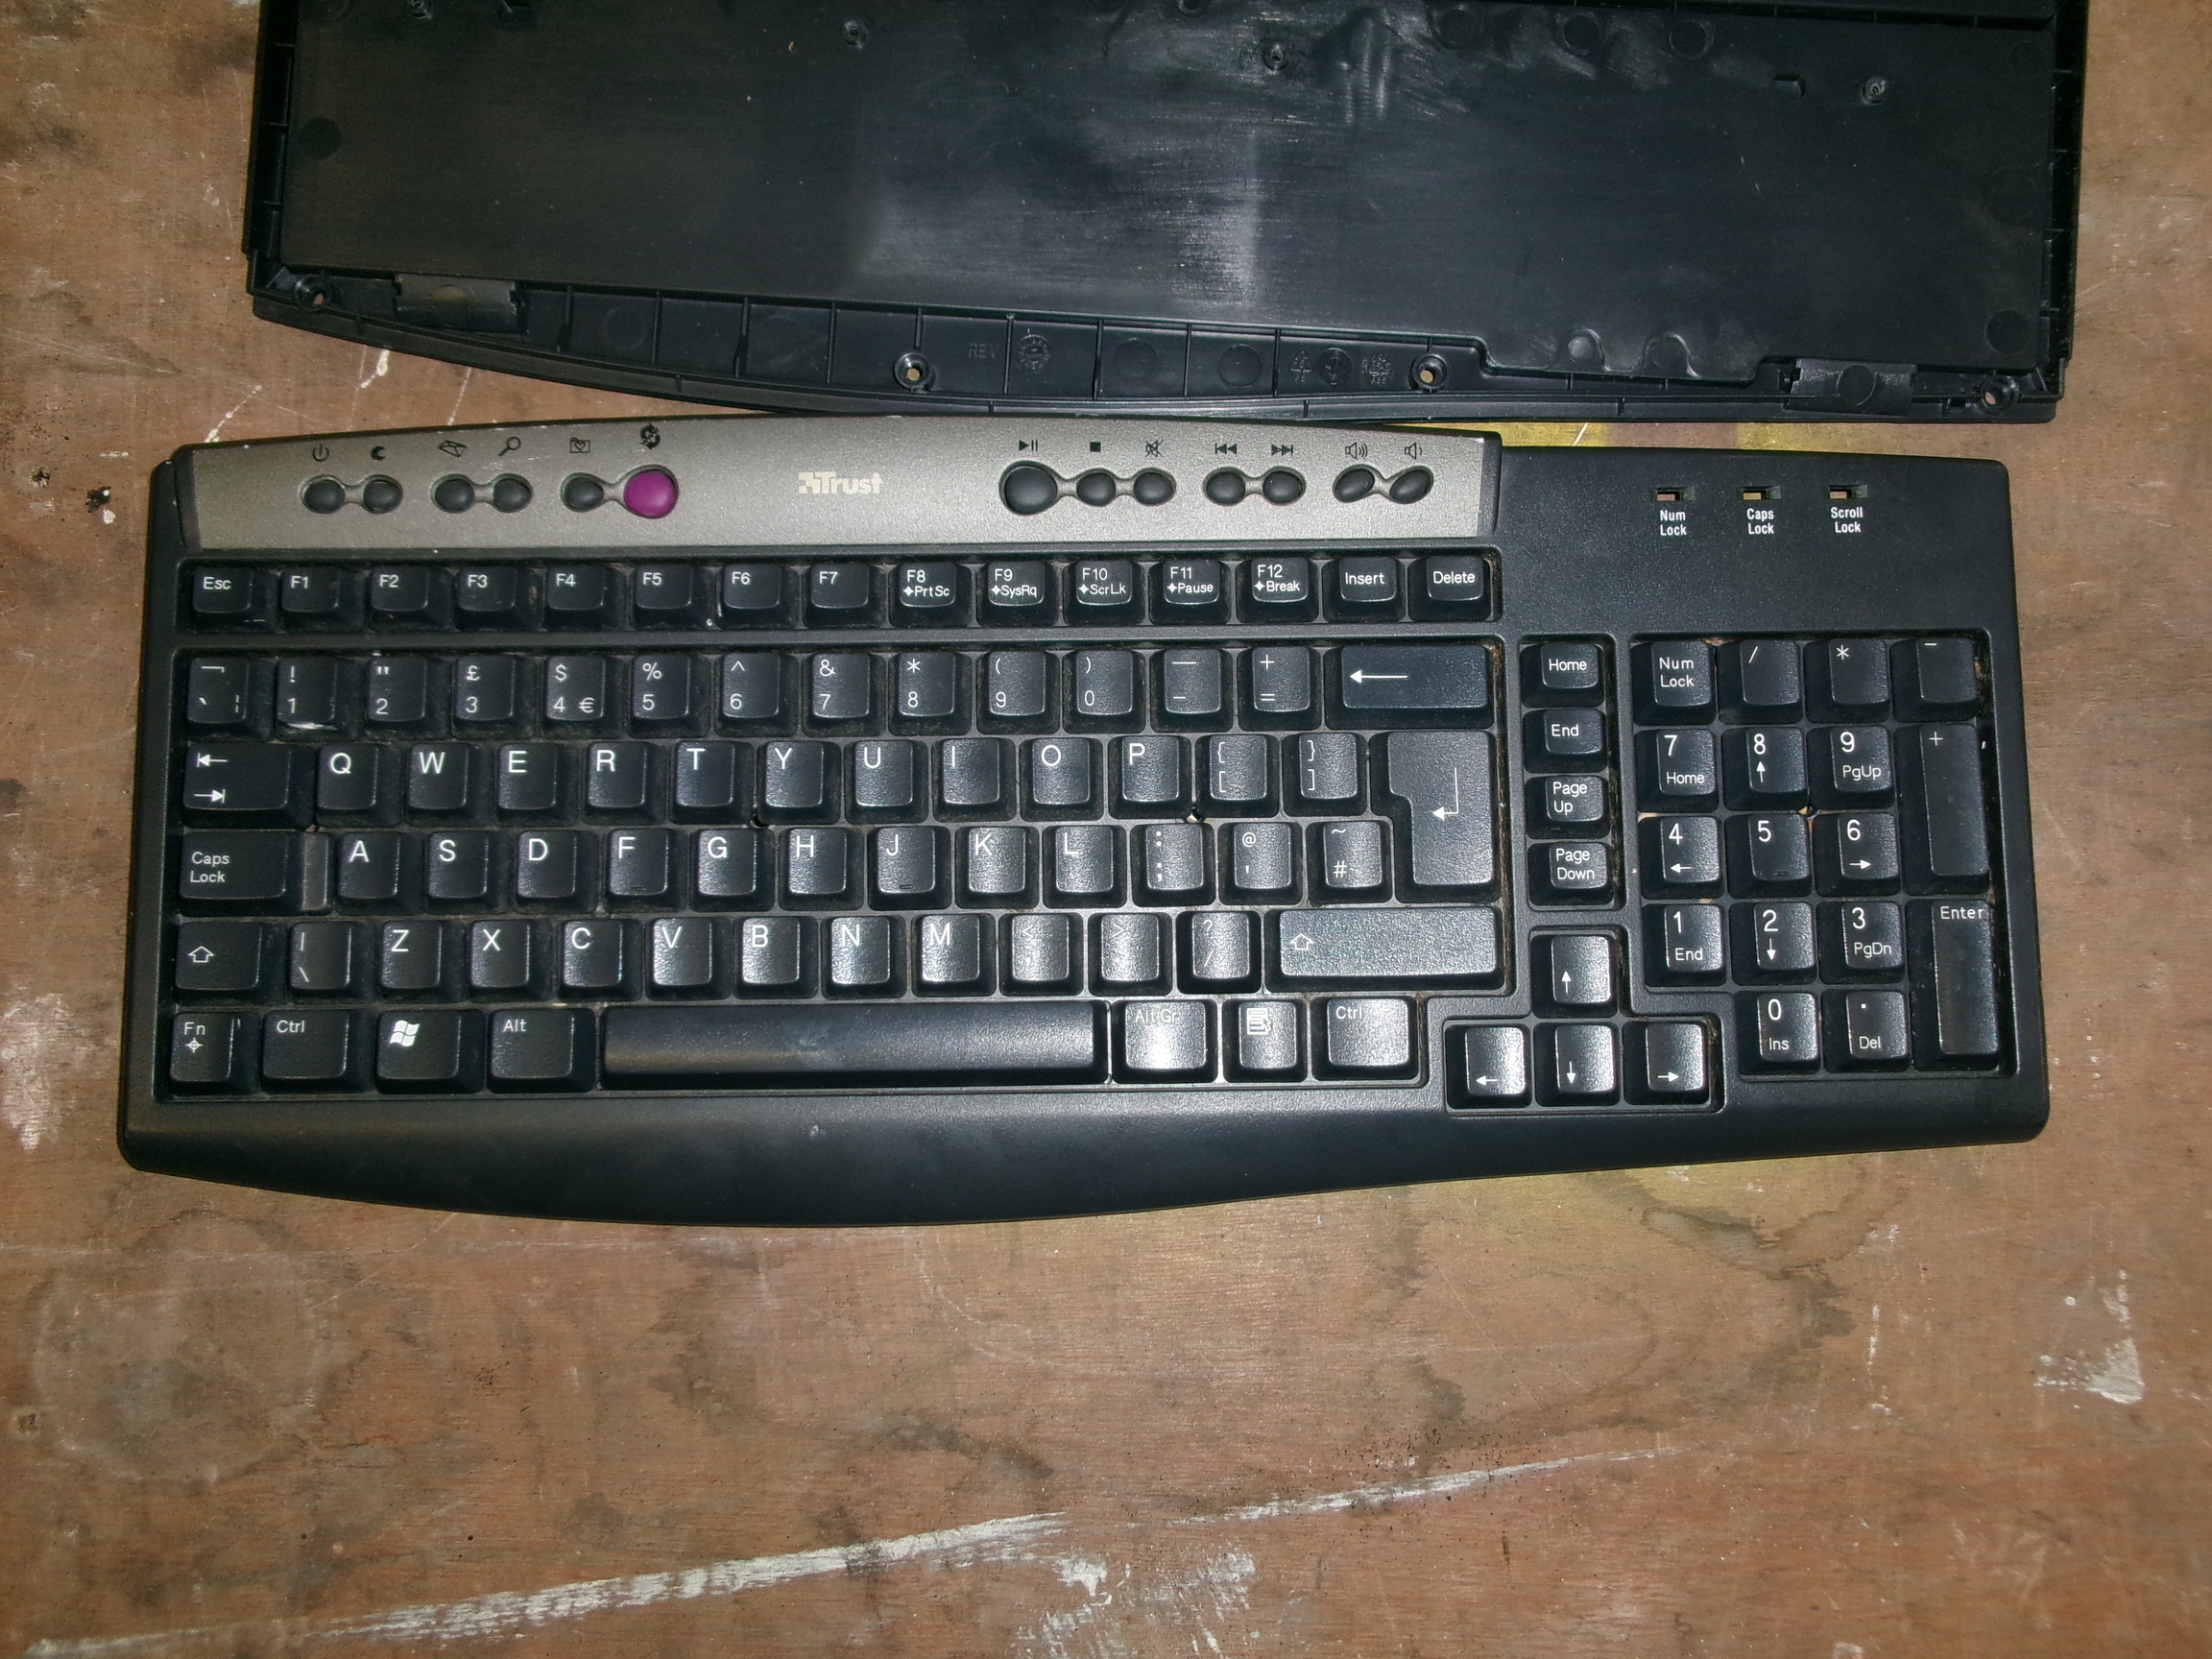
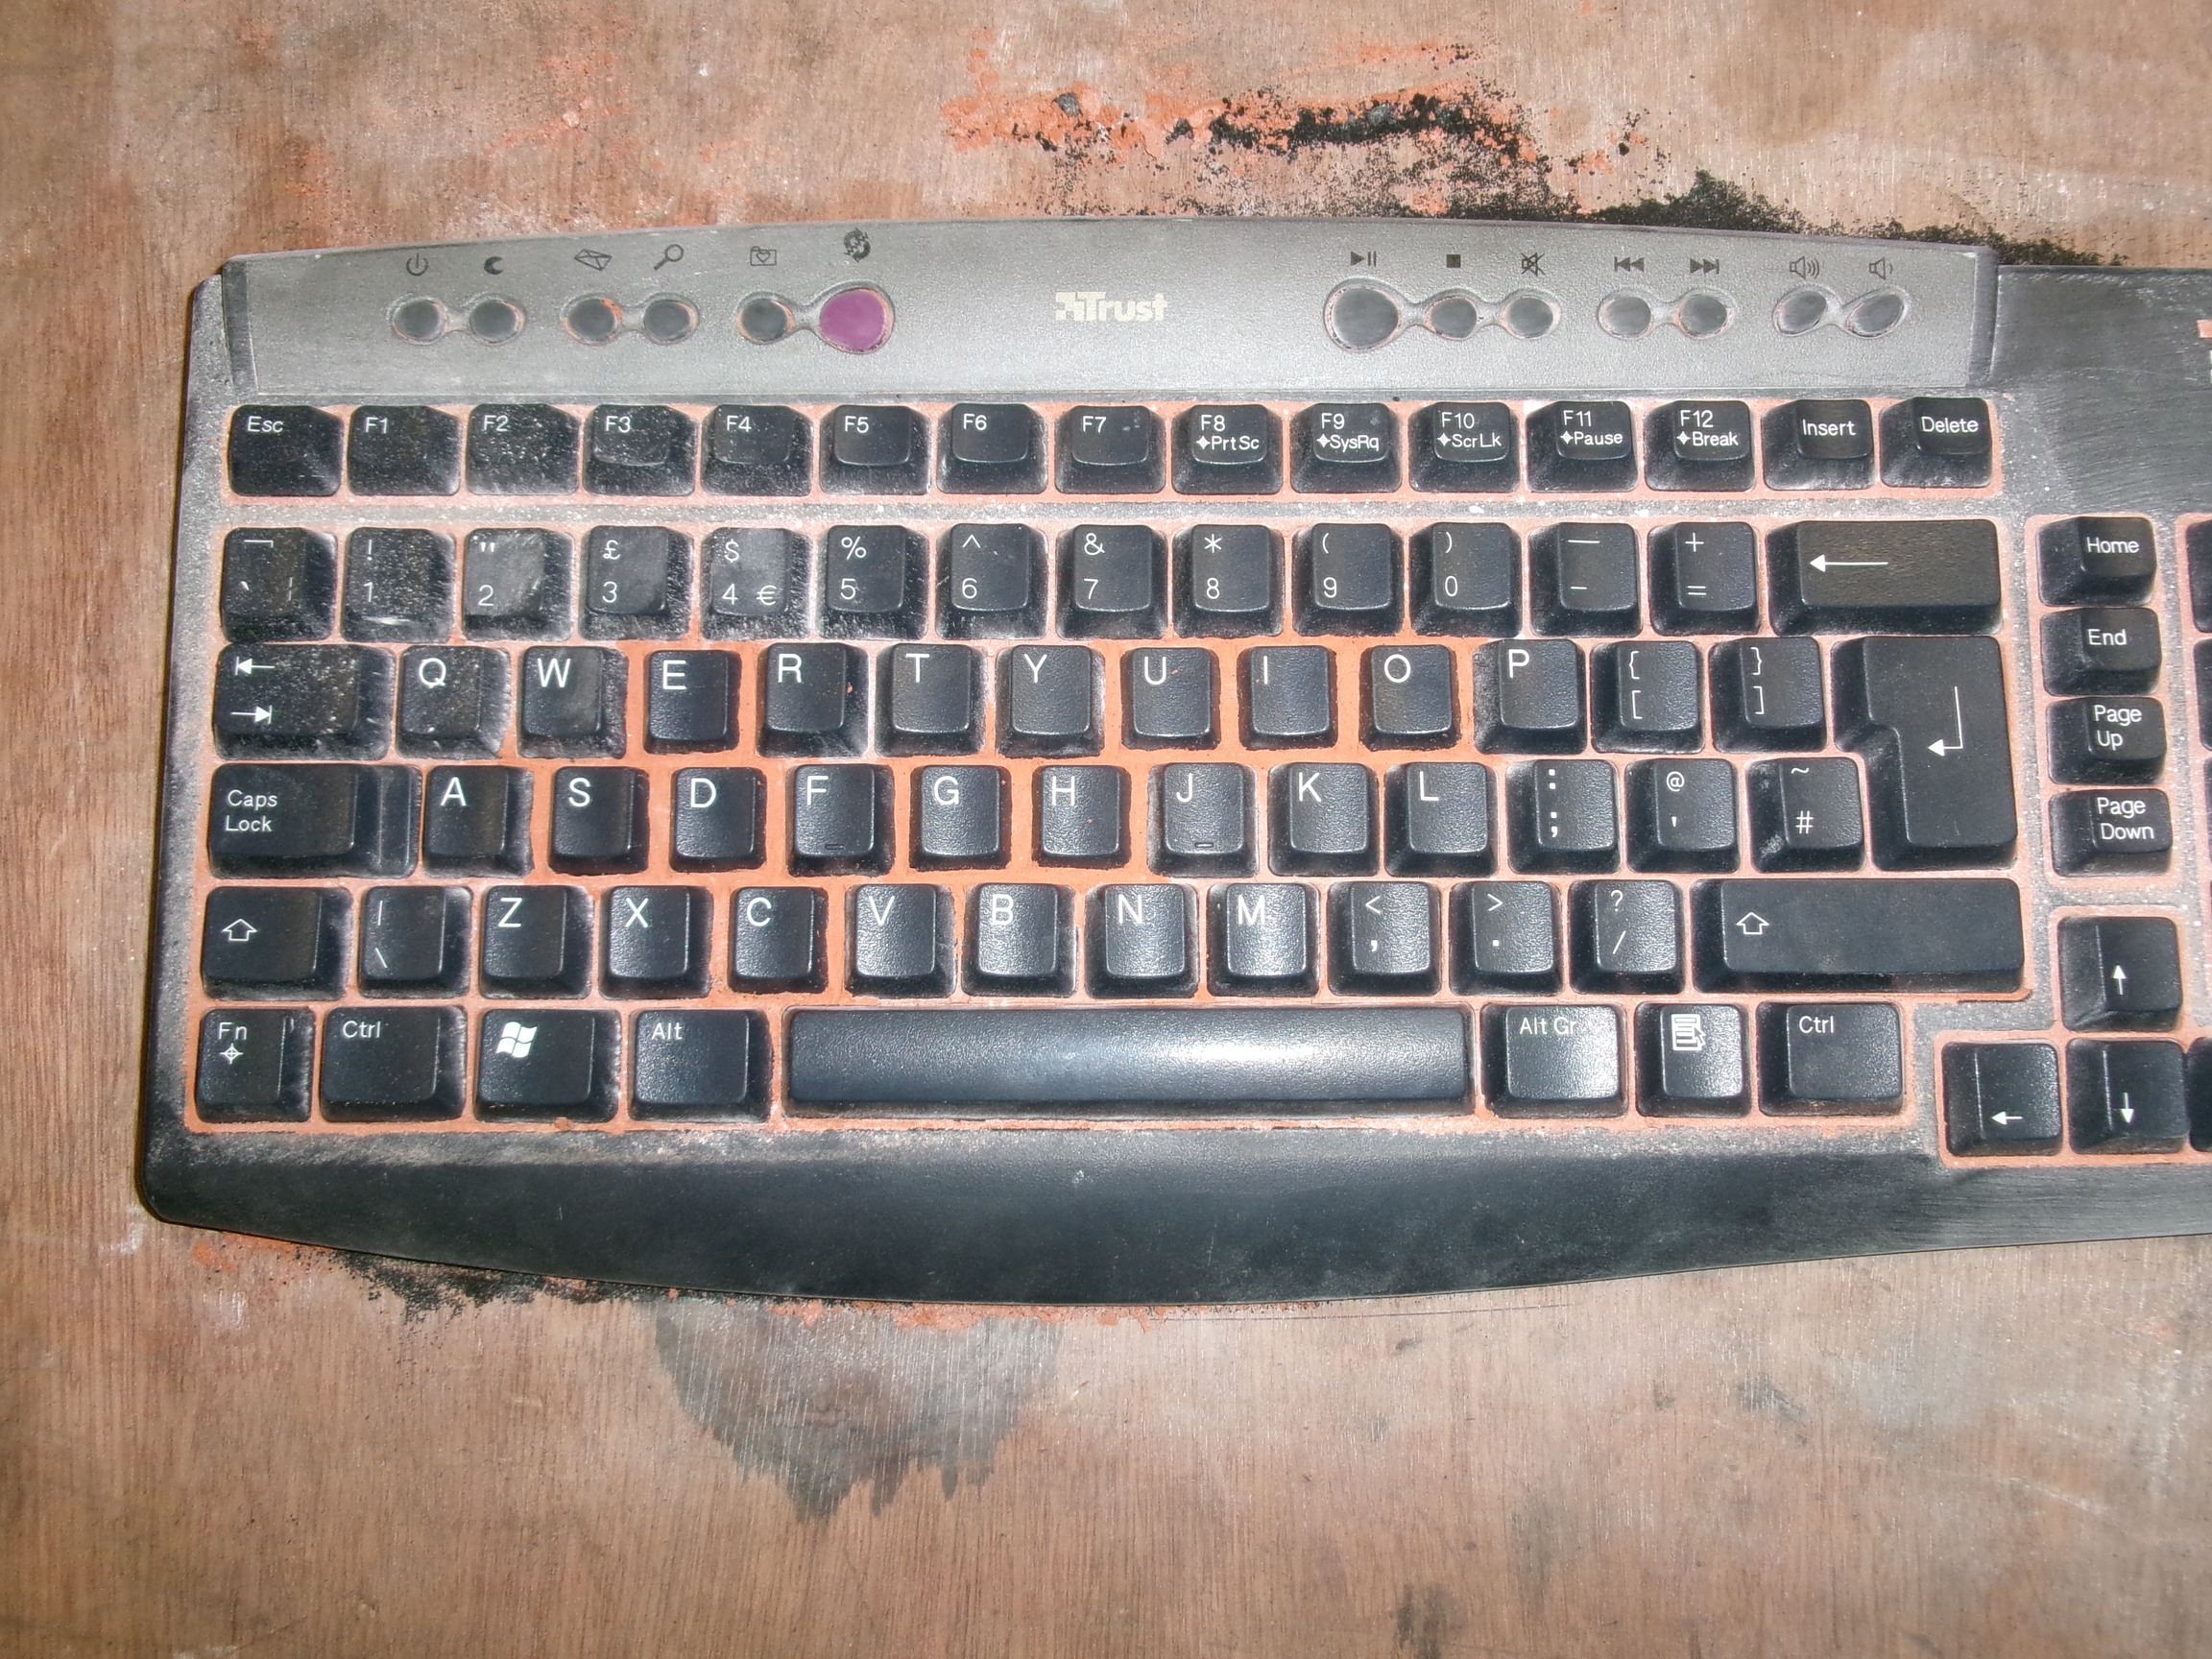
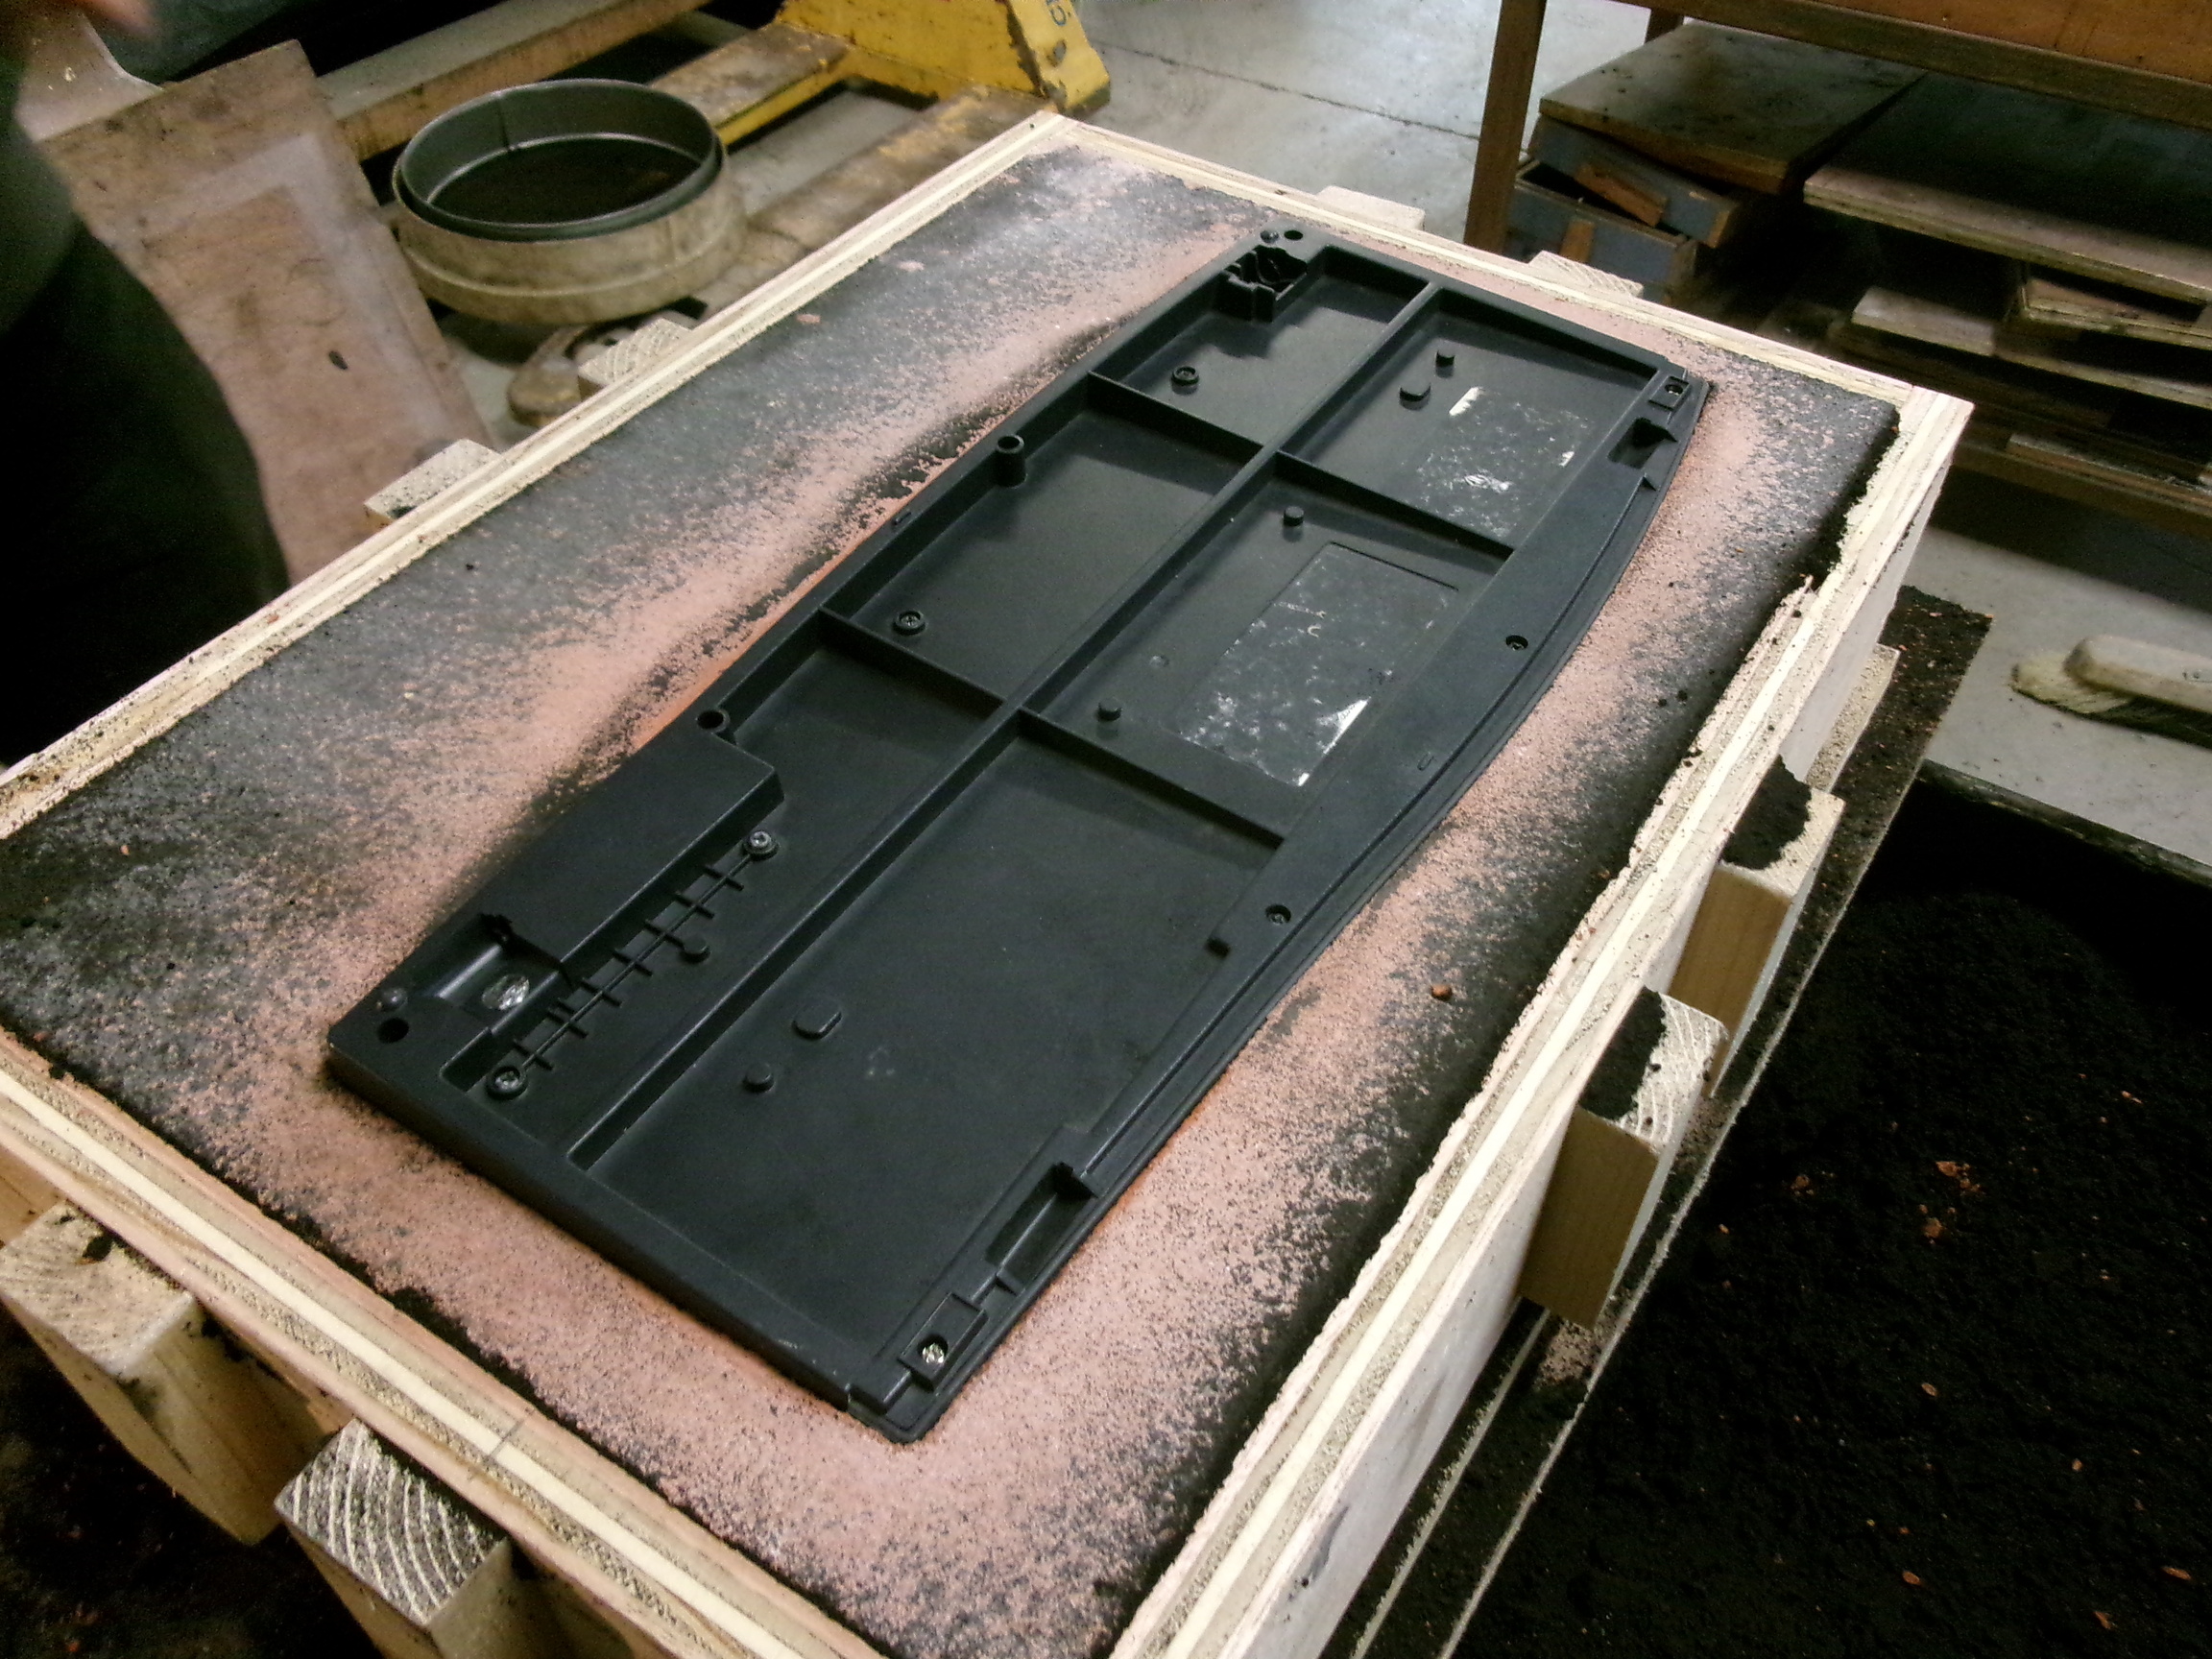
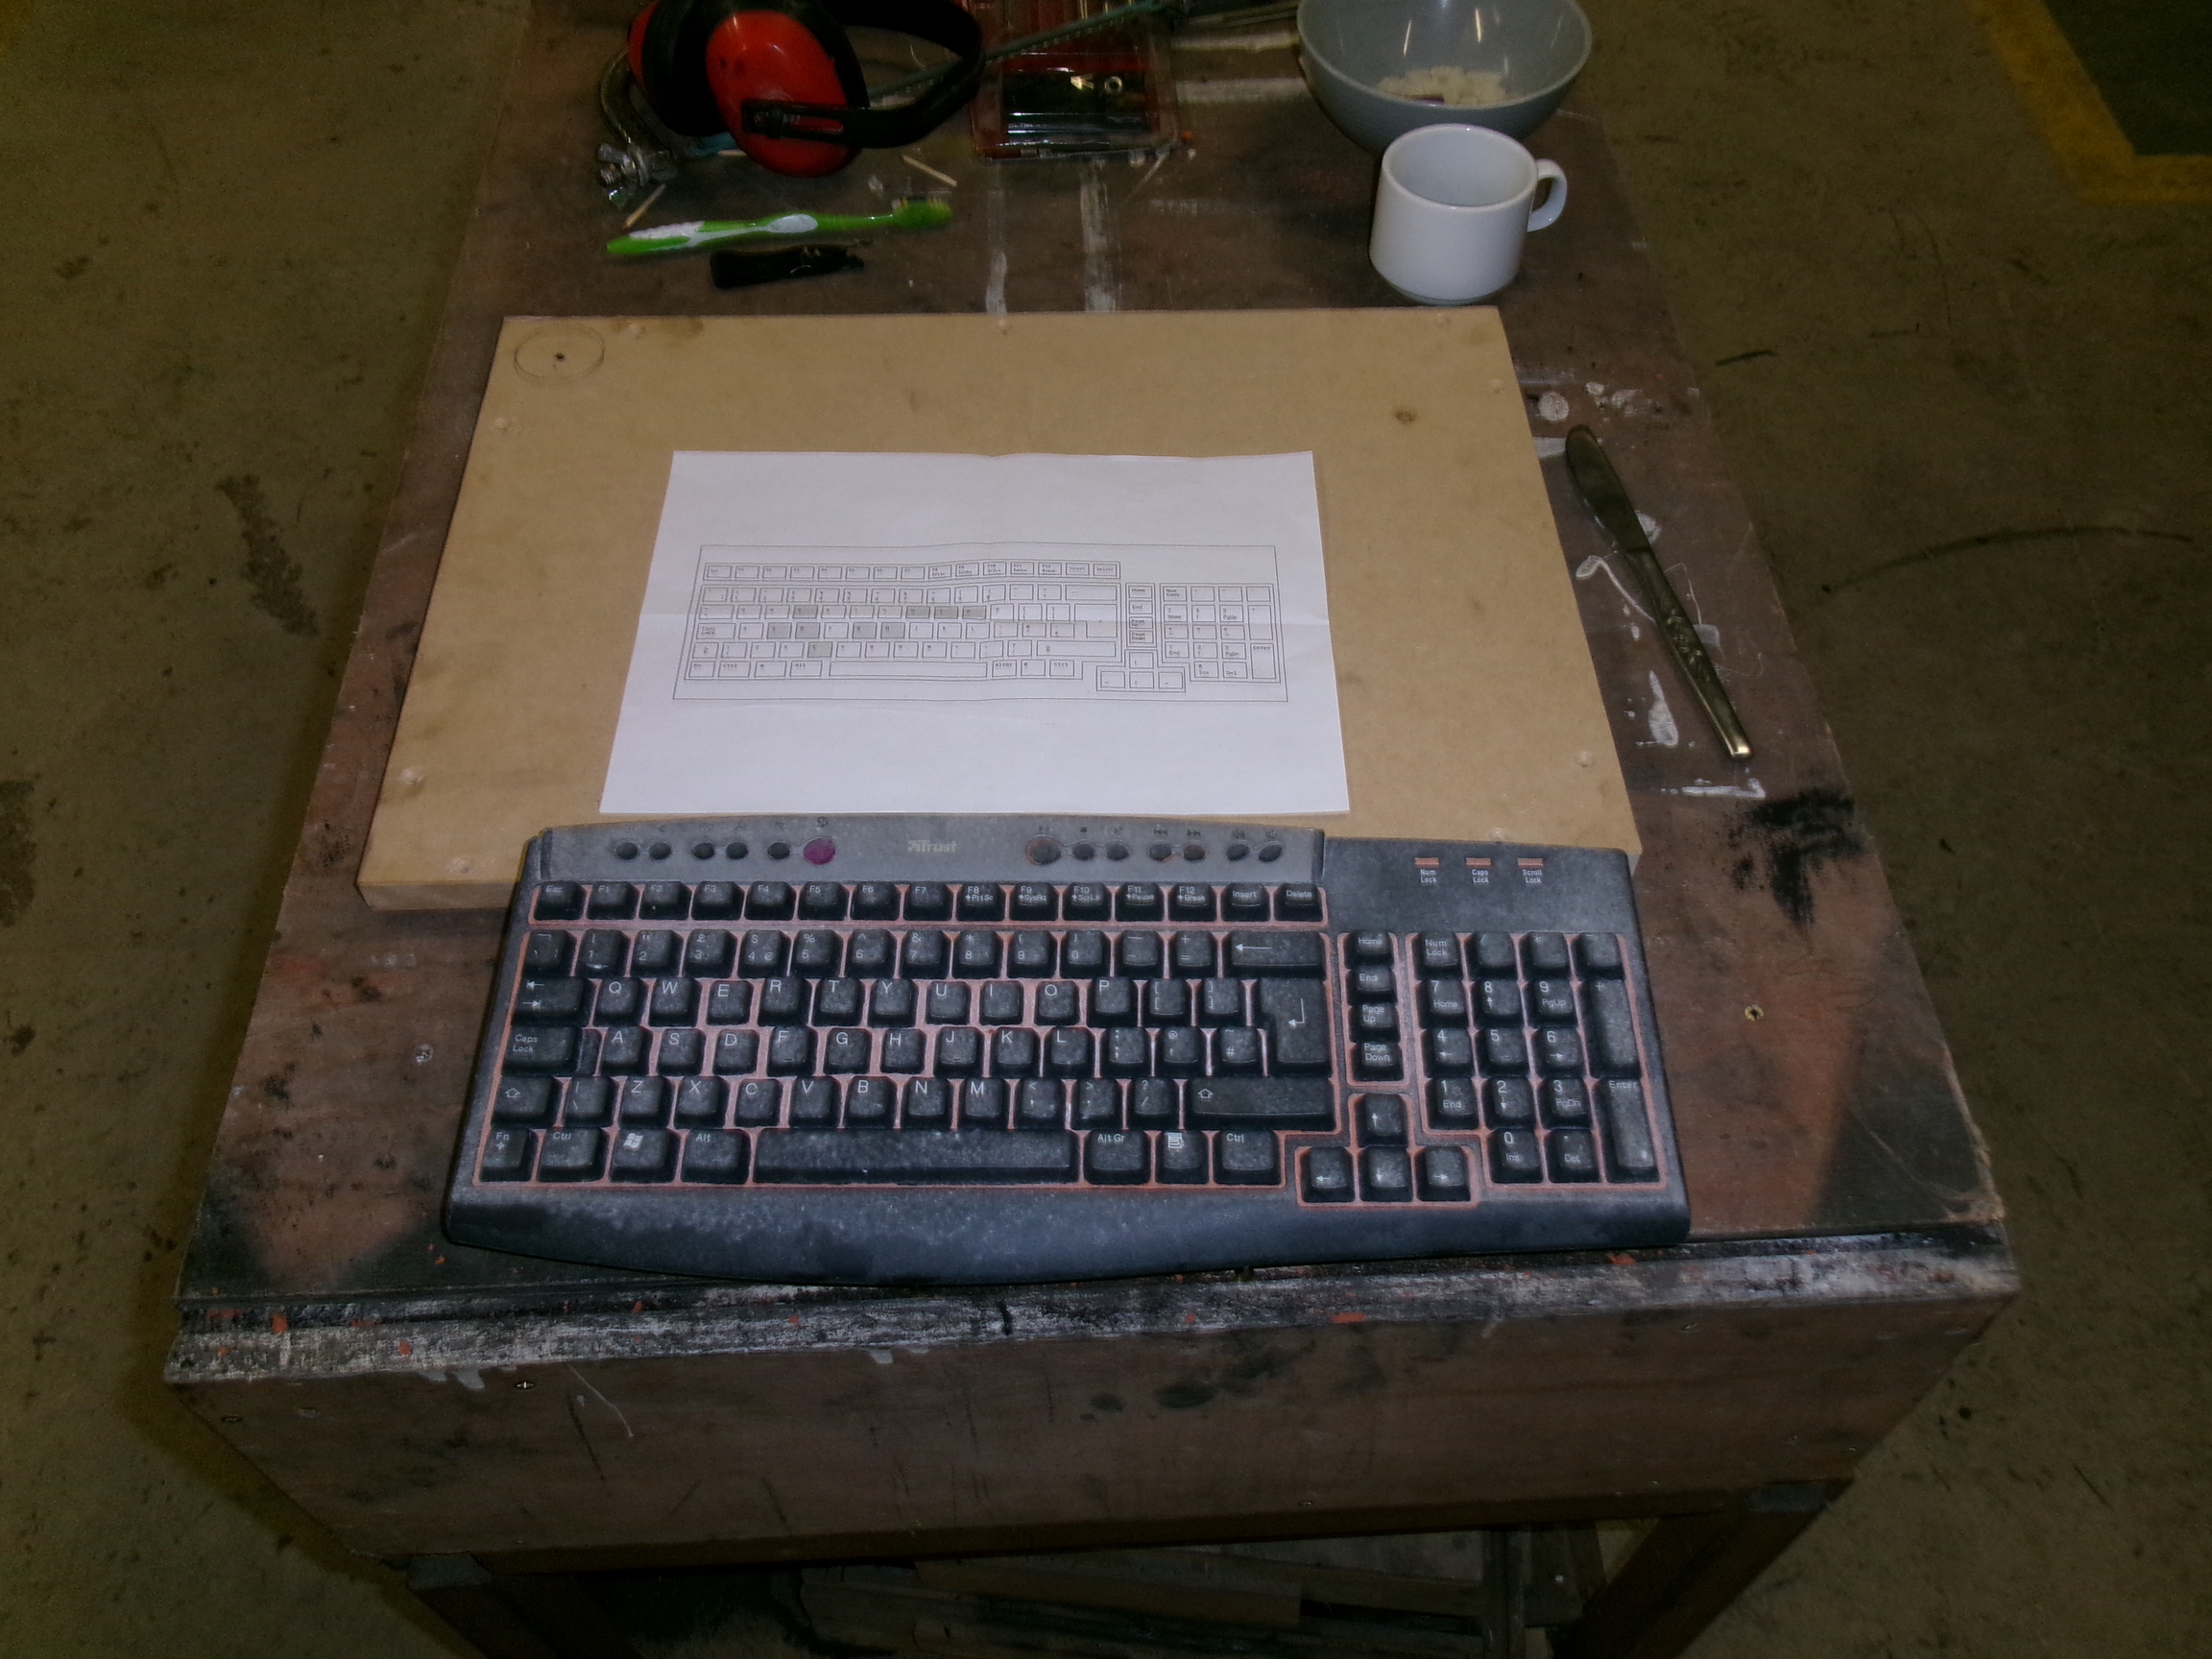
A computer keyboard, donated to me by Shane Finan.
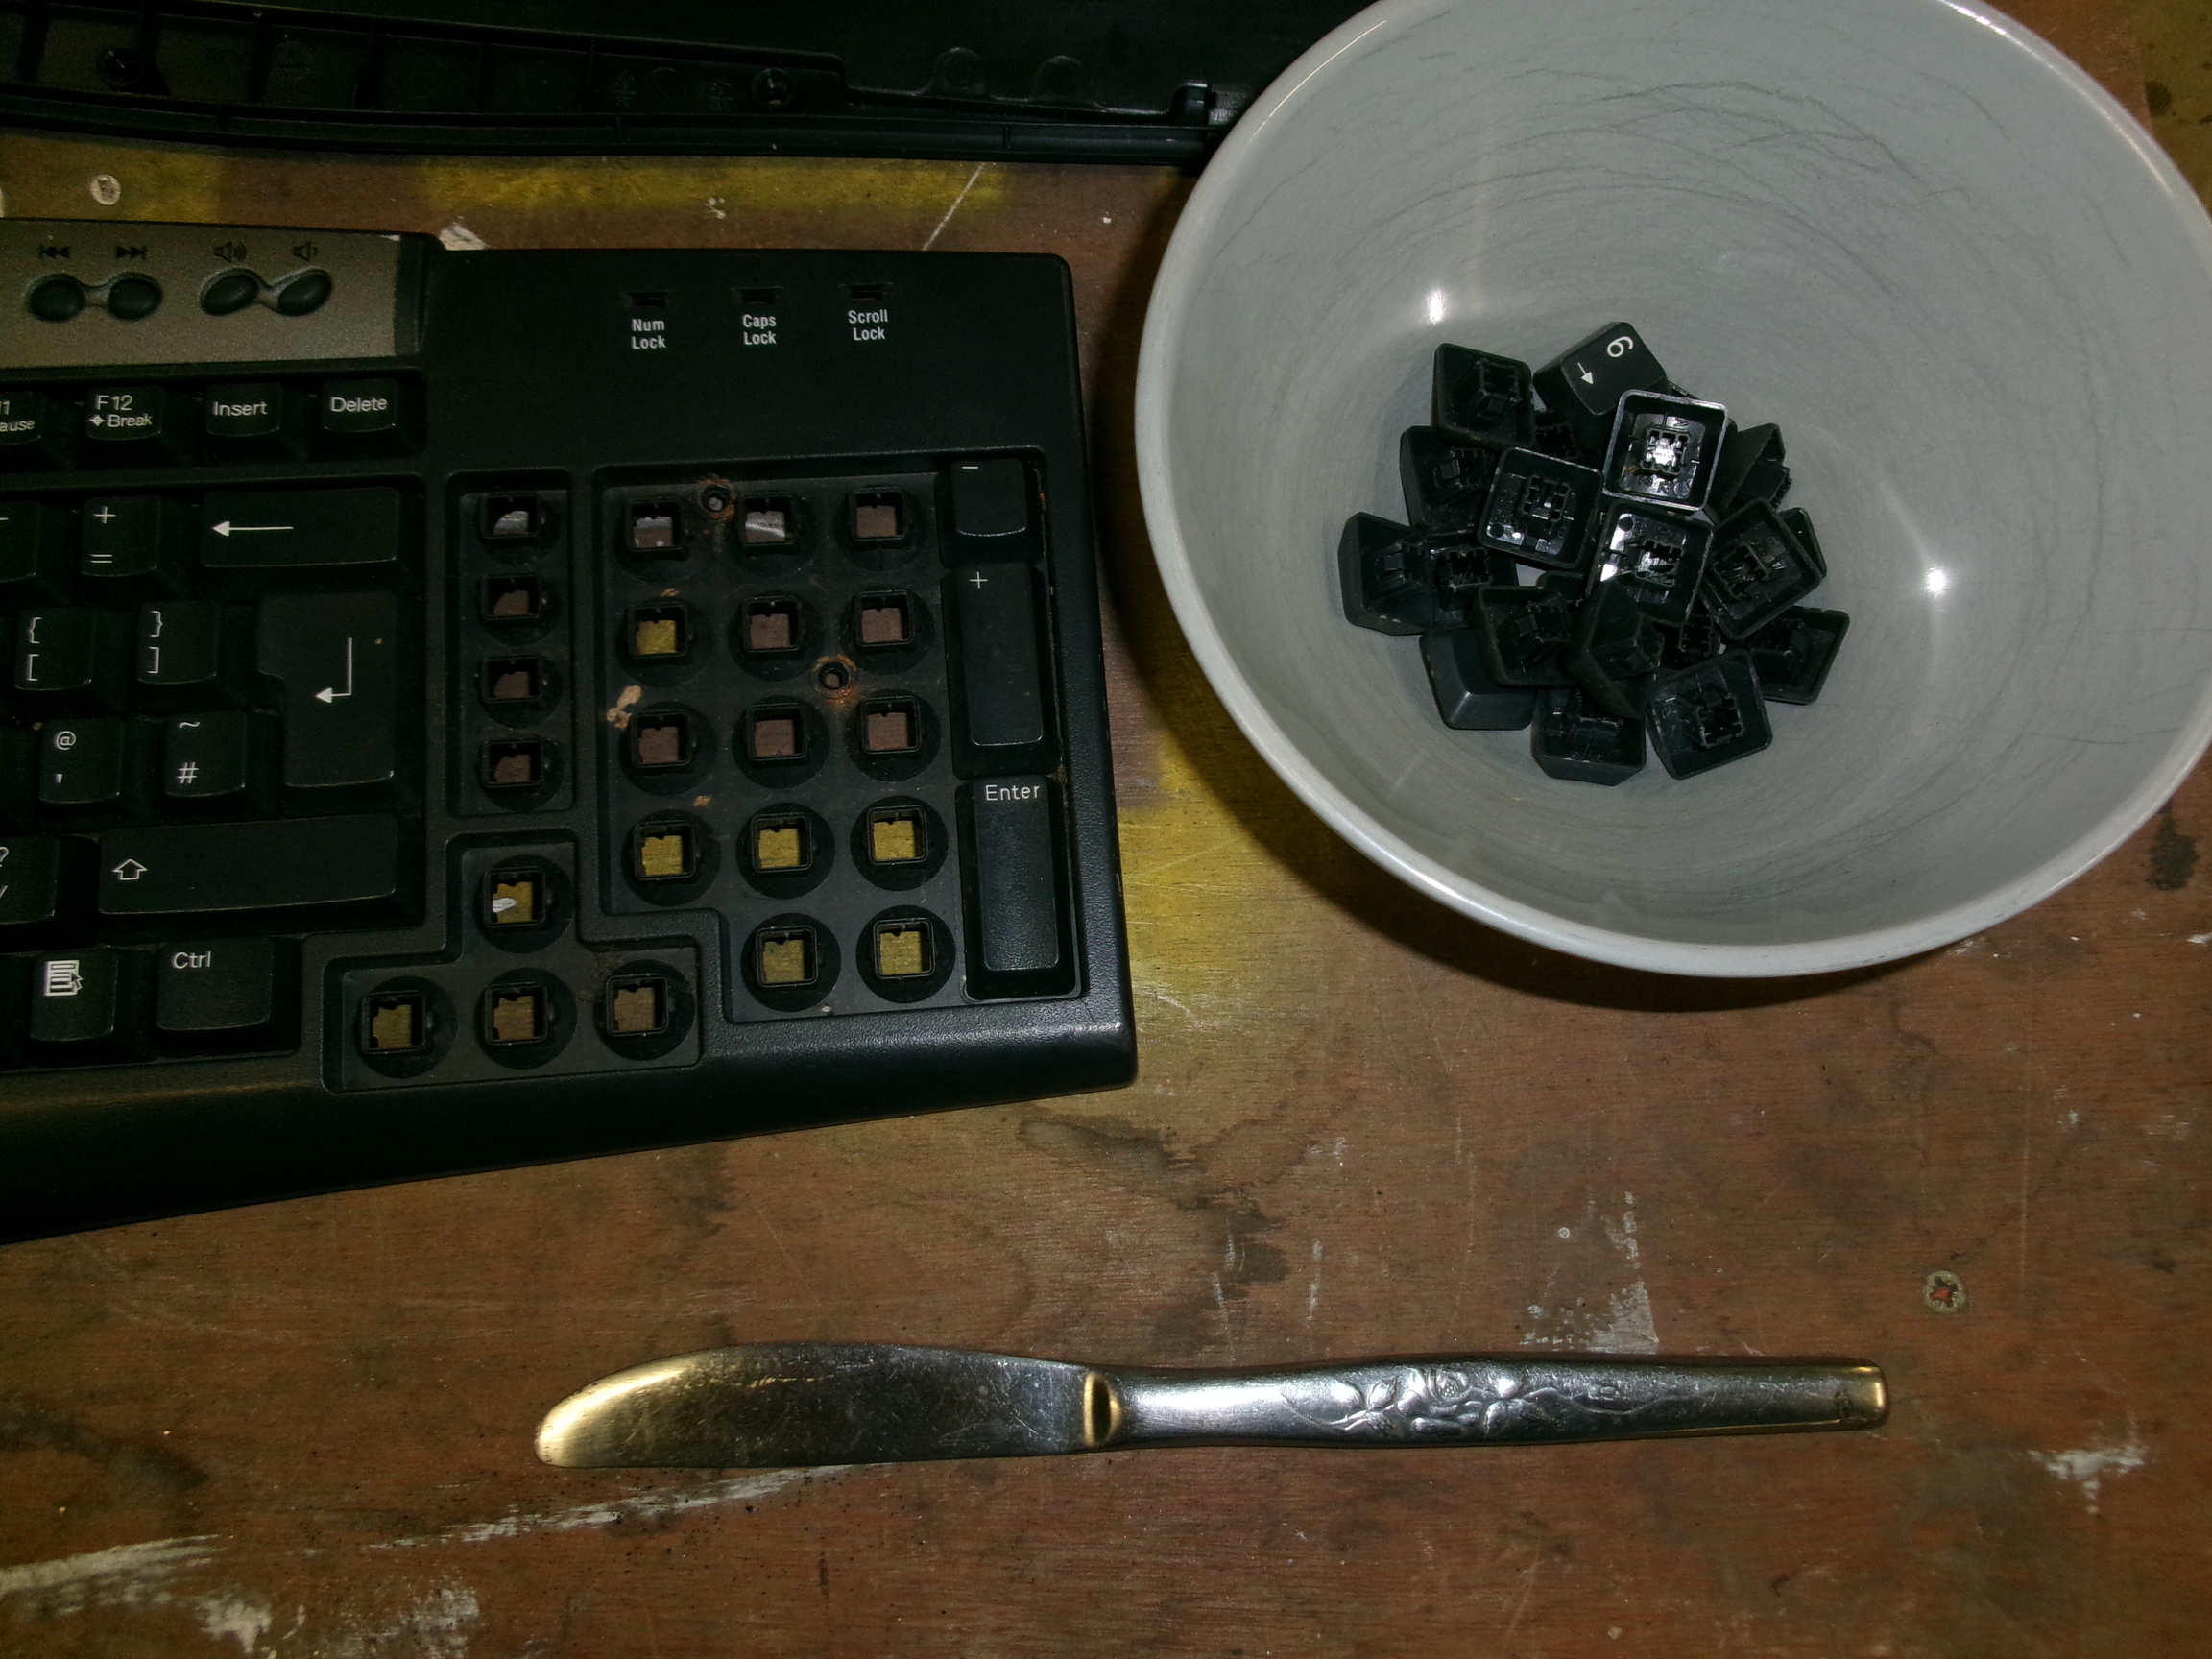
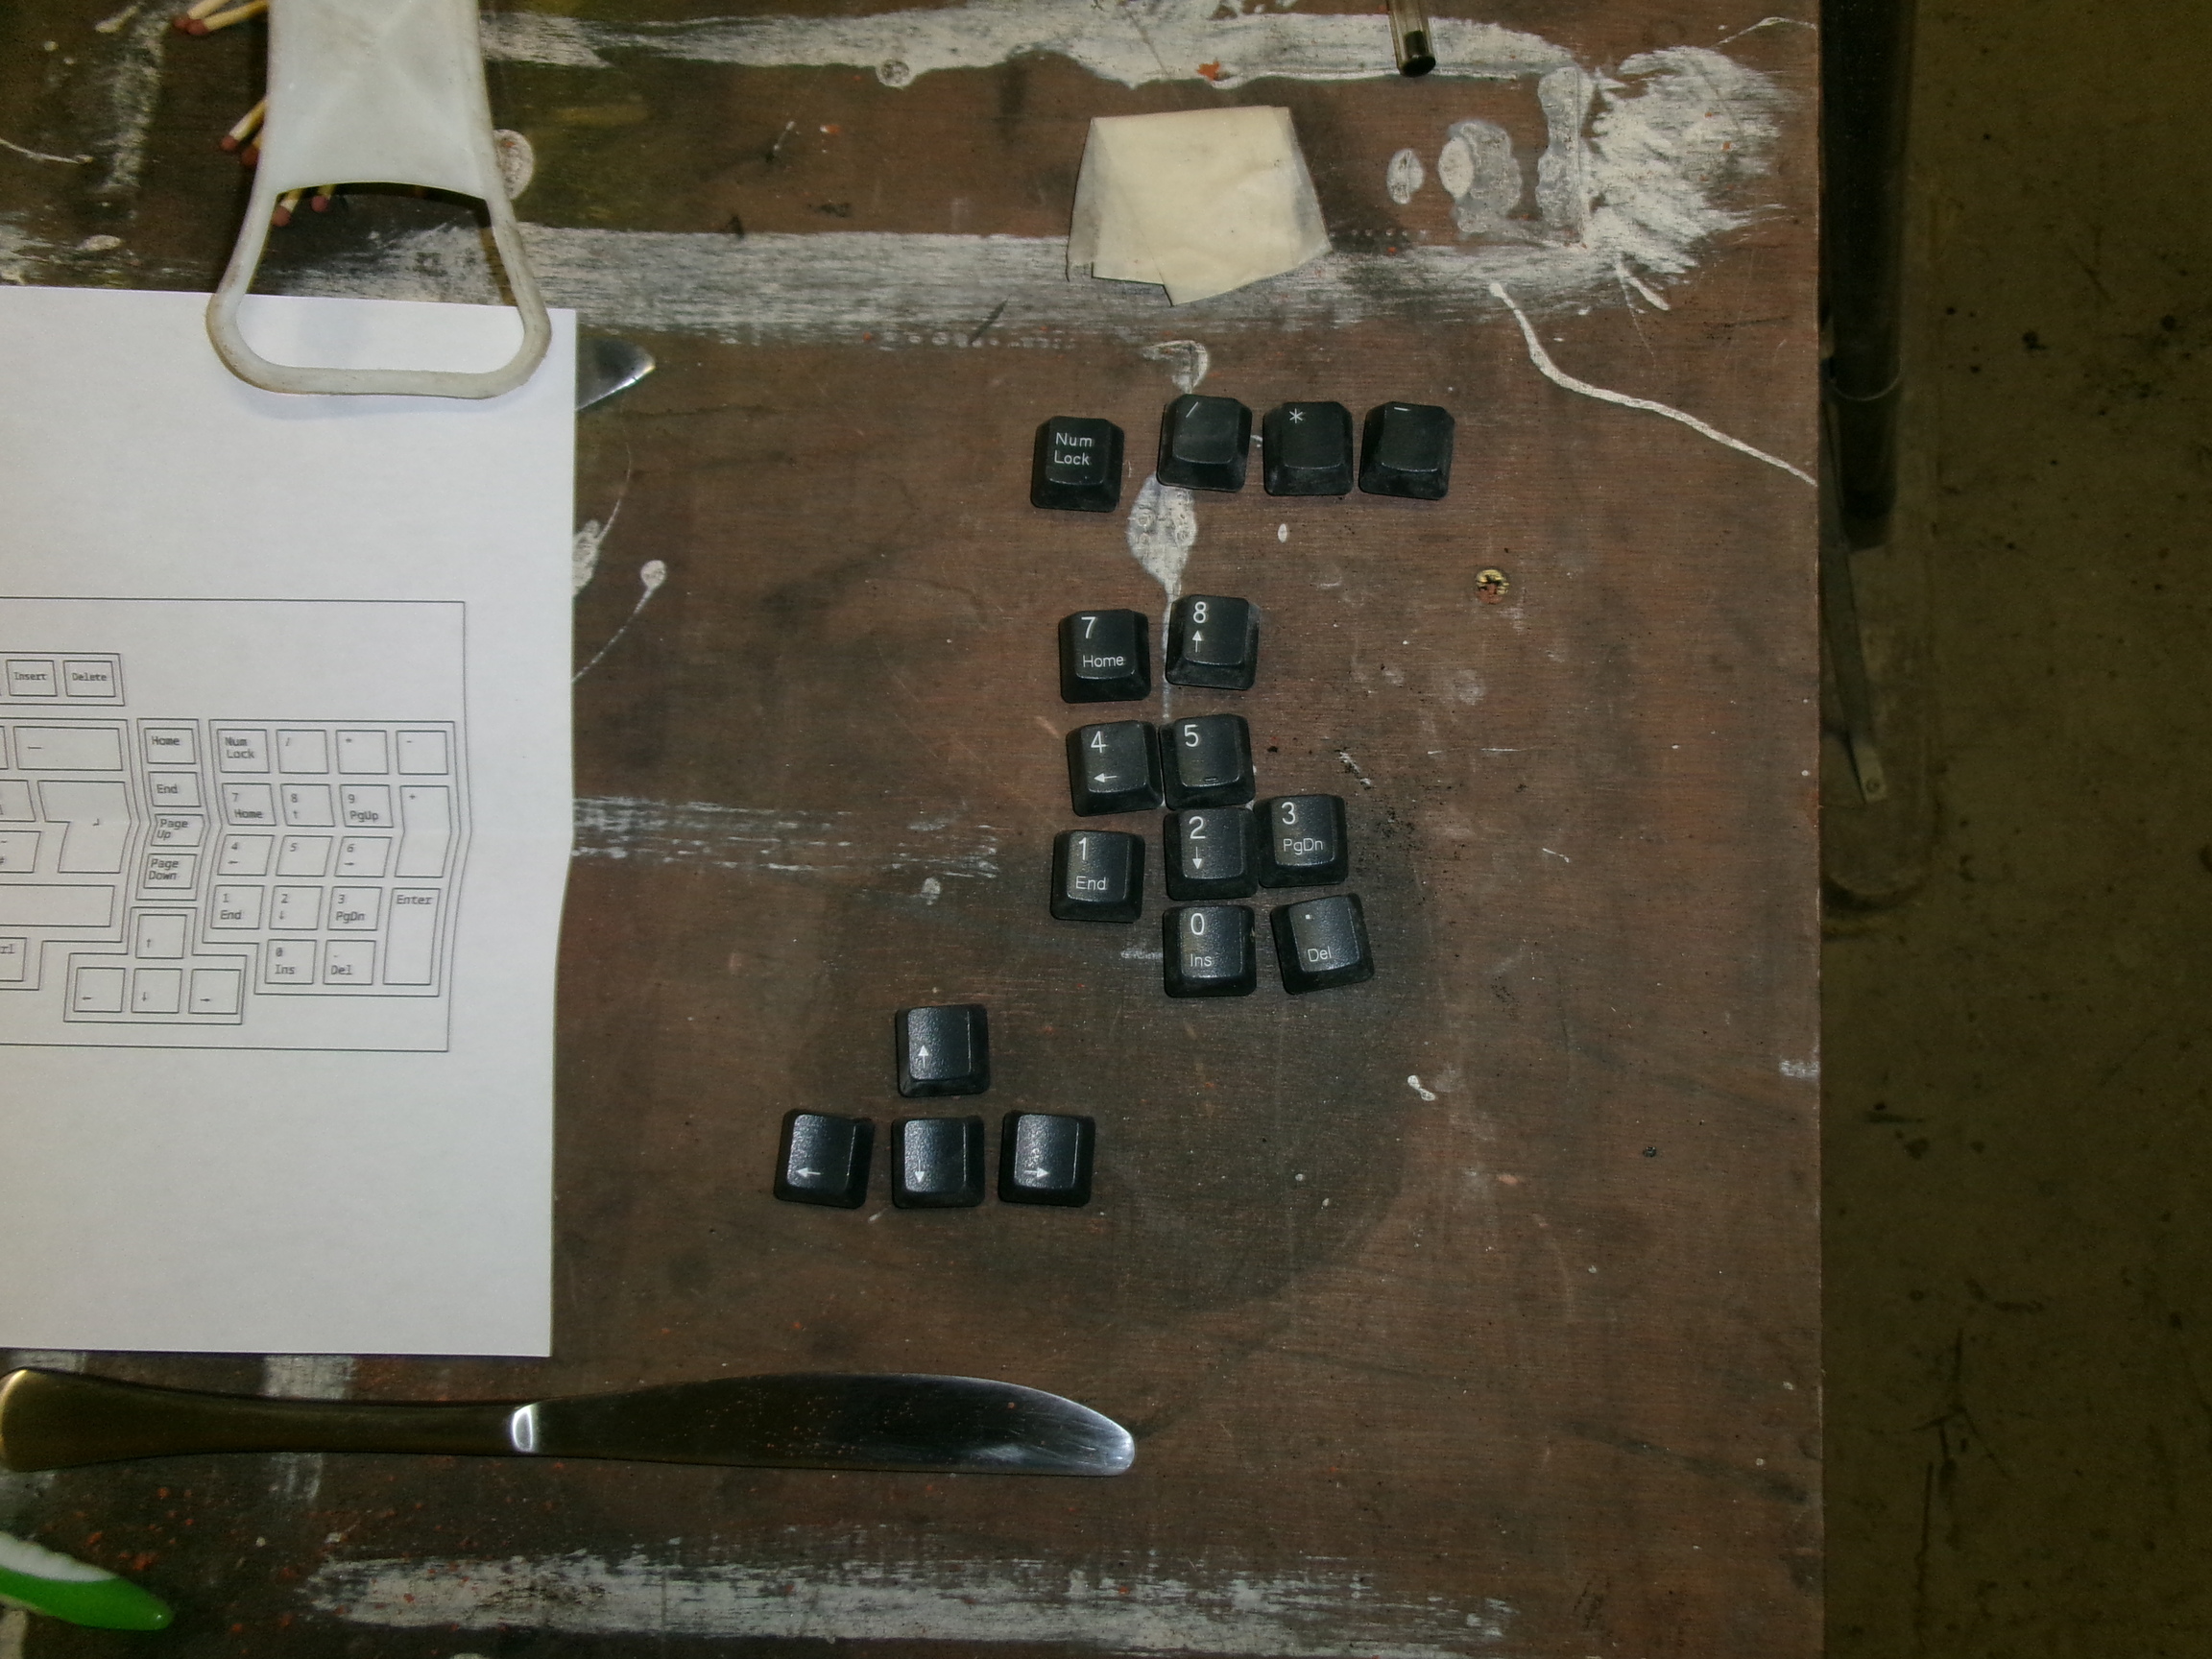
Removing the keys using a bread knife. These are separated into bowls for easy re-installation.
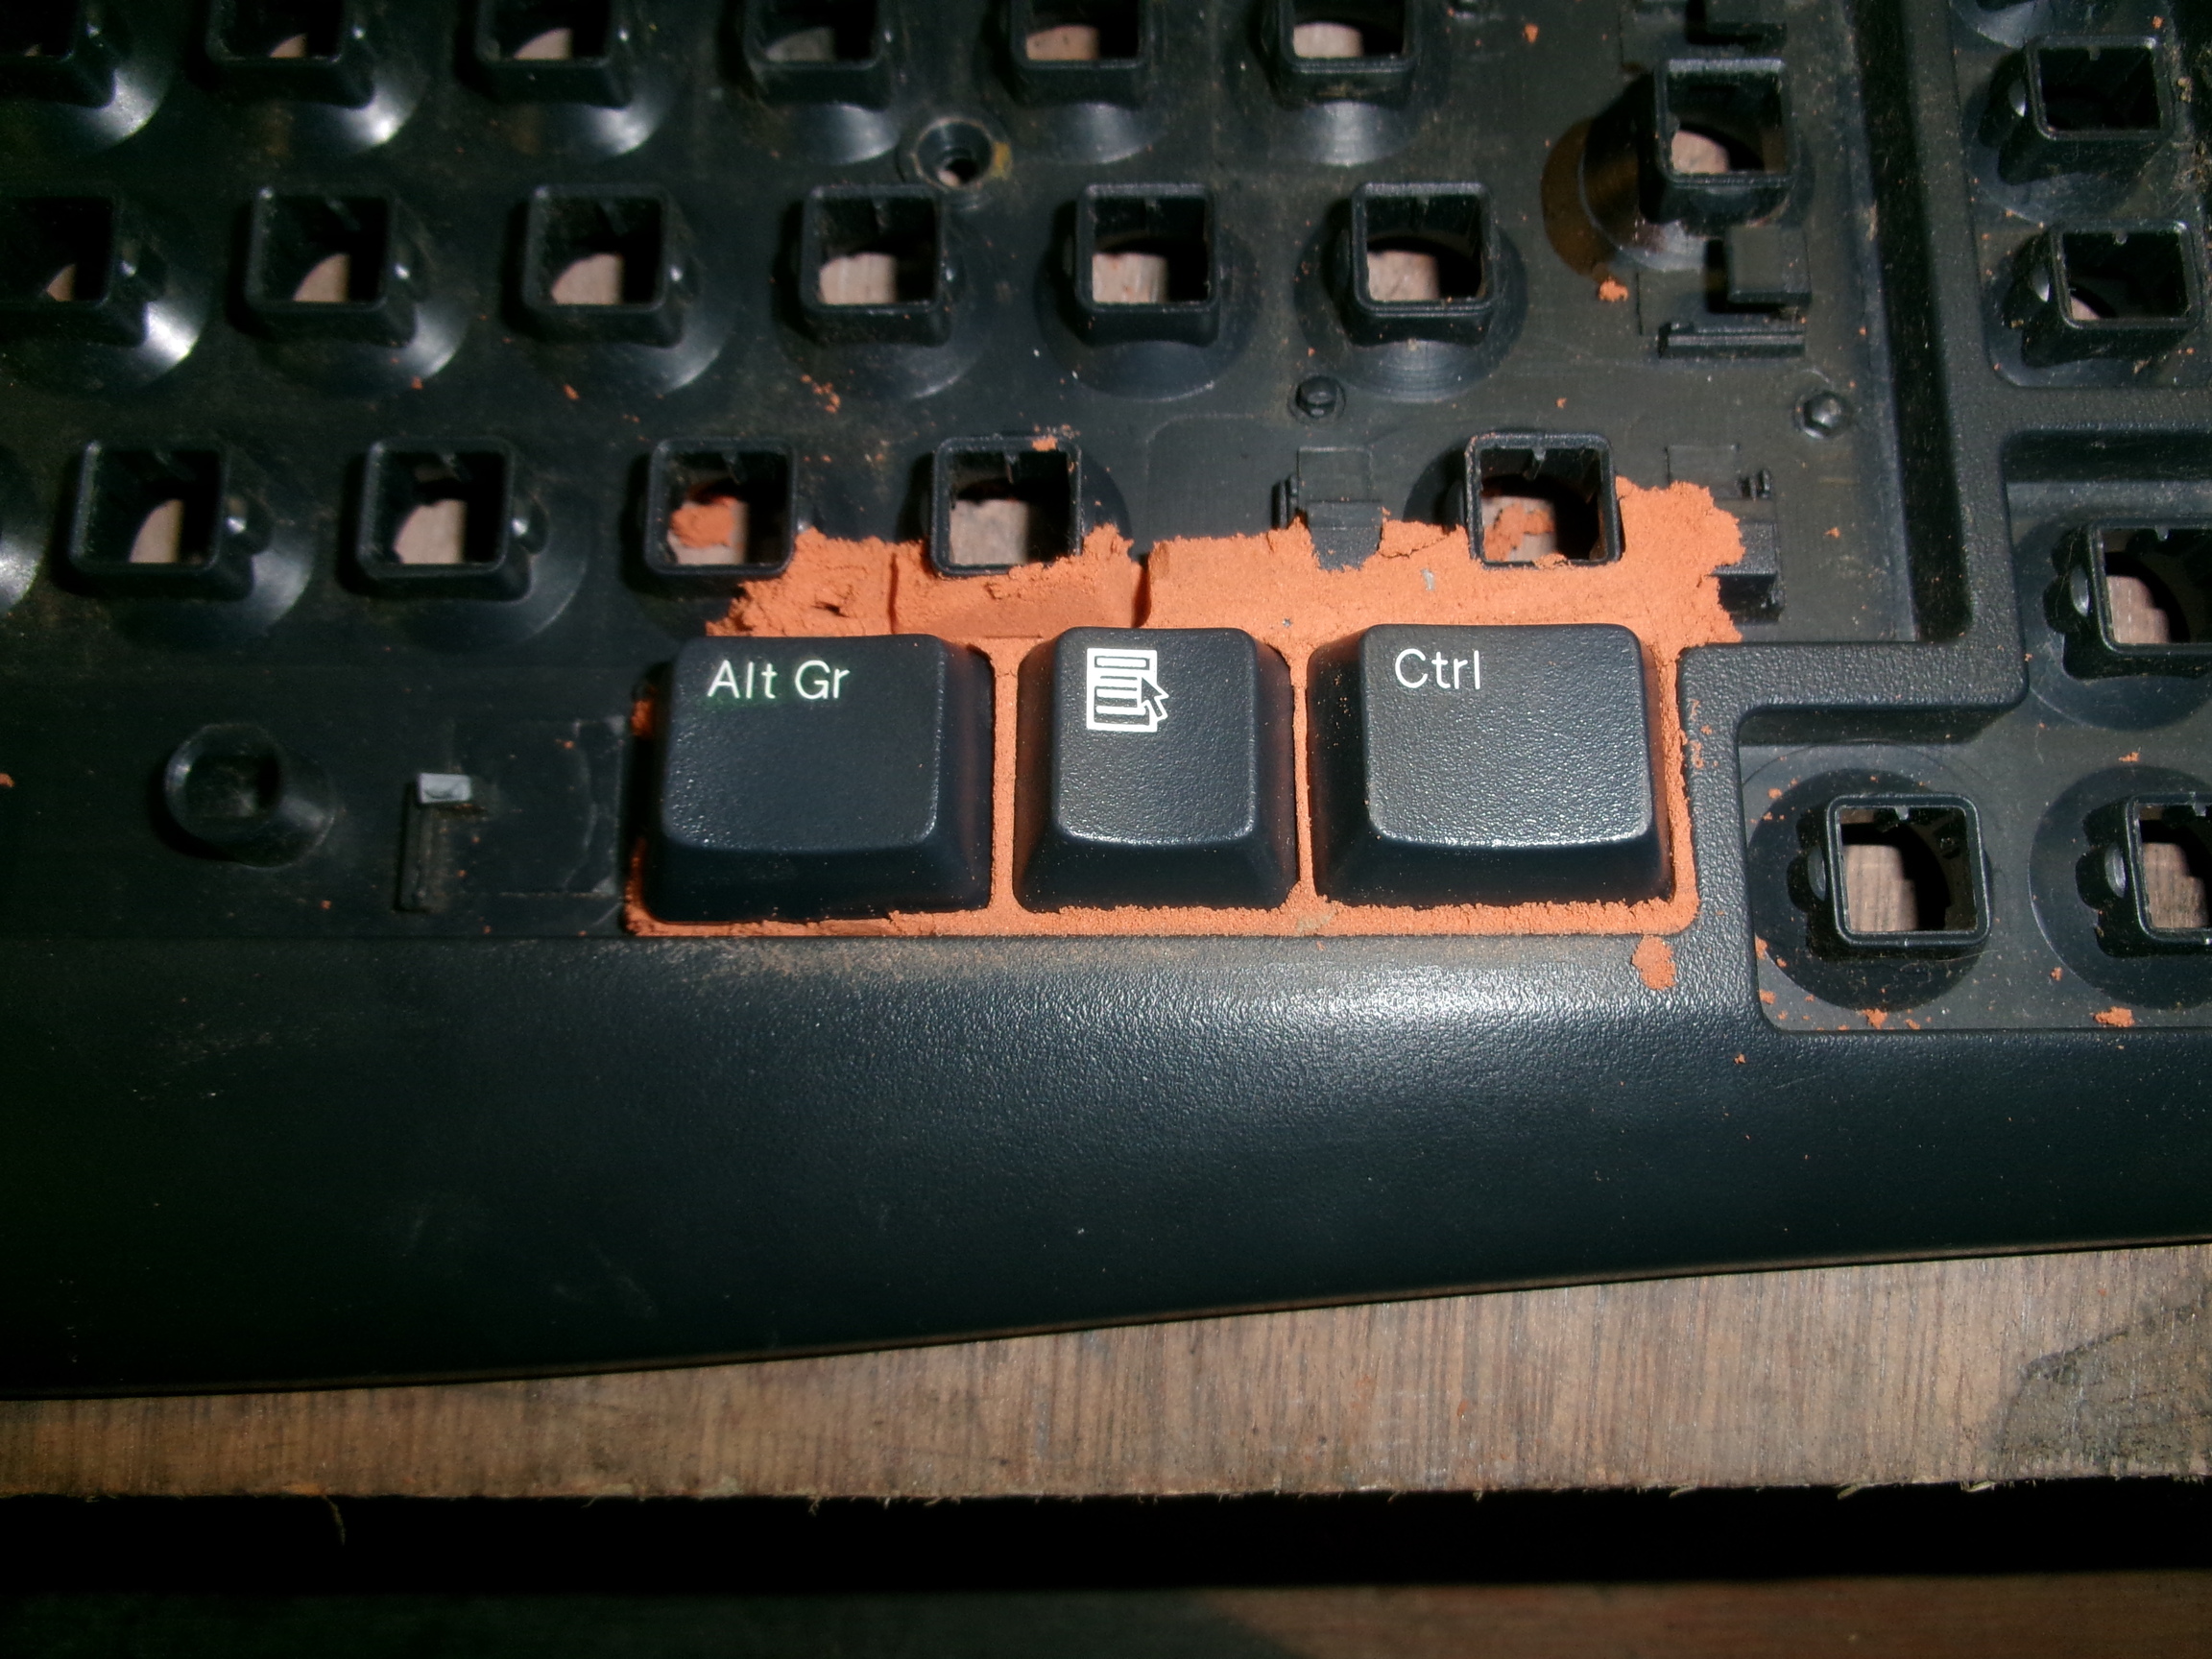
A quick test is done on three keys, by filling in orange oily sand below them and pressing them back into the keyboard.
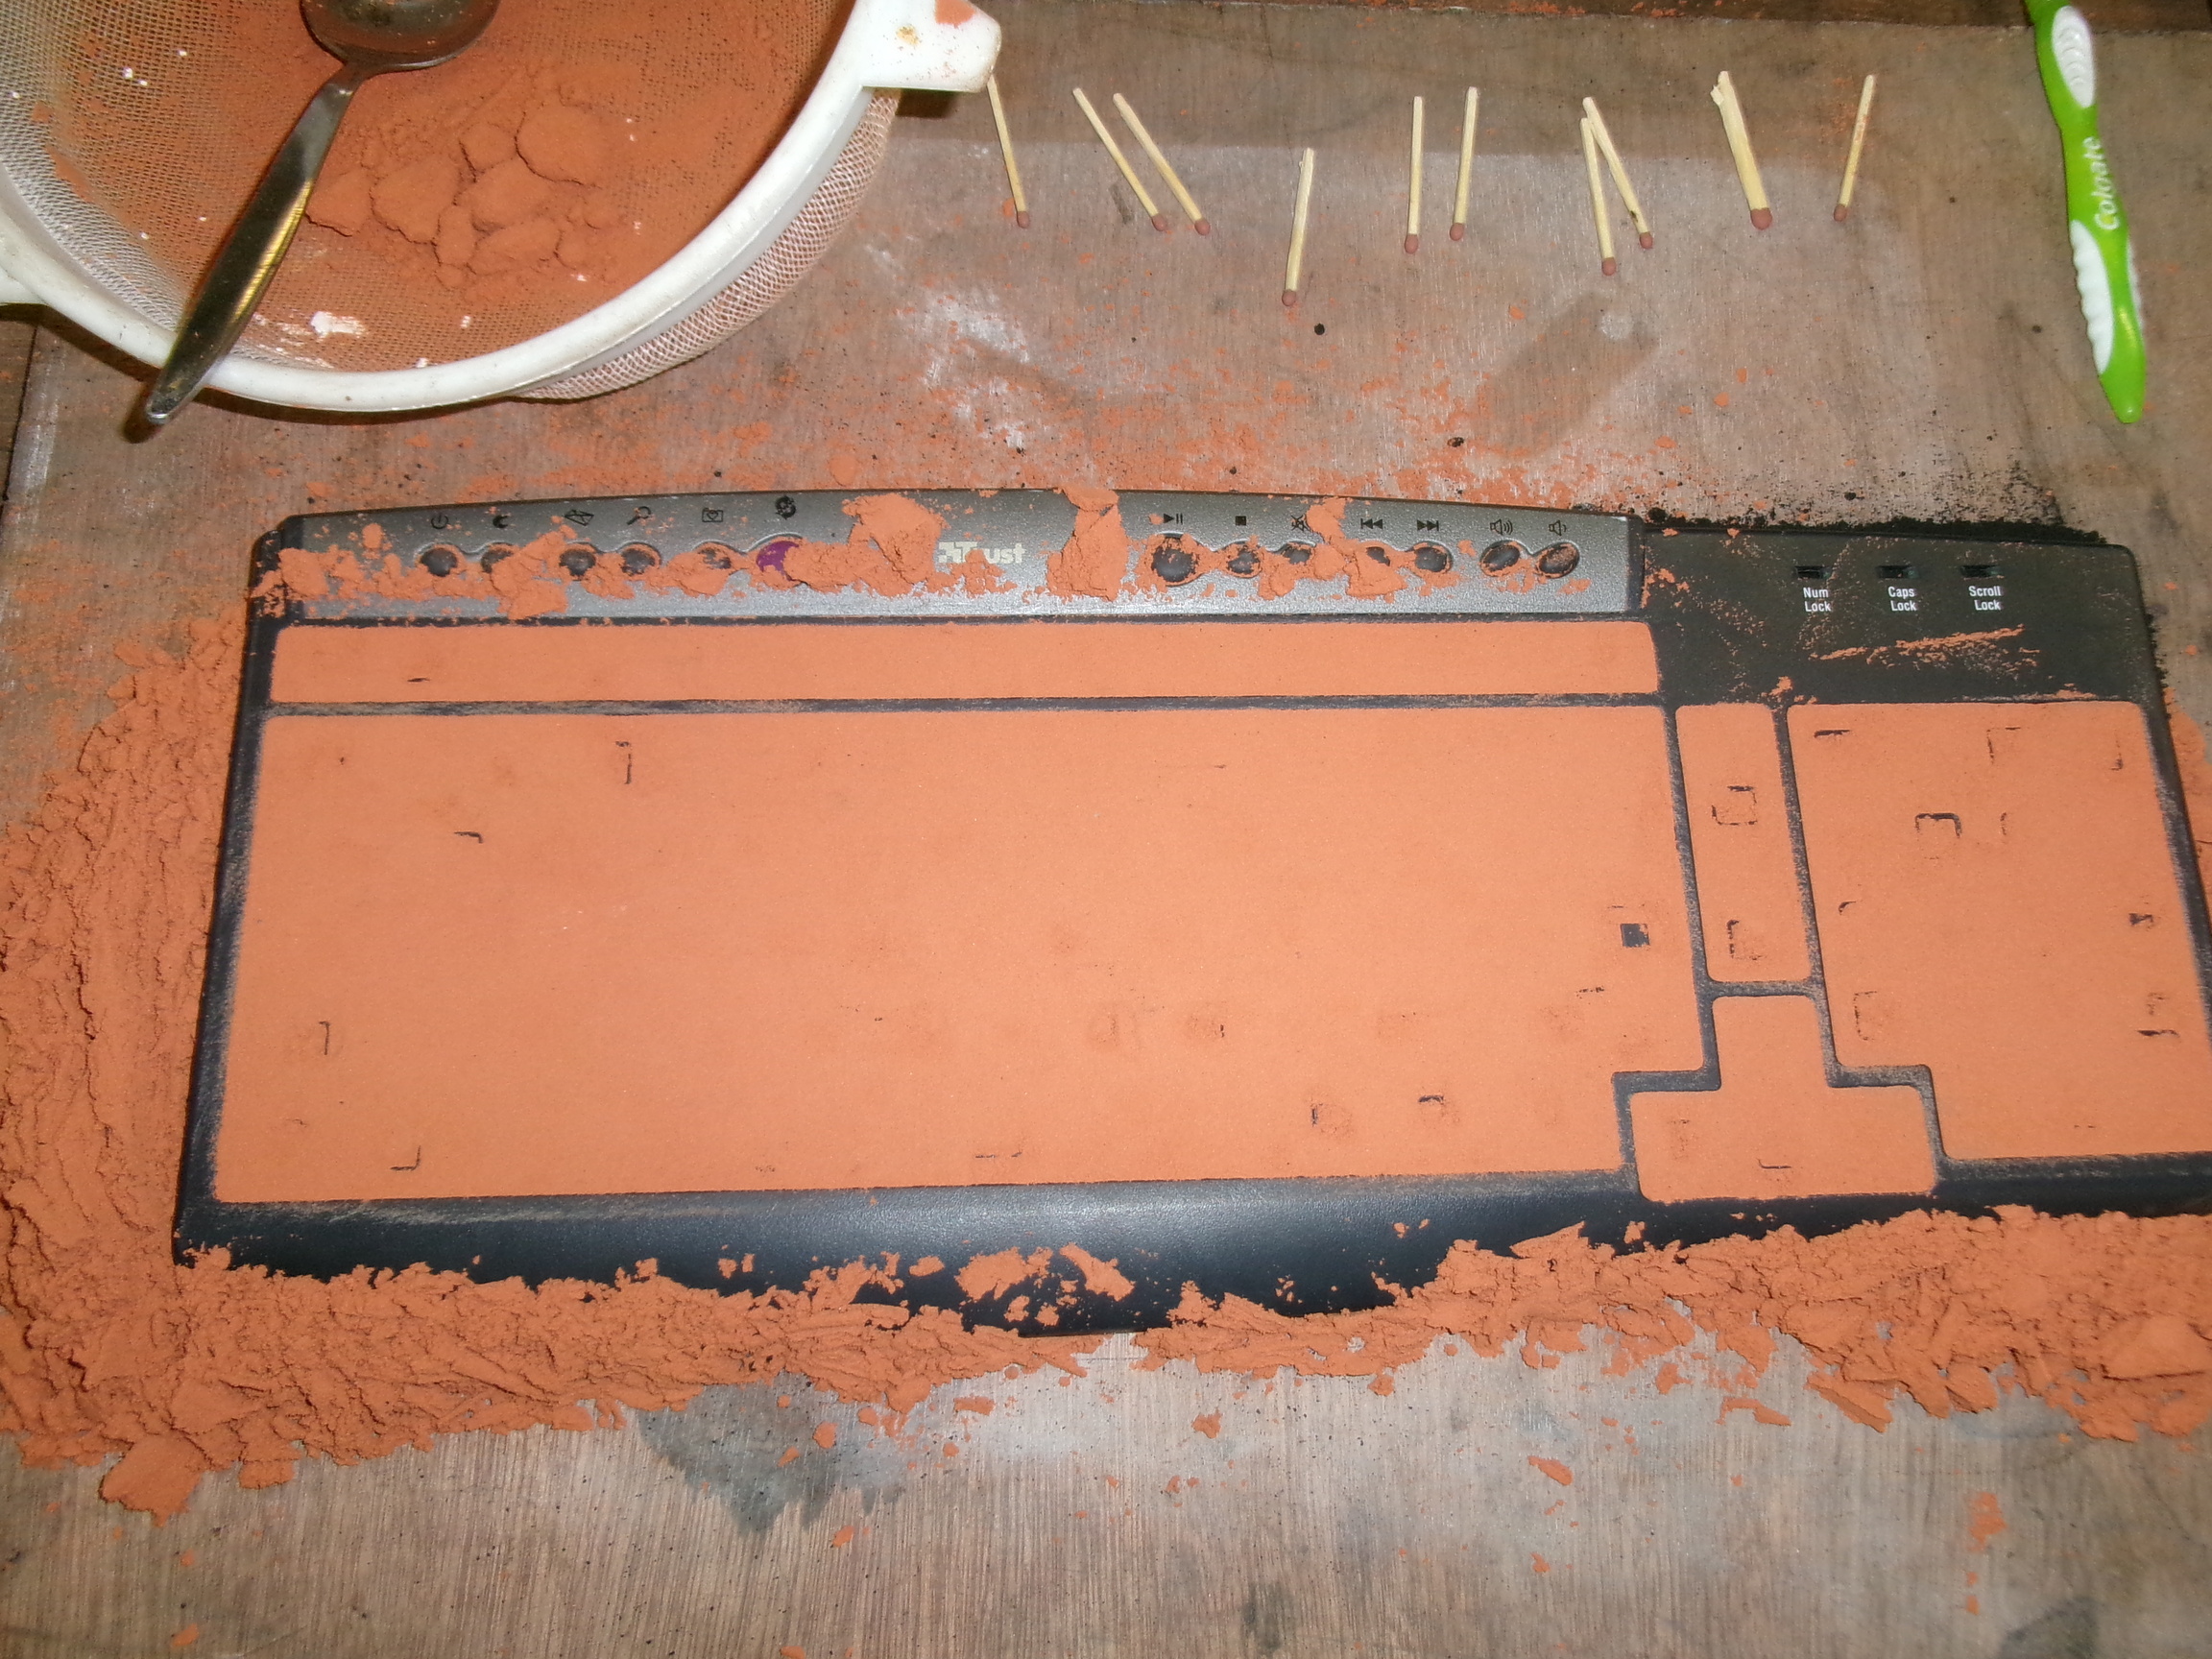
Filling the cavity below the keys with orange oily sand. This is then pressed down, and scraped level.
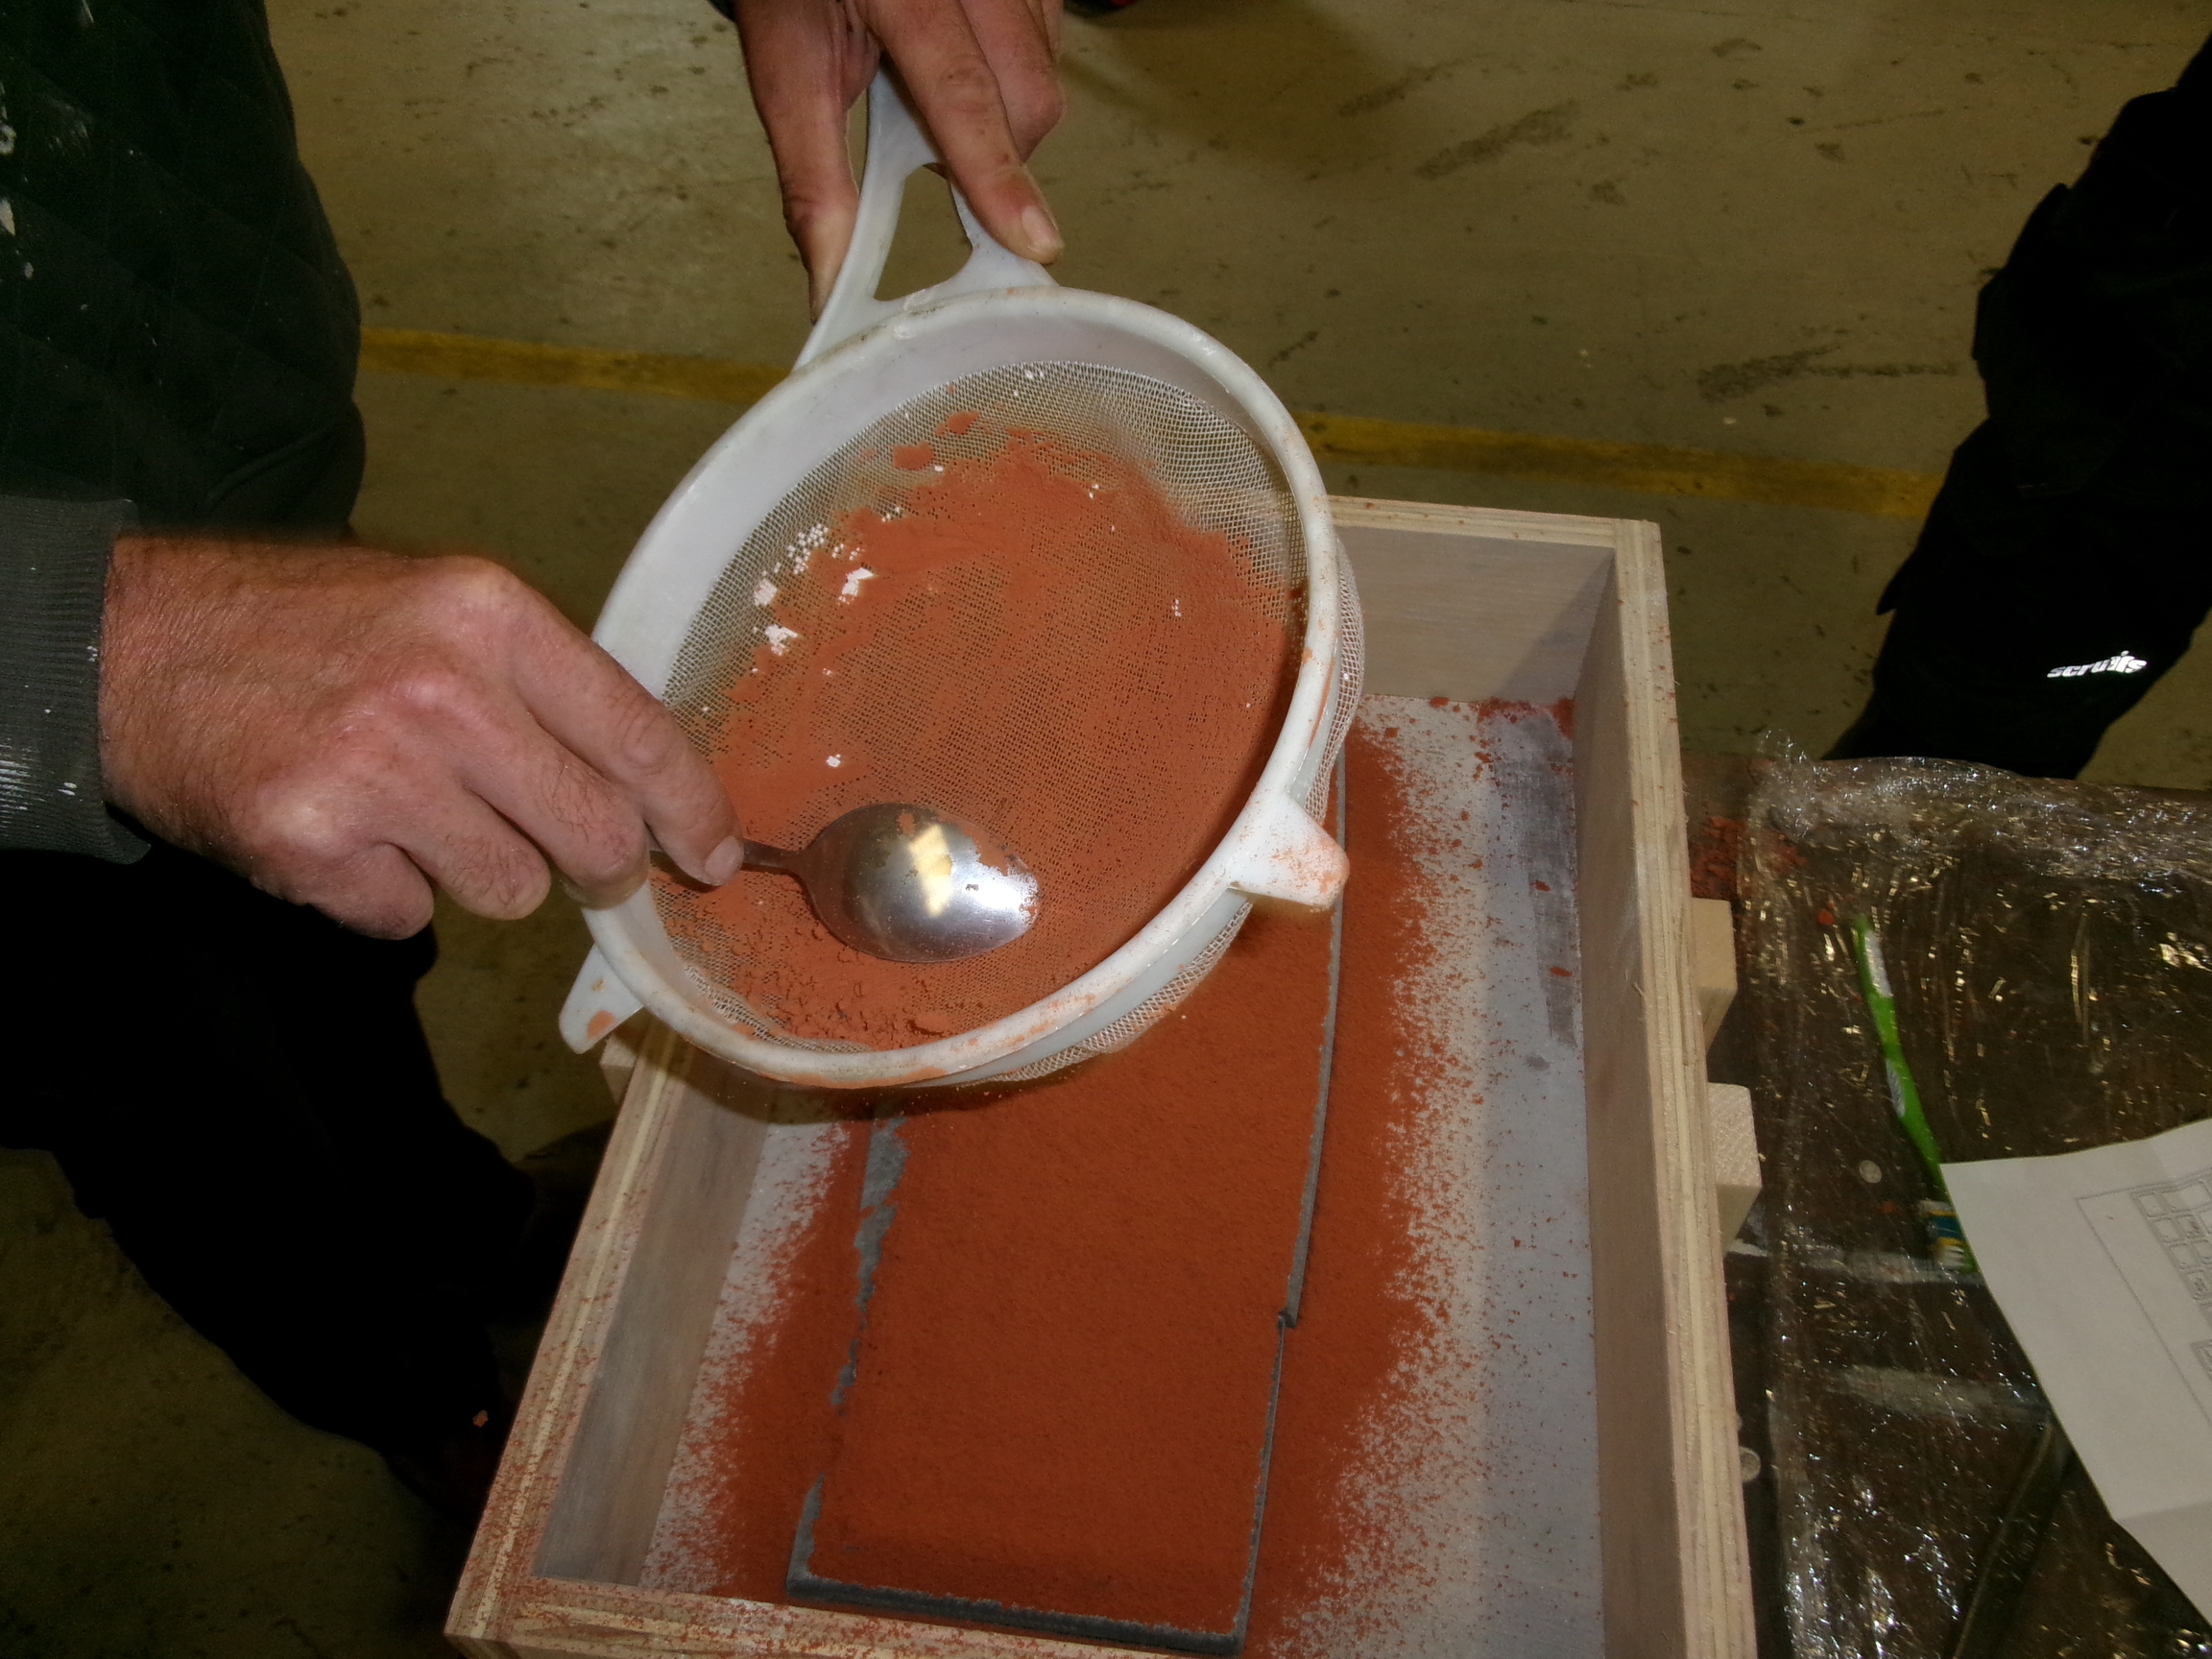
White parting powder is dusted over the entire board. Then, the process of replacing the keys begins.
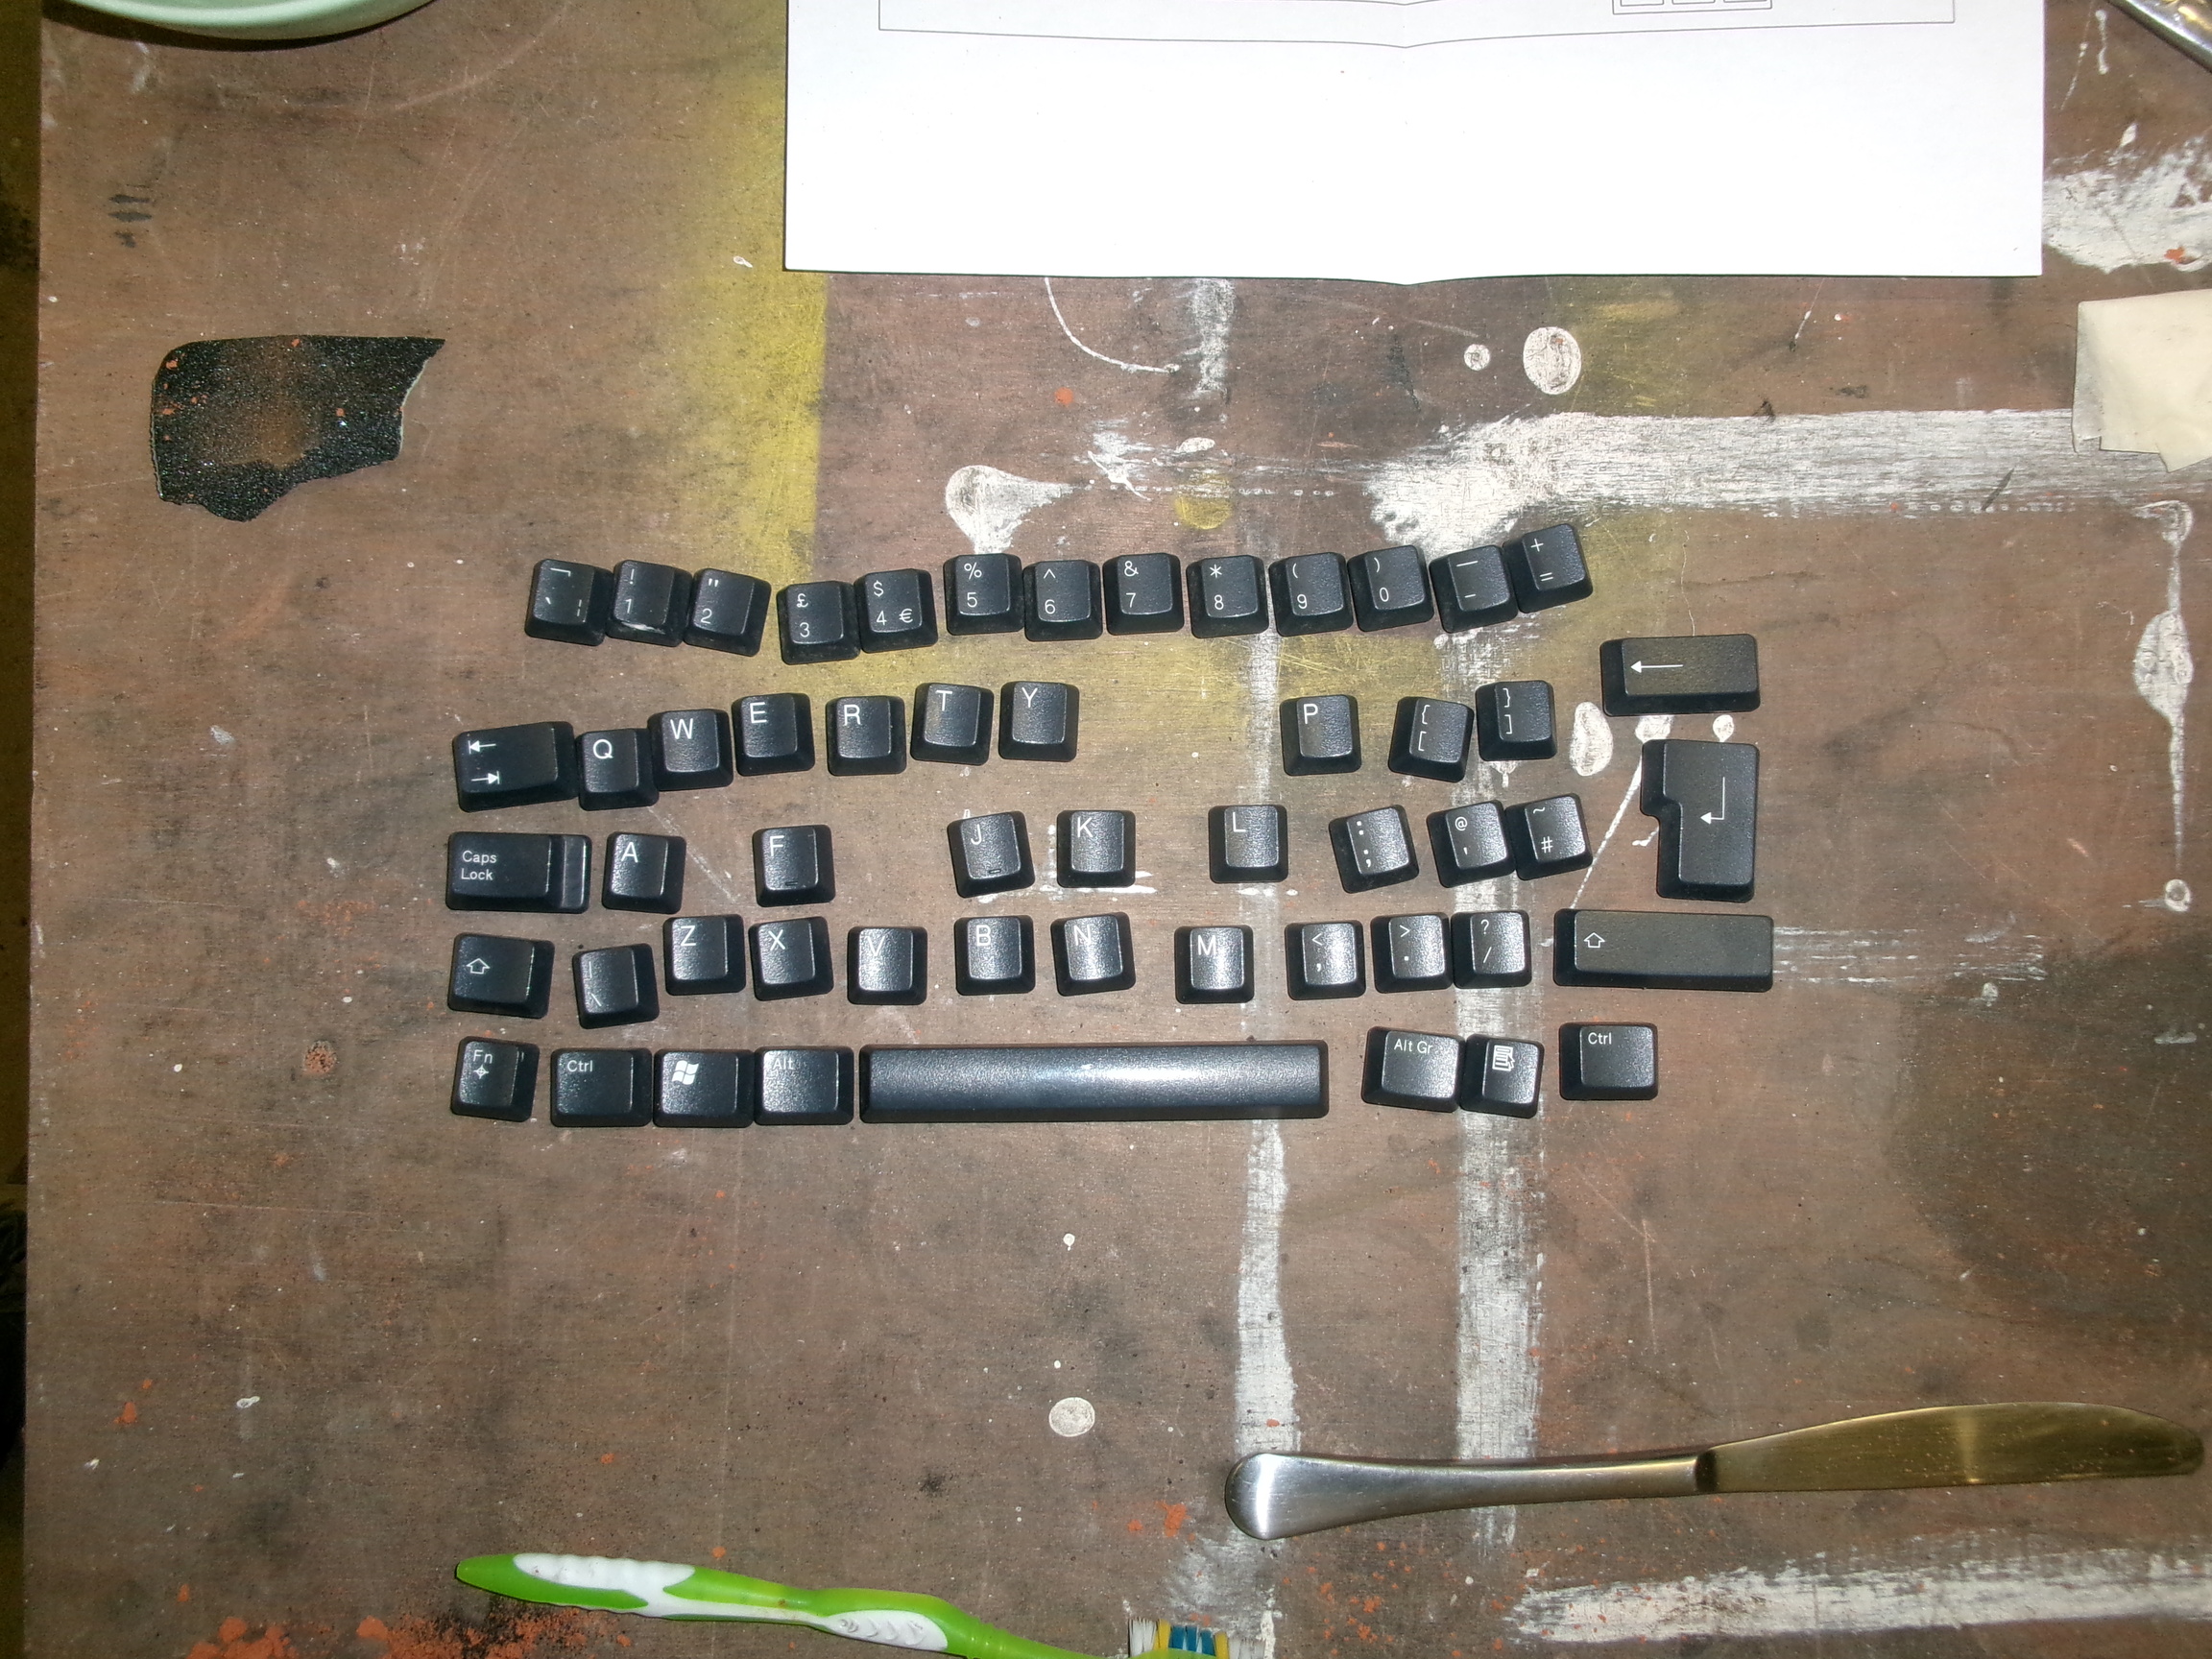
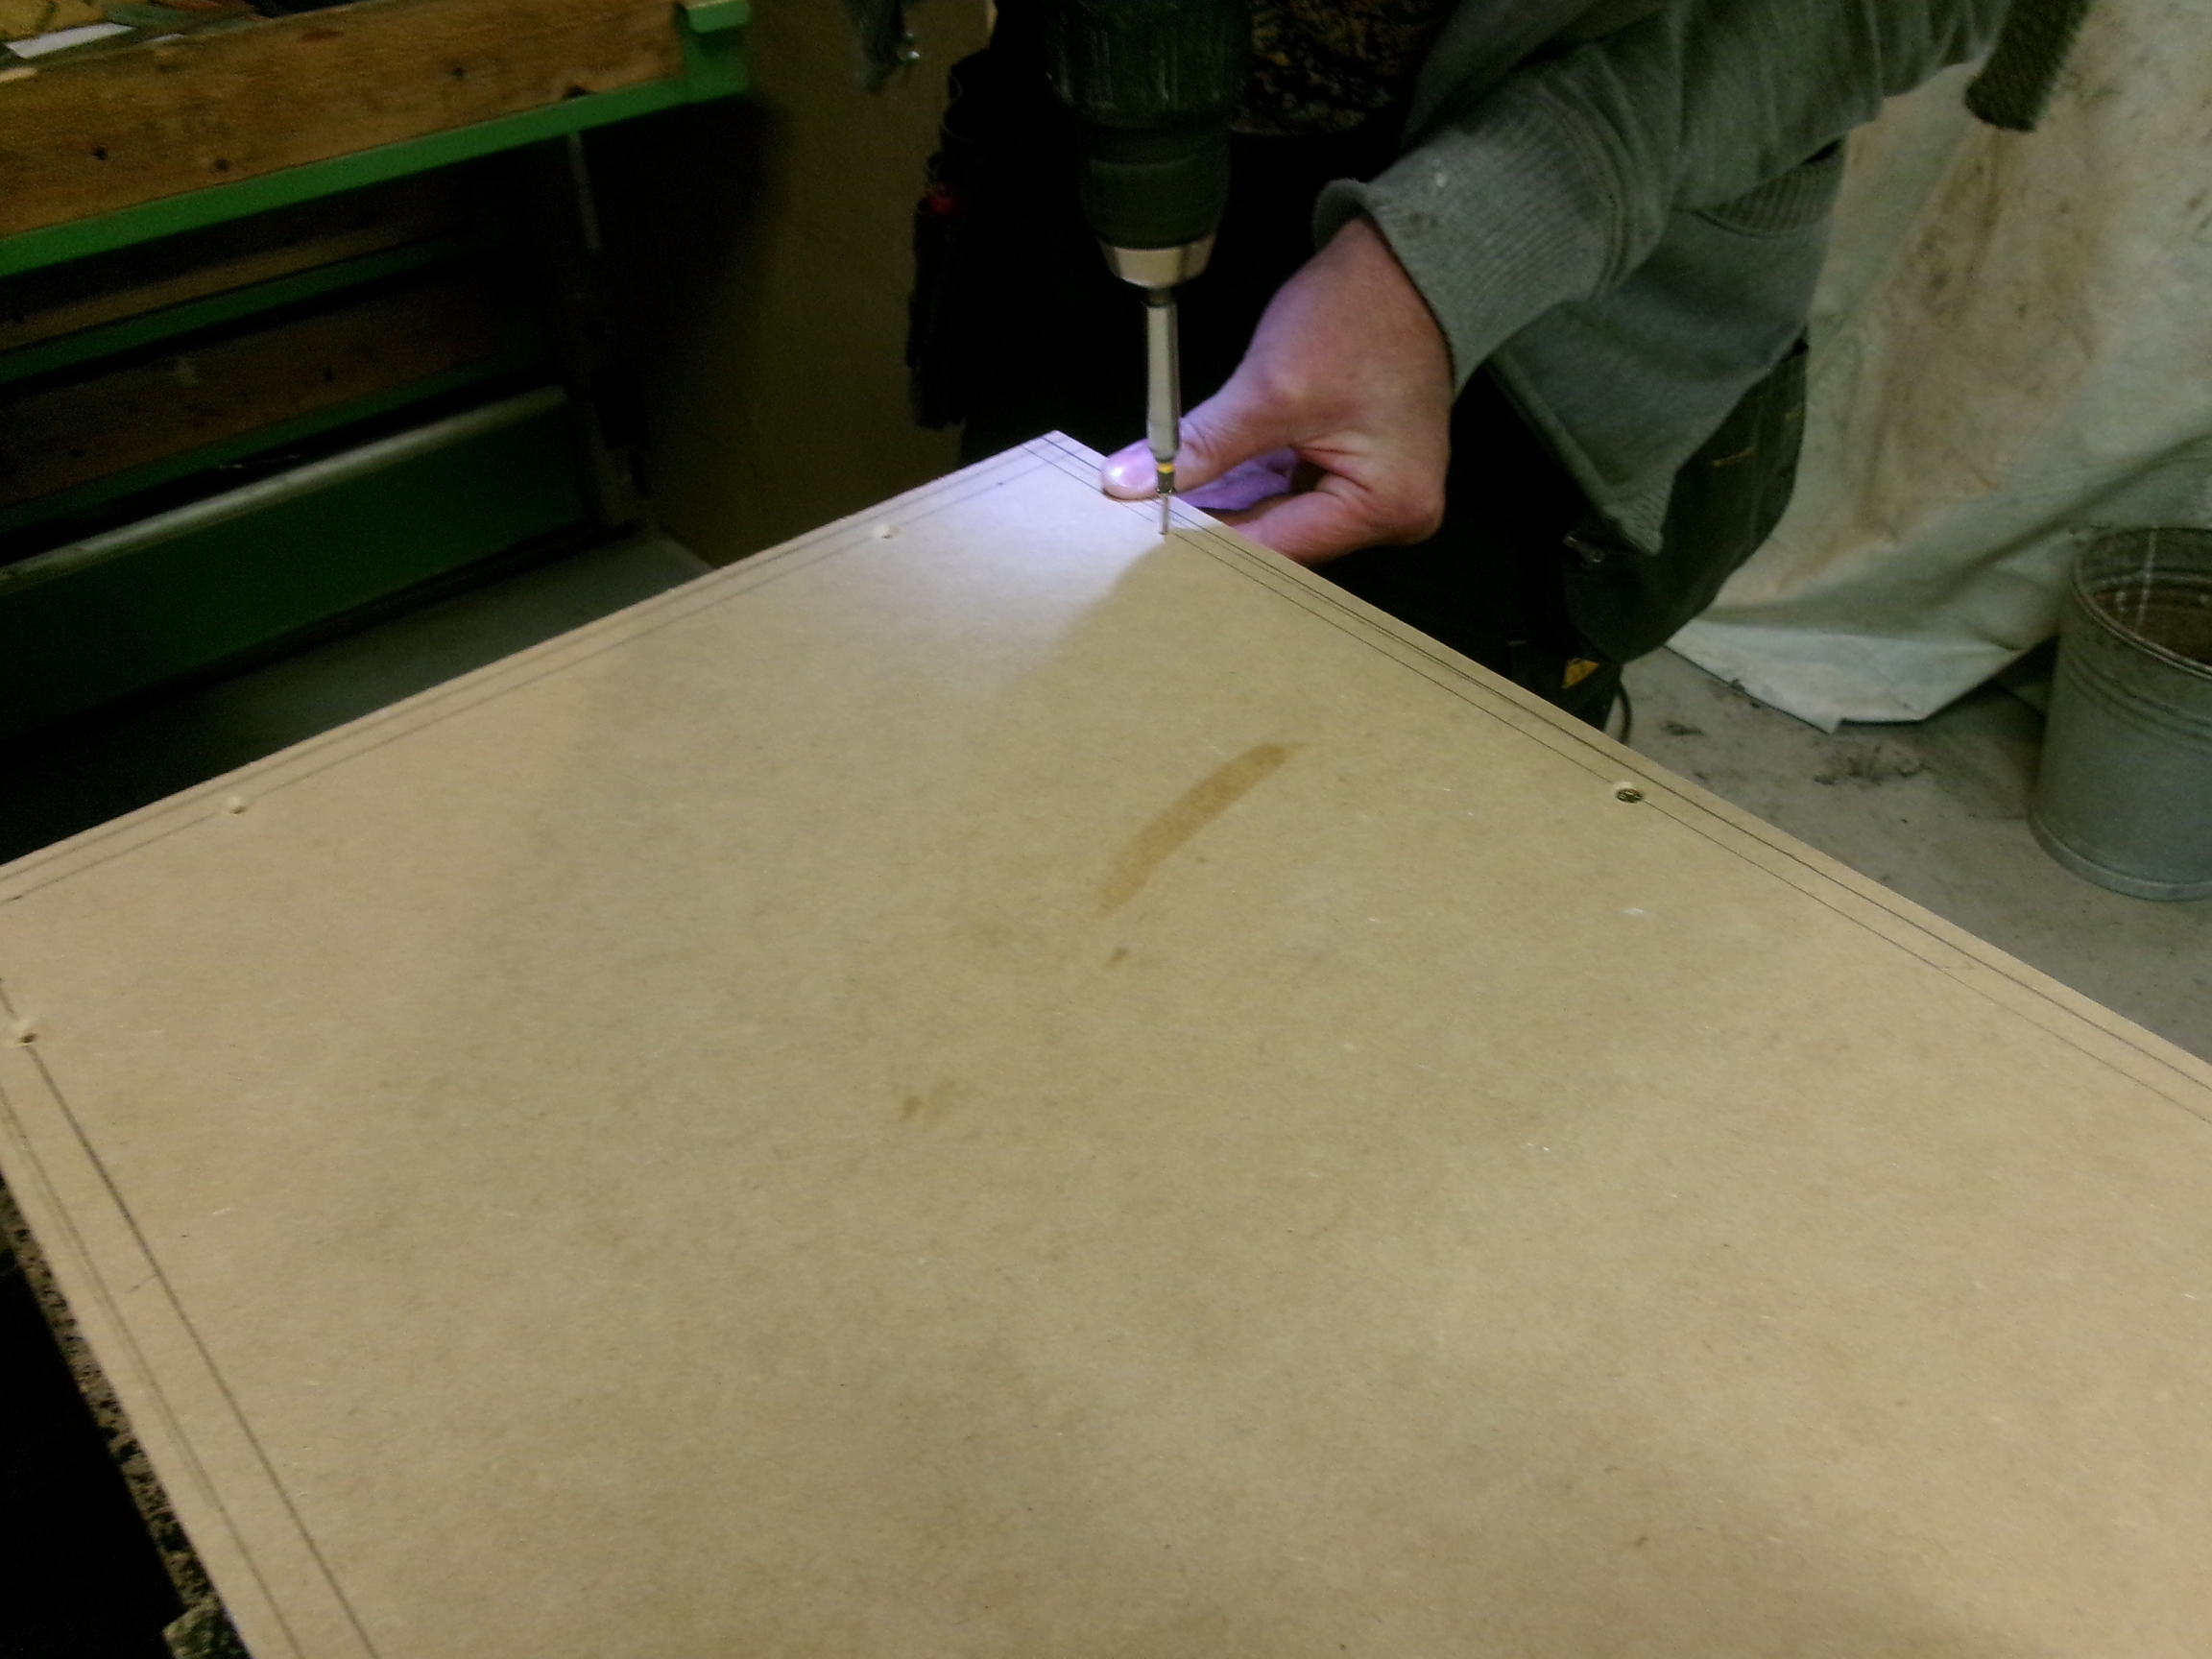
Arranging the keys before putting them back. A schematic drawing helps this process. A tricky part is remembering which orientation the keys need to have. Their front edge is beveled at a different angle.
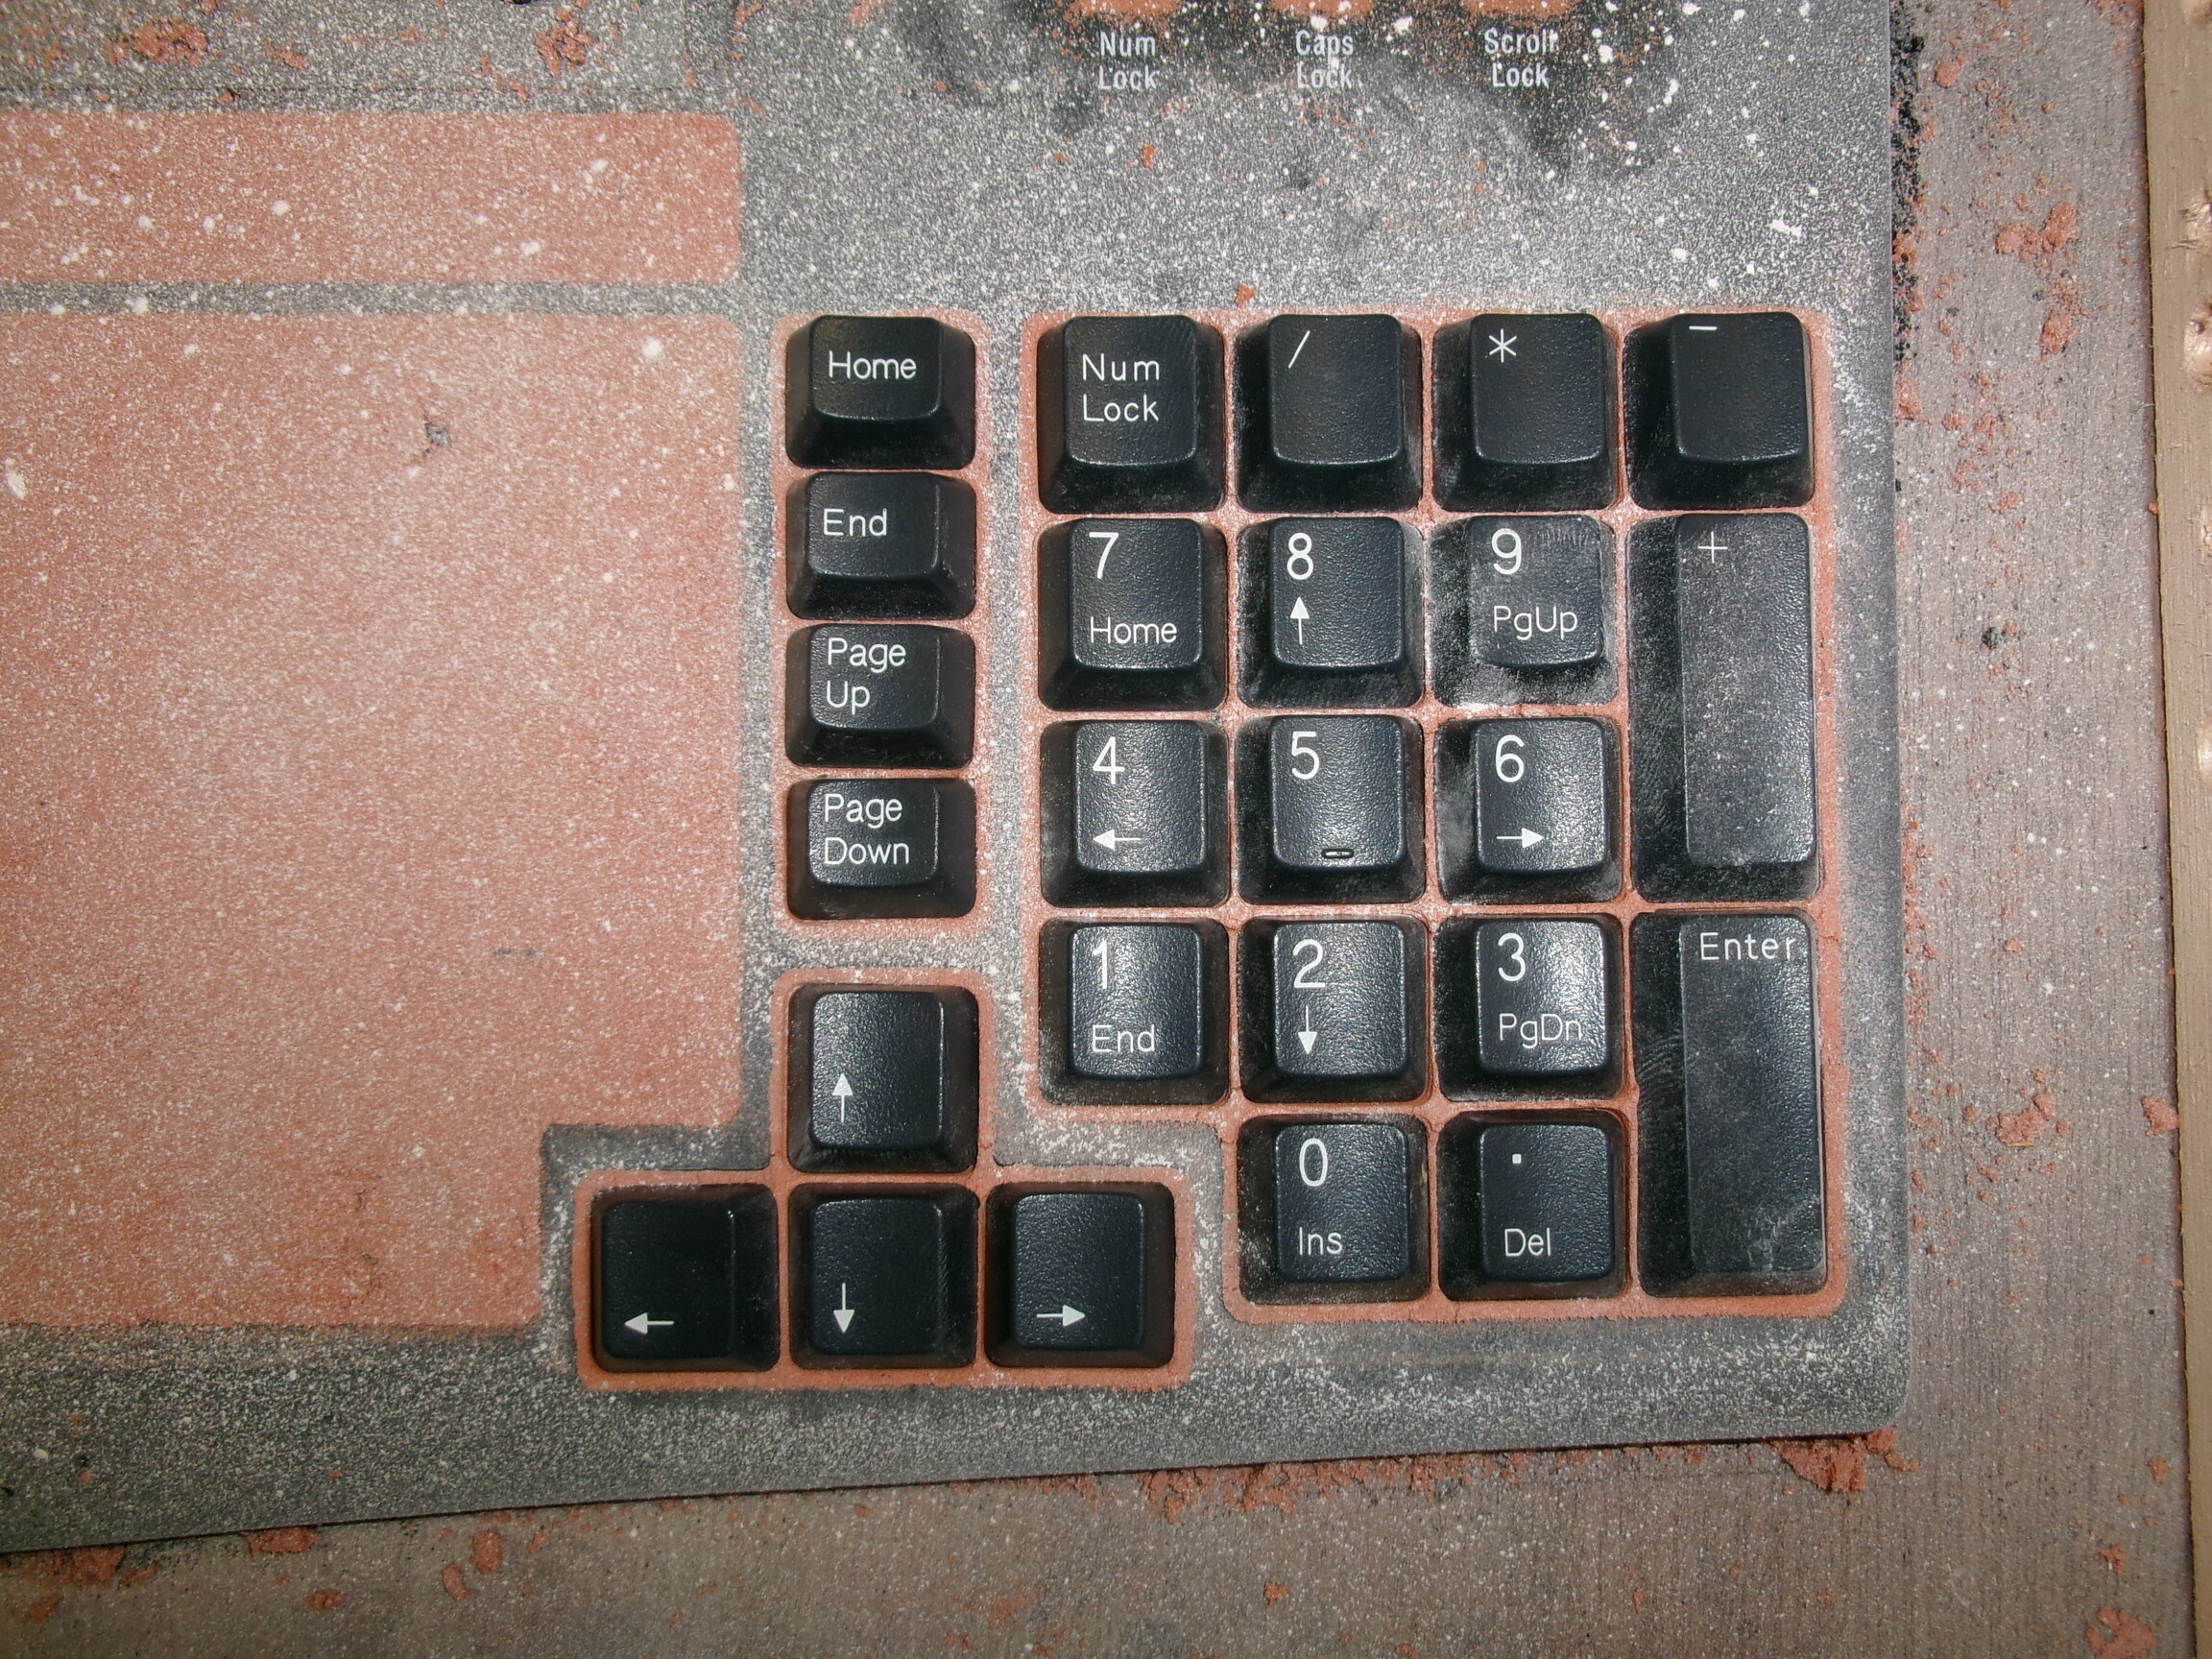
The numeric keypad is in.
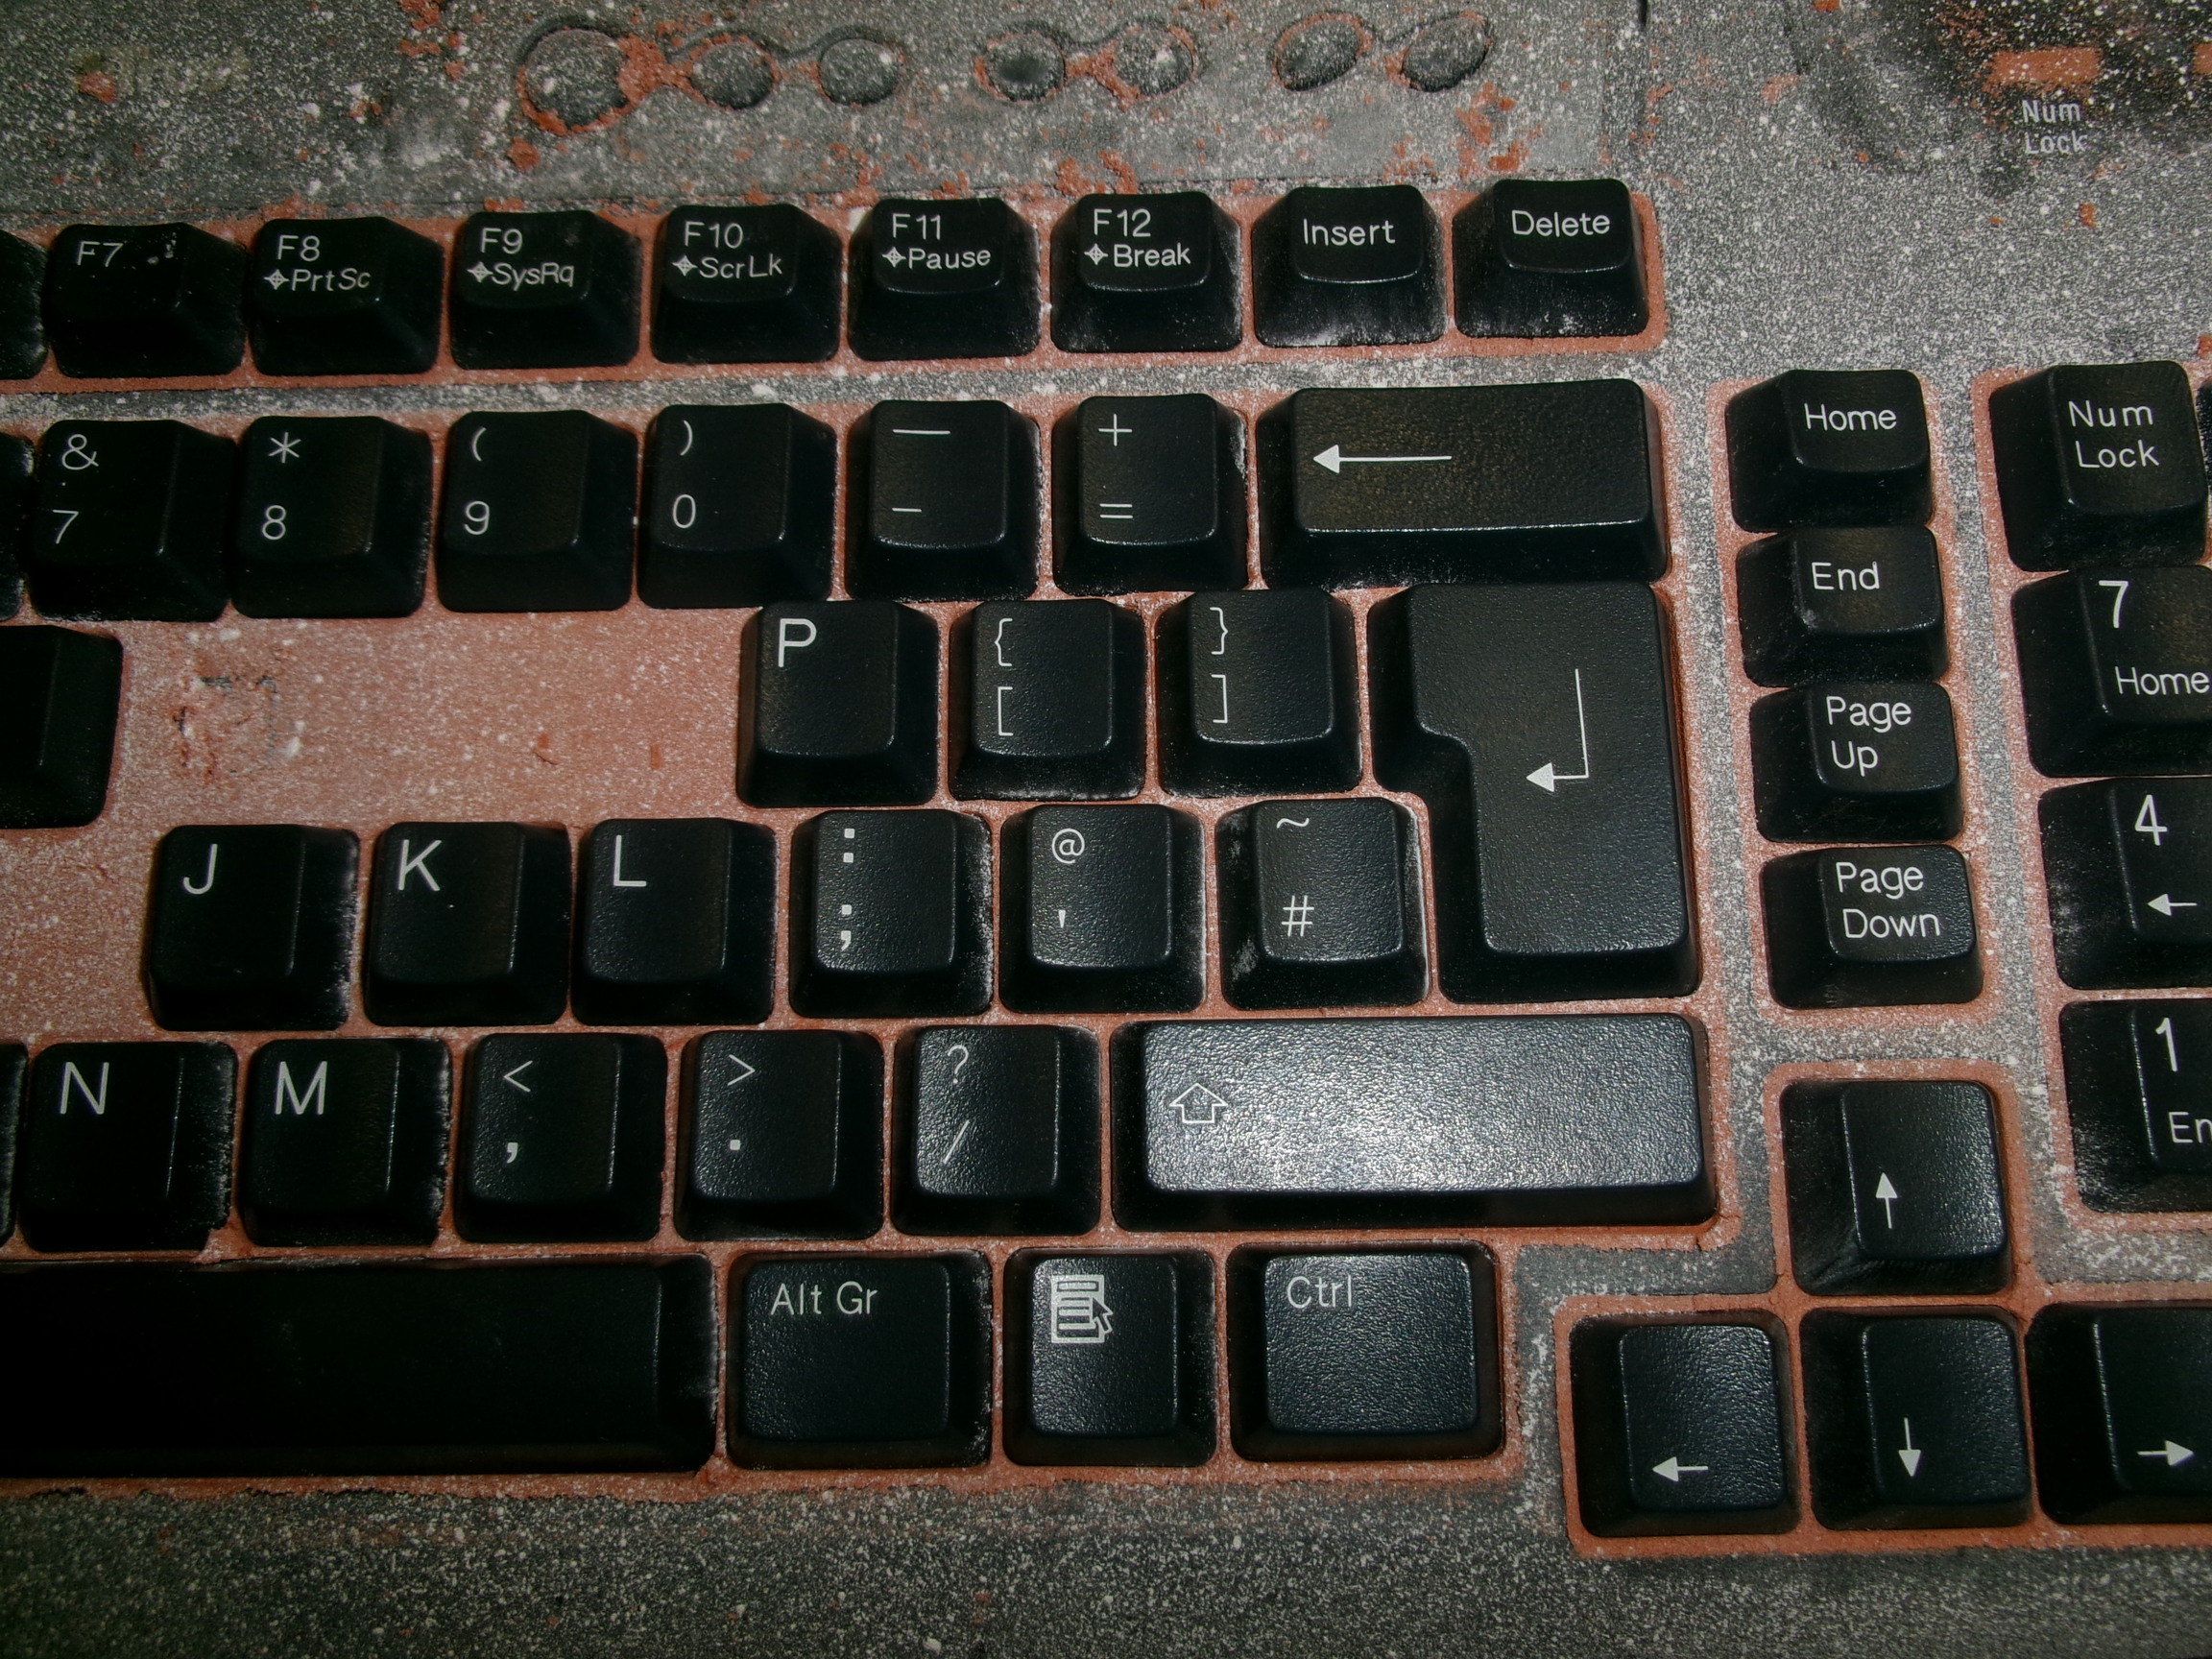
Next, more keys, including the up/down/left/right arrow keys are put in.
Laying out more keys before re-installing.
More keys are put in, one by one, pressing them into the orange oily sand.
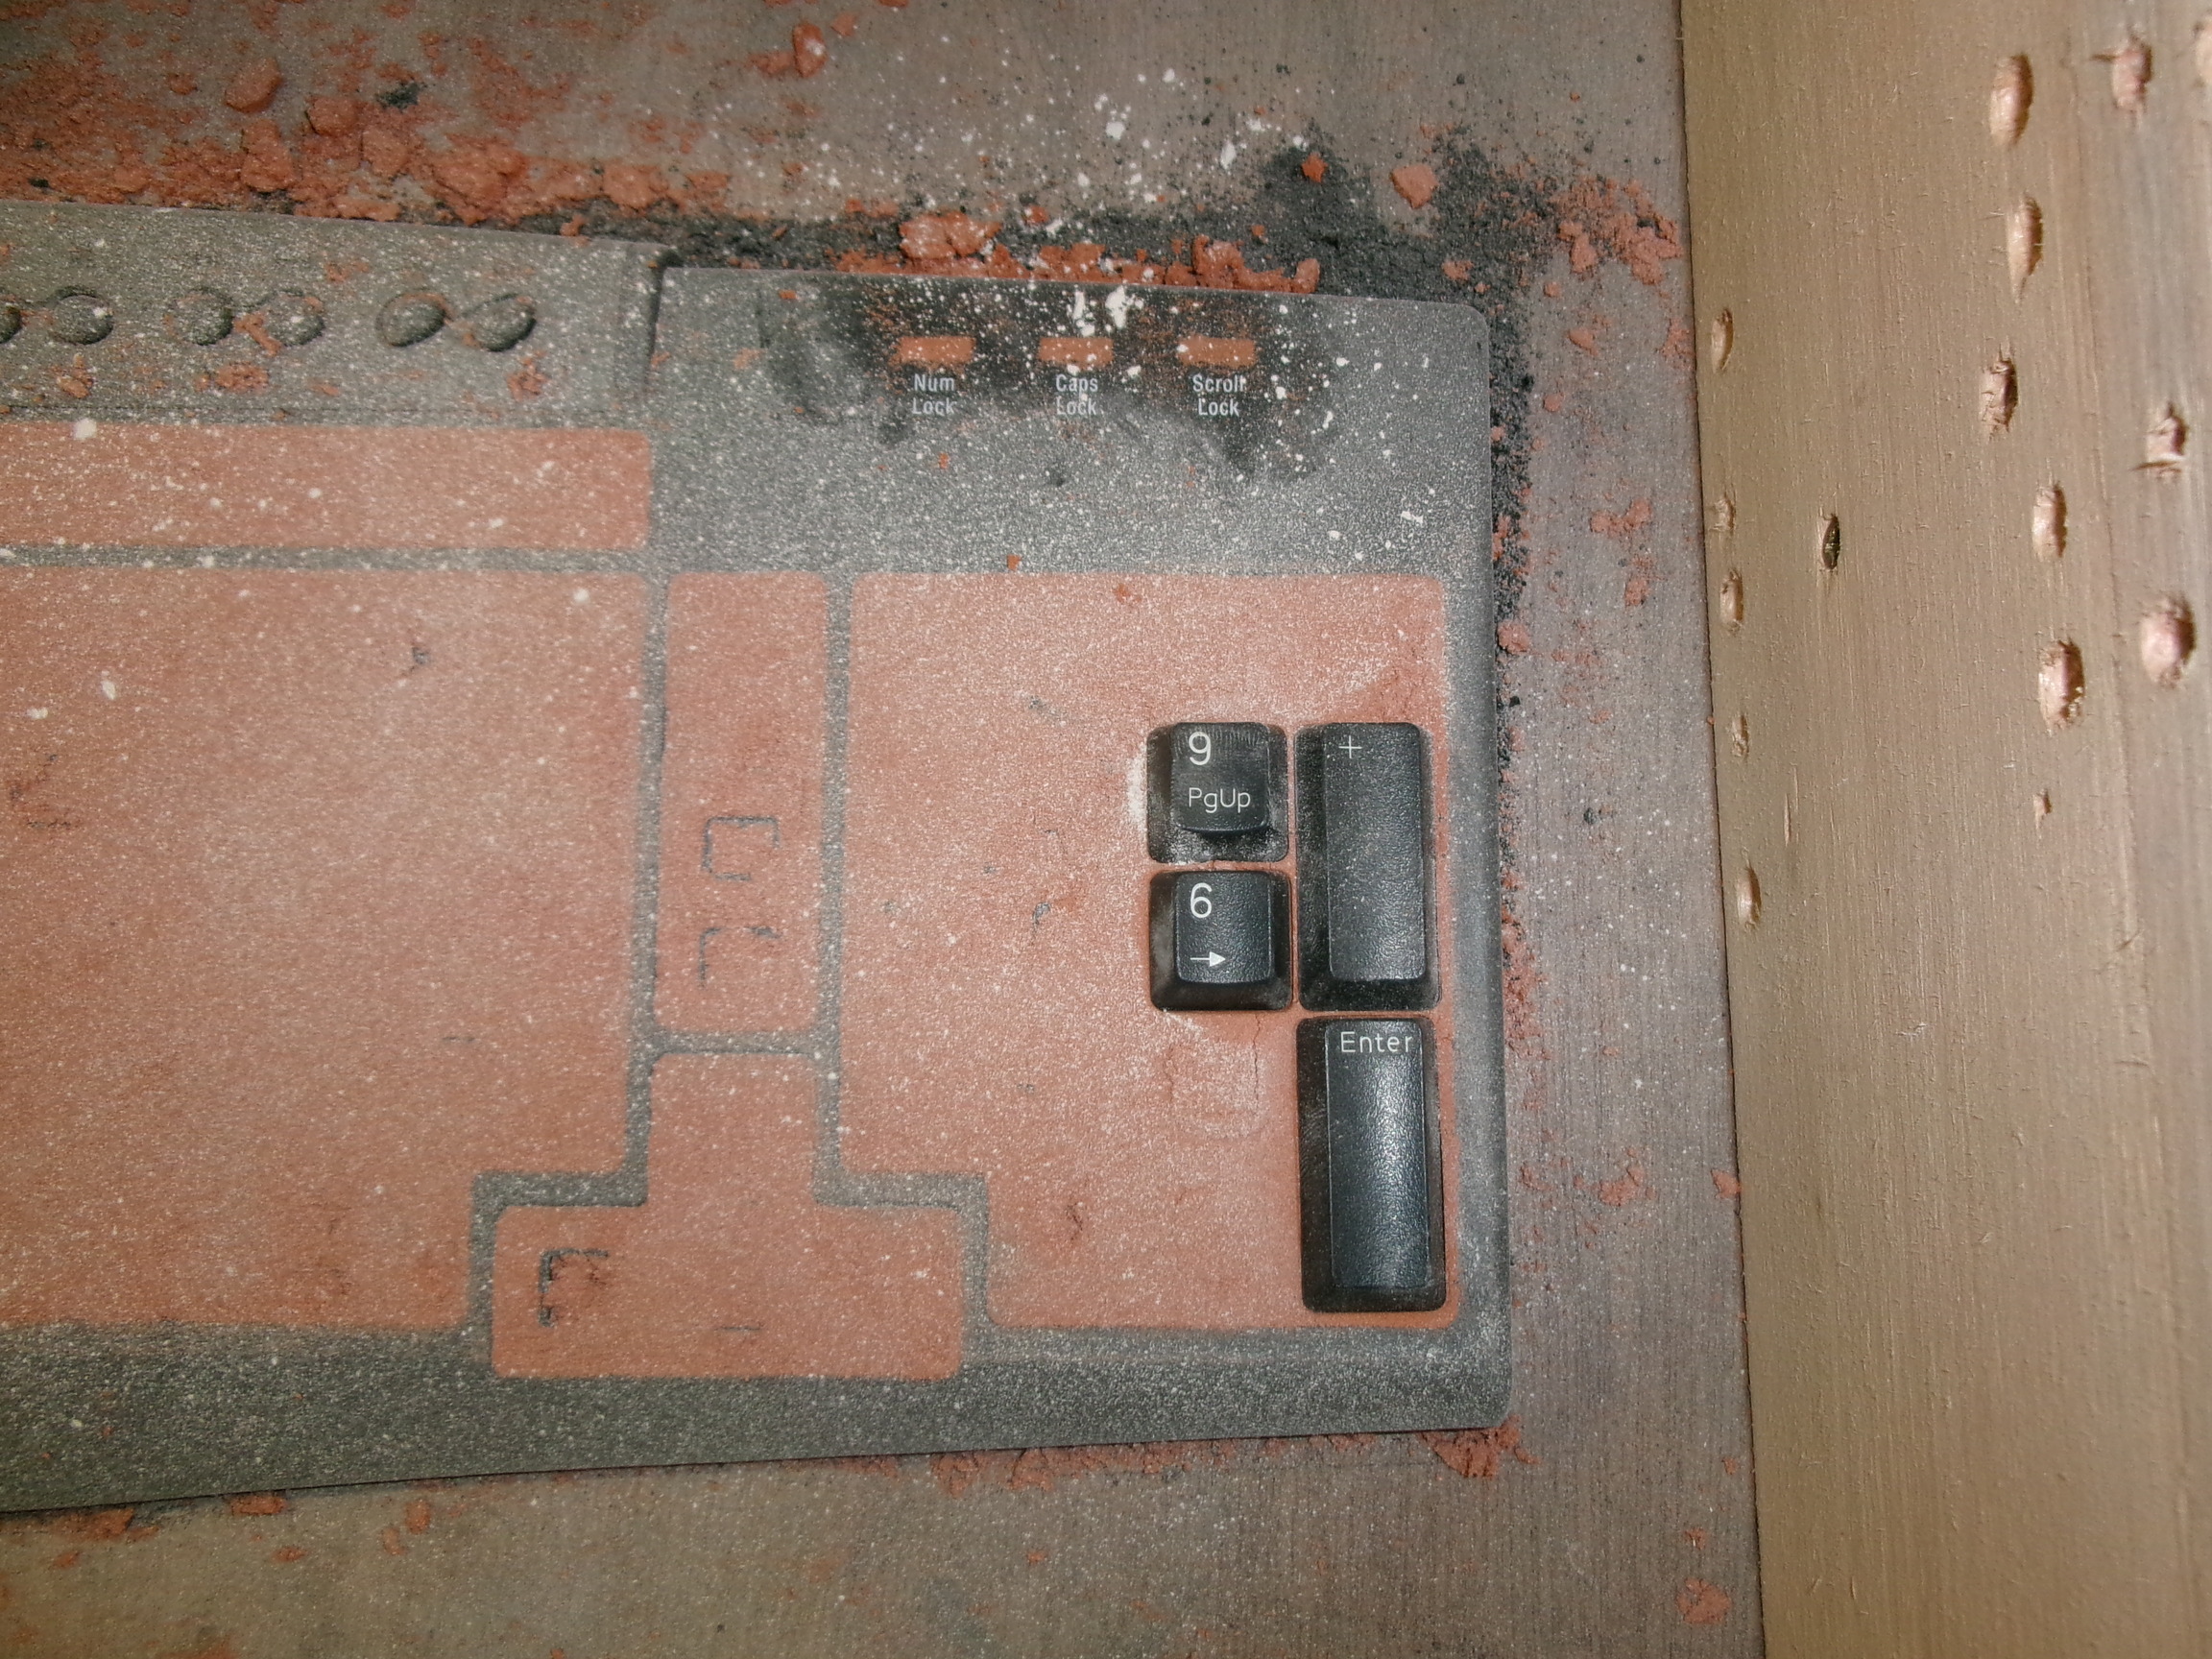
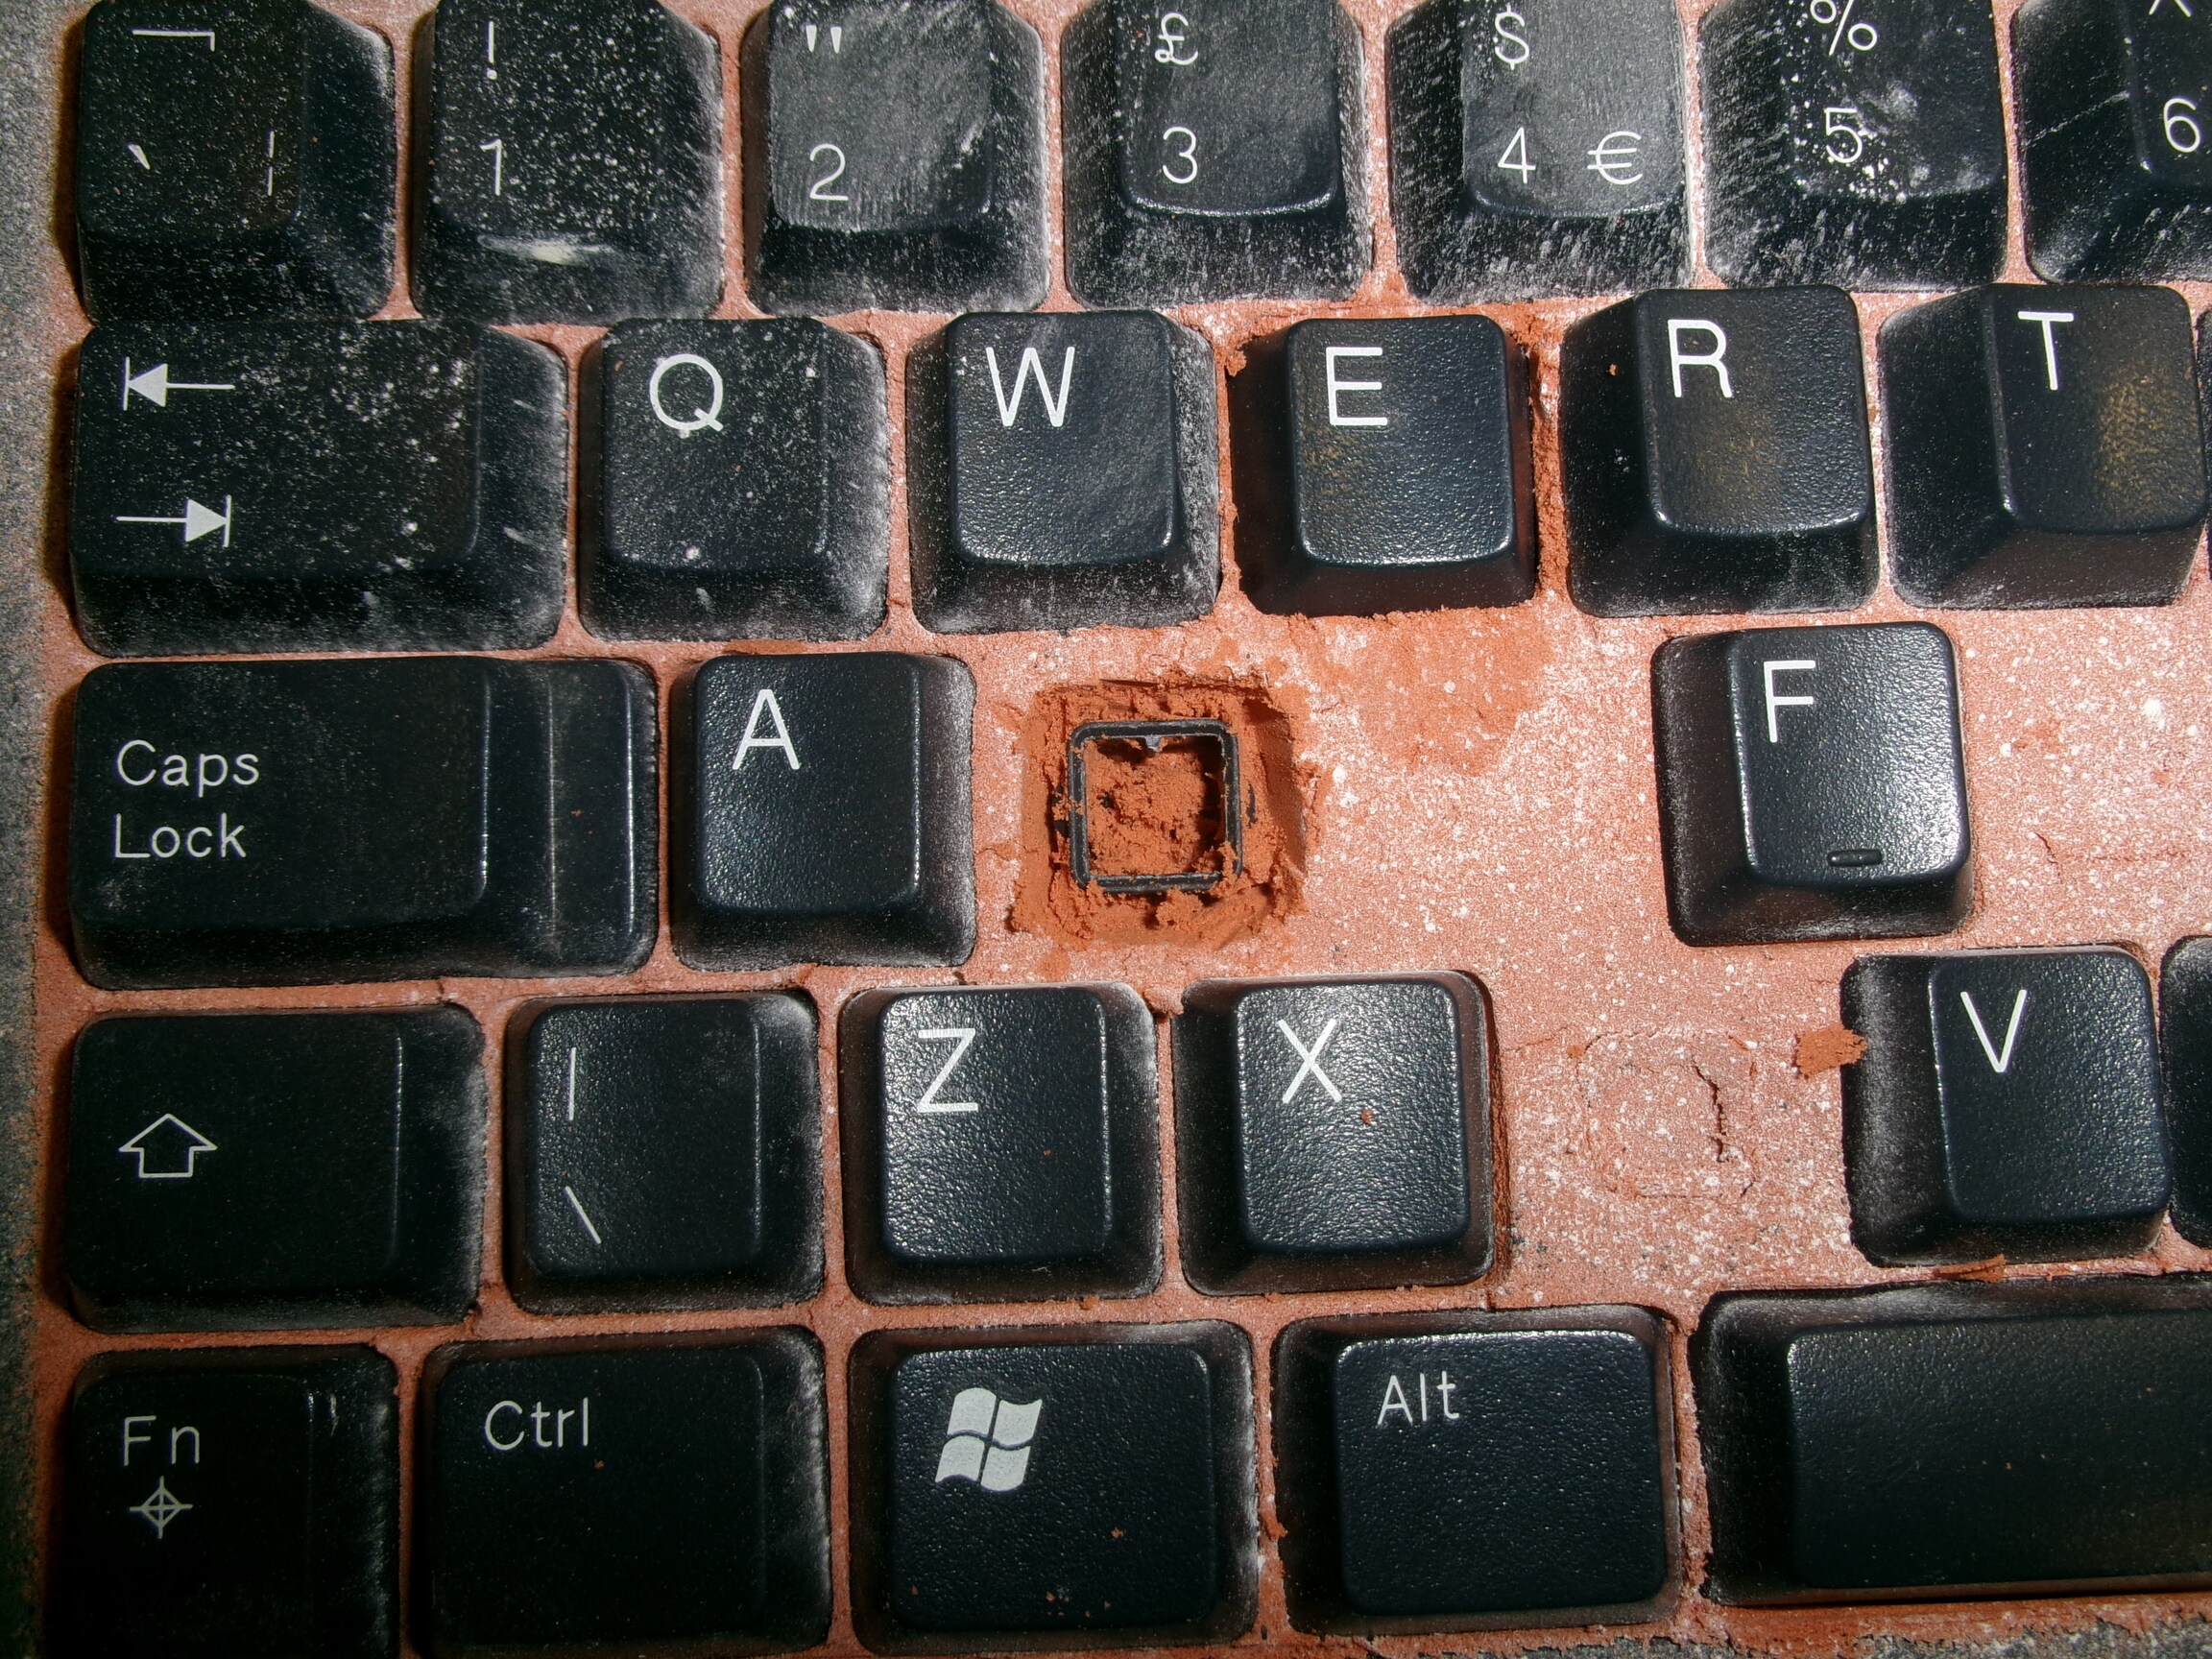
Several keys will be slightly depressed. So, a cavity below these keys needs to be dug out of the orange oily sand.
All of the keys are now installed. The depressed keys appear to be smaller as they are lower in the sand than the others. Some patting down of the sand with a fine wax carving tool is required so that it will be packed firm.
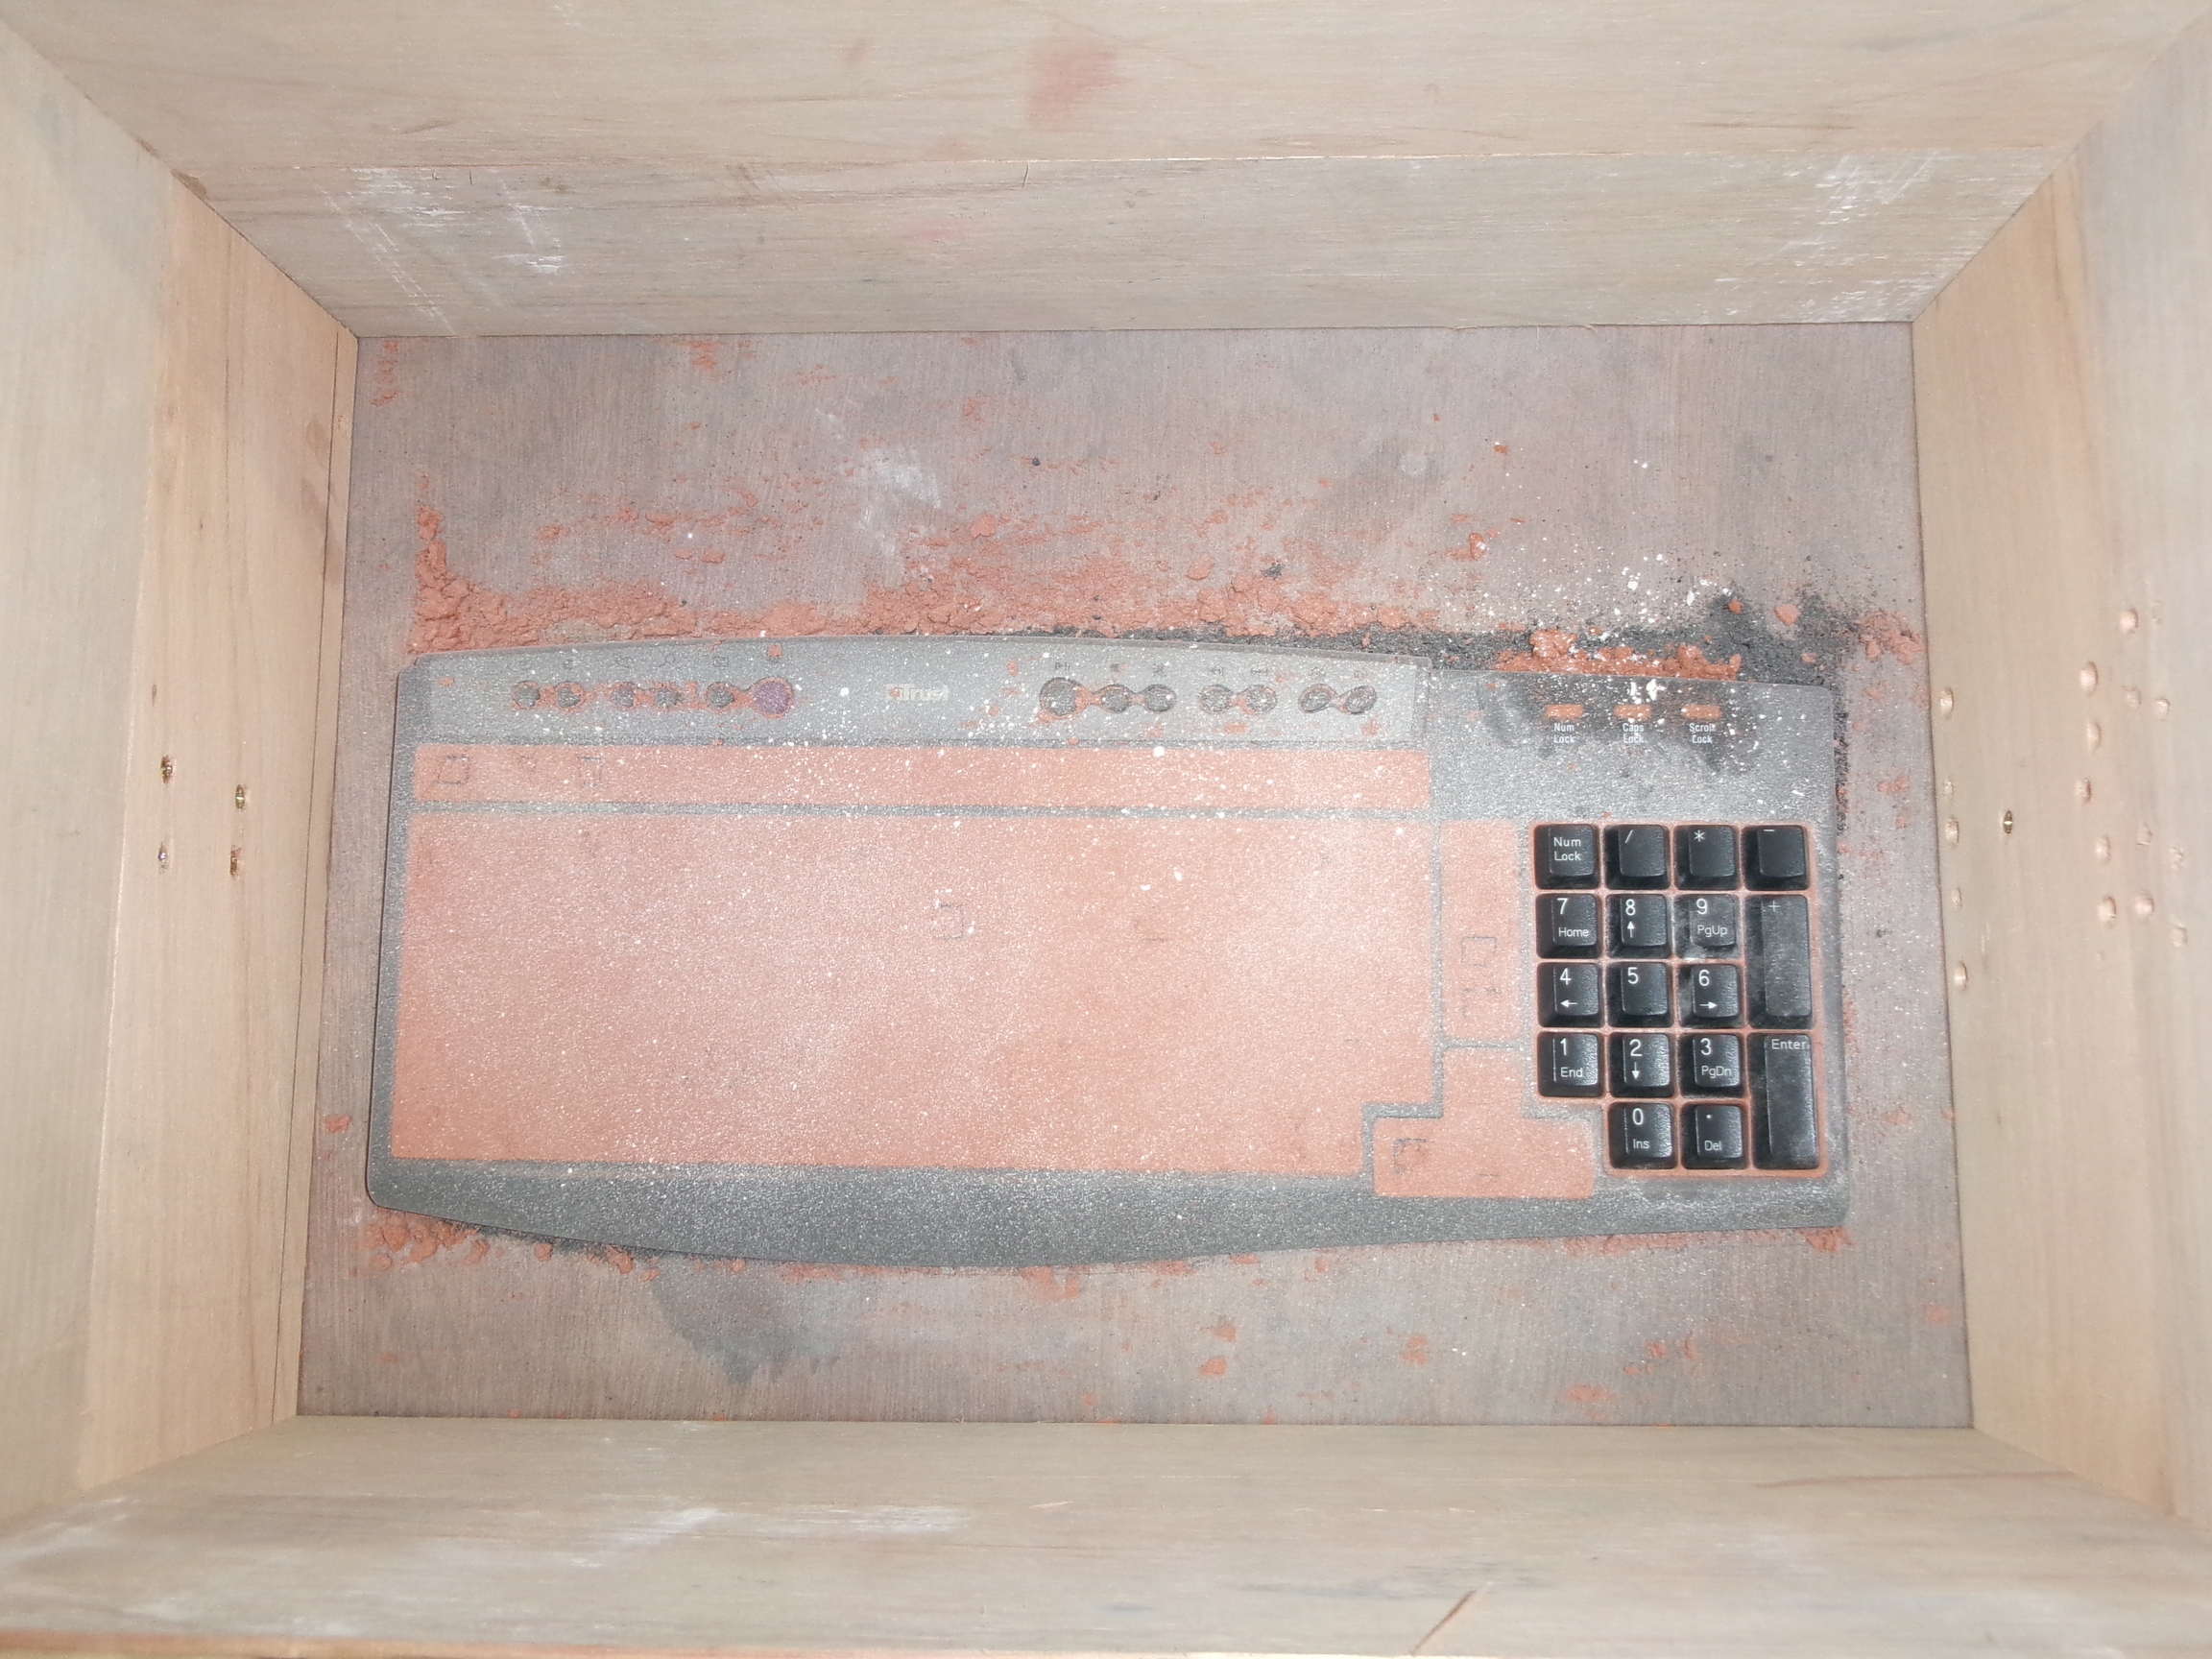
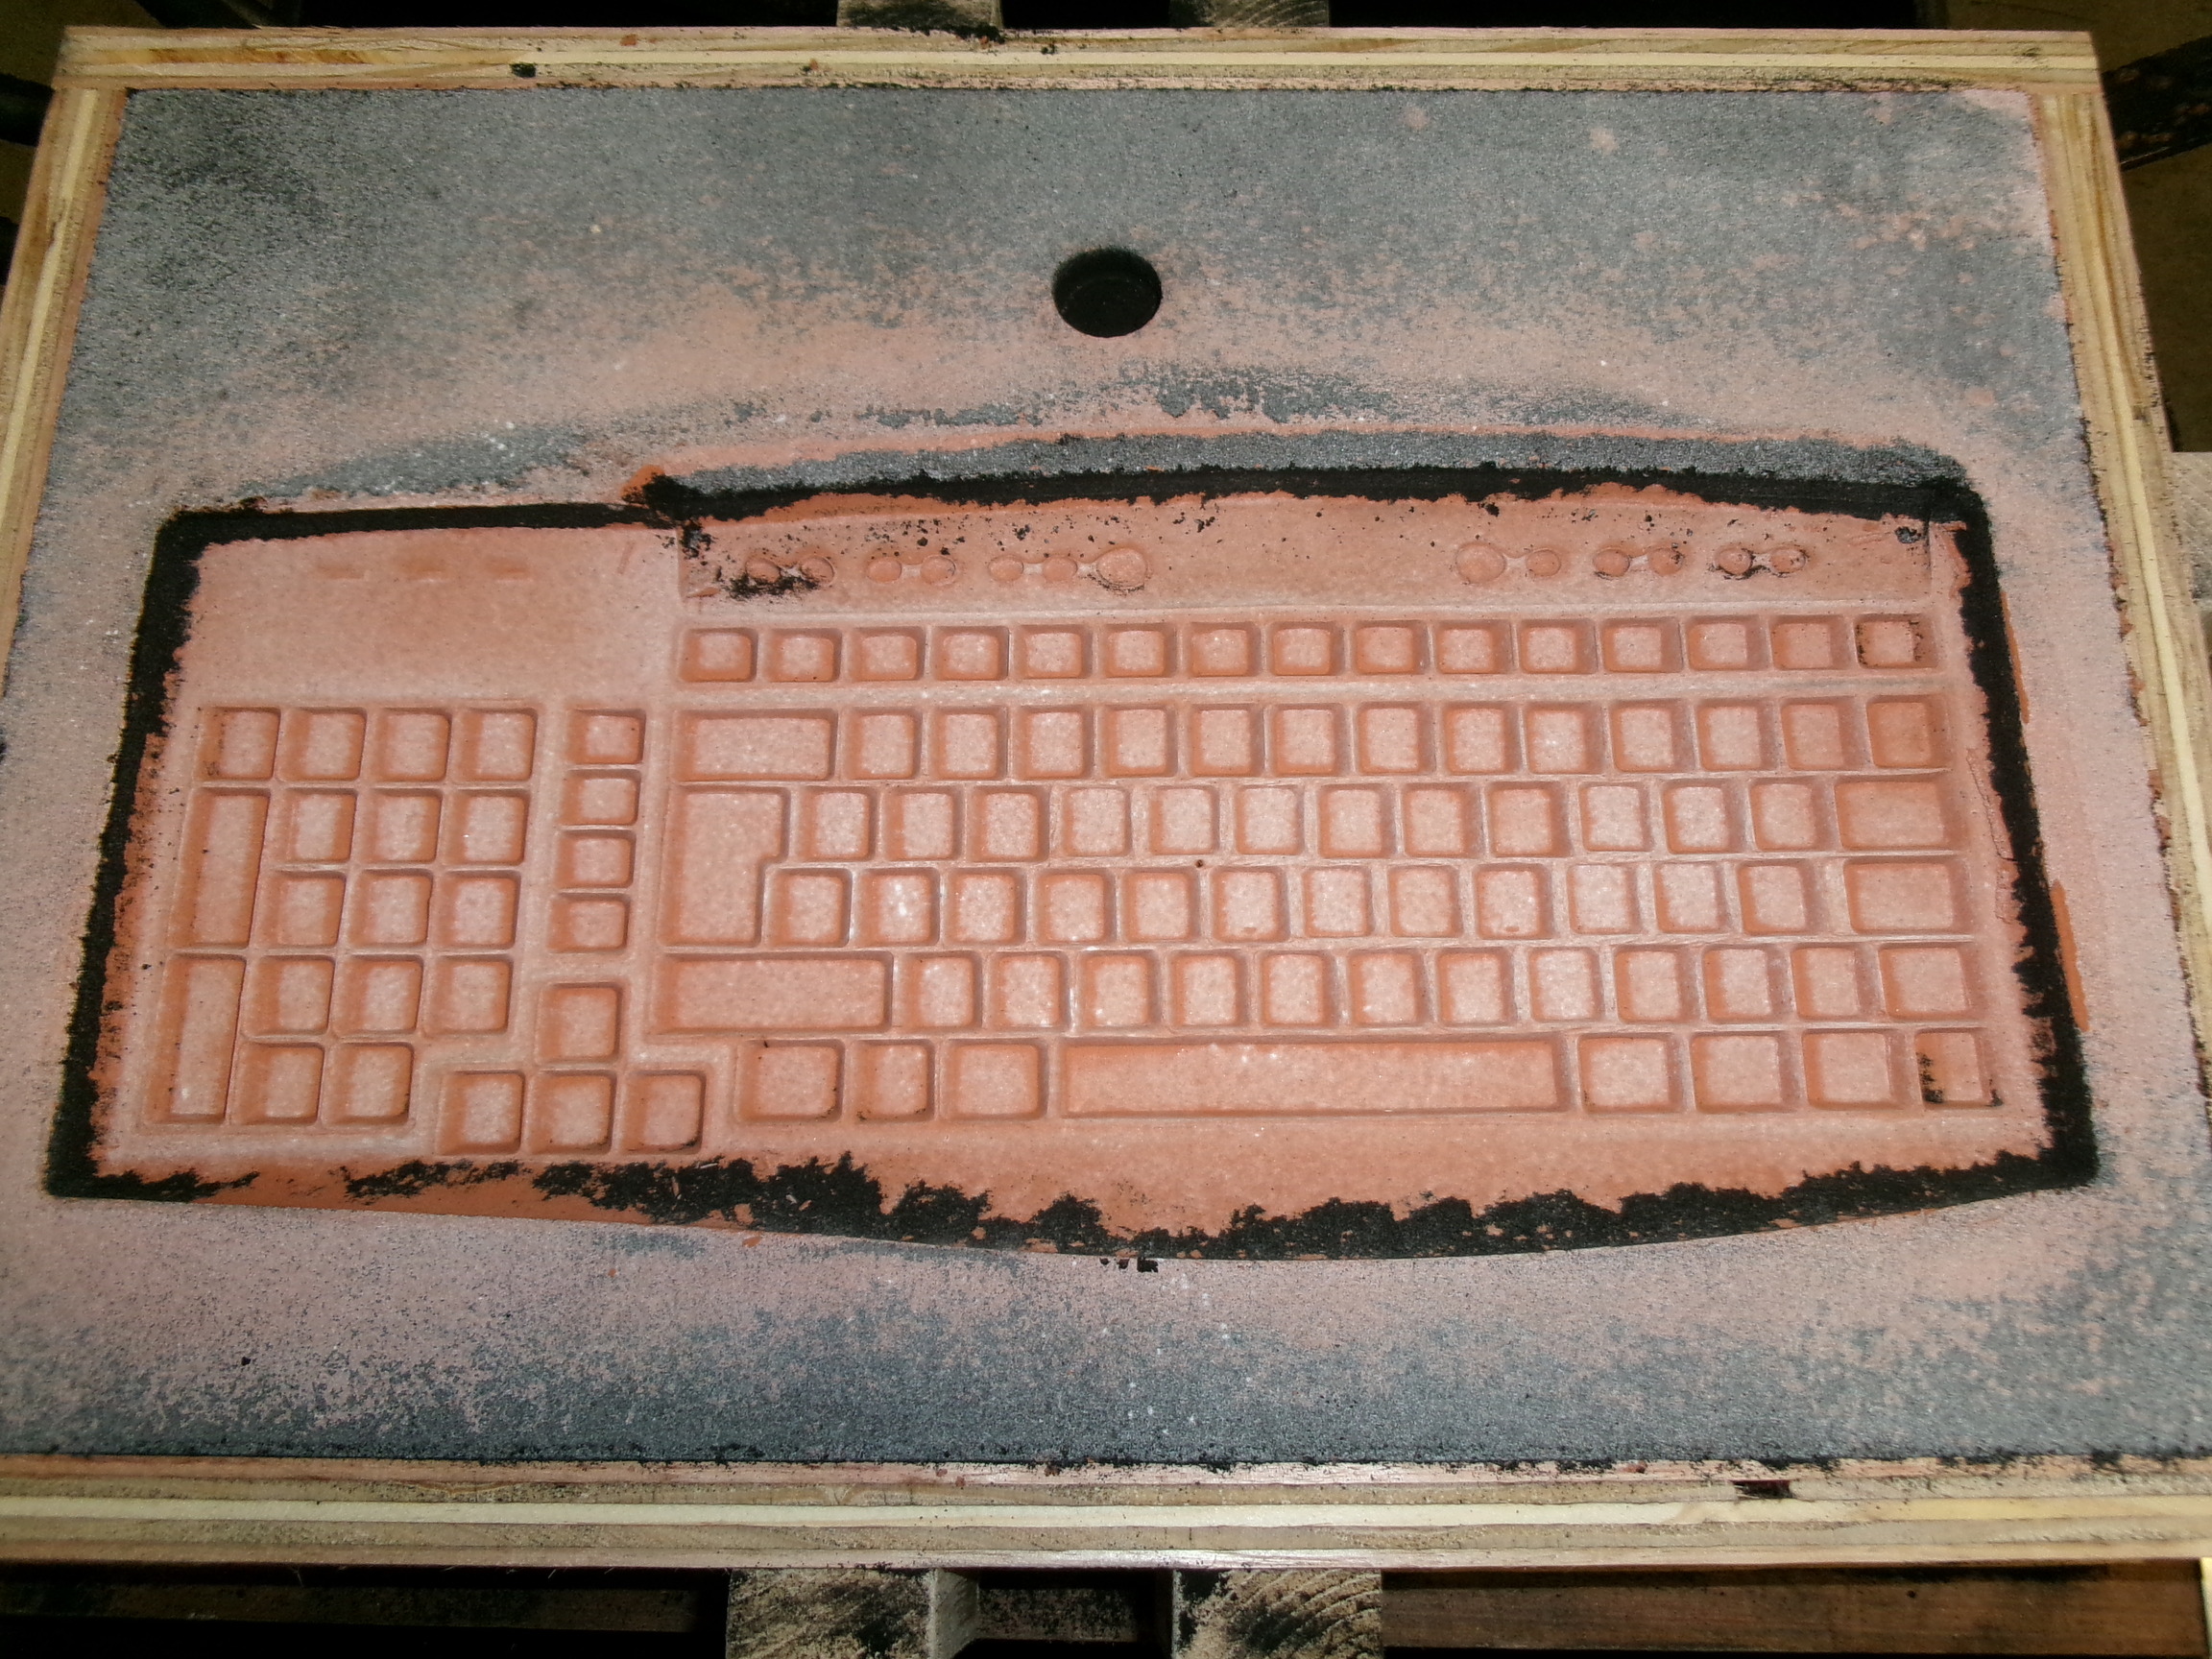
The whole keyboard is dusted with parting powder.
More fine, orange oily sand is sifted over the keyboard, burying it.
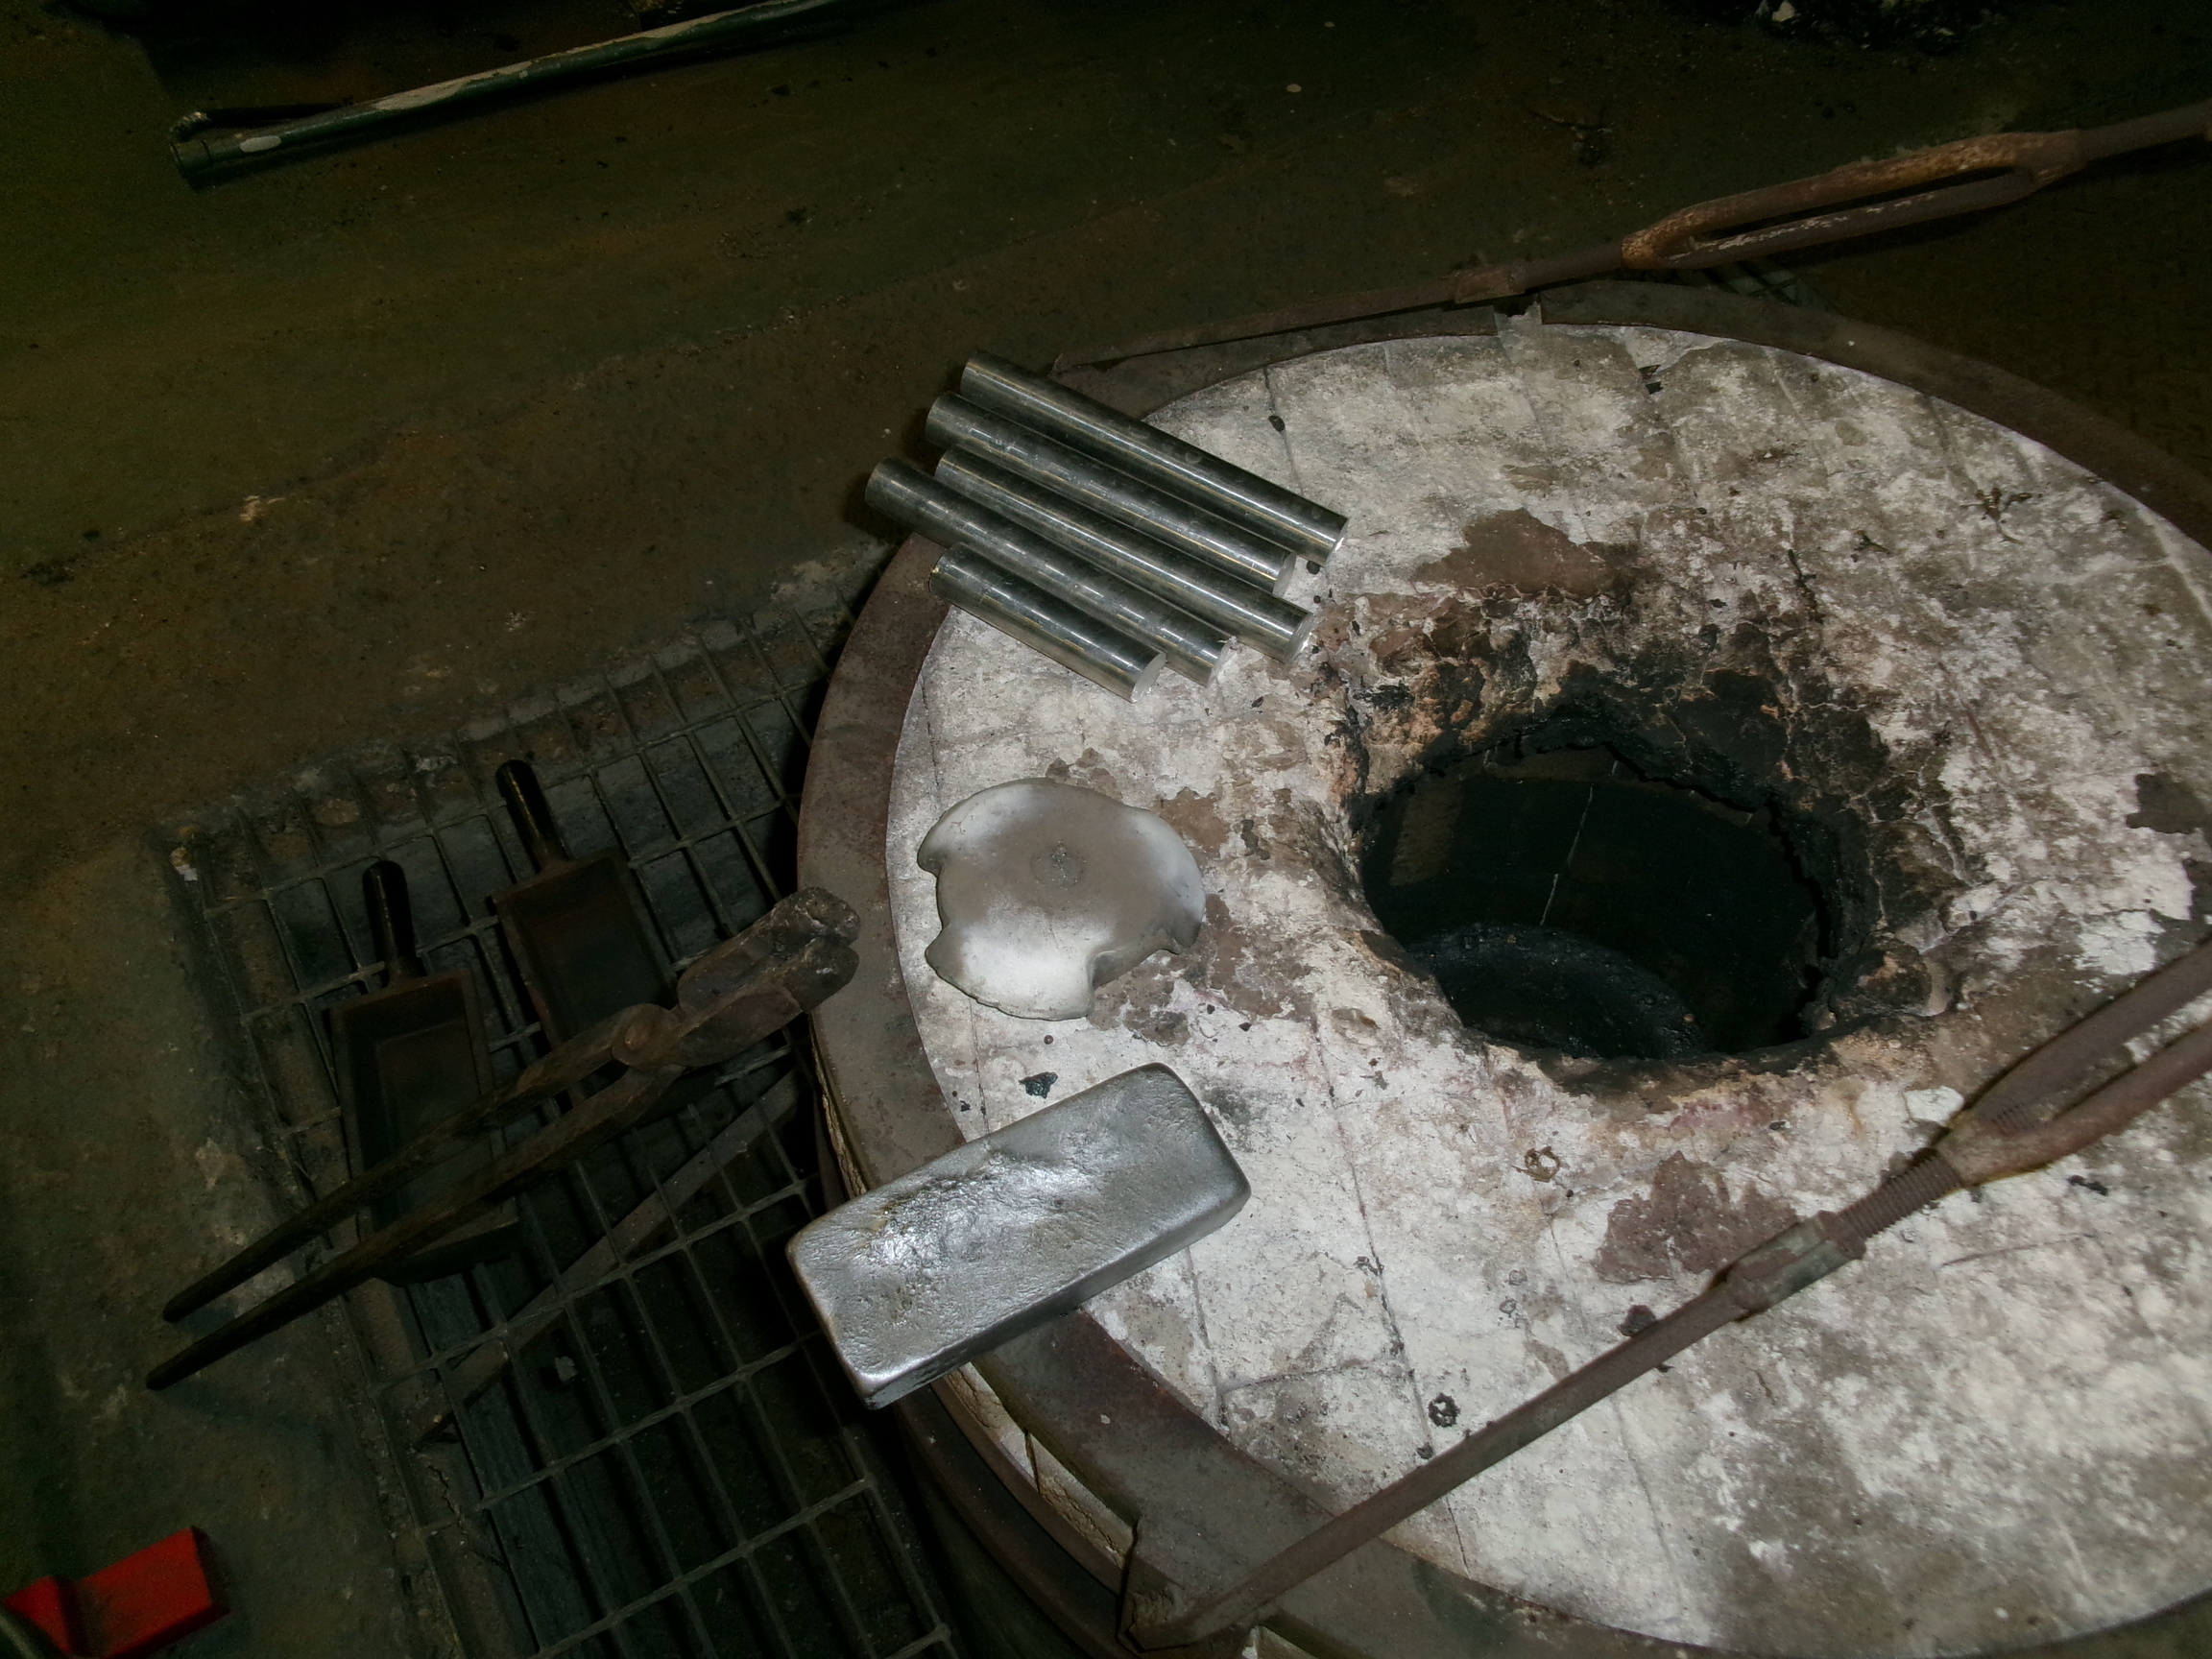
Measuring out how much aluminium will be needed. At this point, it seems we will need one ingot, and several bars.
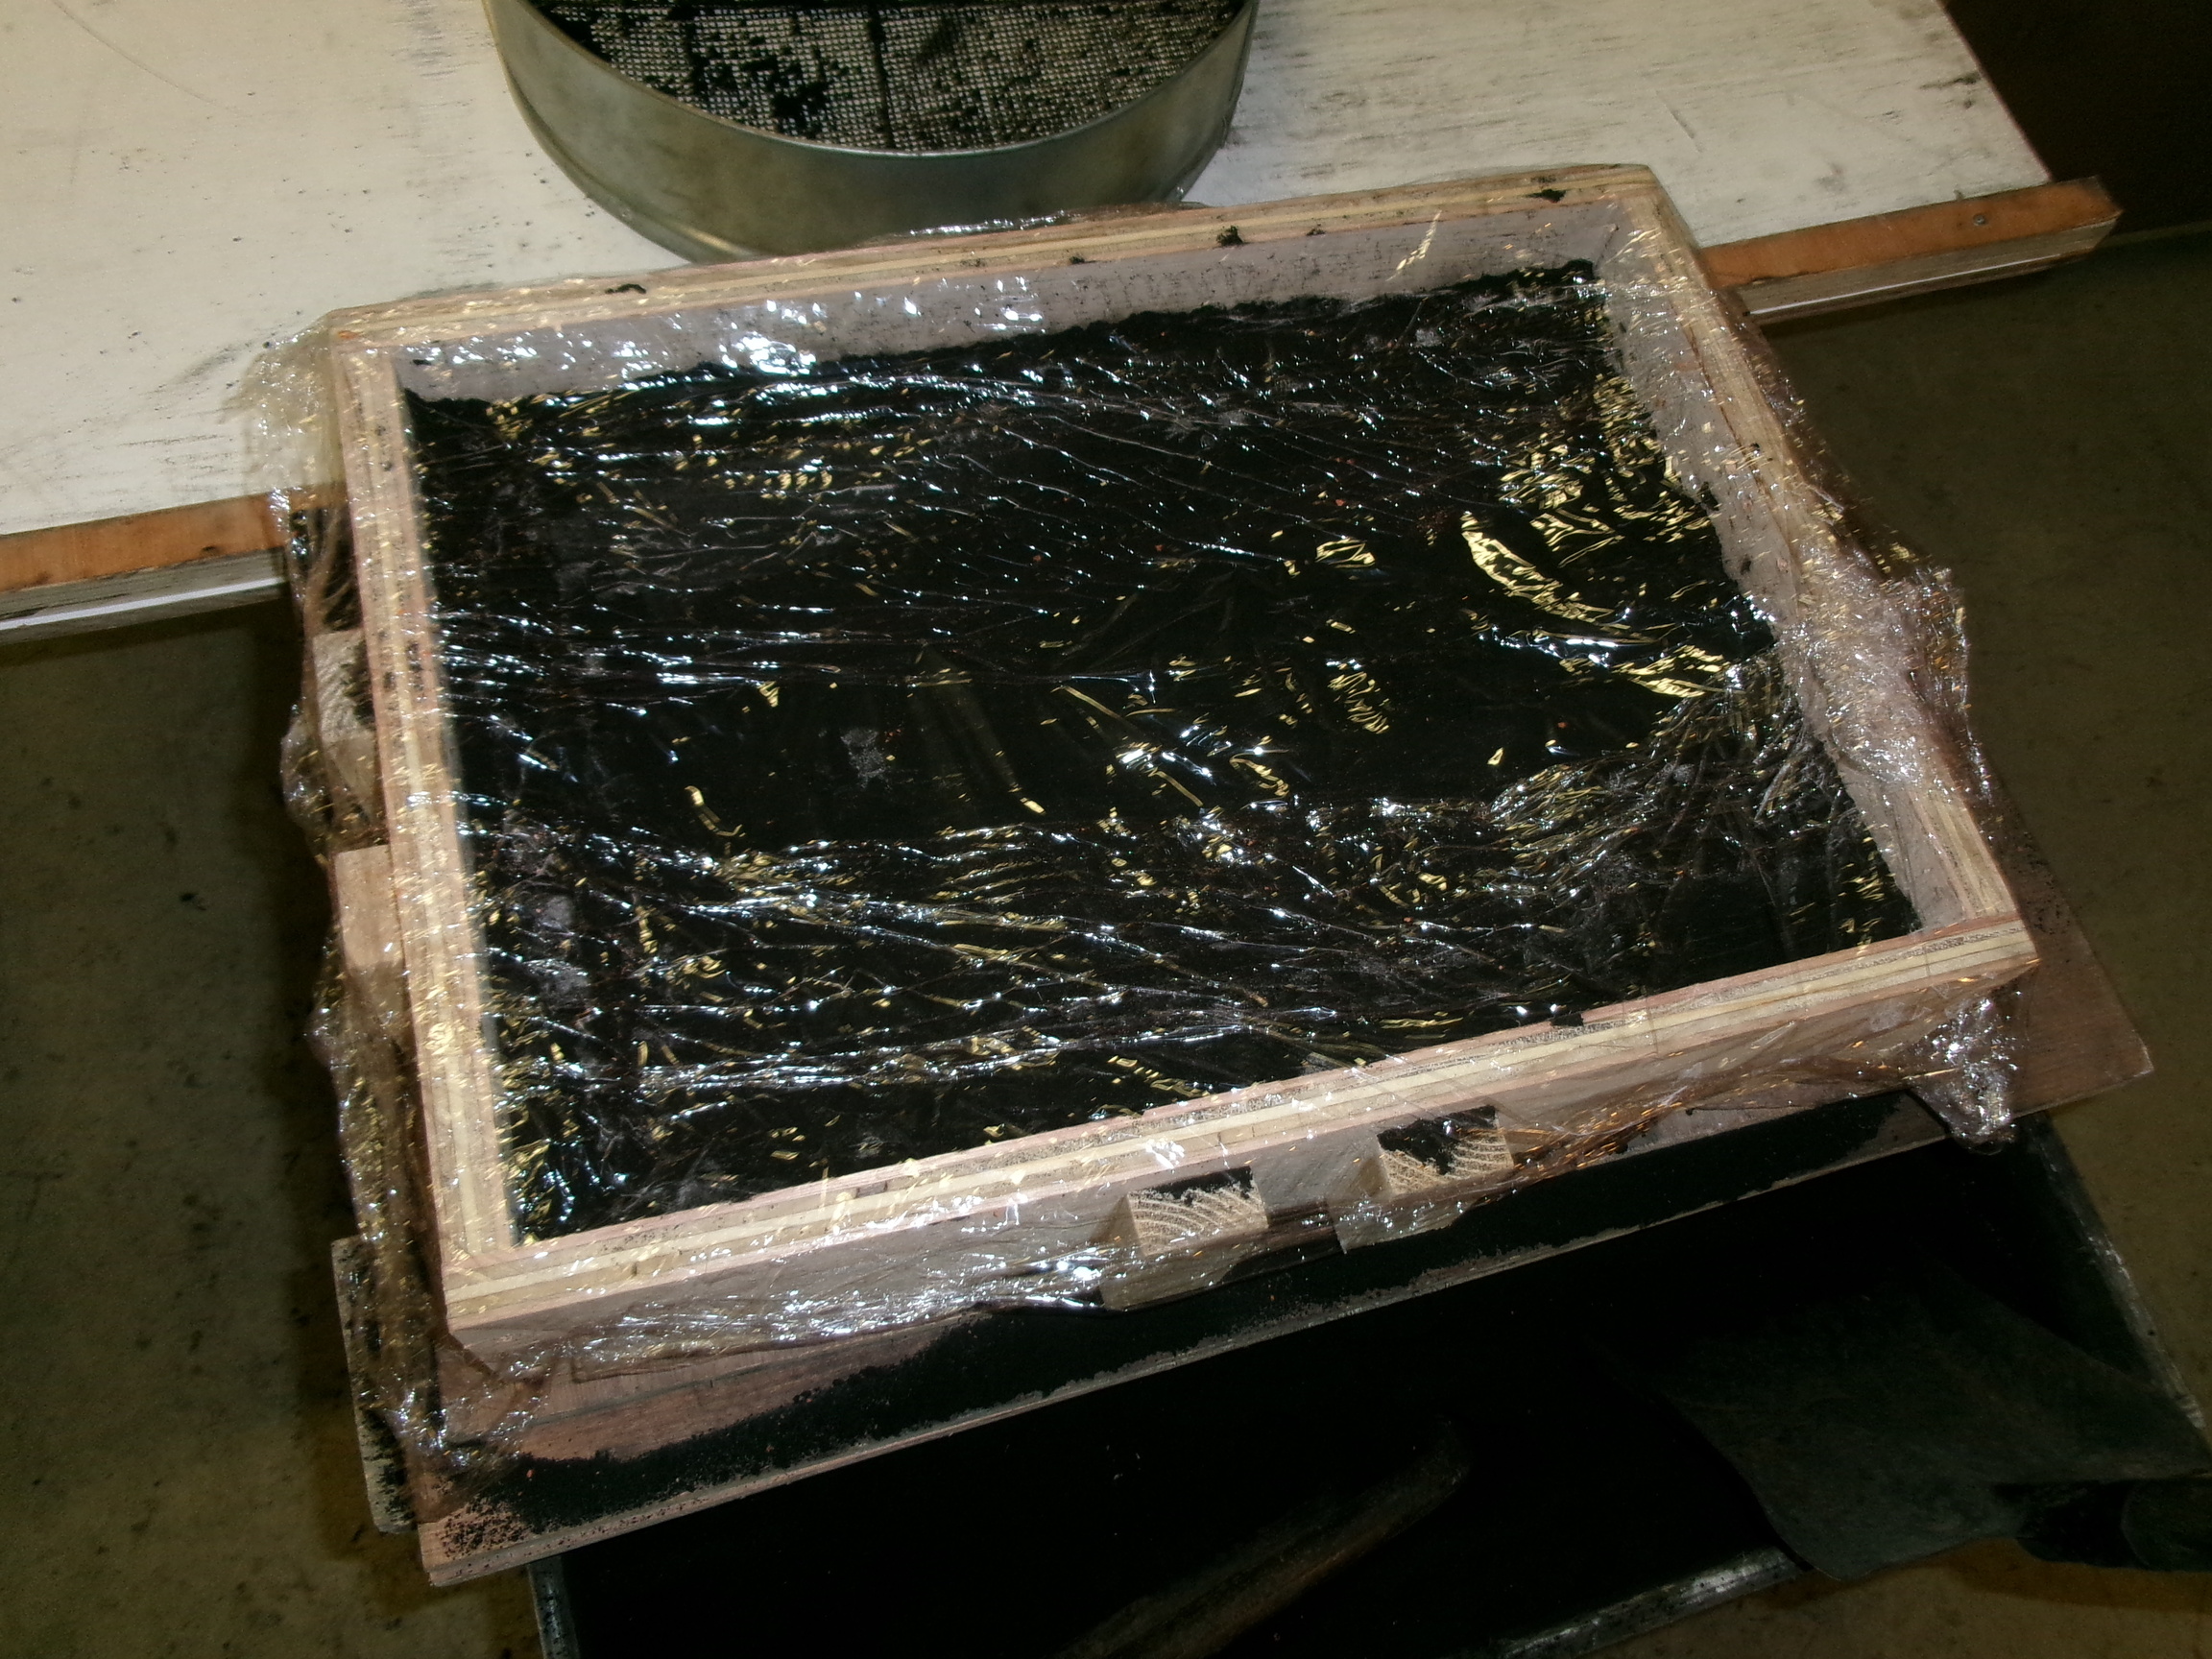
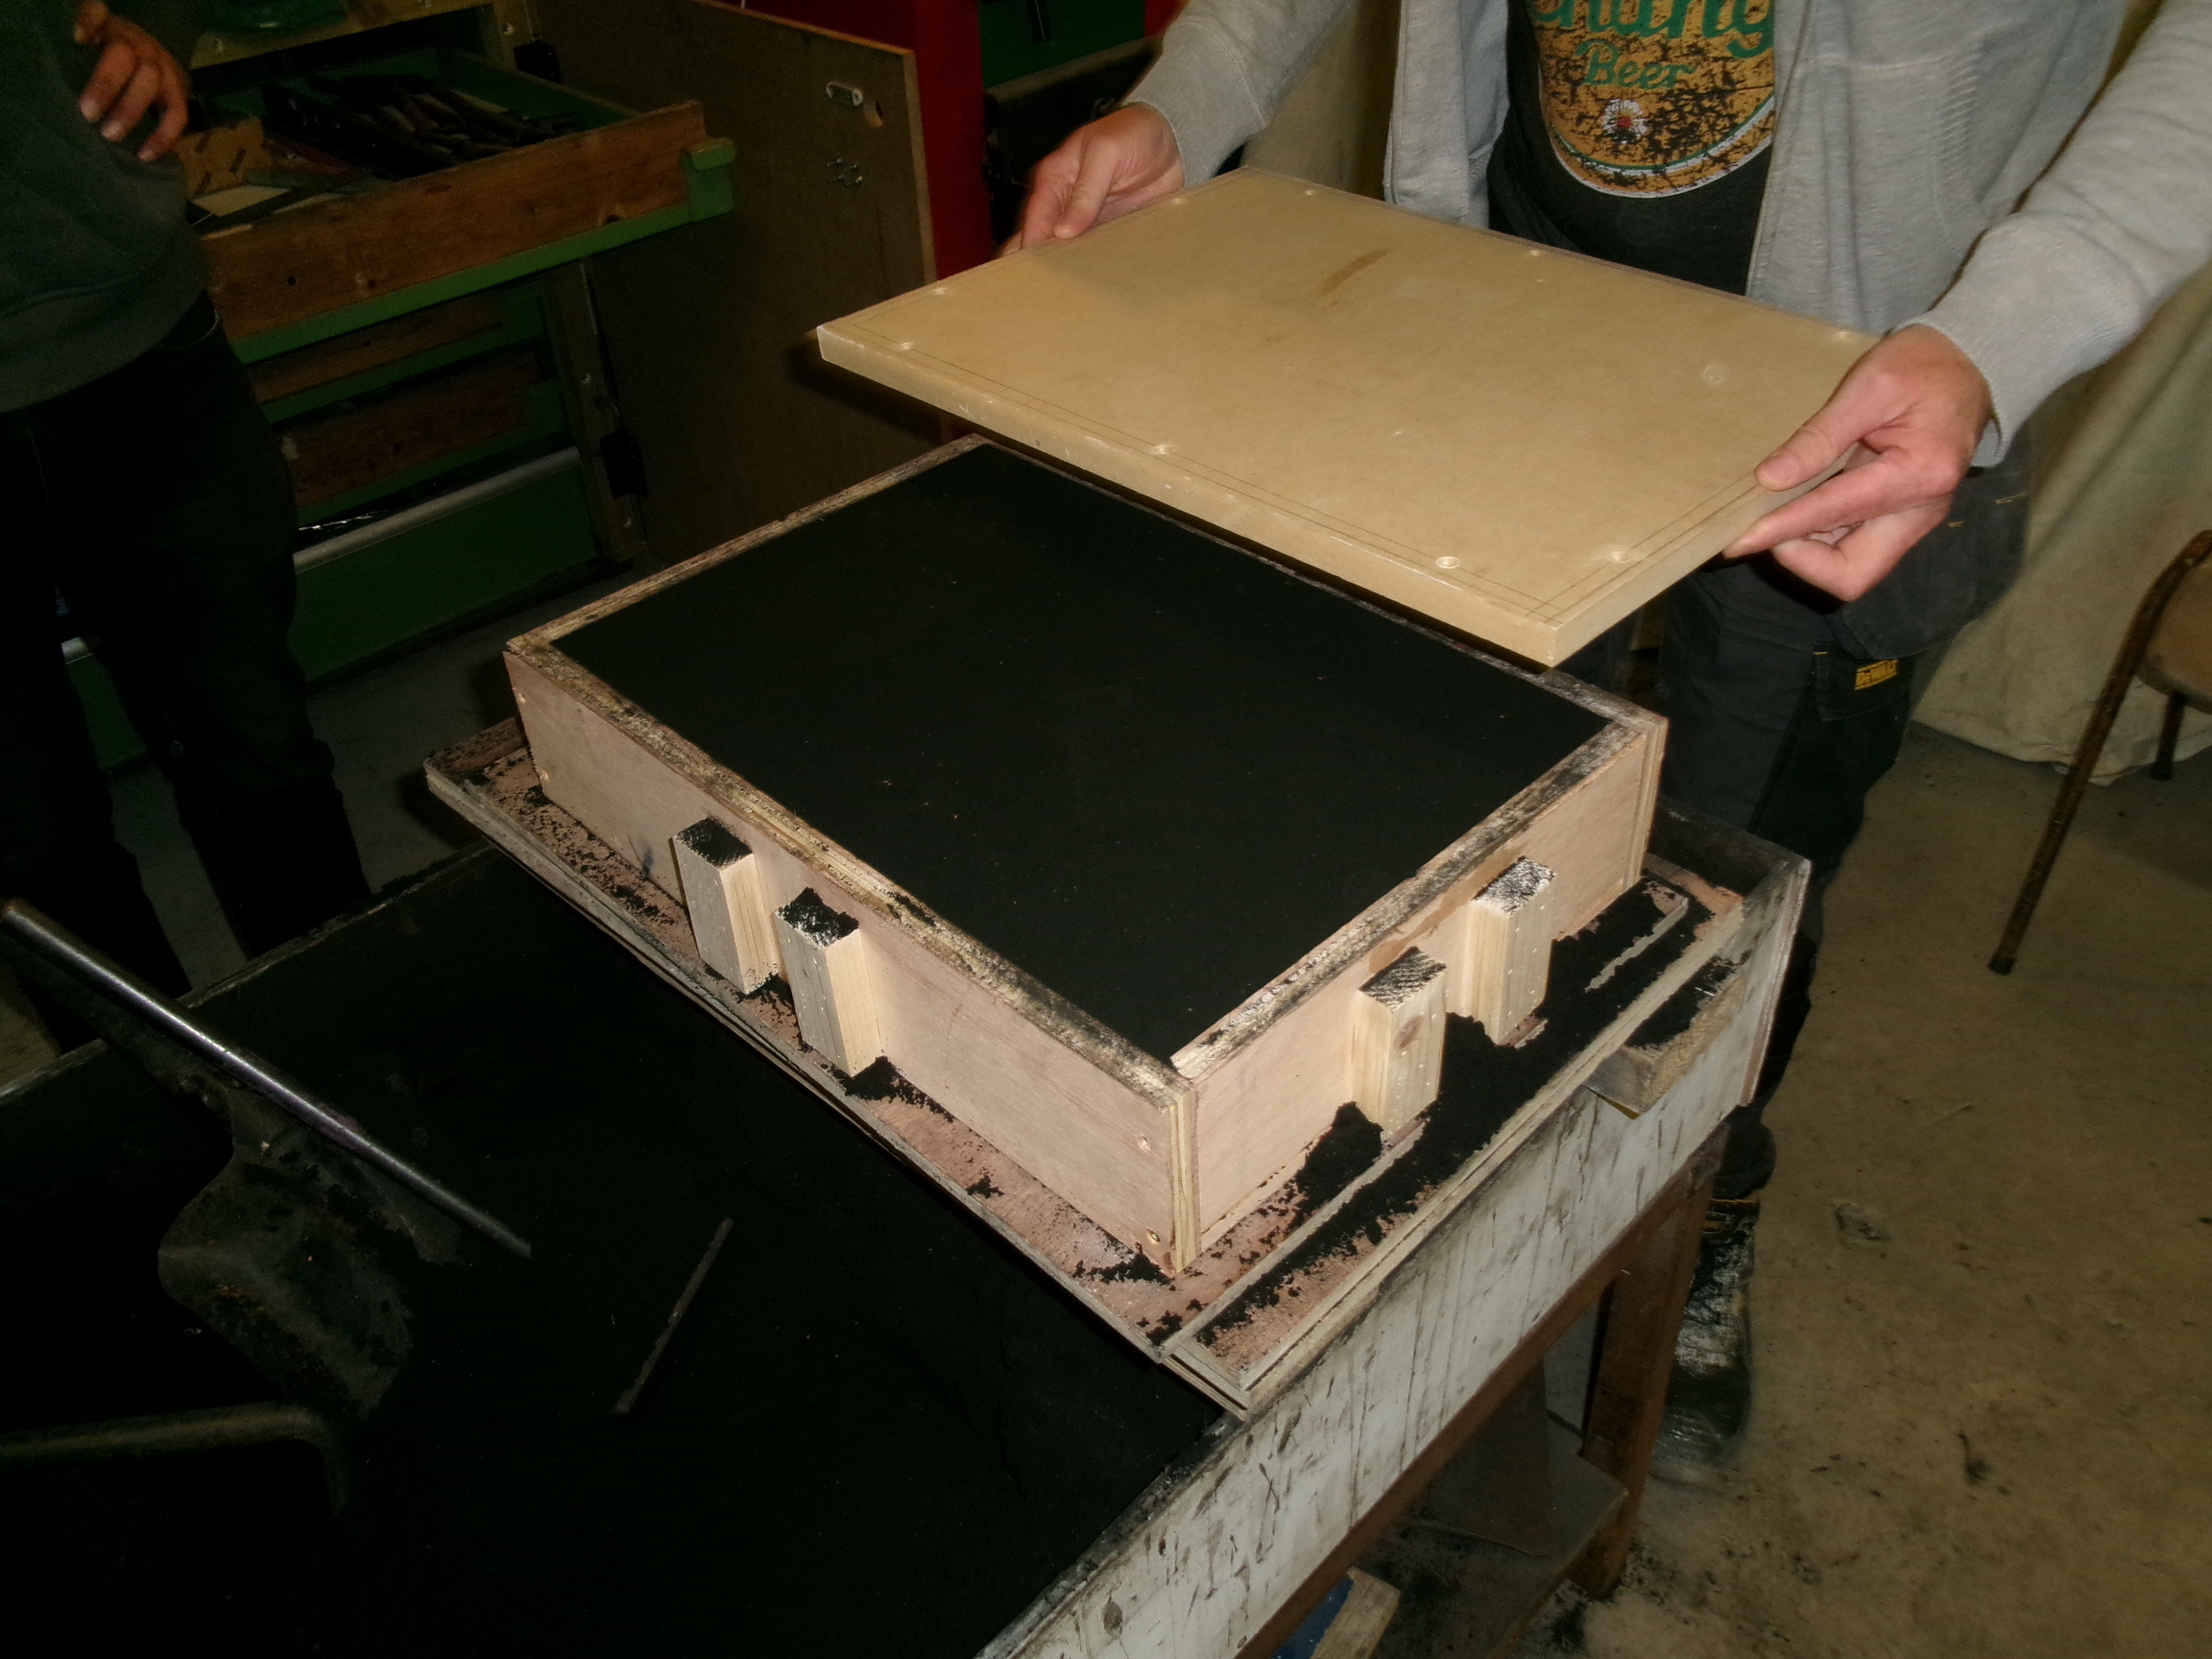
Keeping the sand moist is important, so that it packs well and holds shape. A piece of plastic film does the job. The box is custom-made for this sand-casting by Barry, a technician at the sculpture center. The keyboard is too big to fit any of the iron boxes.
Barry installs a board on top of the bottom half of the mold.
Barry screws in the board, so that the box can be flipped over easily.
The bottom half of the mold is flipped over, revealing the inside of the keyboard.
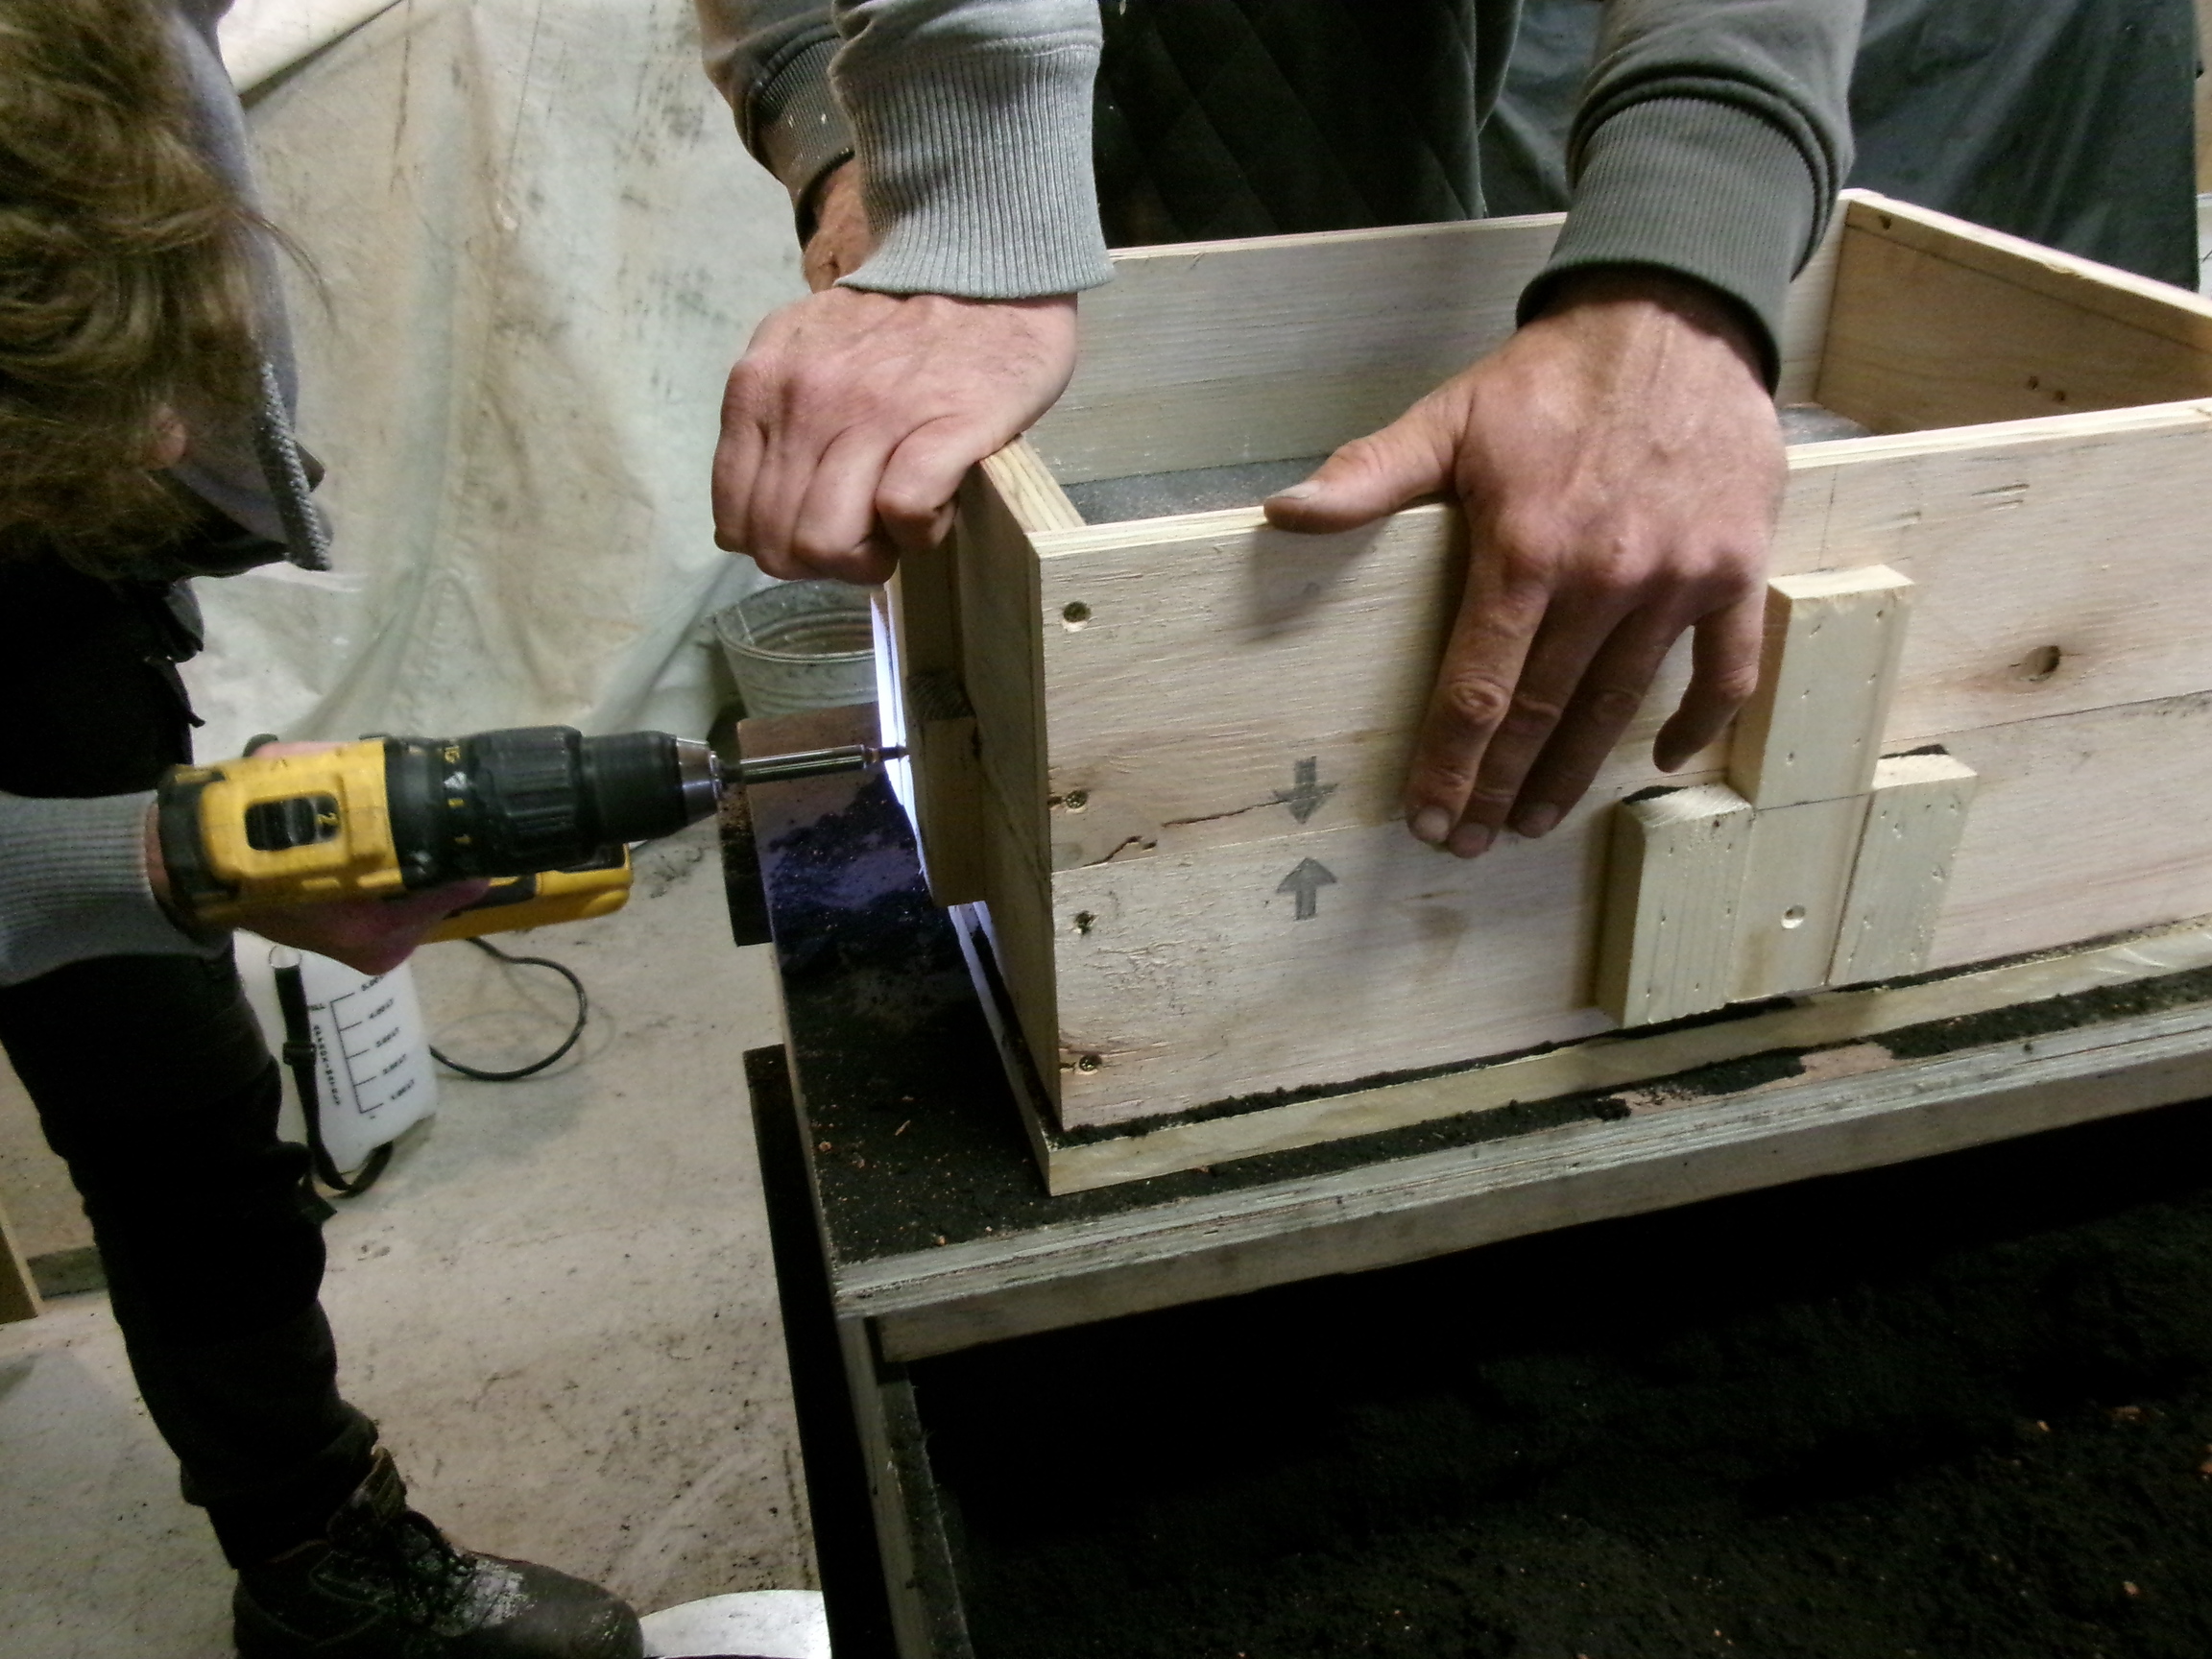
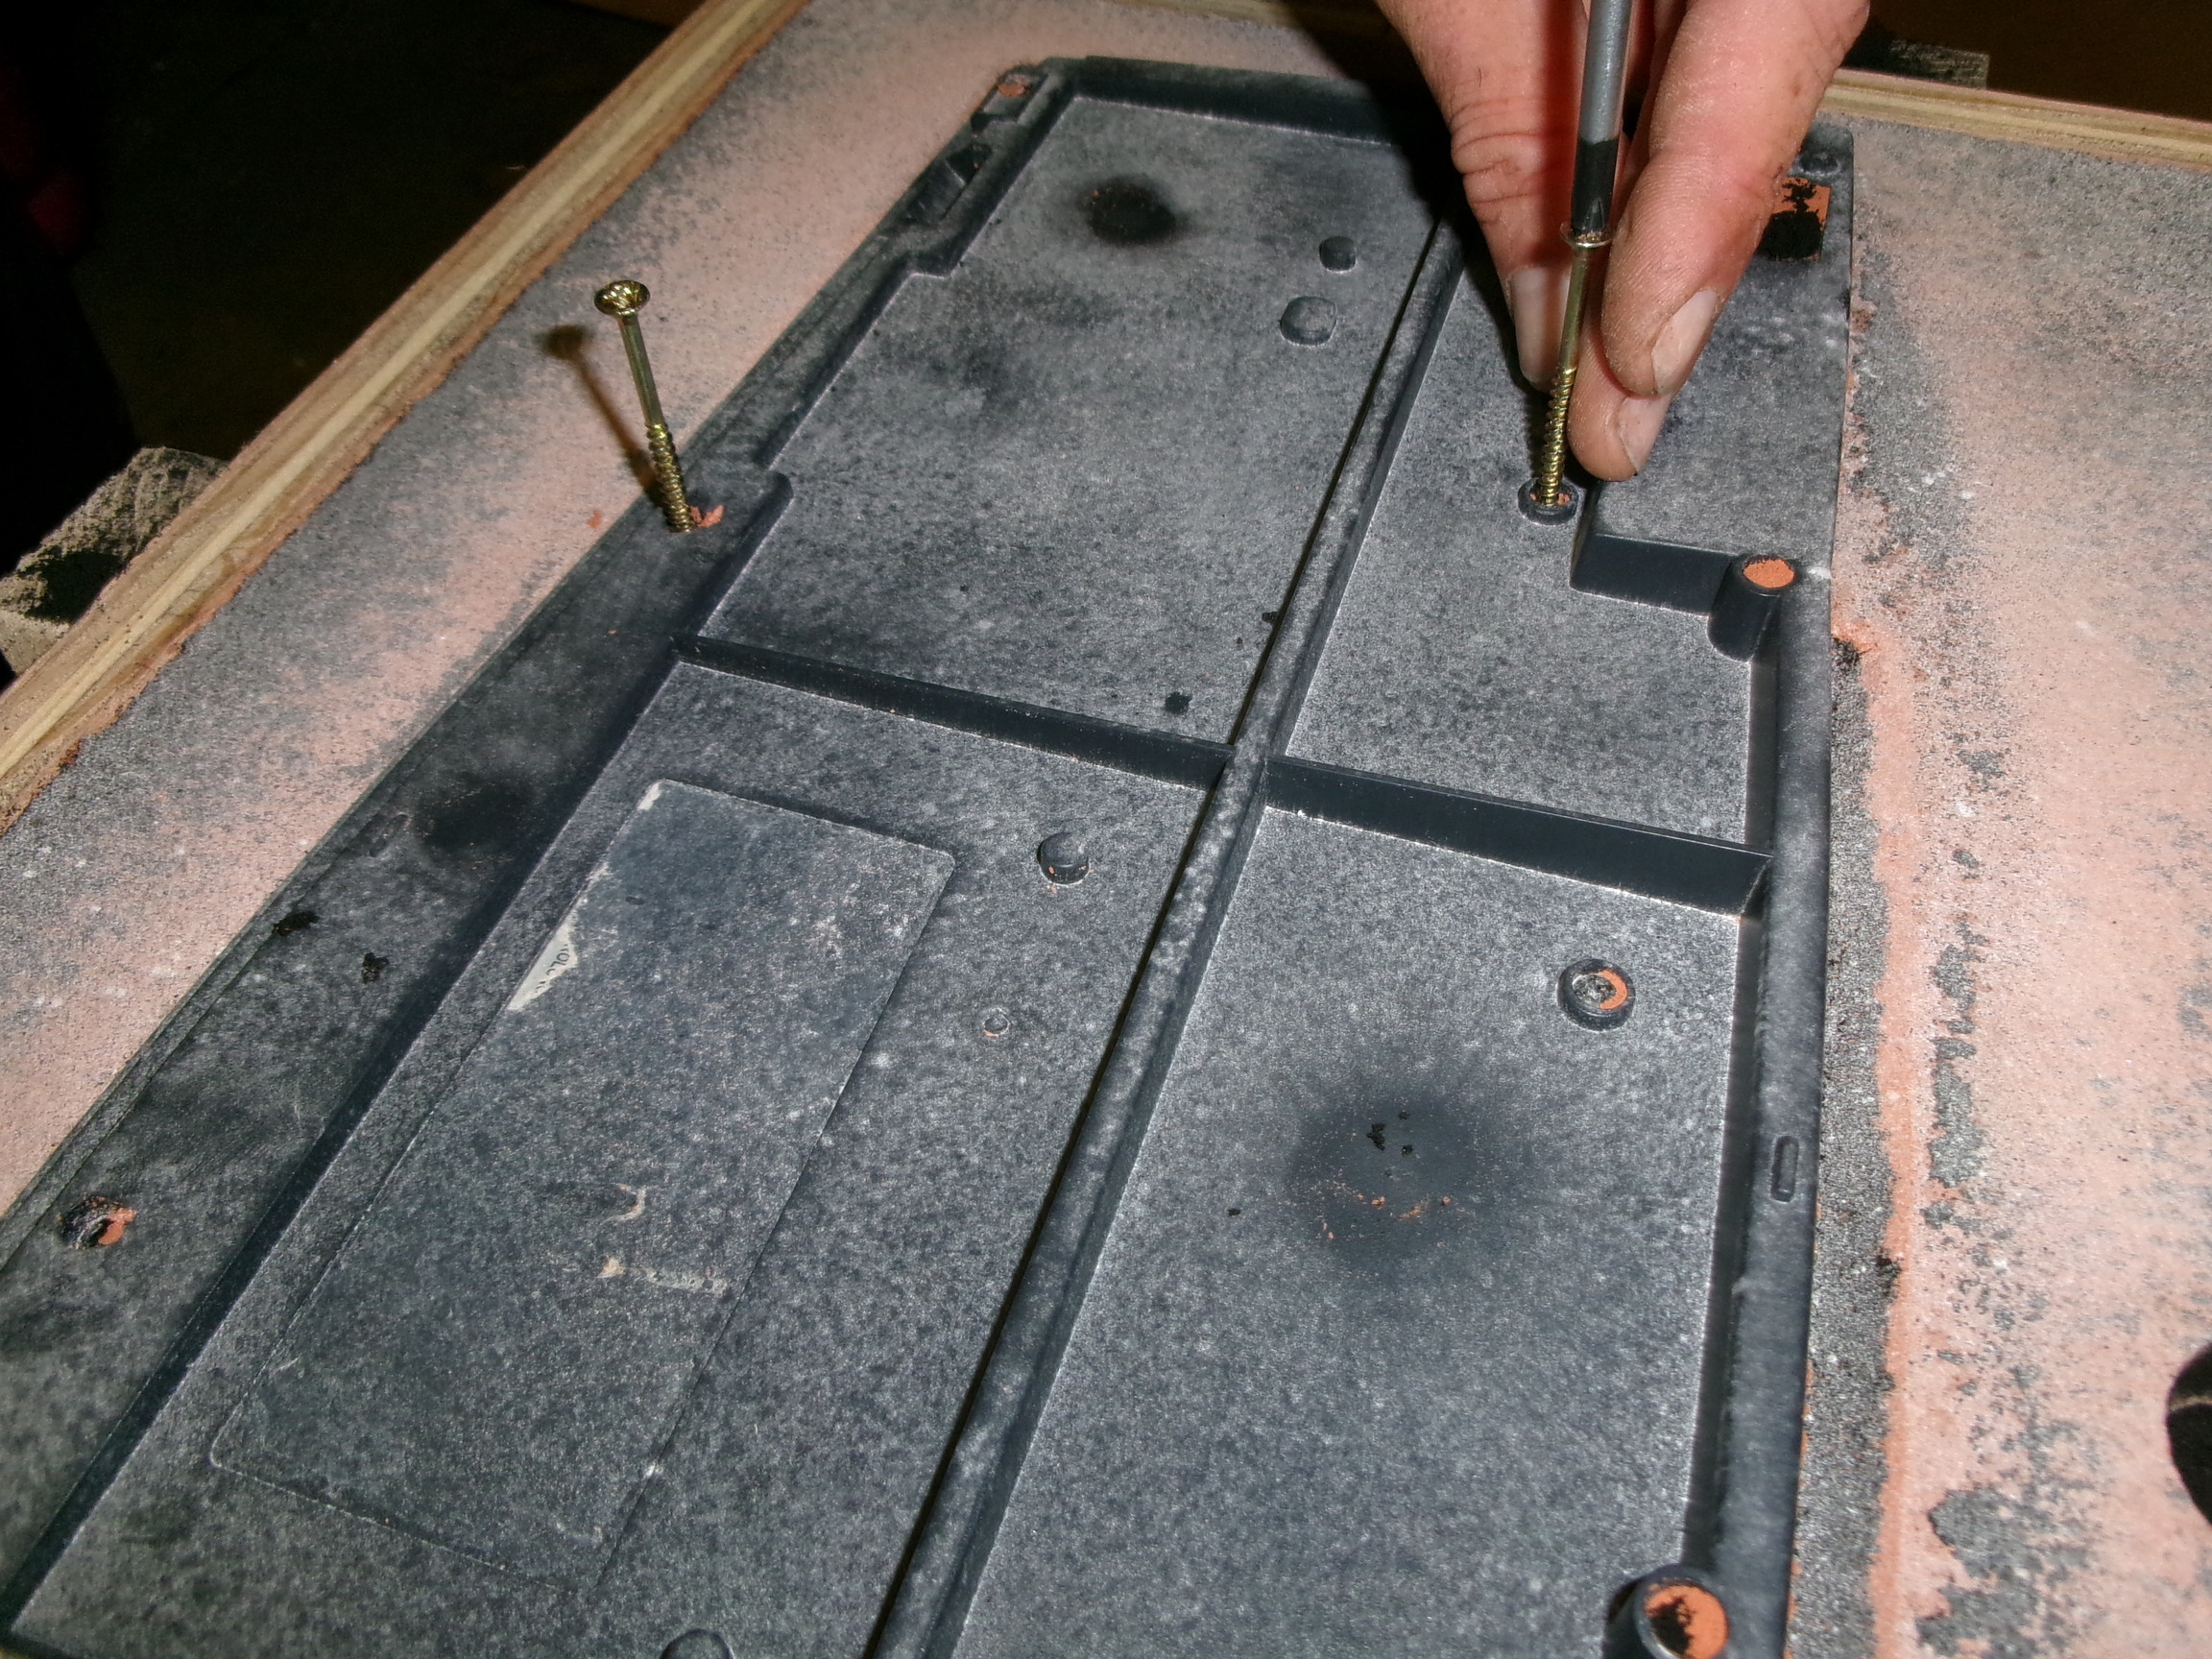
The bottom part of the keyboard is painstakingly placed on top. Sand is cut away from areas where there is expected to be an undercut. This is important to stop the sand from being ripped out of the mold when the keyboard is removed. Some screws are put back into the keyboard, so that it can be removed later in one piece.
Barry screws the top and bottom halves of the box together.
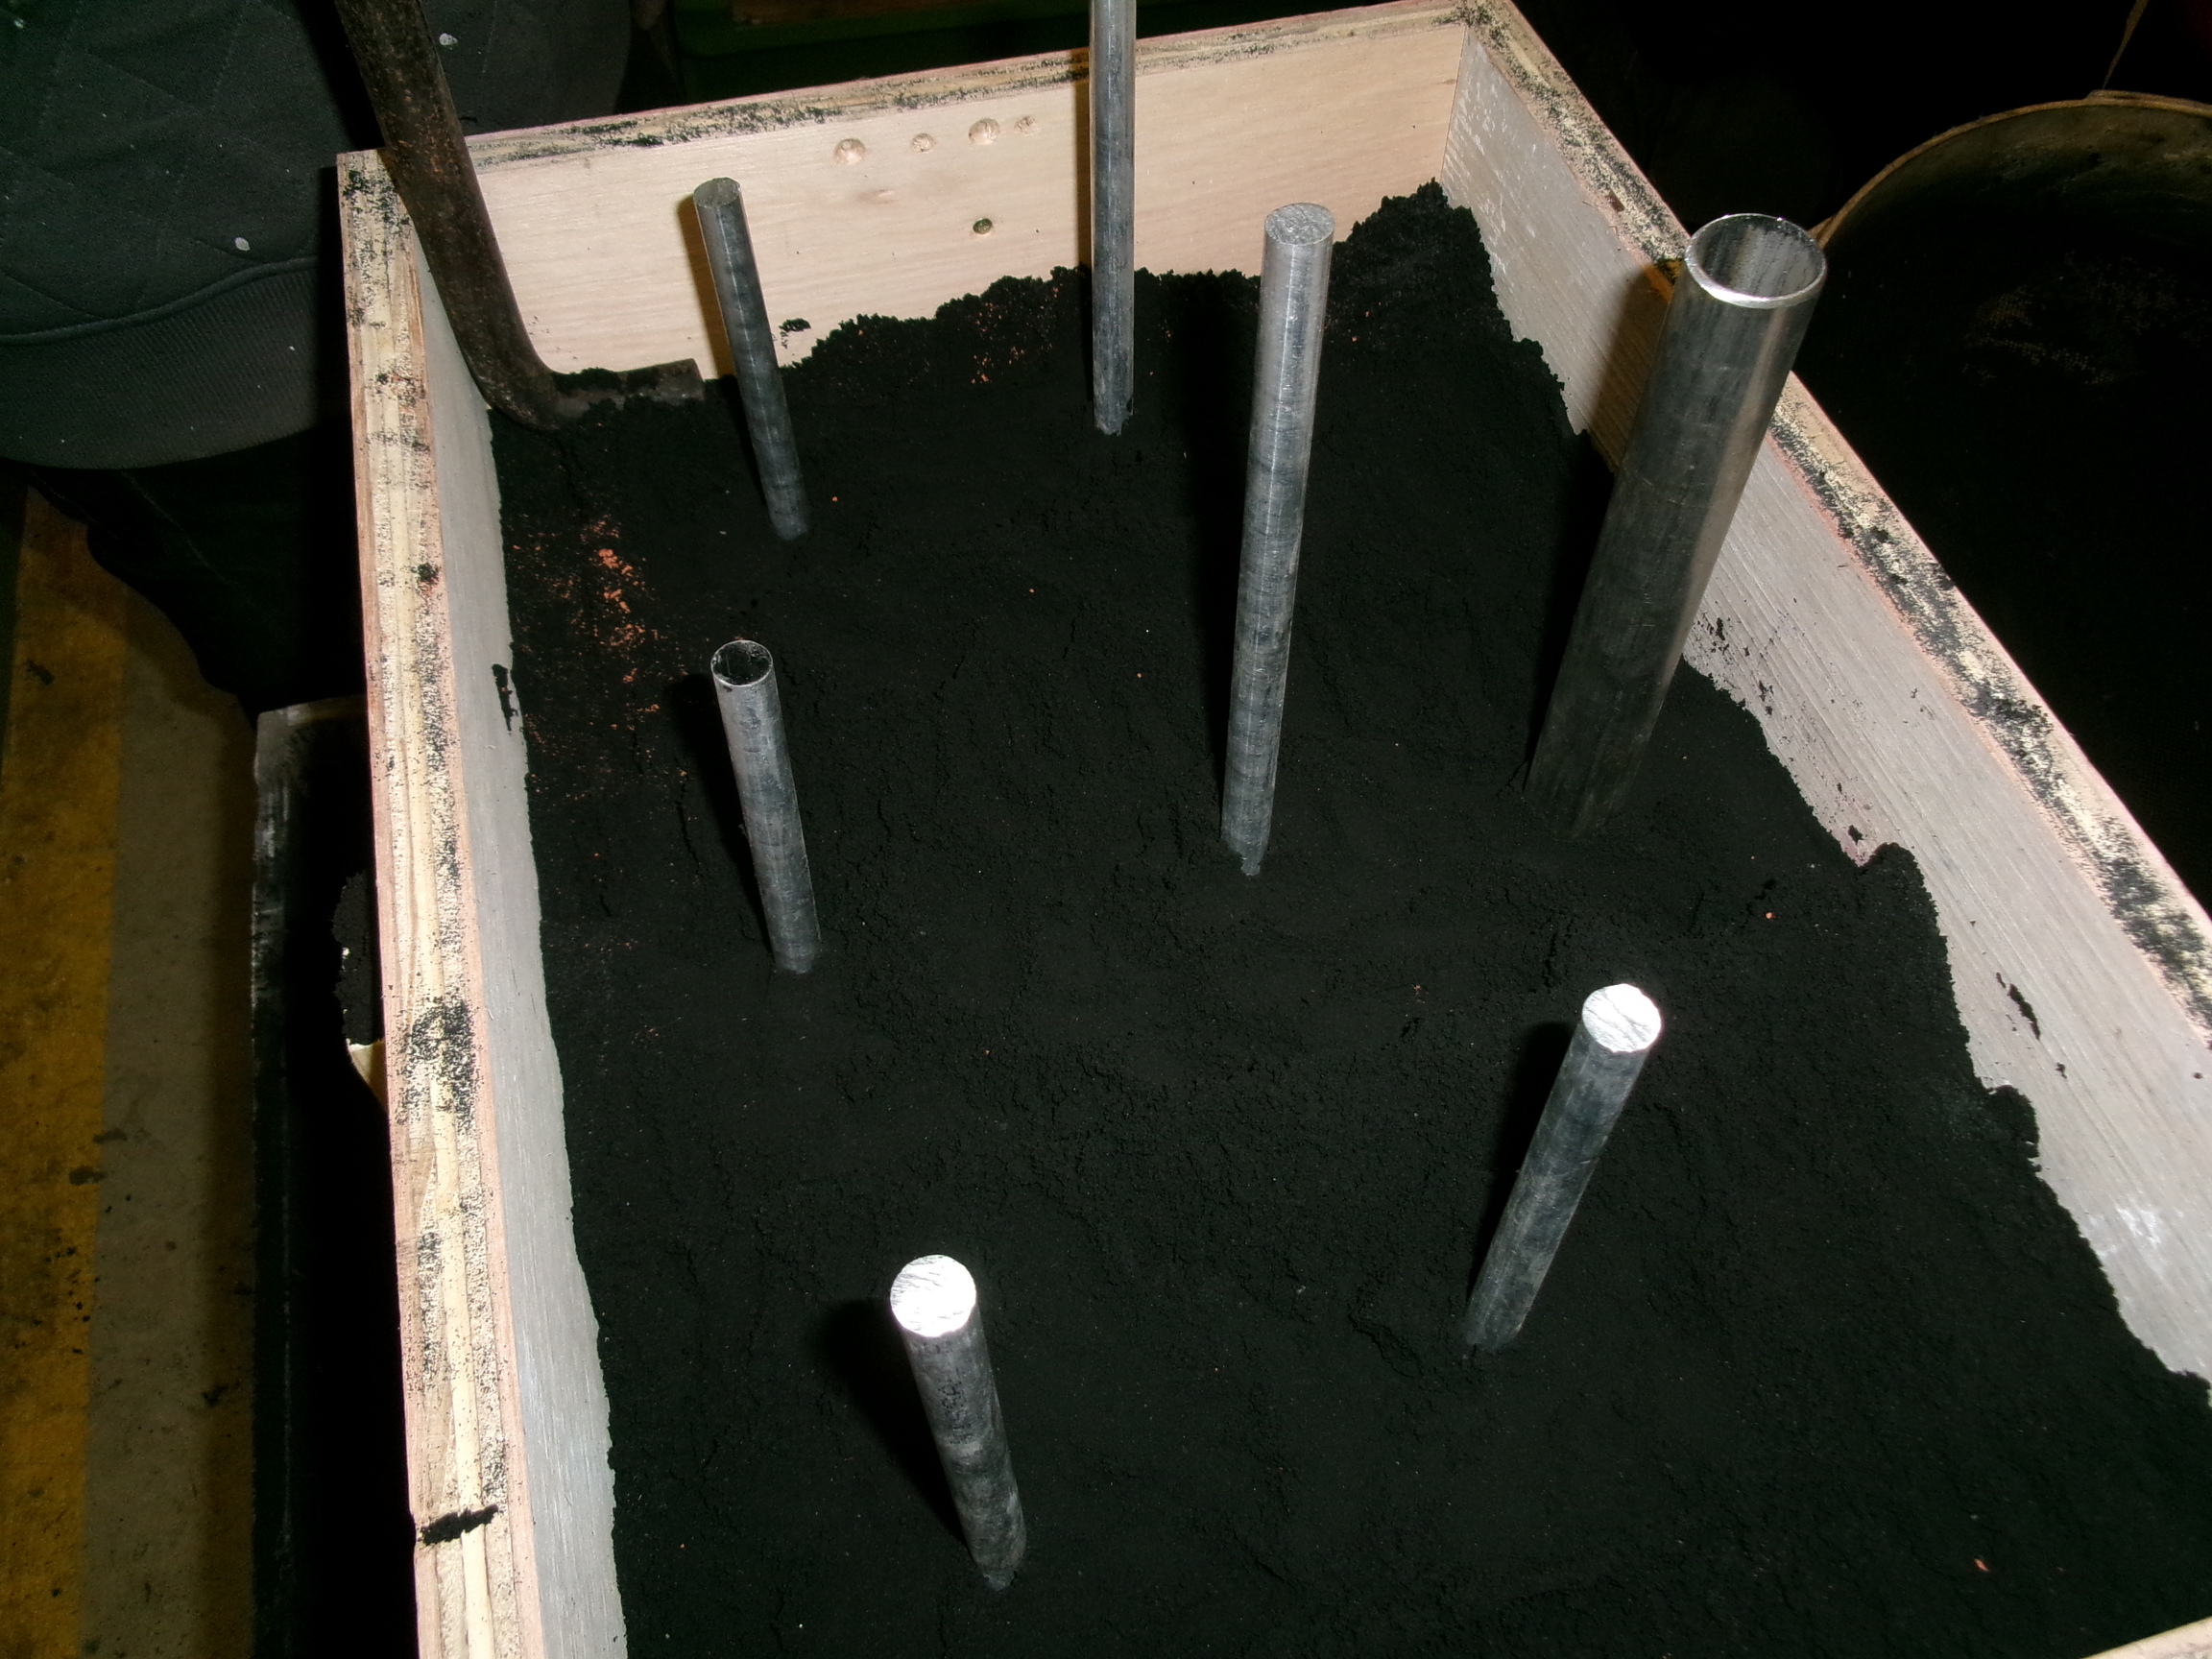
Rods of aluminium and a pipe are placed into the sand. These will make risers to release gas and allow the metal to fill the mold, and to make a pouring hole for the aluminium to flow through.
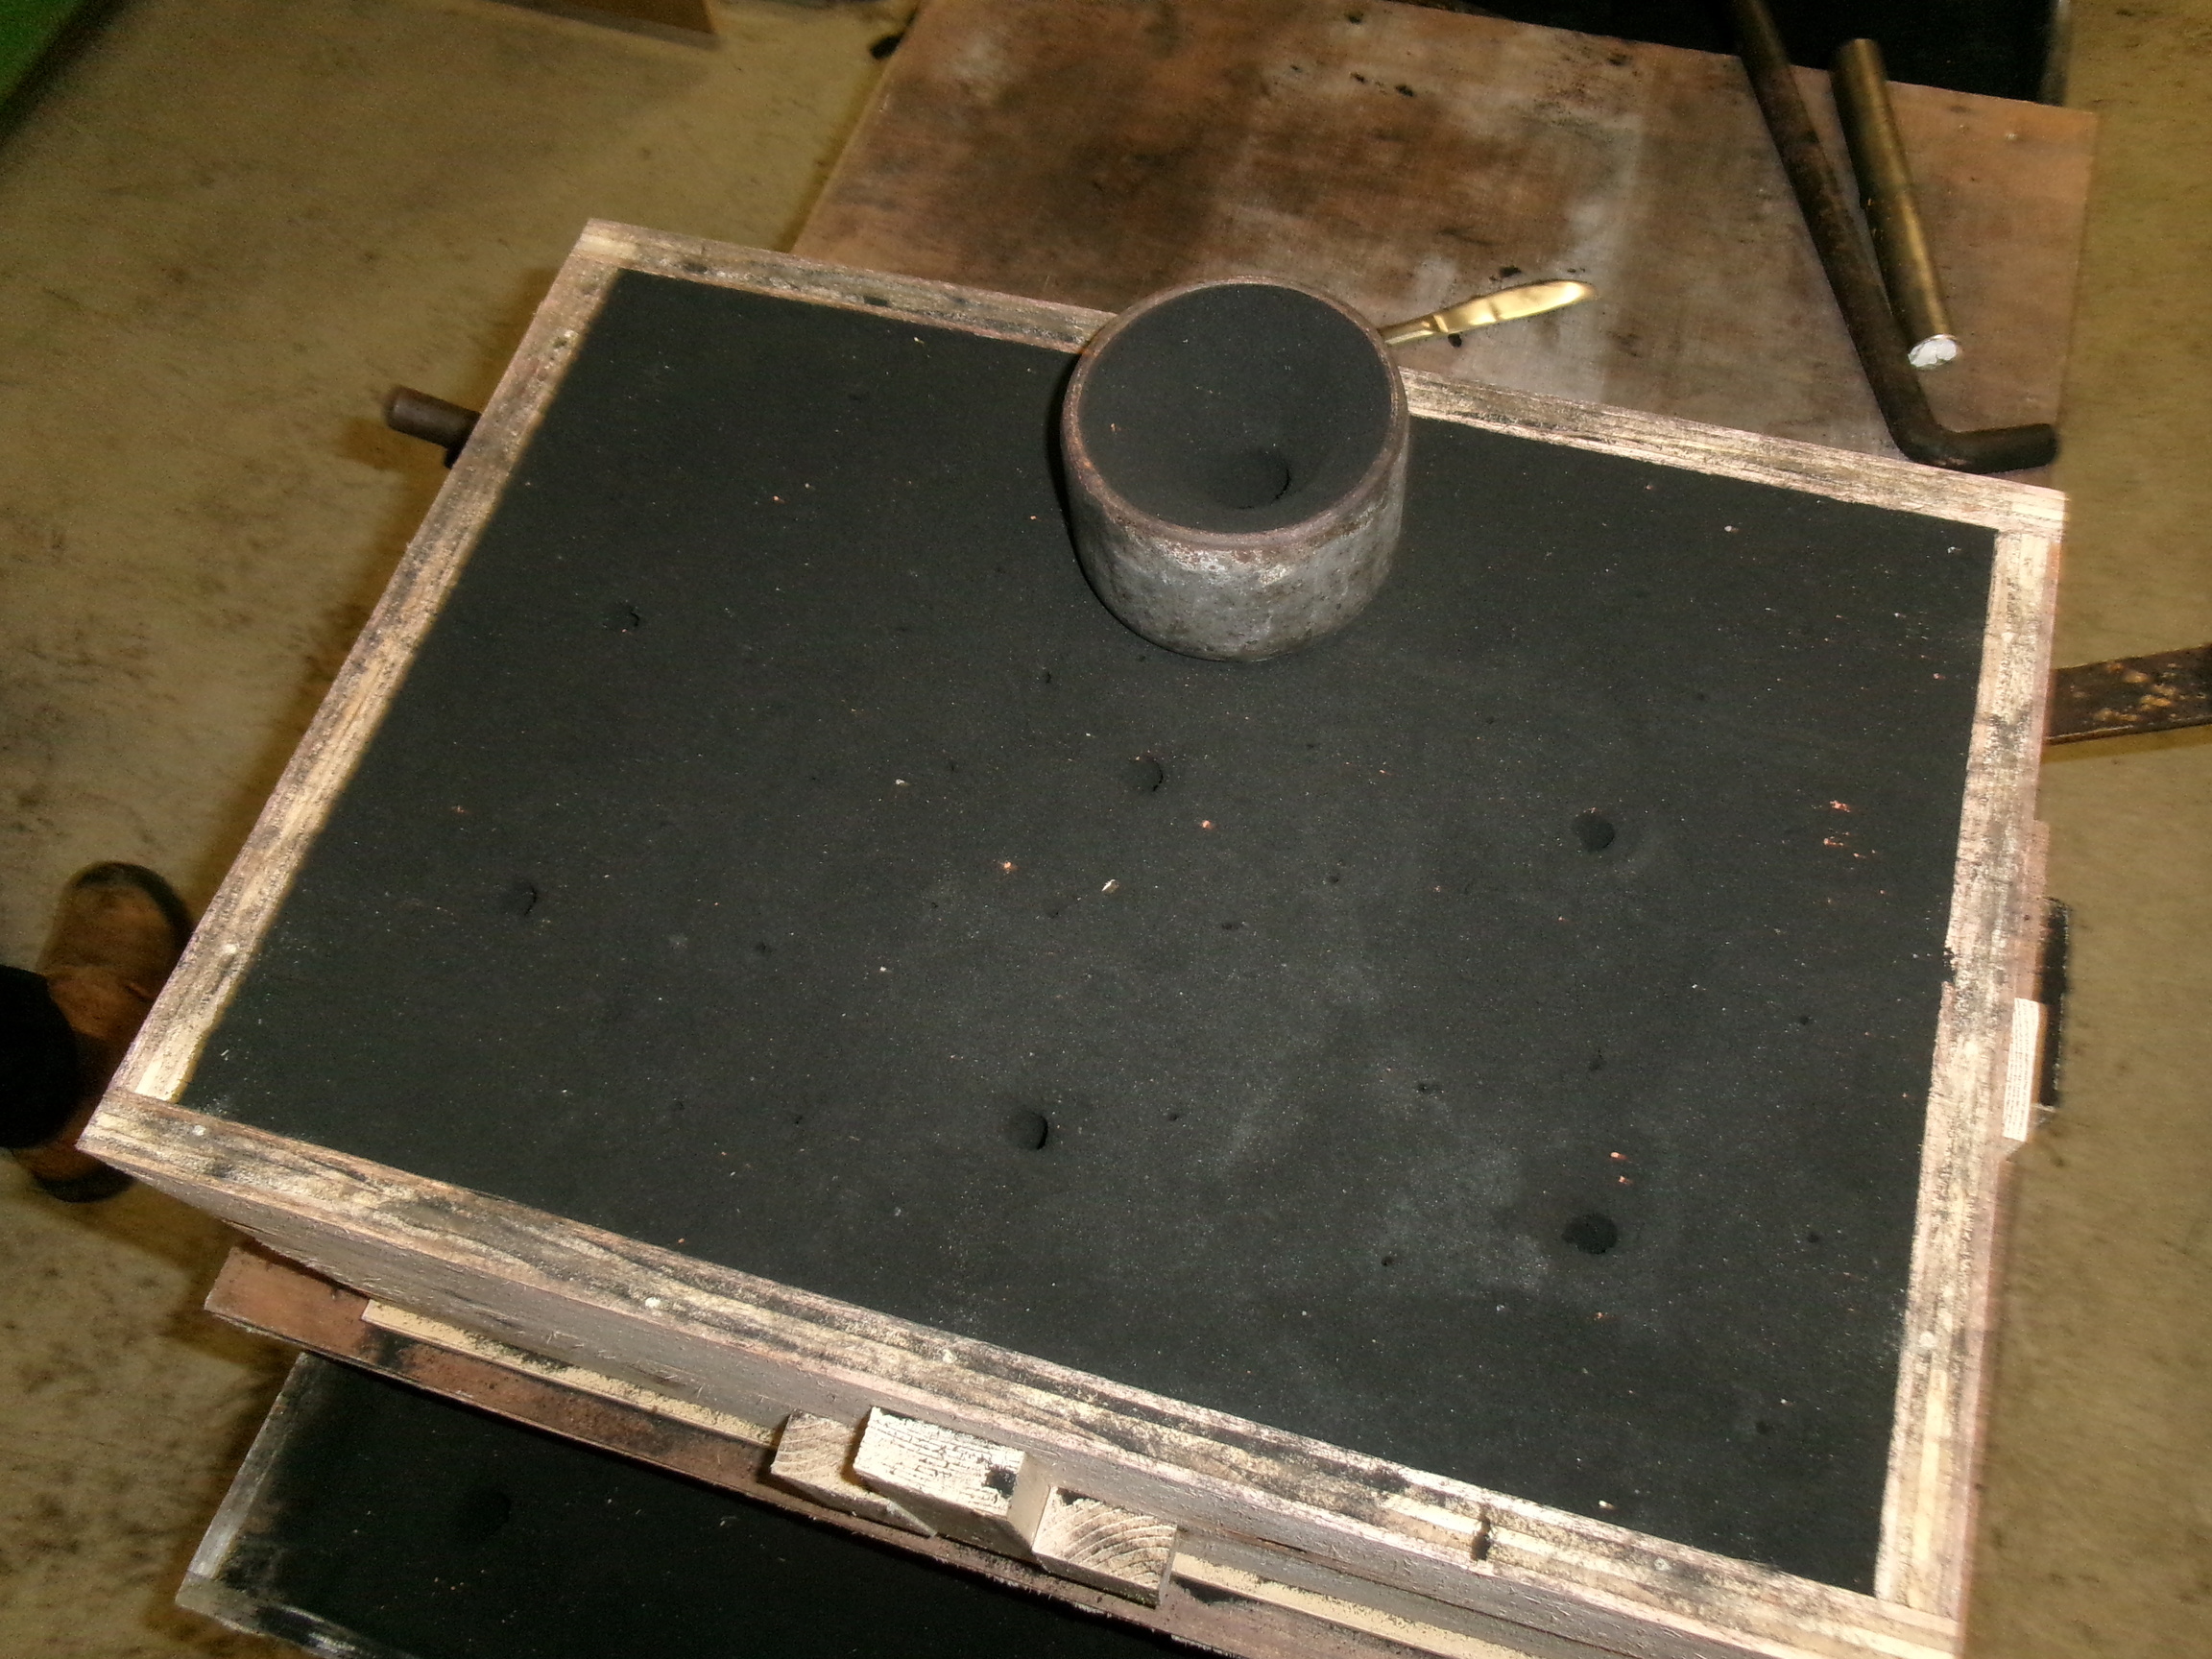
The top half is filled and packed with black sand. The pipe and rods are removed, and gas venting holes are poked into the sand.
Barry screws a board onto the top half of the mold, so that it can be flipped easily without disturbing the sand.
The top half of the mold is flipped over.
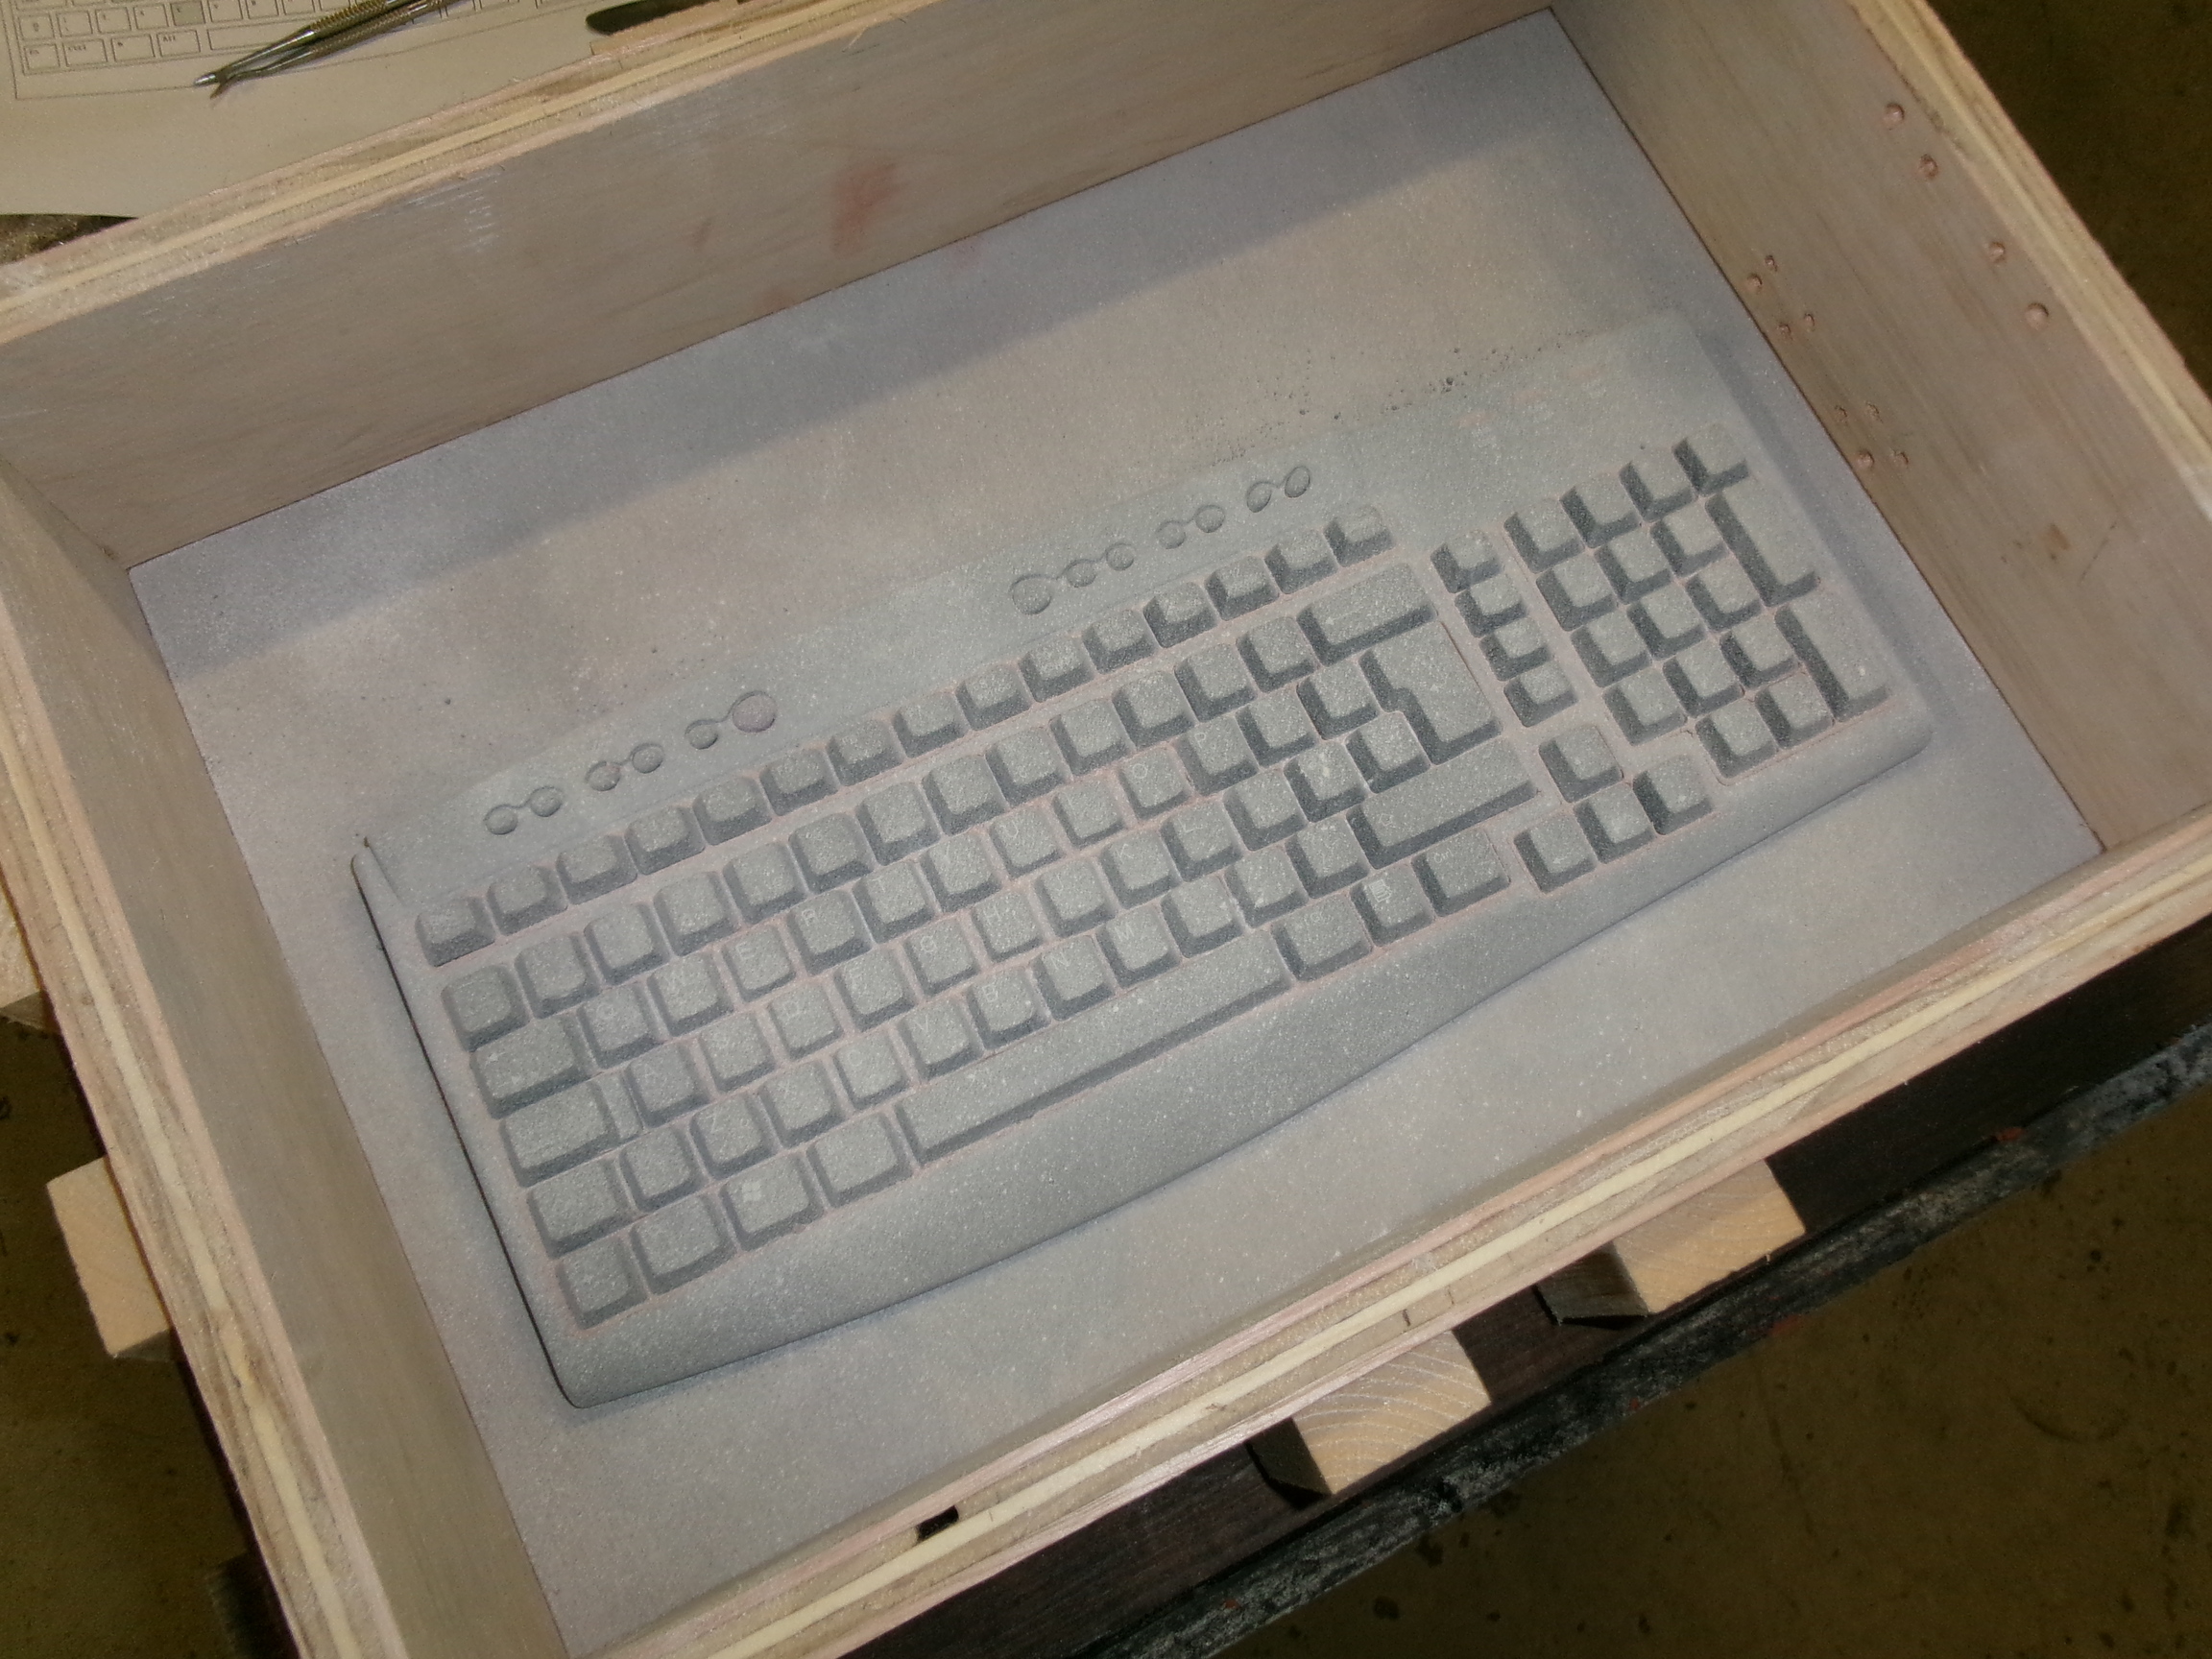
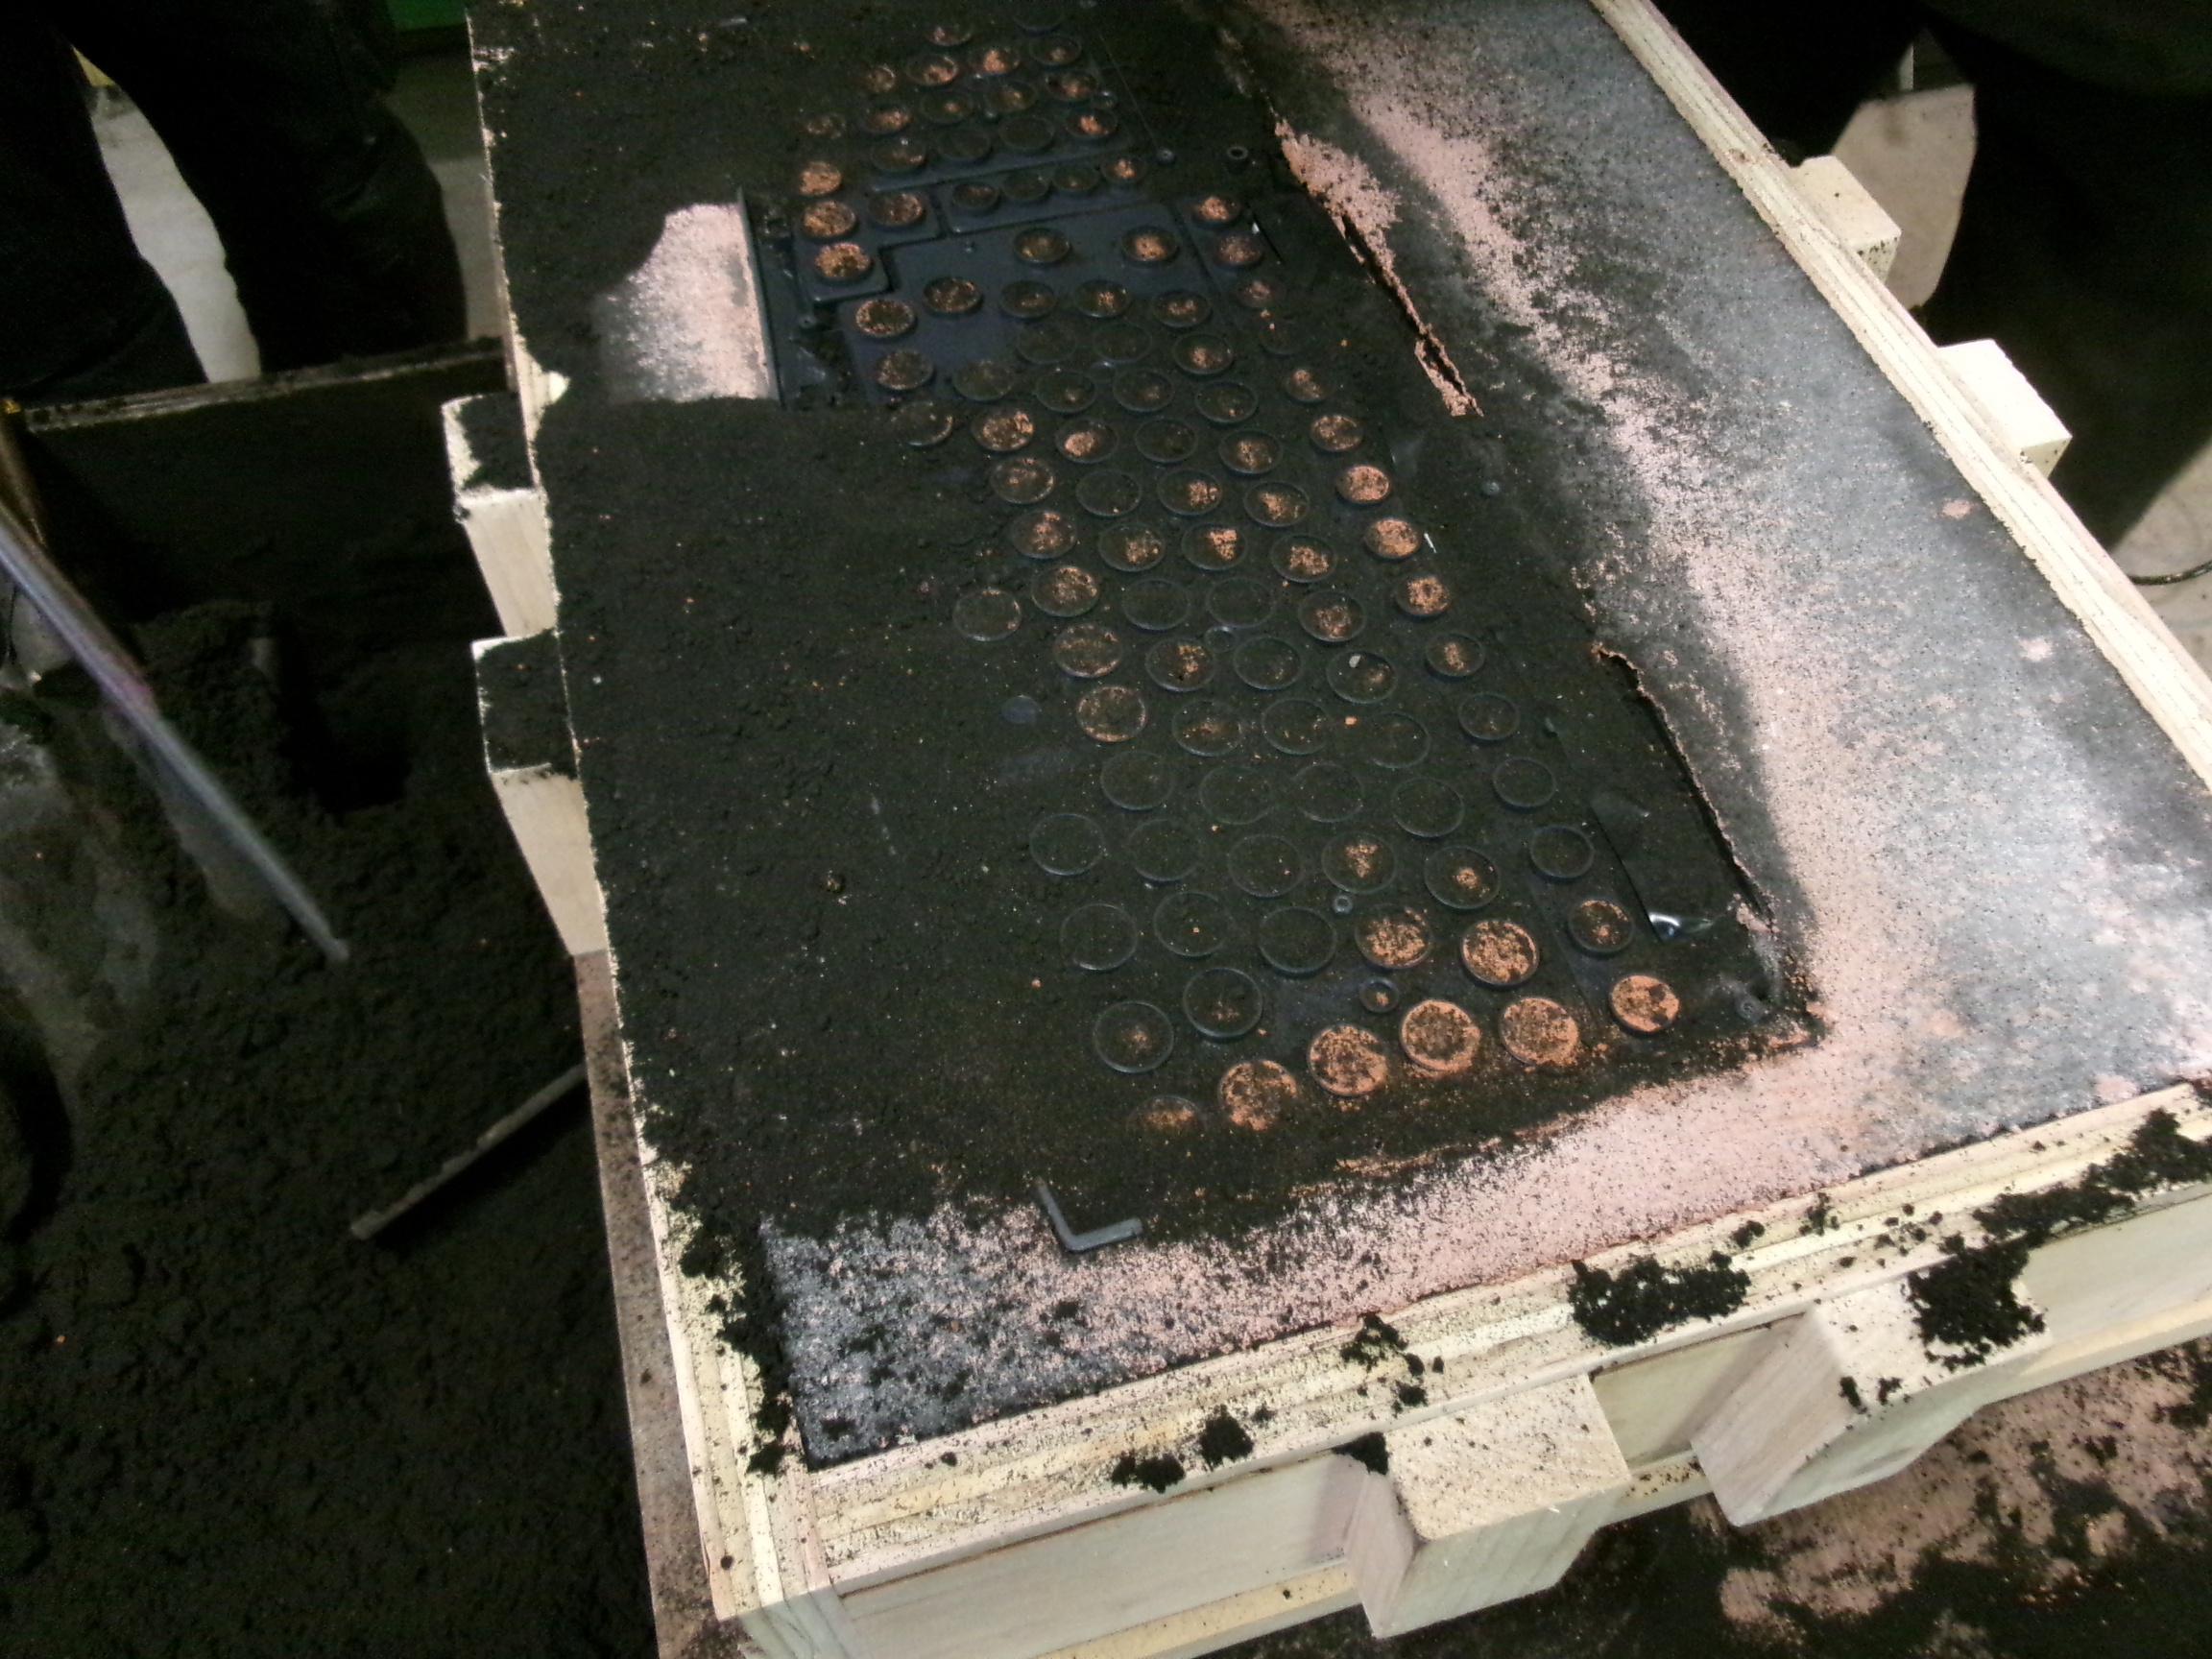
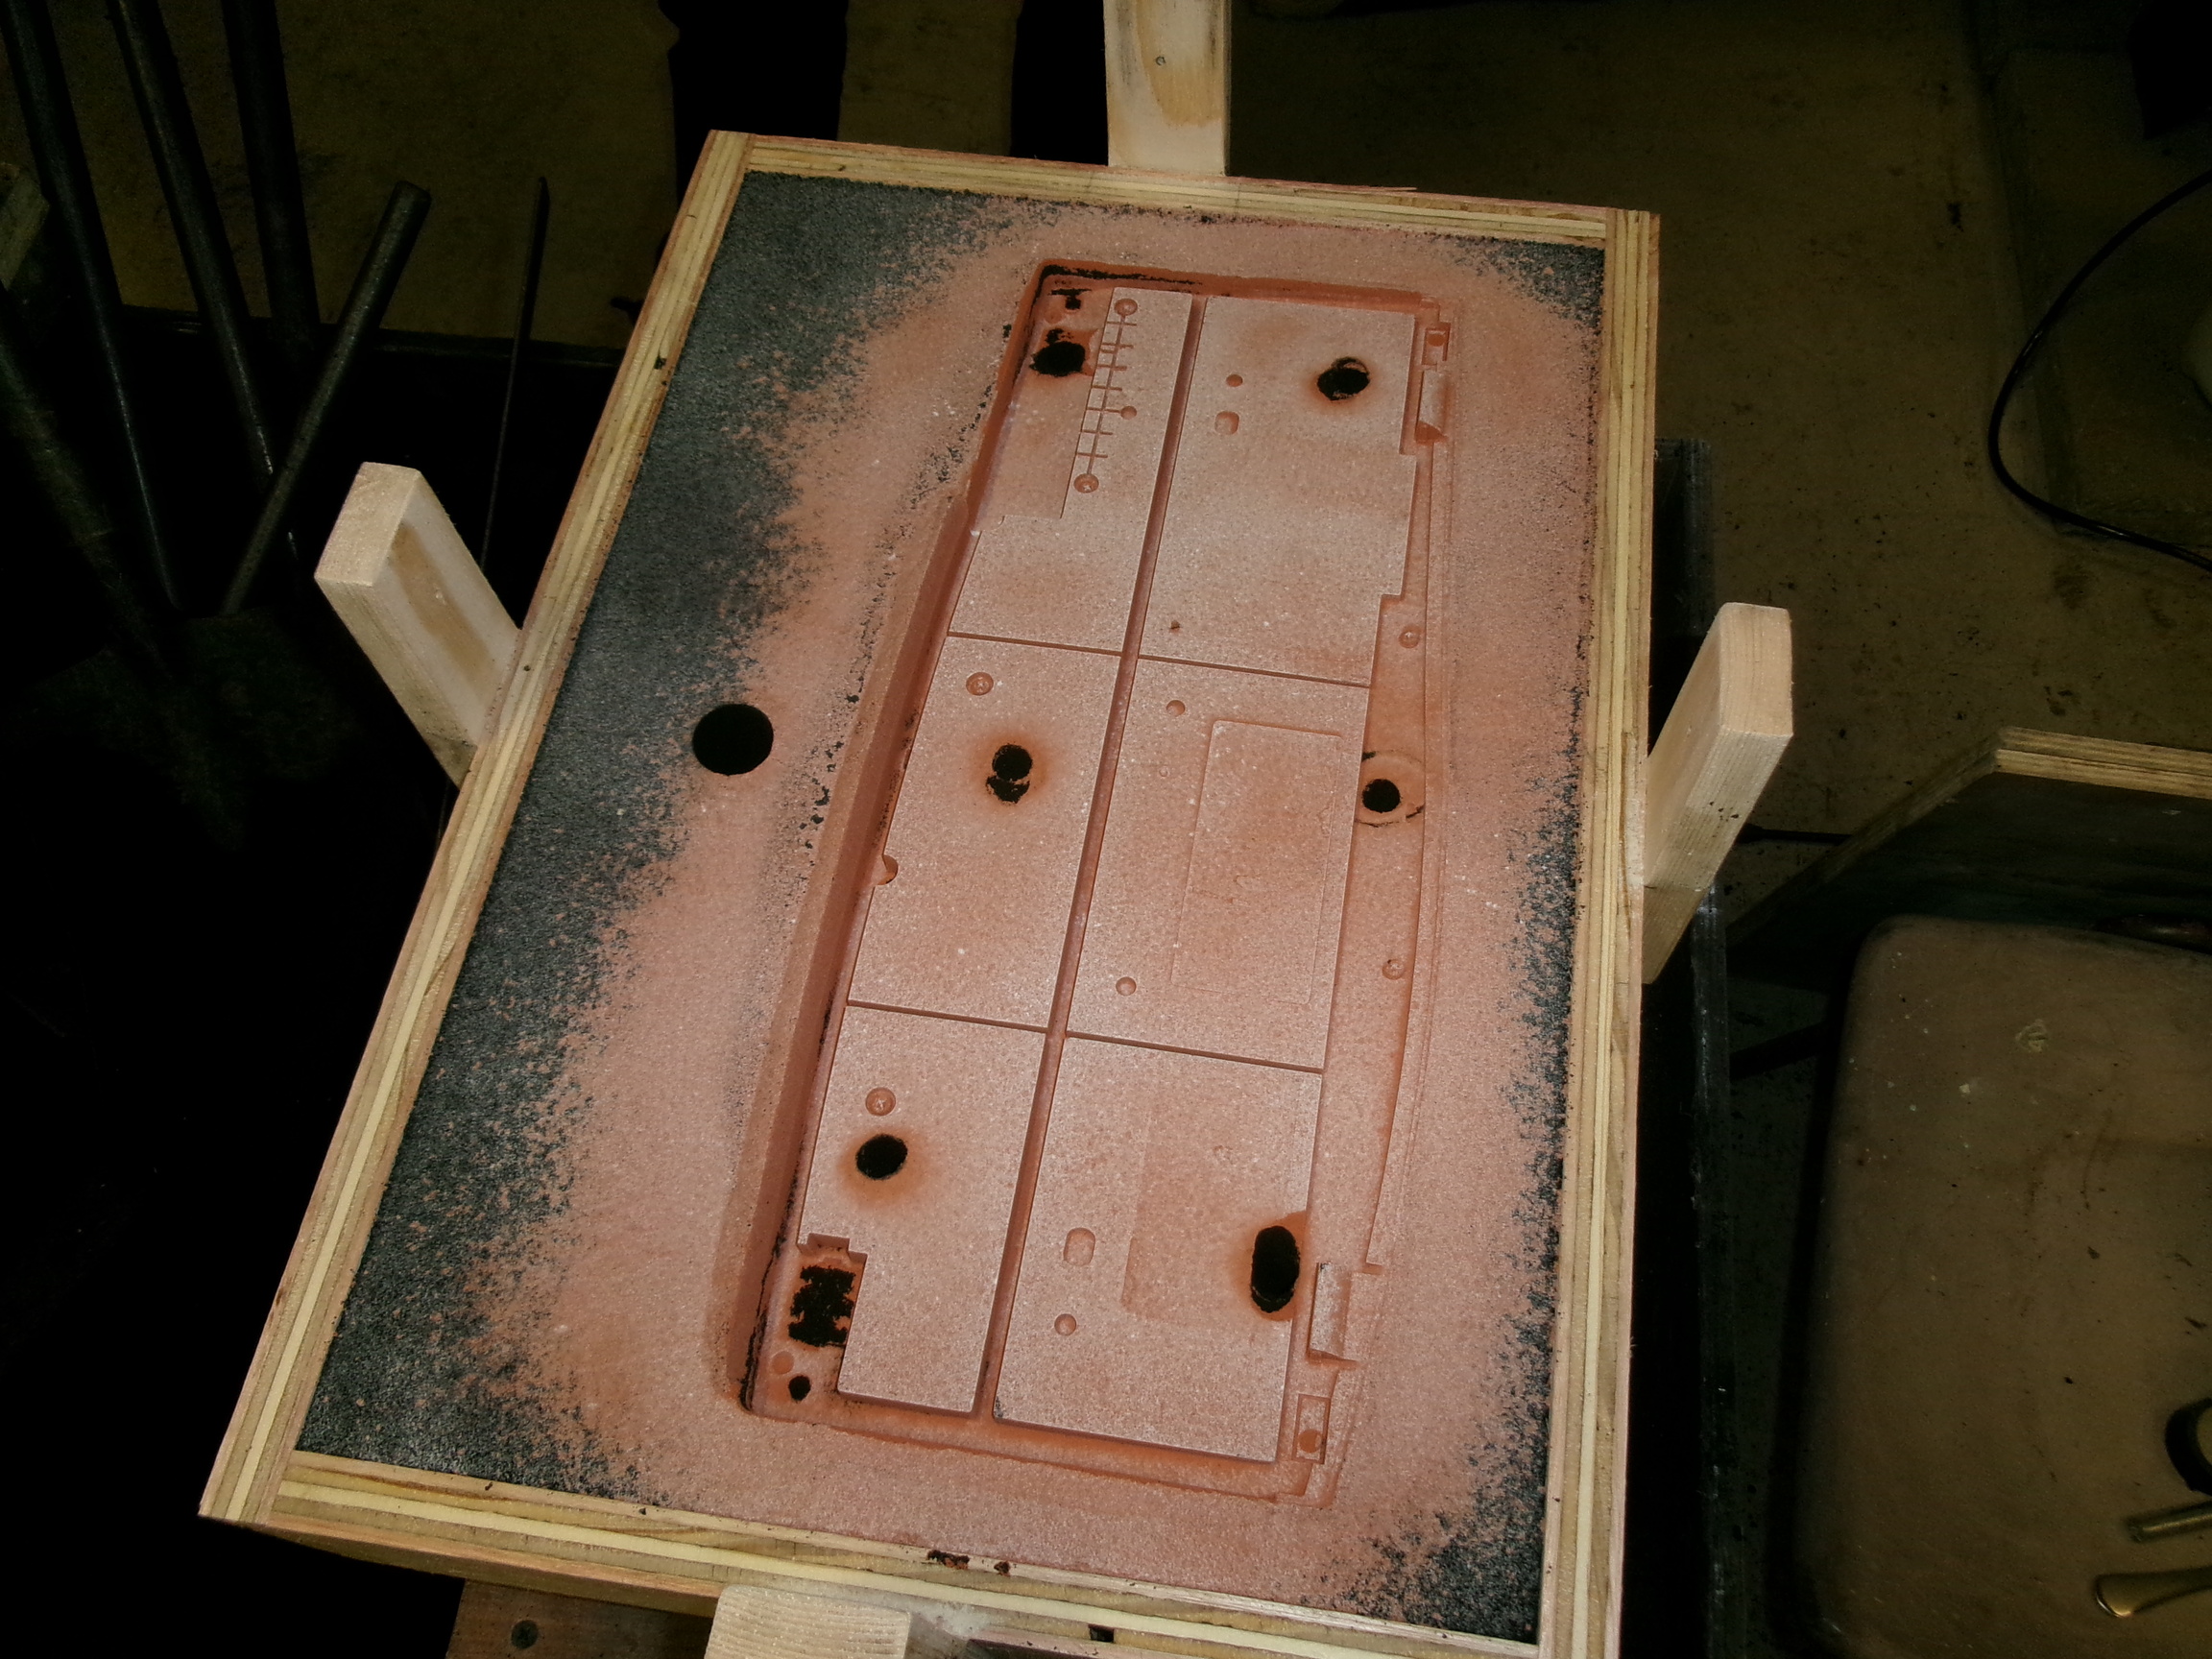
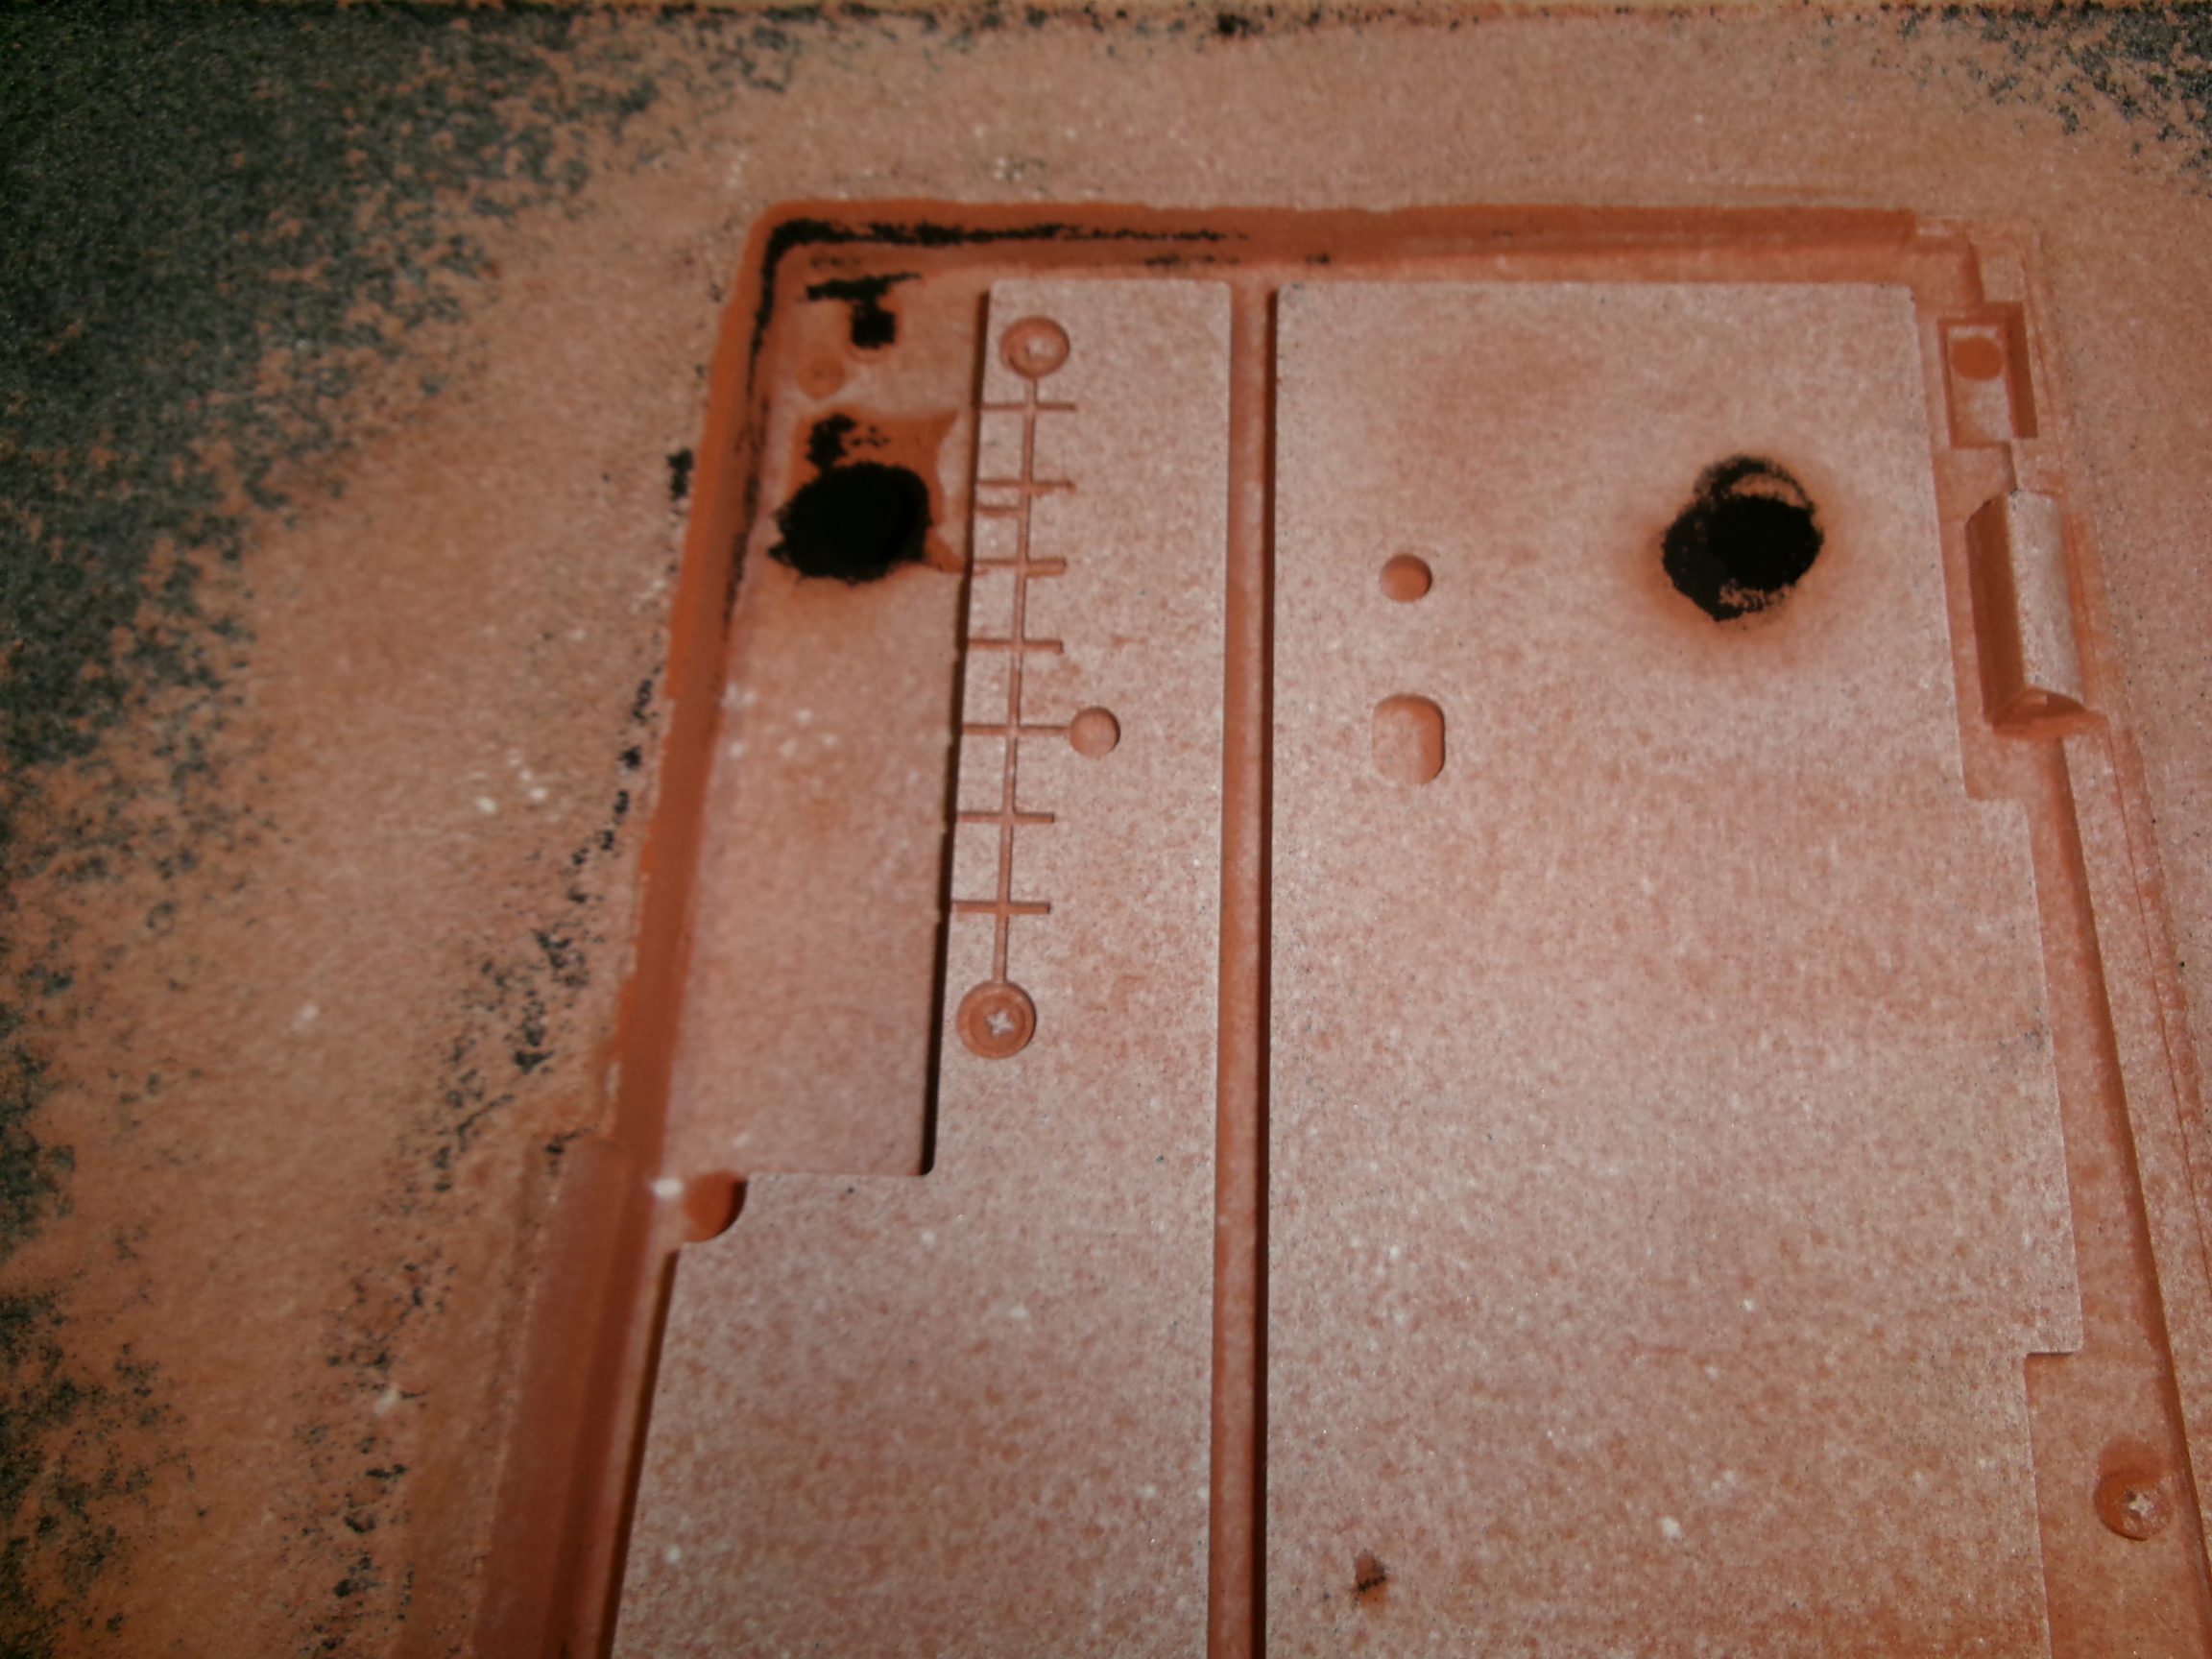
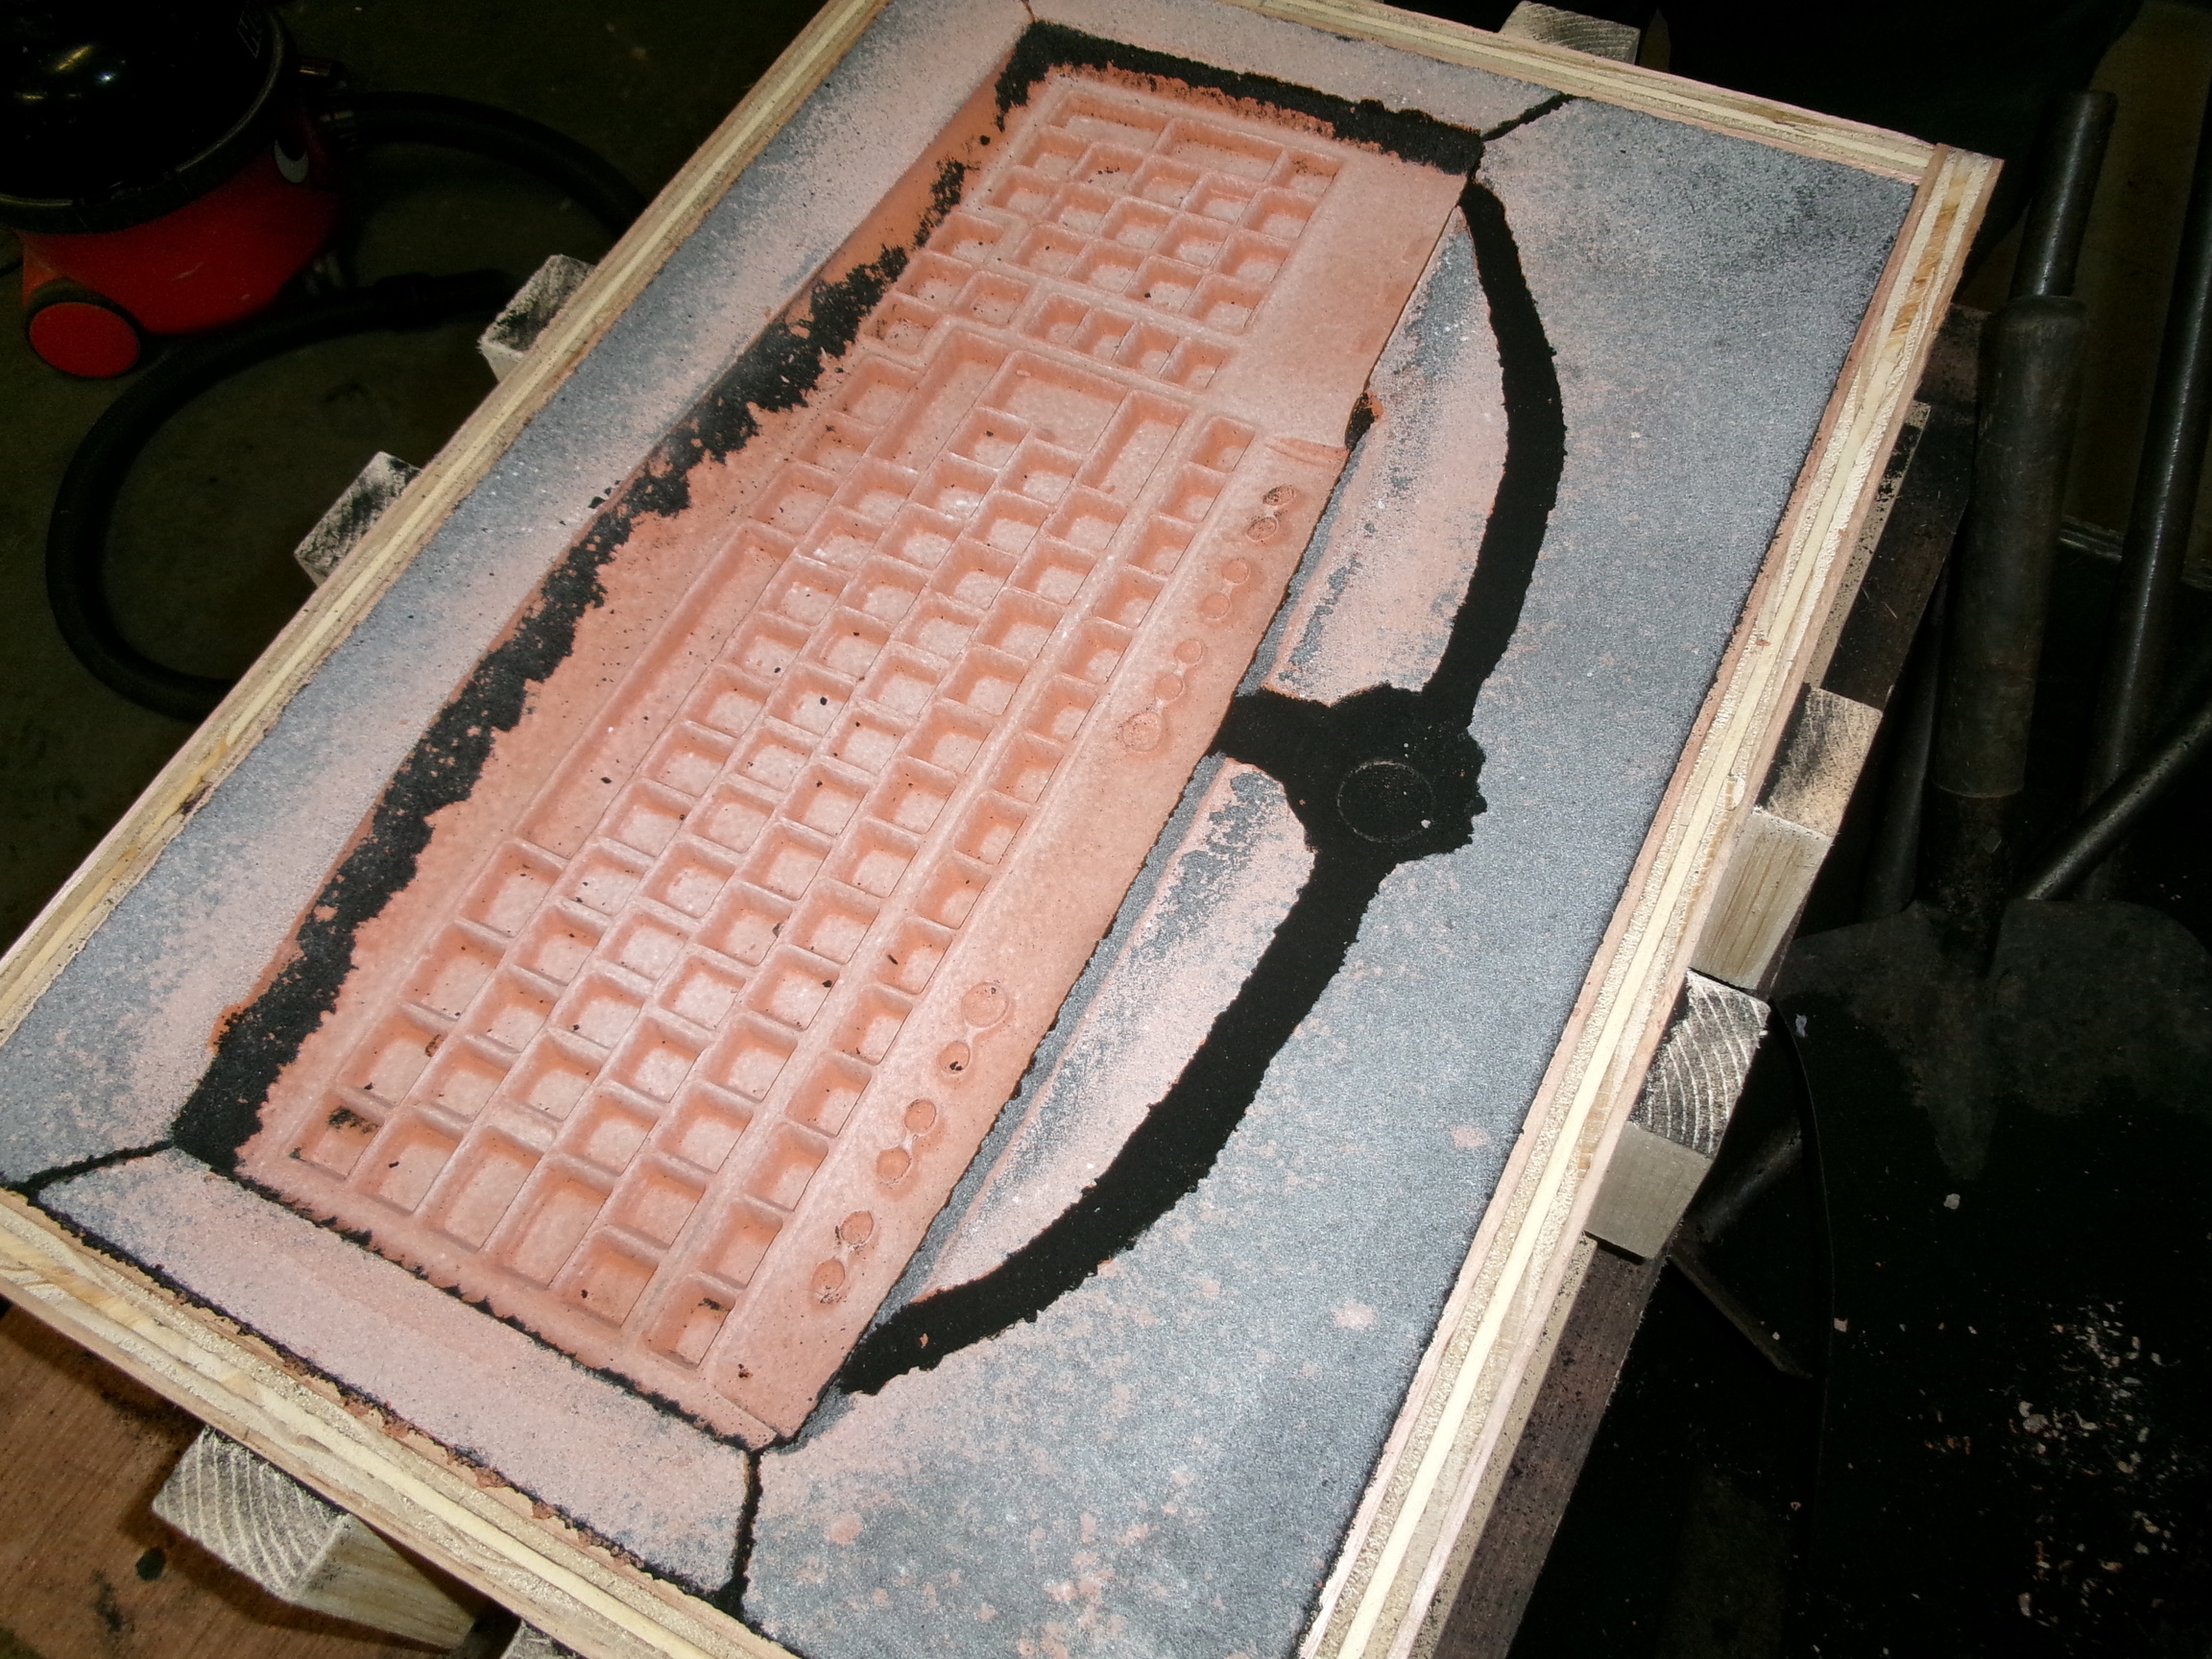
The orange oily sand has made a clear impression.
To remove the keyboard easily, long screws are placed into several screw holes. The keyboard is lightly tapped with a breadknife so that it will release cleanly.
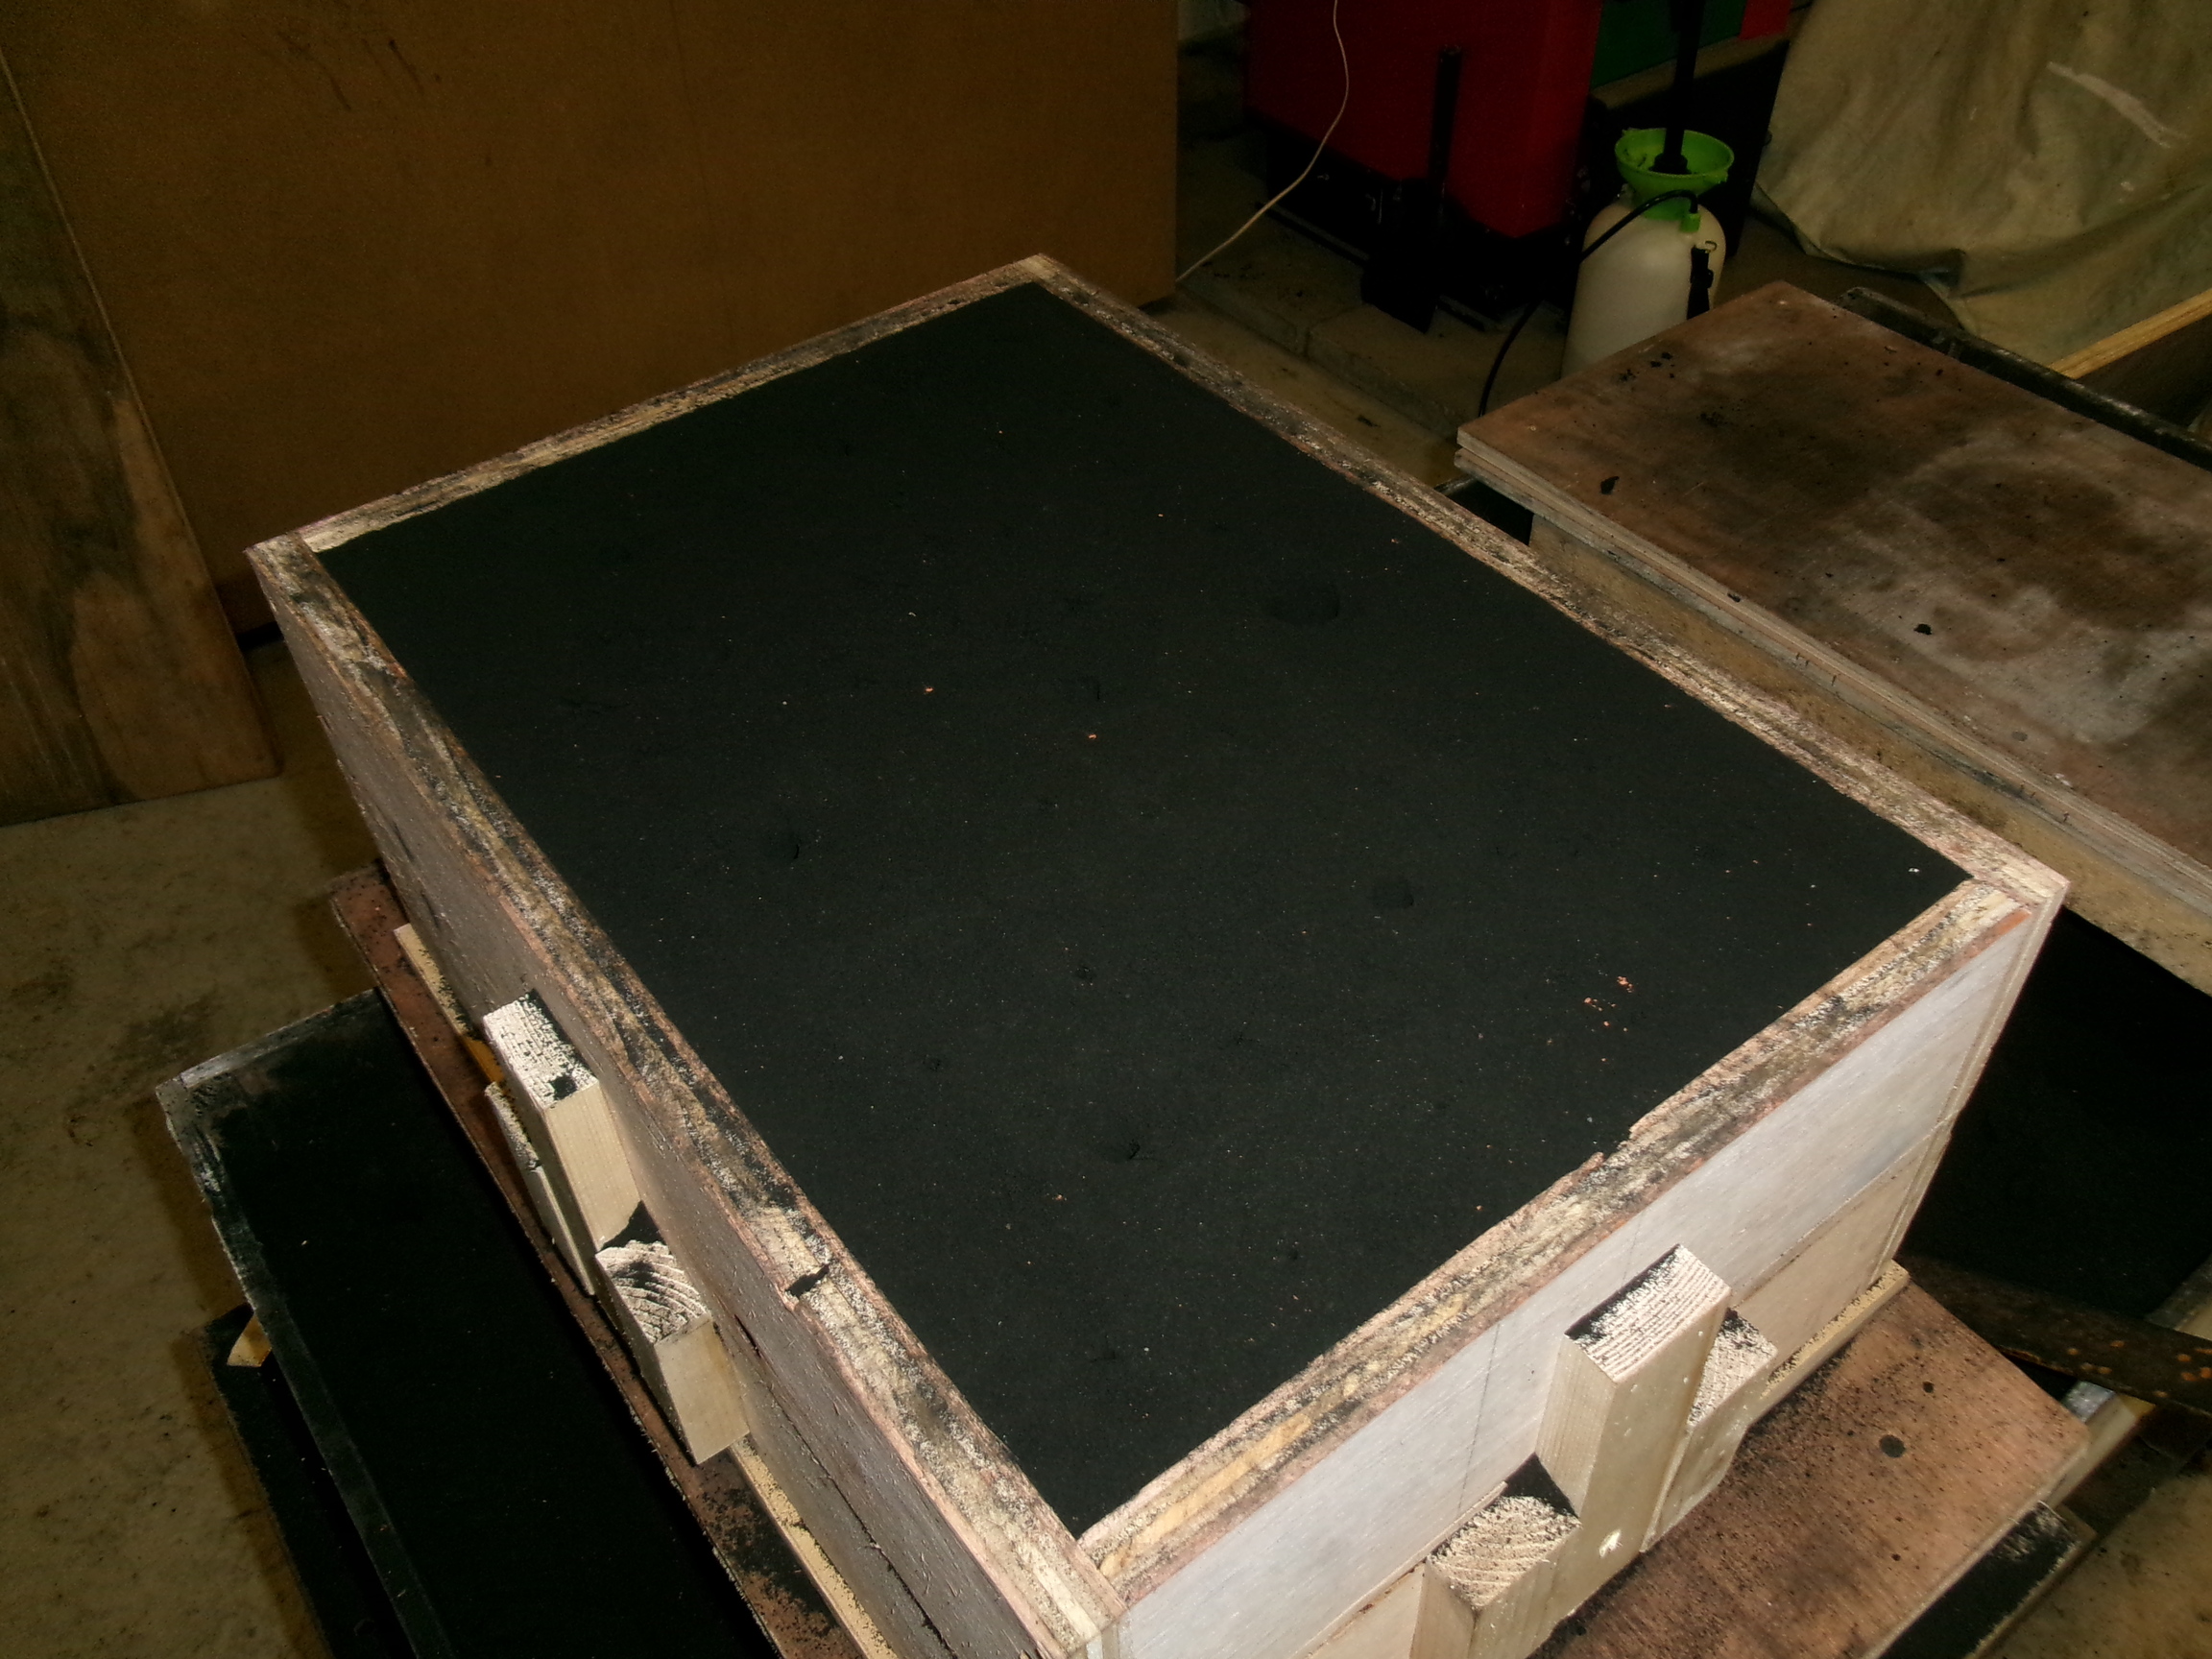
The top half of the mold has a clear impression in the sand.
James carves channels and a reservoir into the sand for the aluminium to flow. He uses a piece of aluminium cut from a soft drink can.
The top half of the mold is gently flipped back over on to the bottom half. A pouring cup is packed full of sand, bored out and placed on top of the box, in alignment with the pouring hole going into the mold.
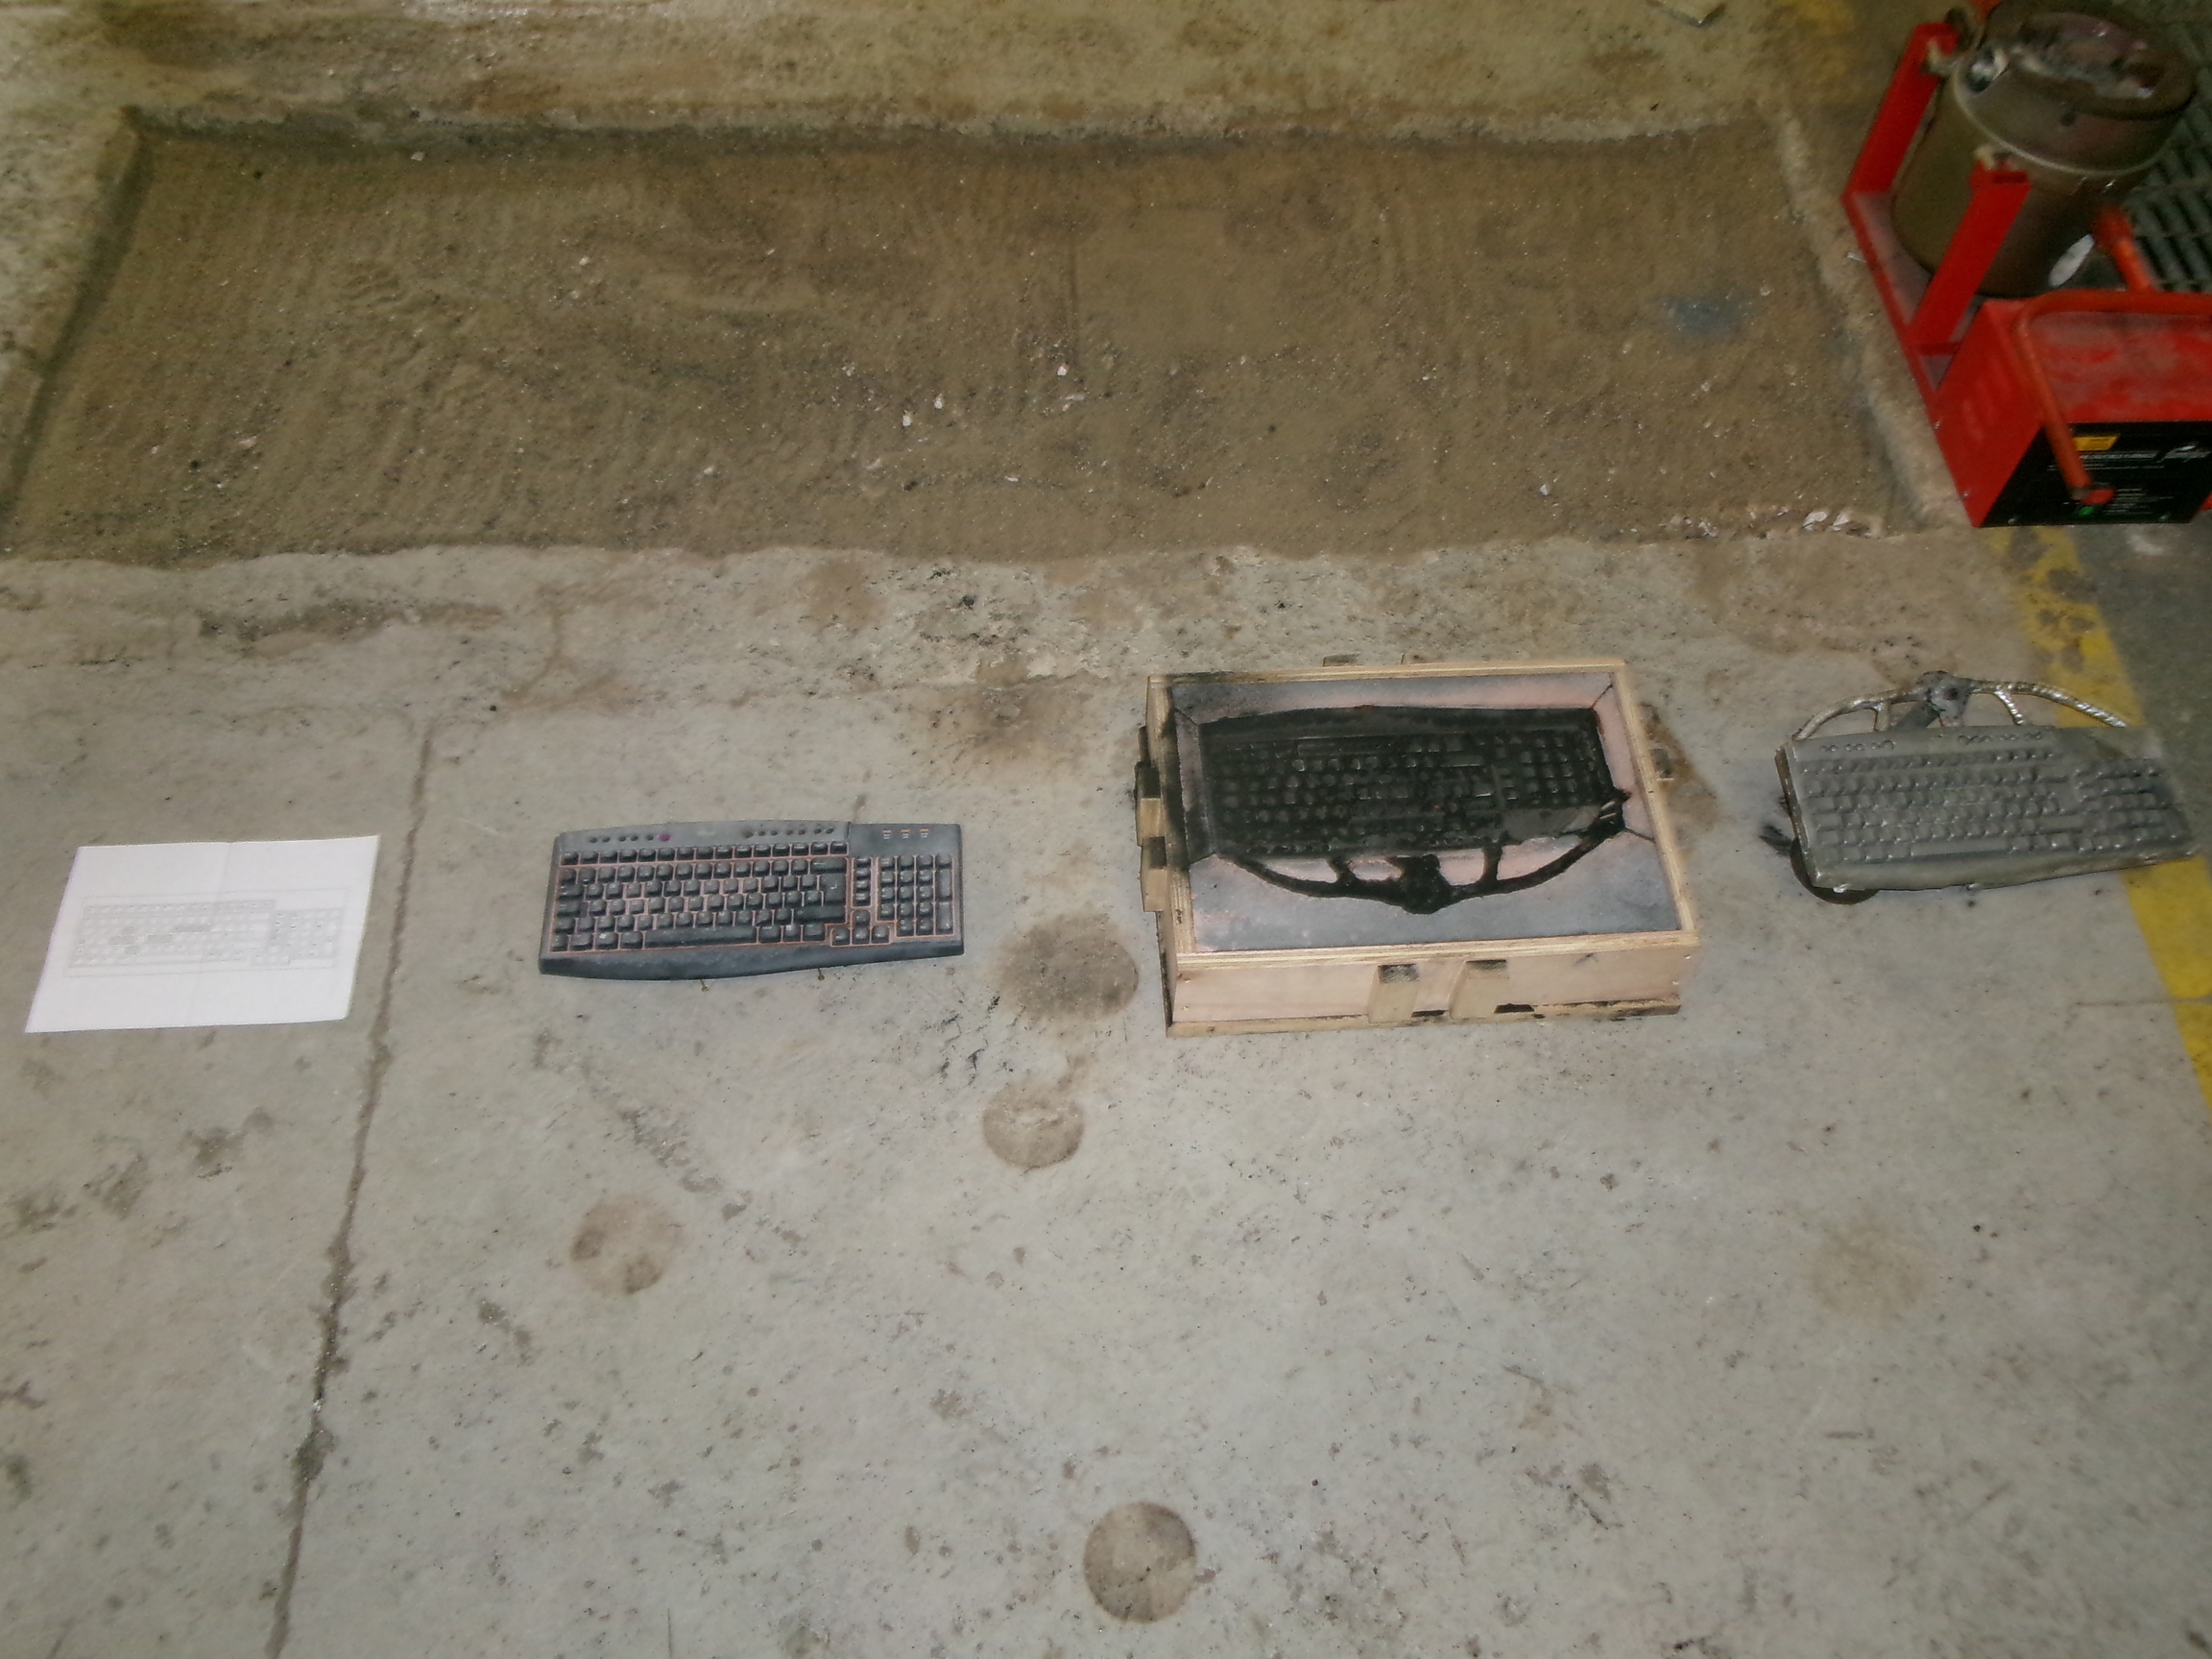
The keyboard, removed from the mold, next to the schematic diagram.
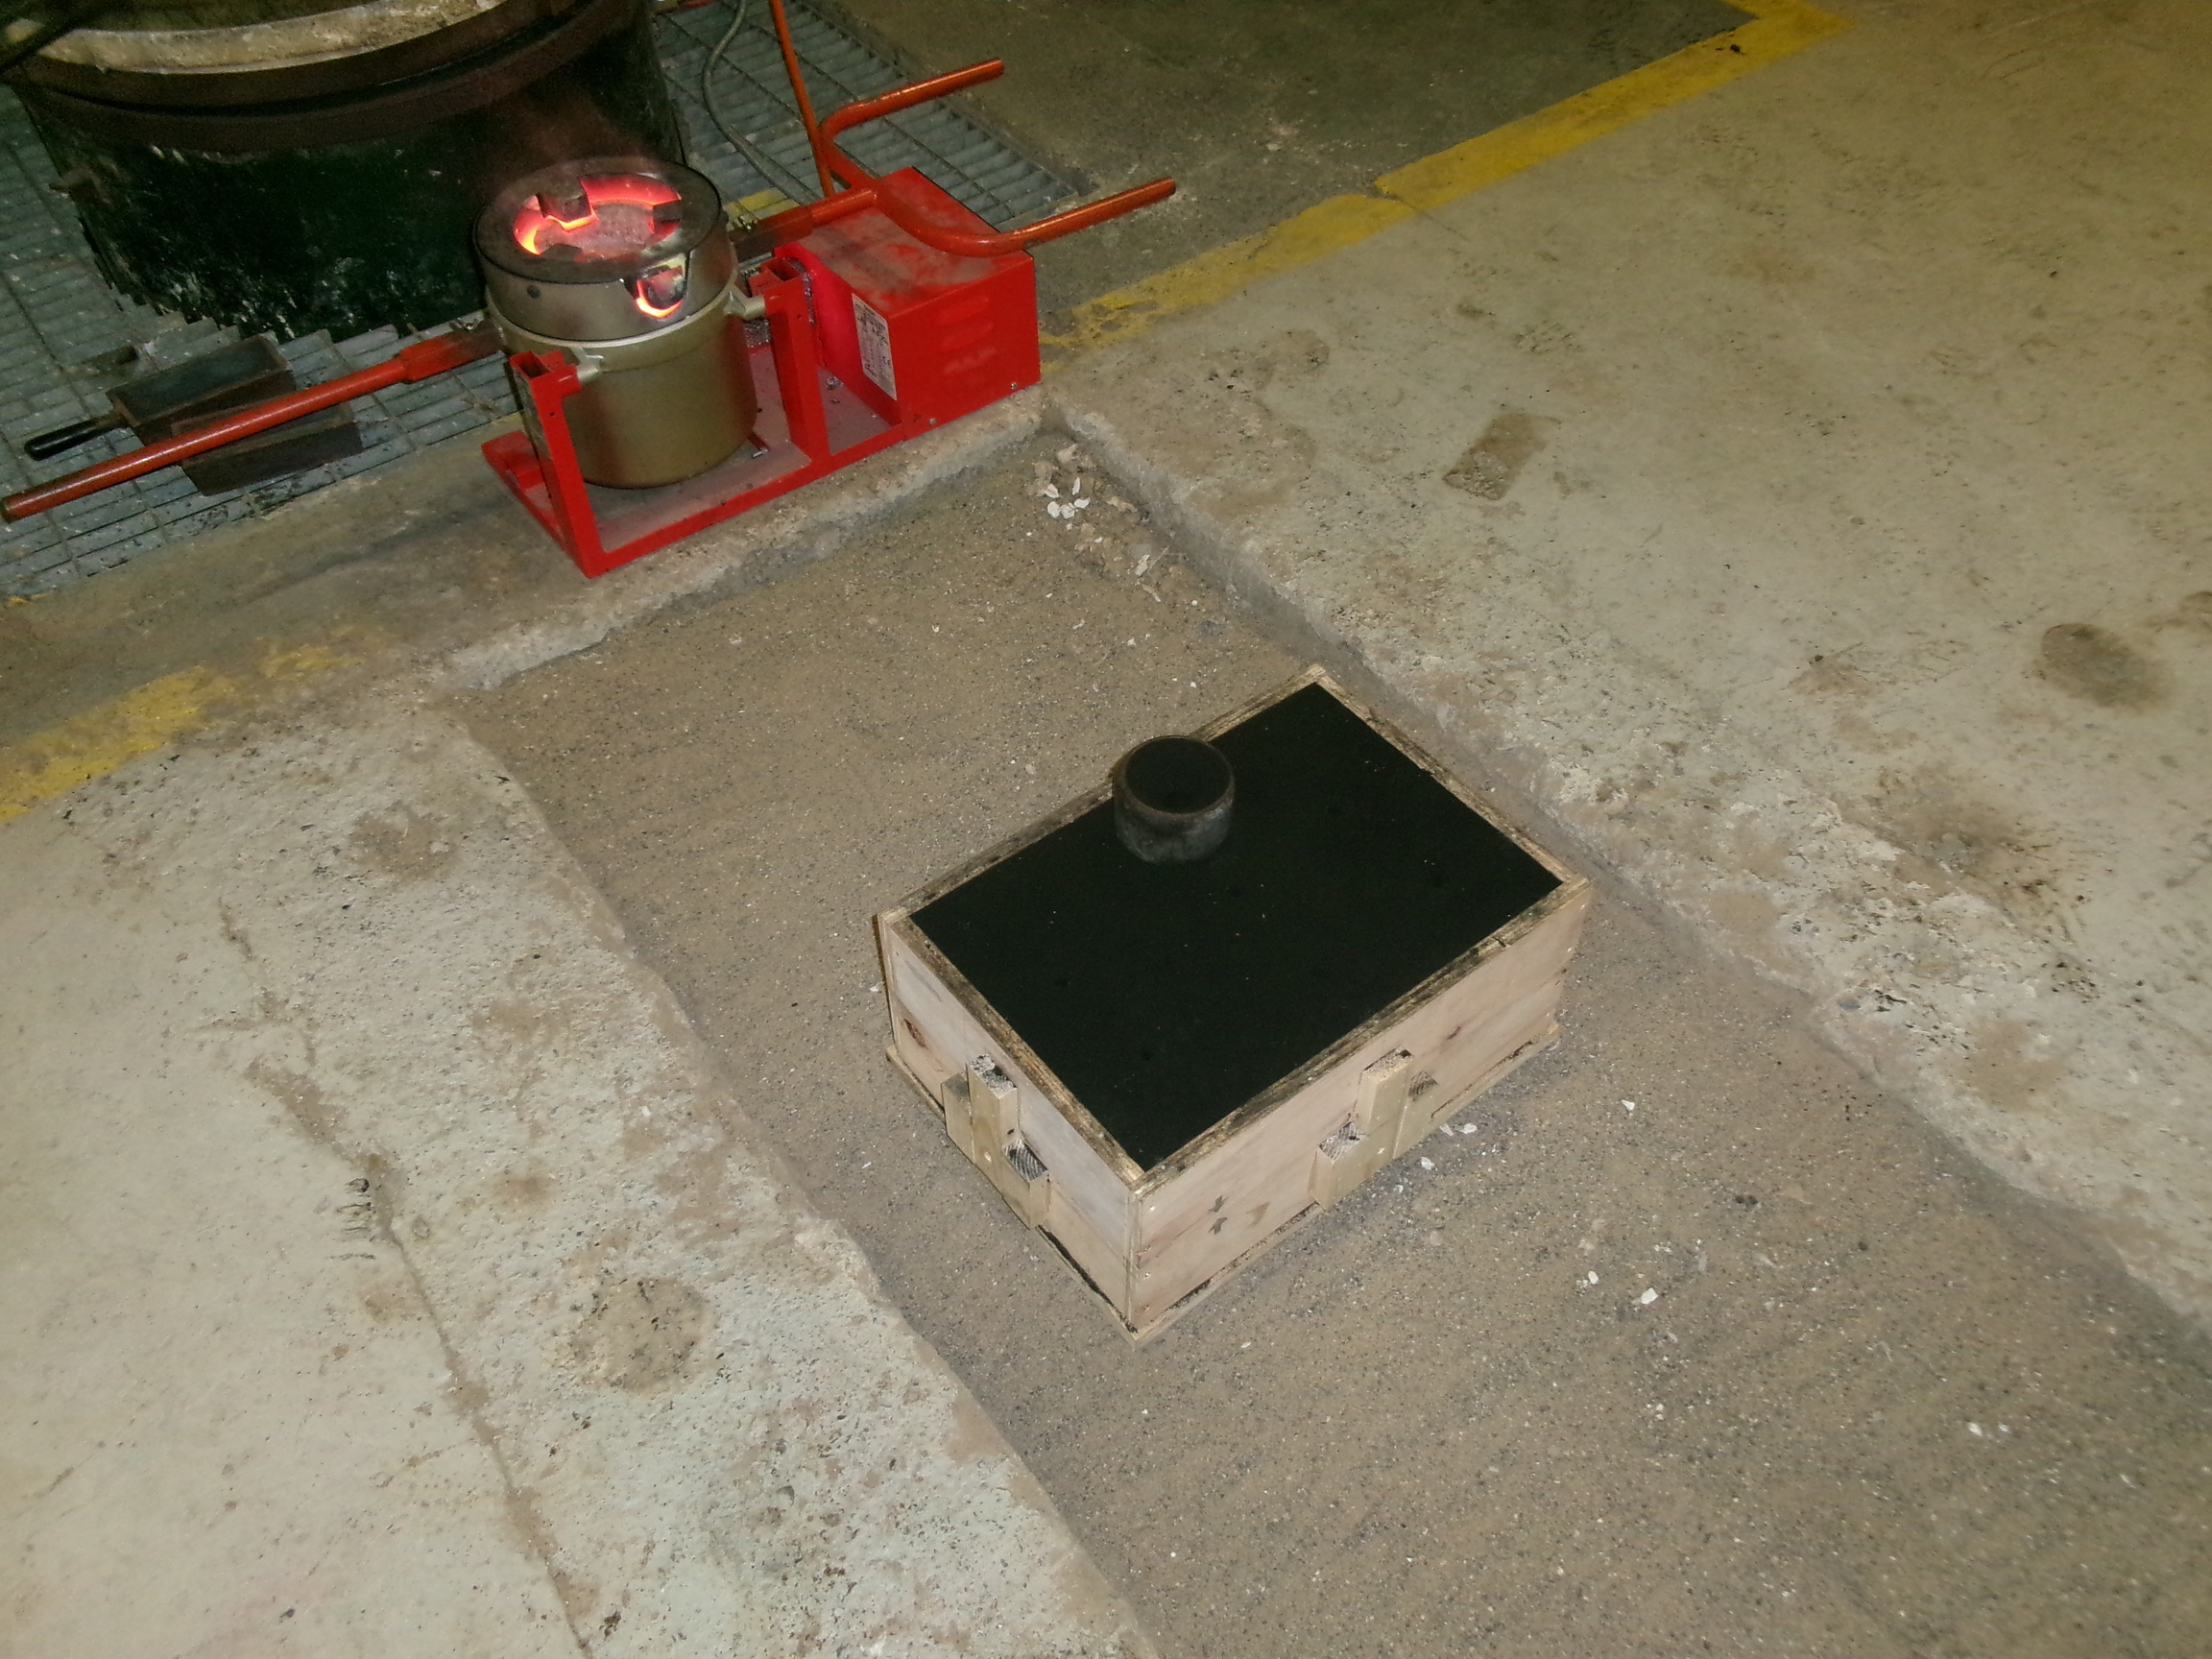
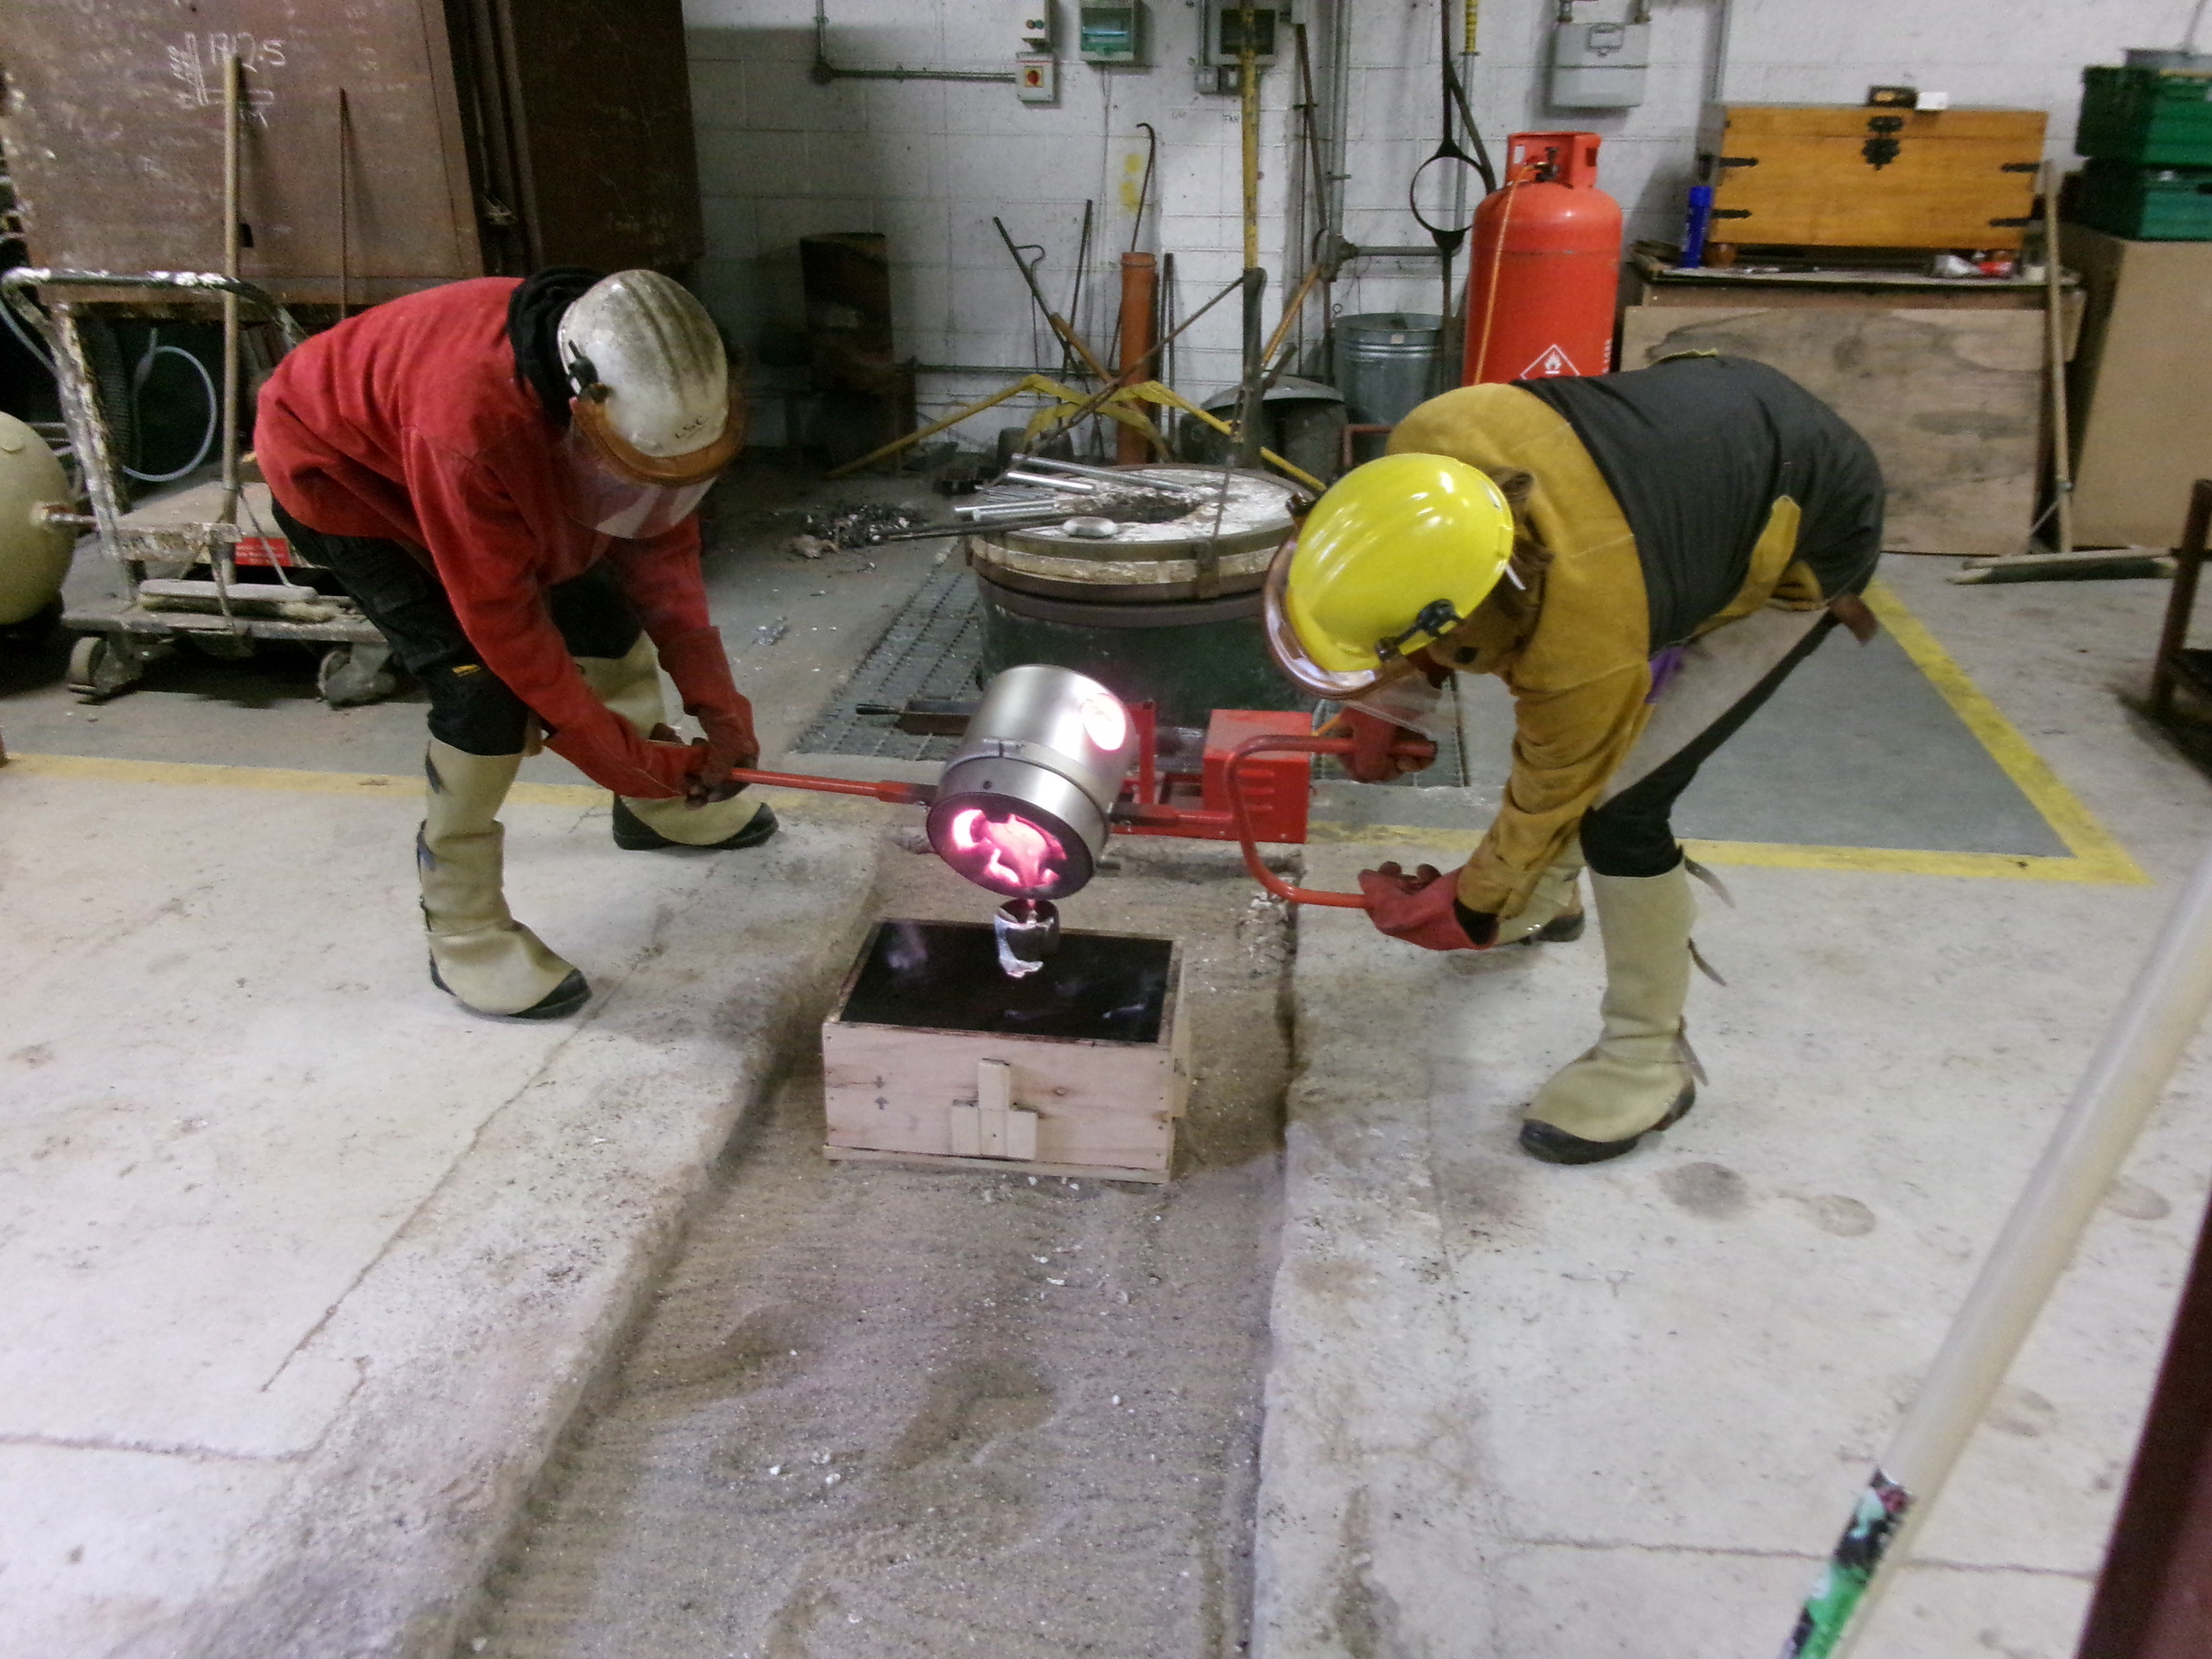
Aluminium is being melted in a crucible, a process which takes about an hour to get it to a stage when it can be poured. The mold is placed on sand near the crucible, which is almost full to the brim with molten metal. This casting will take two pours.
The first pour in action.
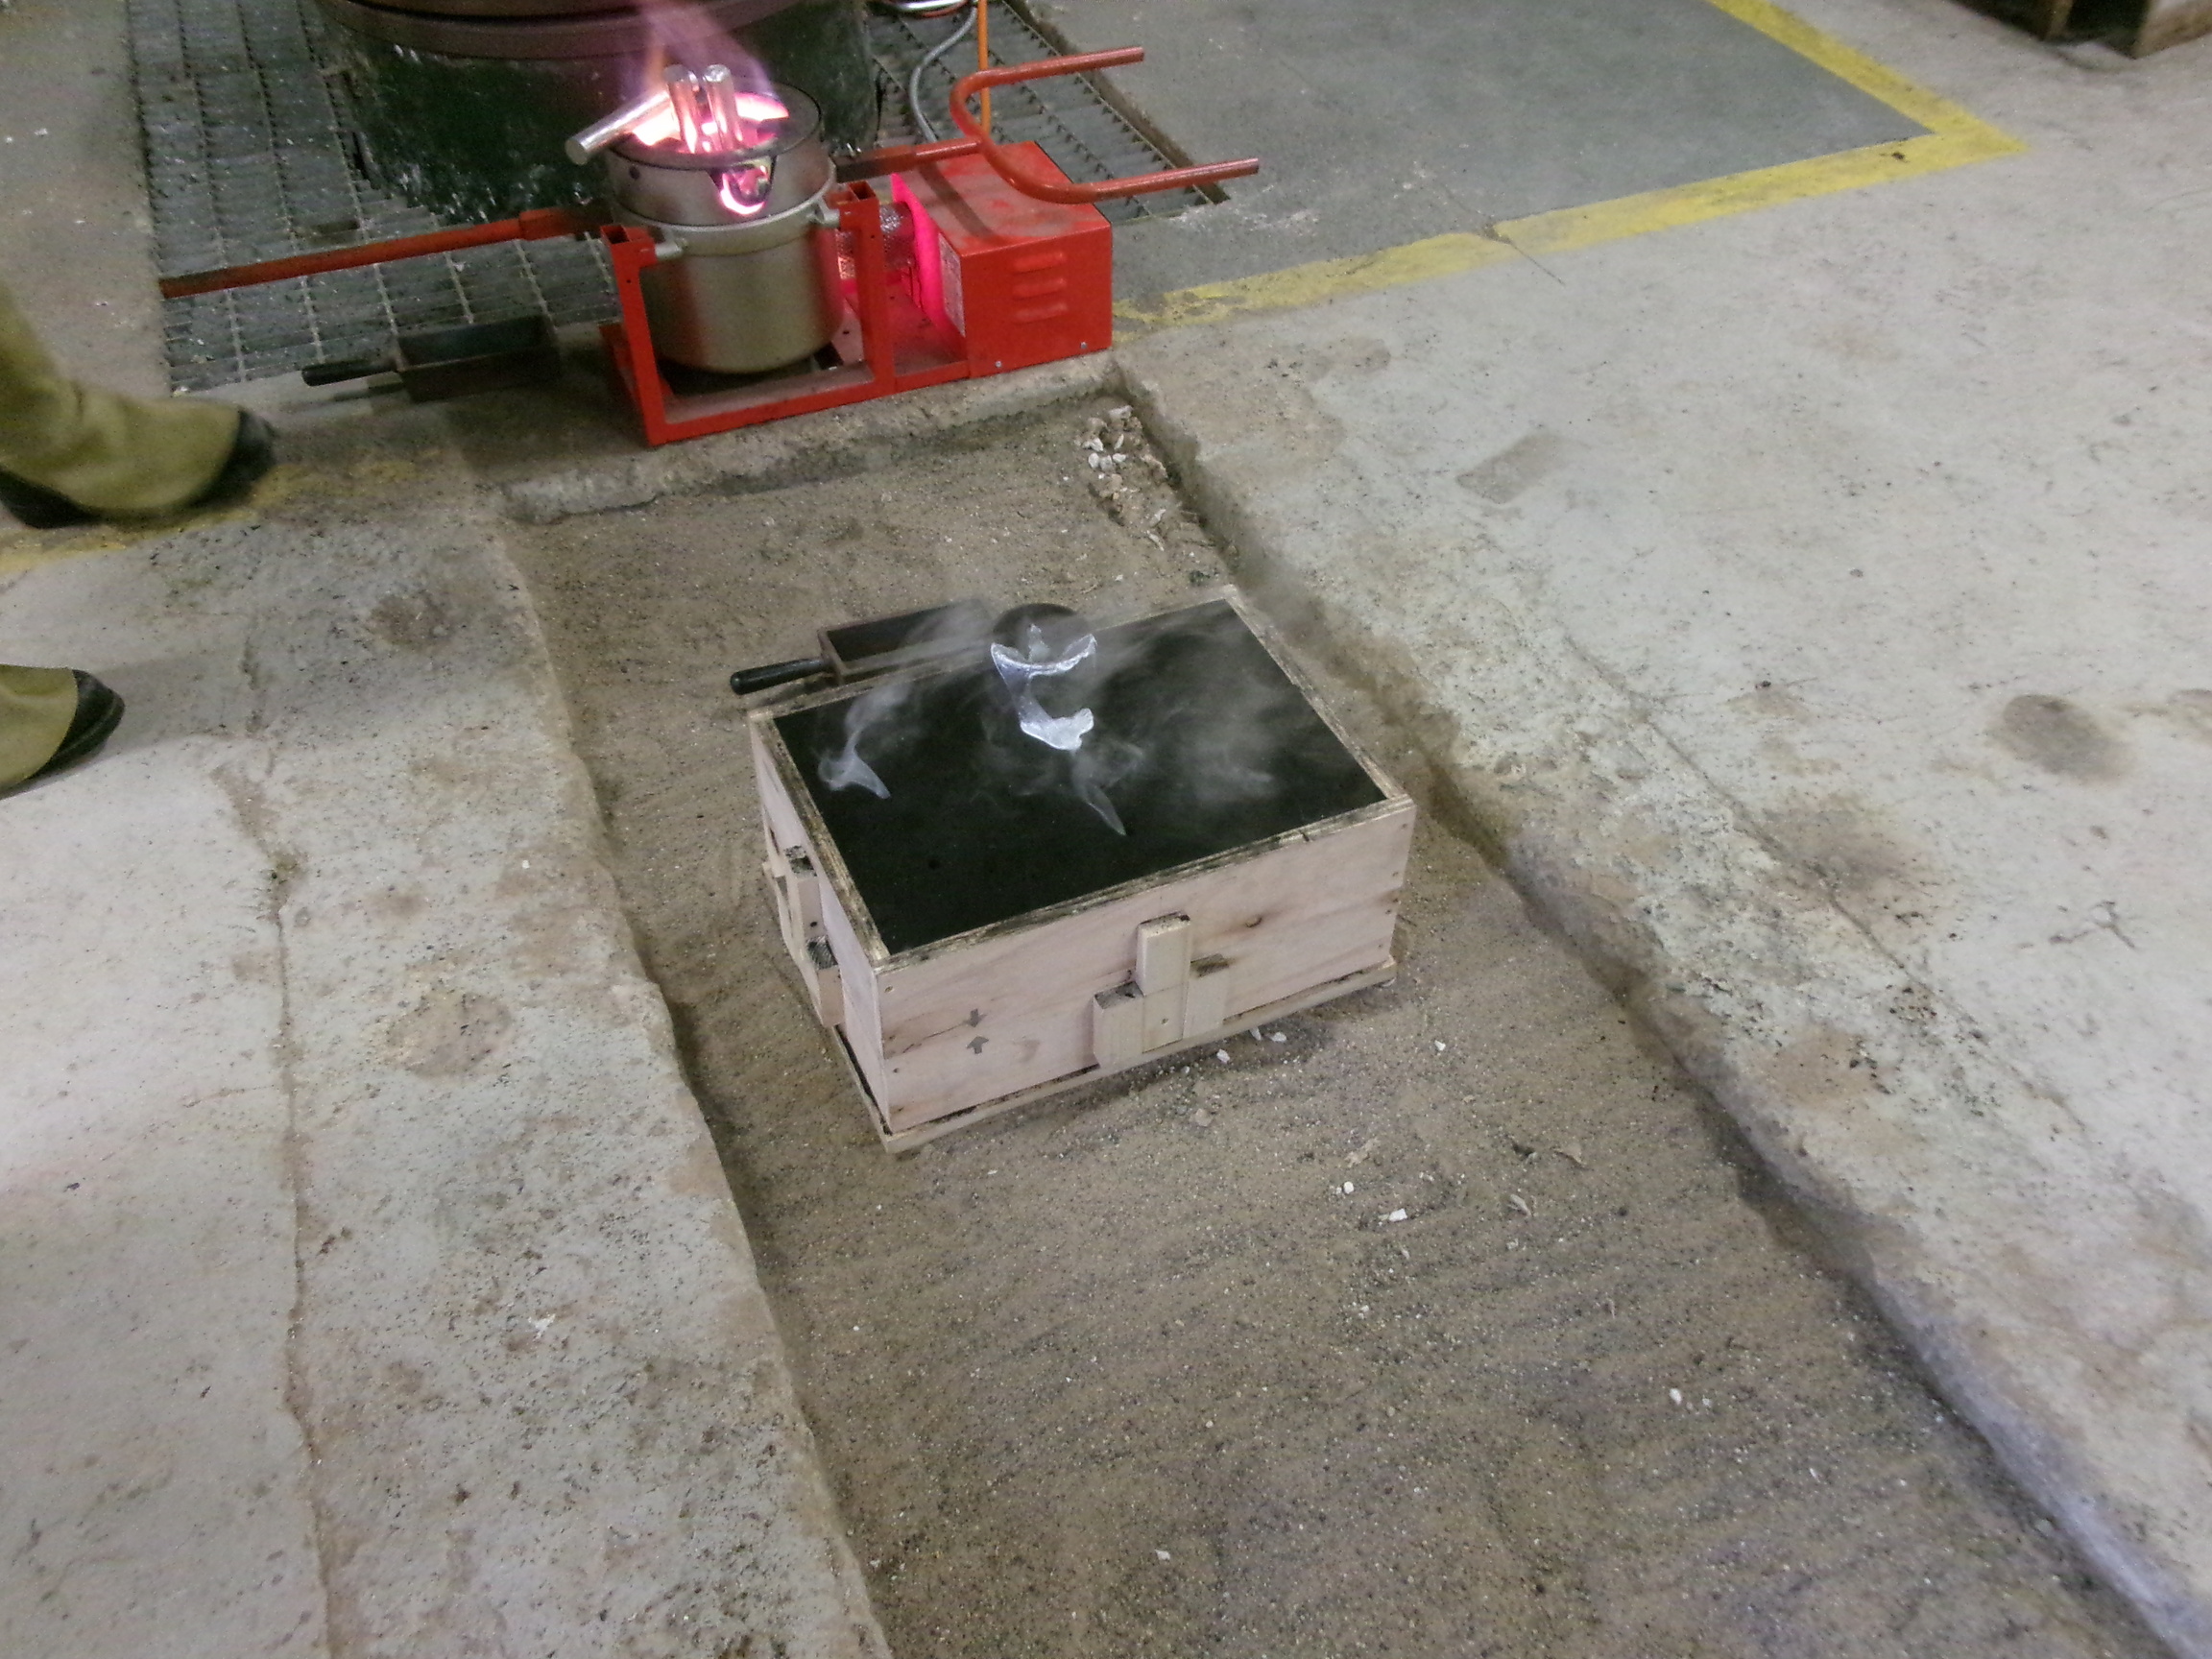
Gases escaping from the sand after the first pour.
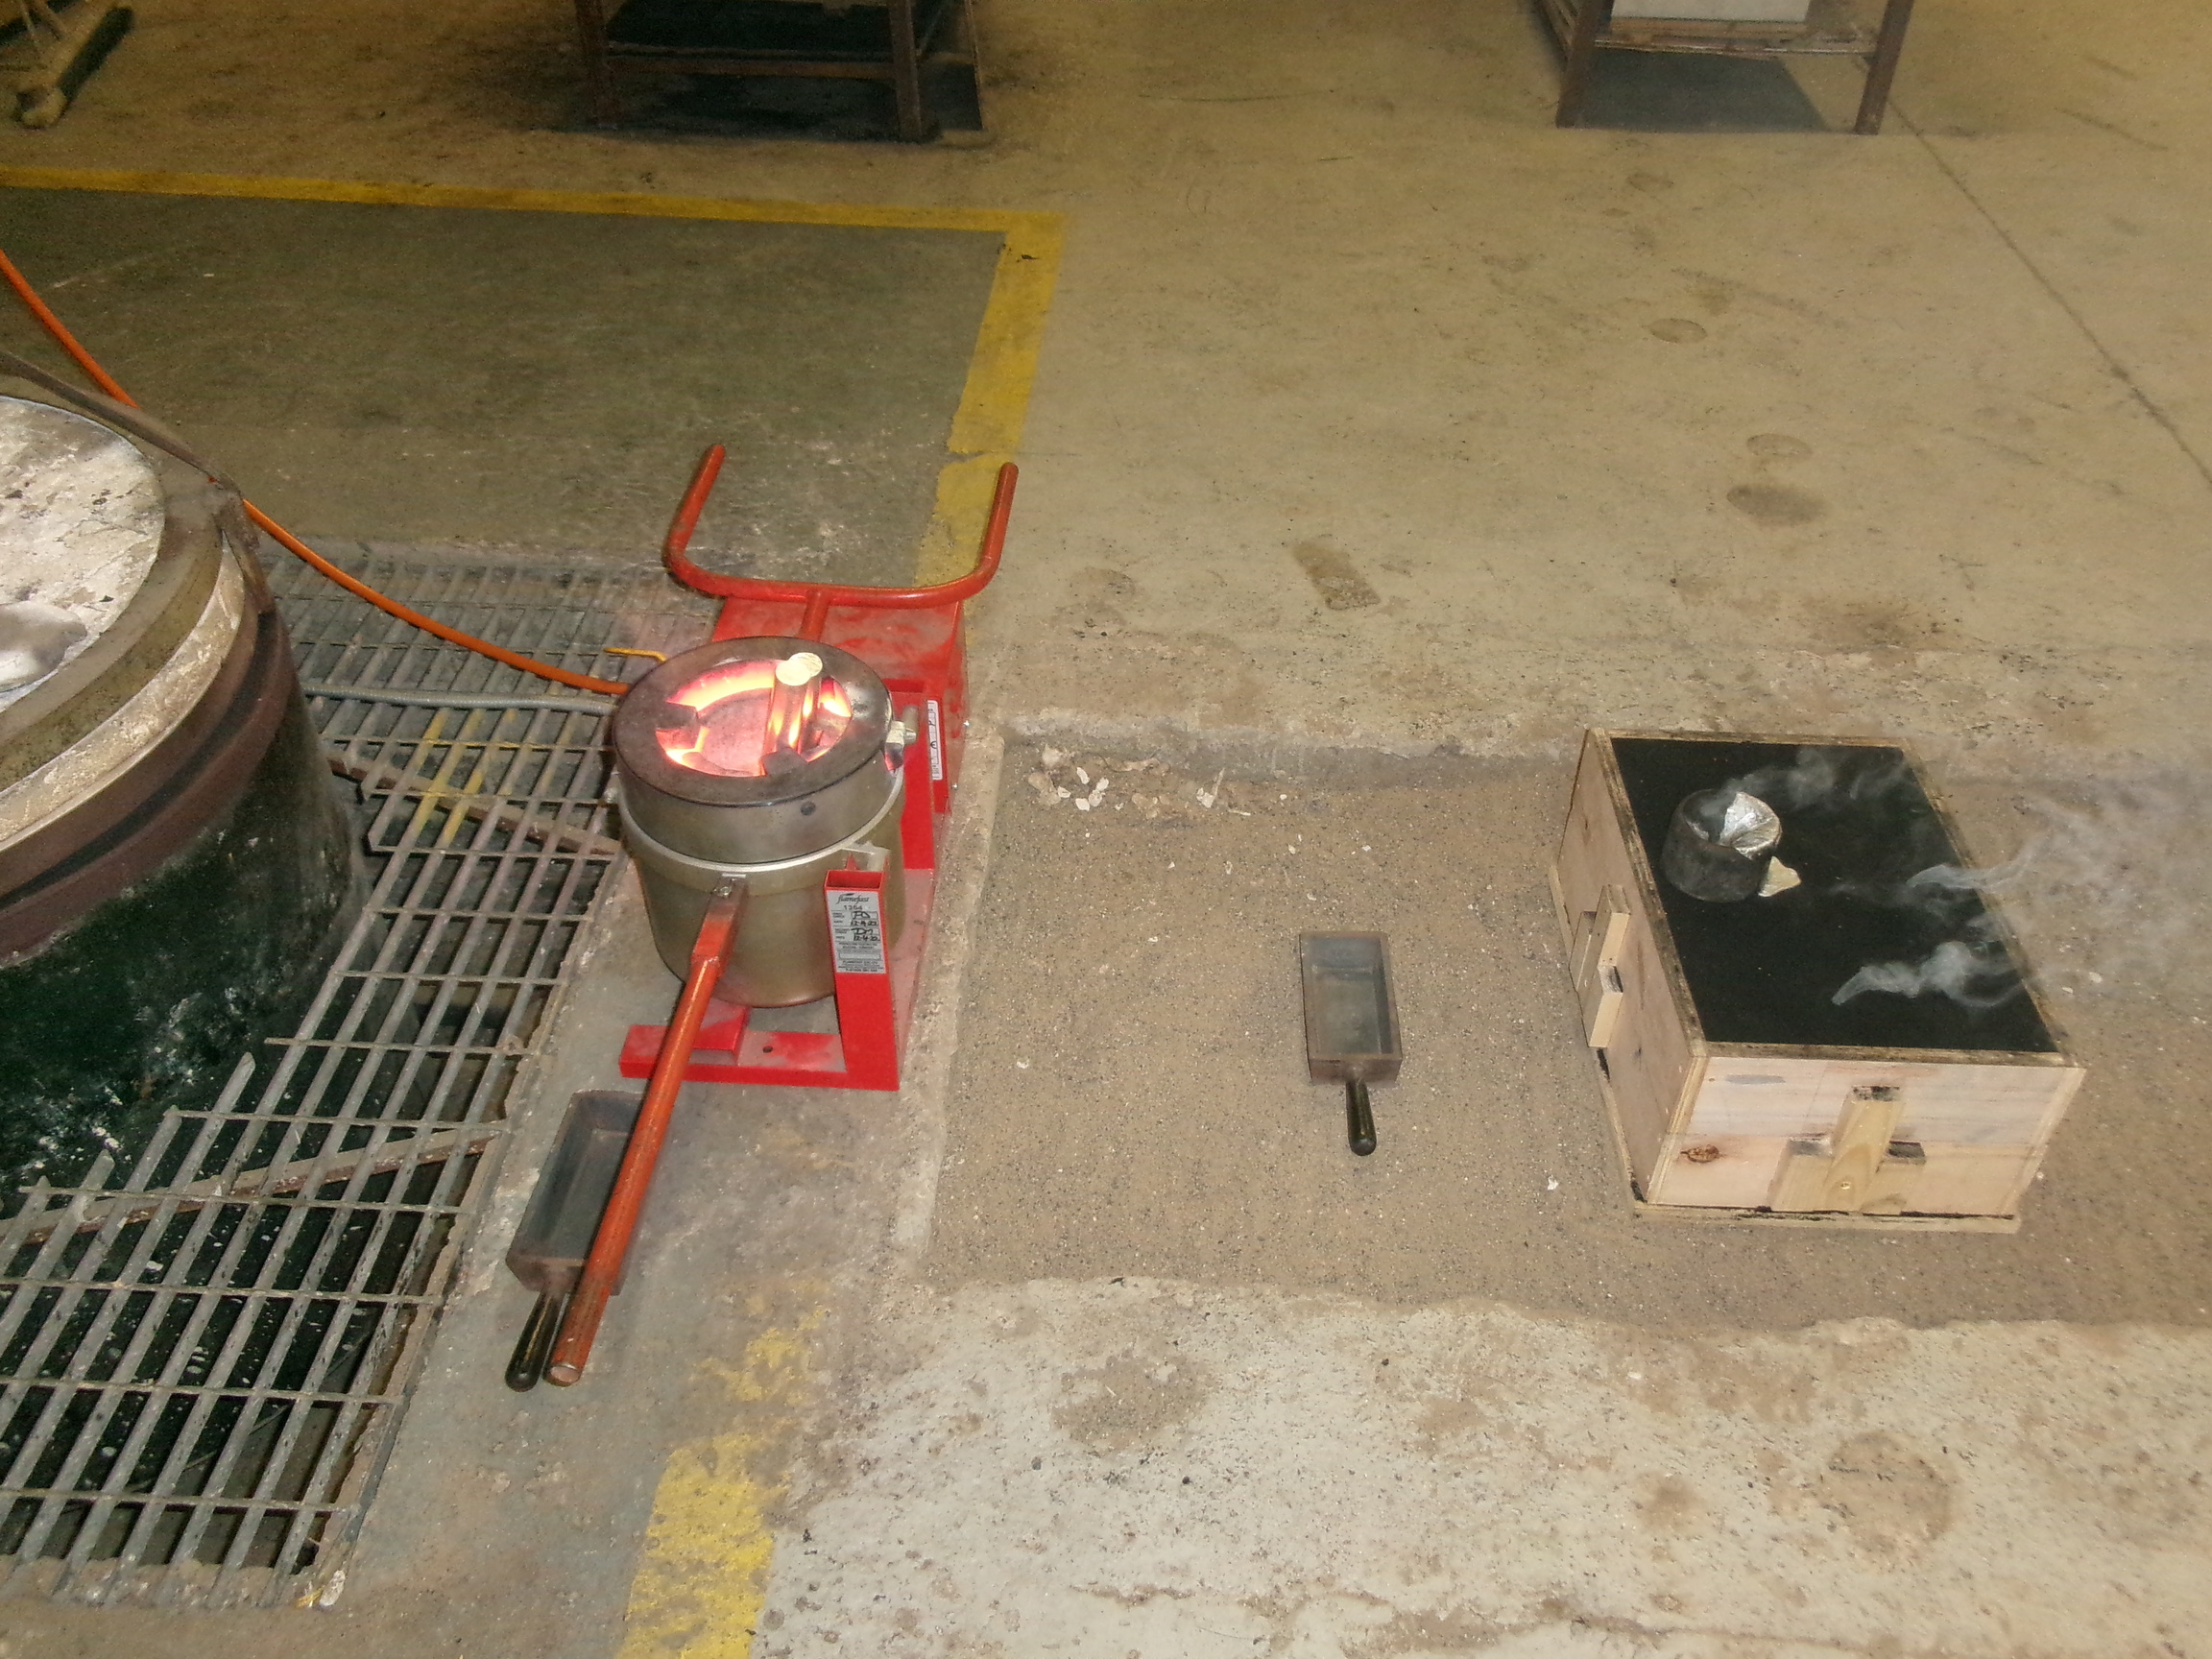
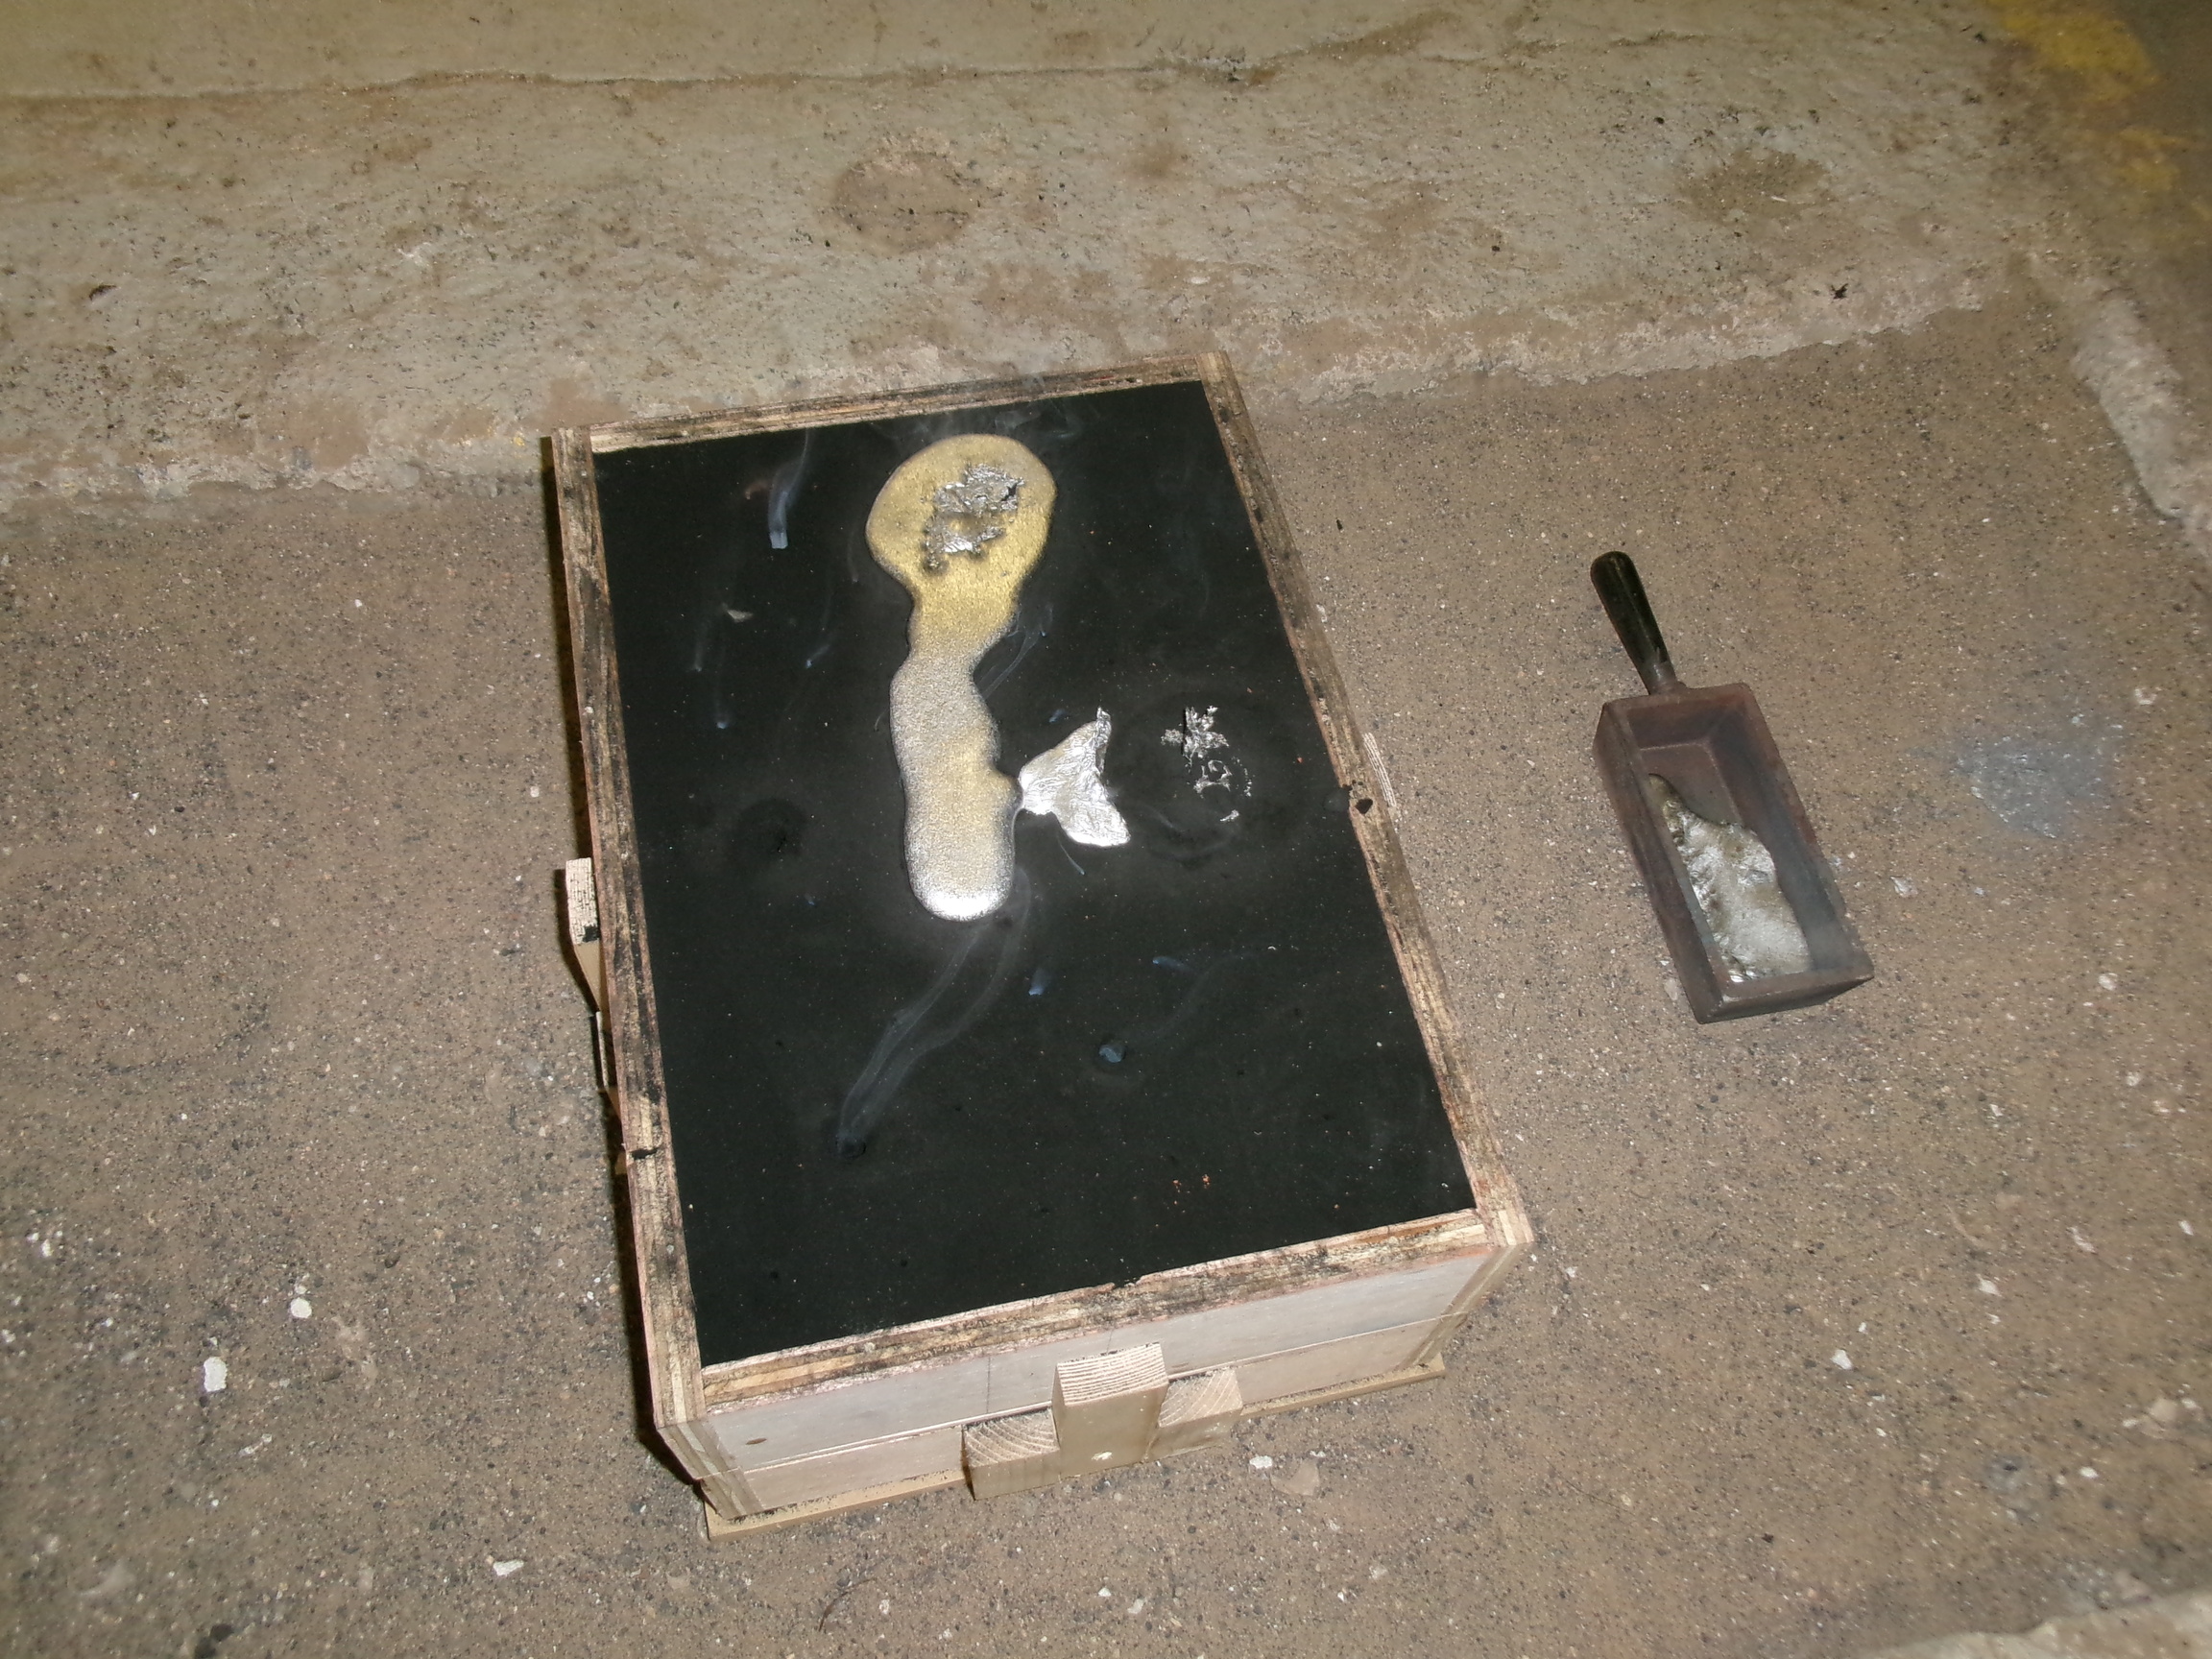
Melting the rest of the aluminium for the second pour. An ingot mold is ready to take the excess aluminium afterwards.
The second pour is done. A pool of aluminium flows out from one of the riser holes, indicating that the mold was filled.
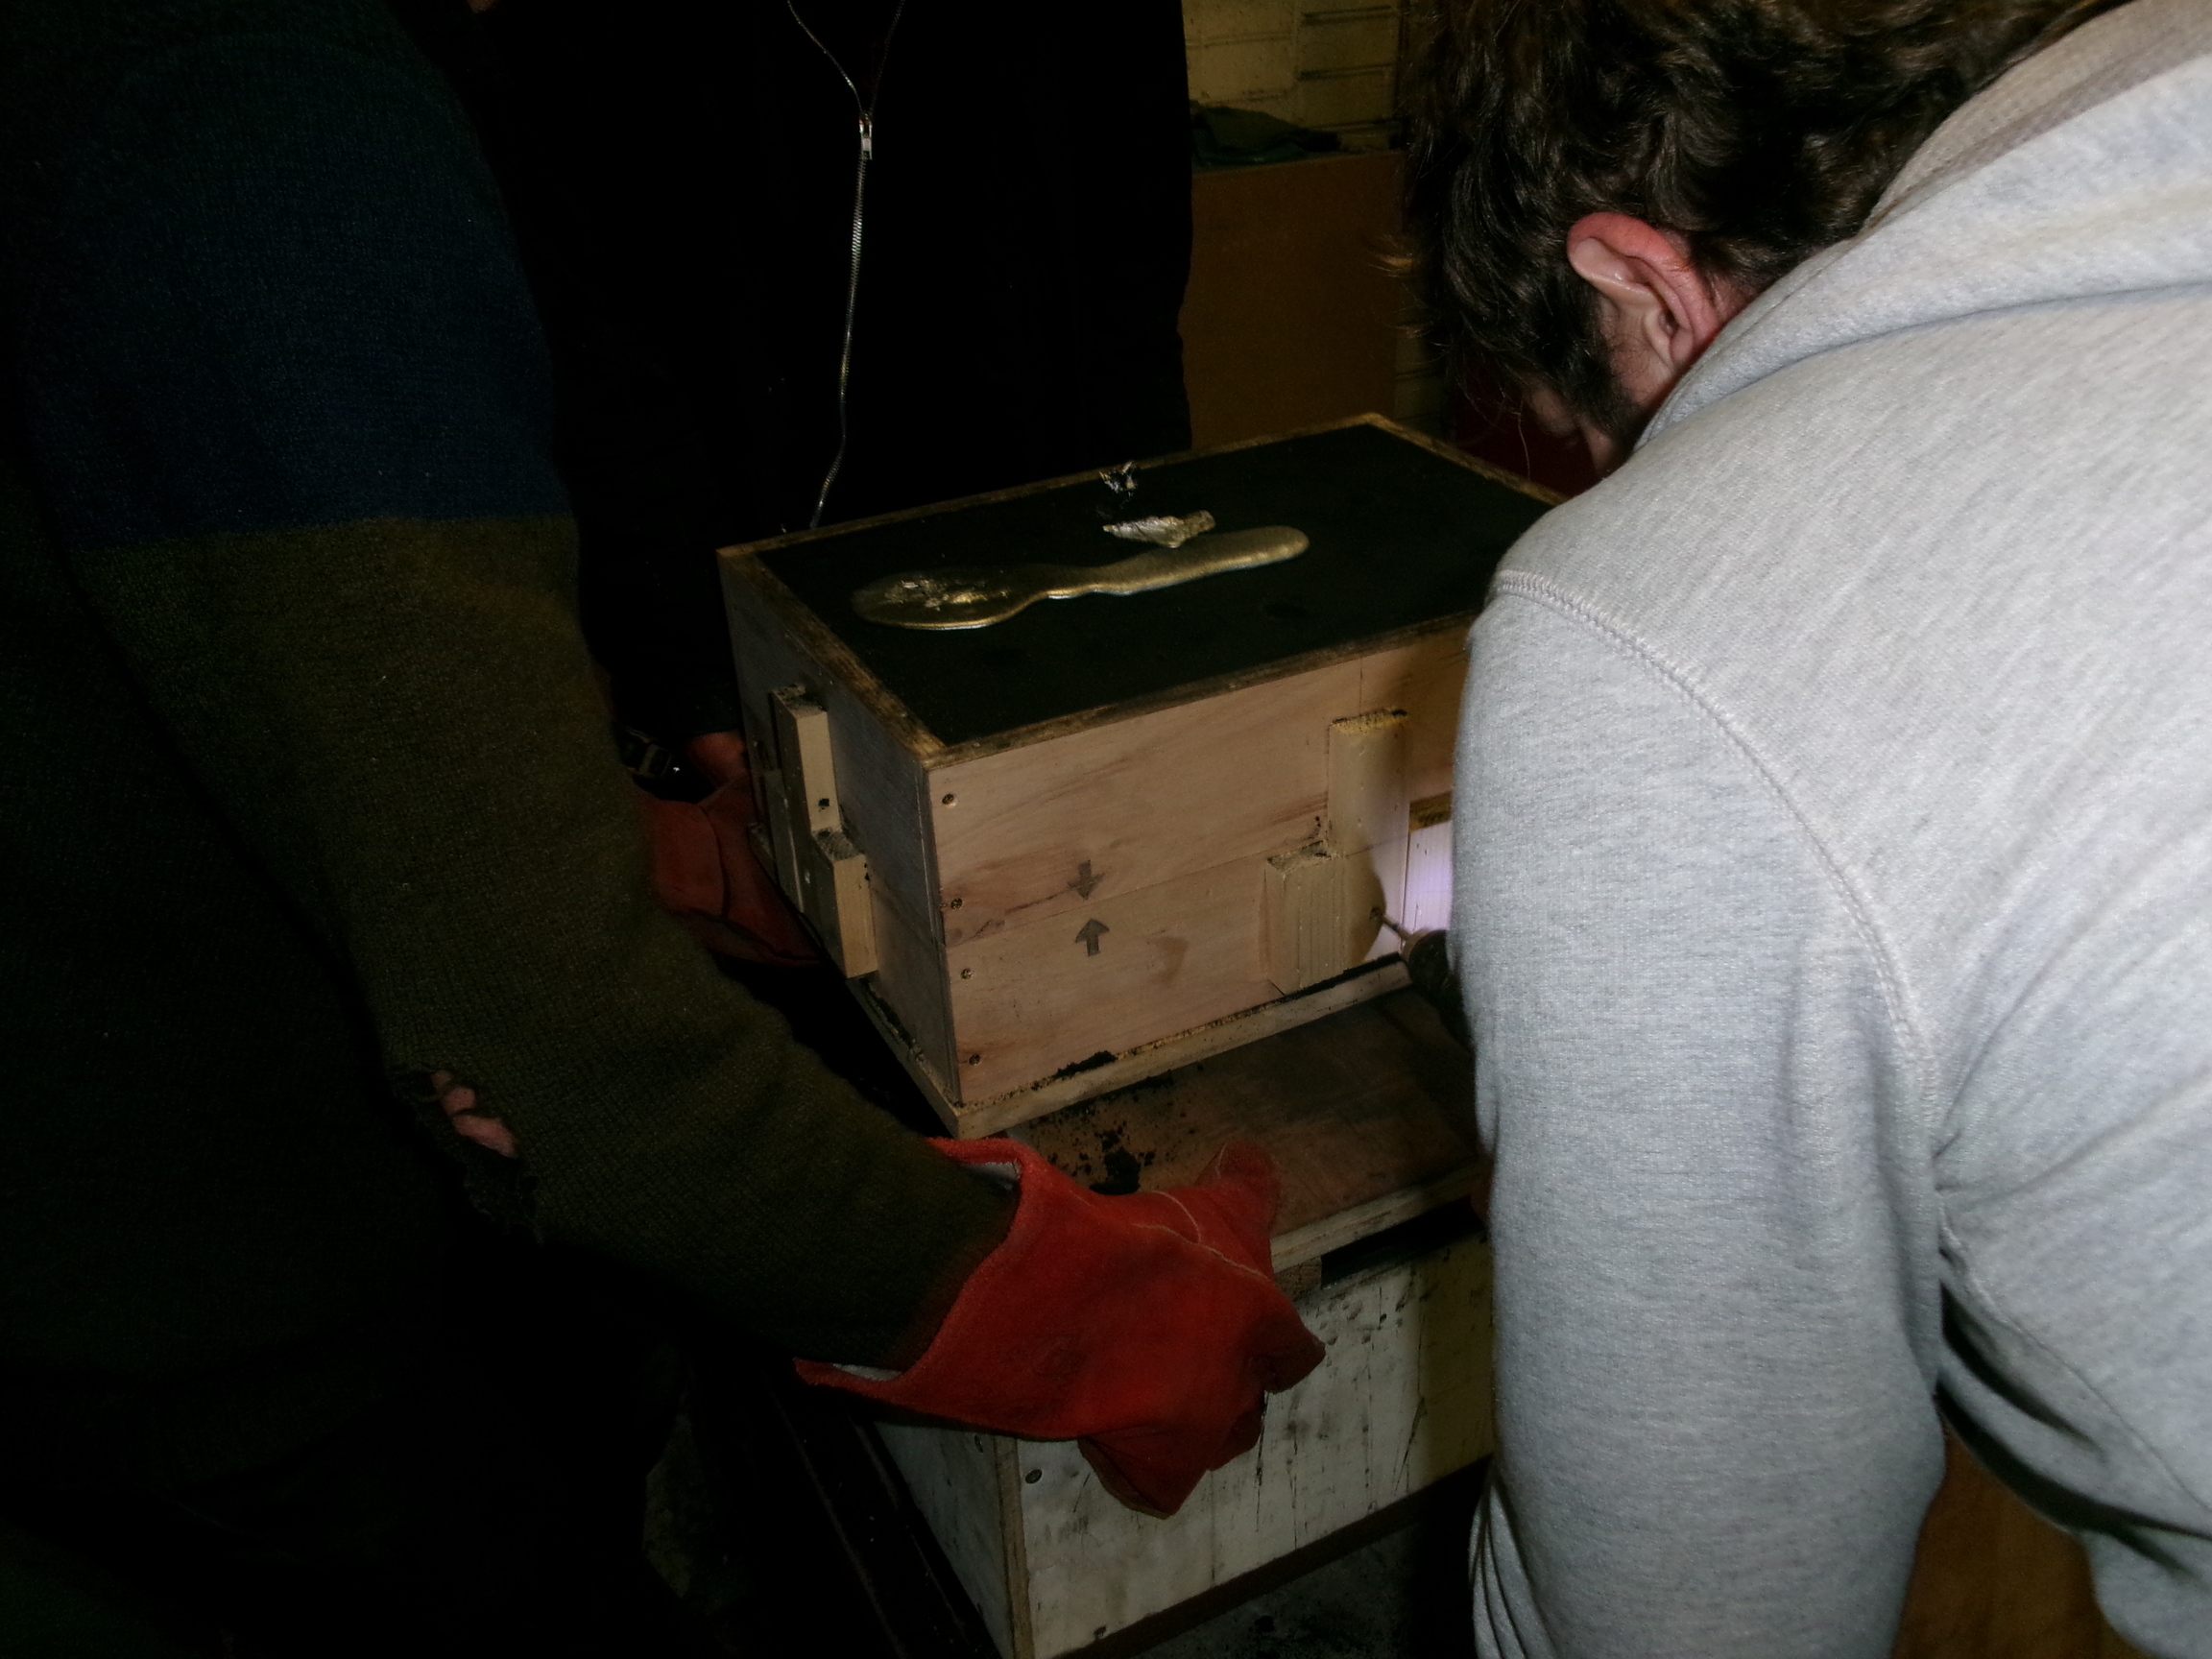
The box is carried over to be placed on top of the sand box. The mold is still quite hot. Barry unscrews the two halves of the mold.
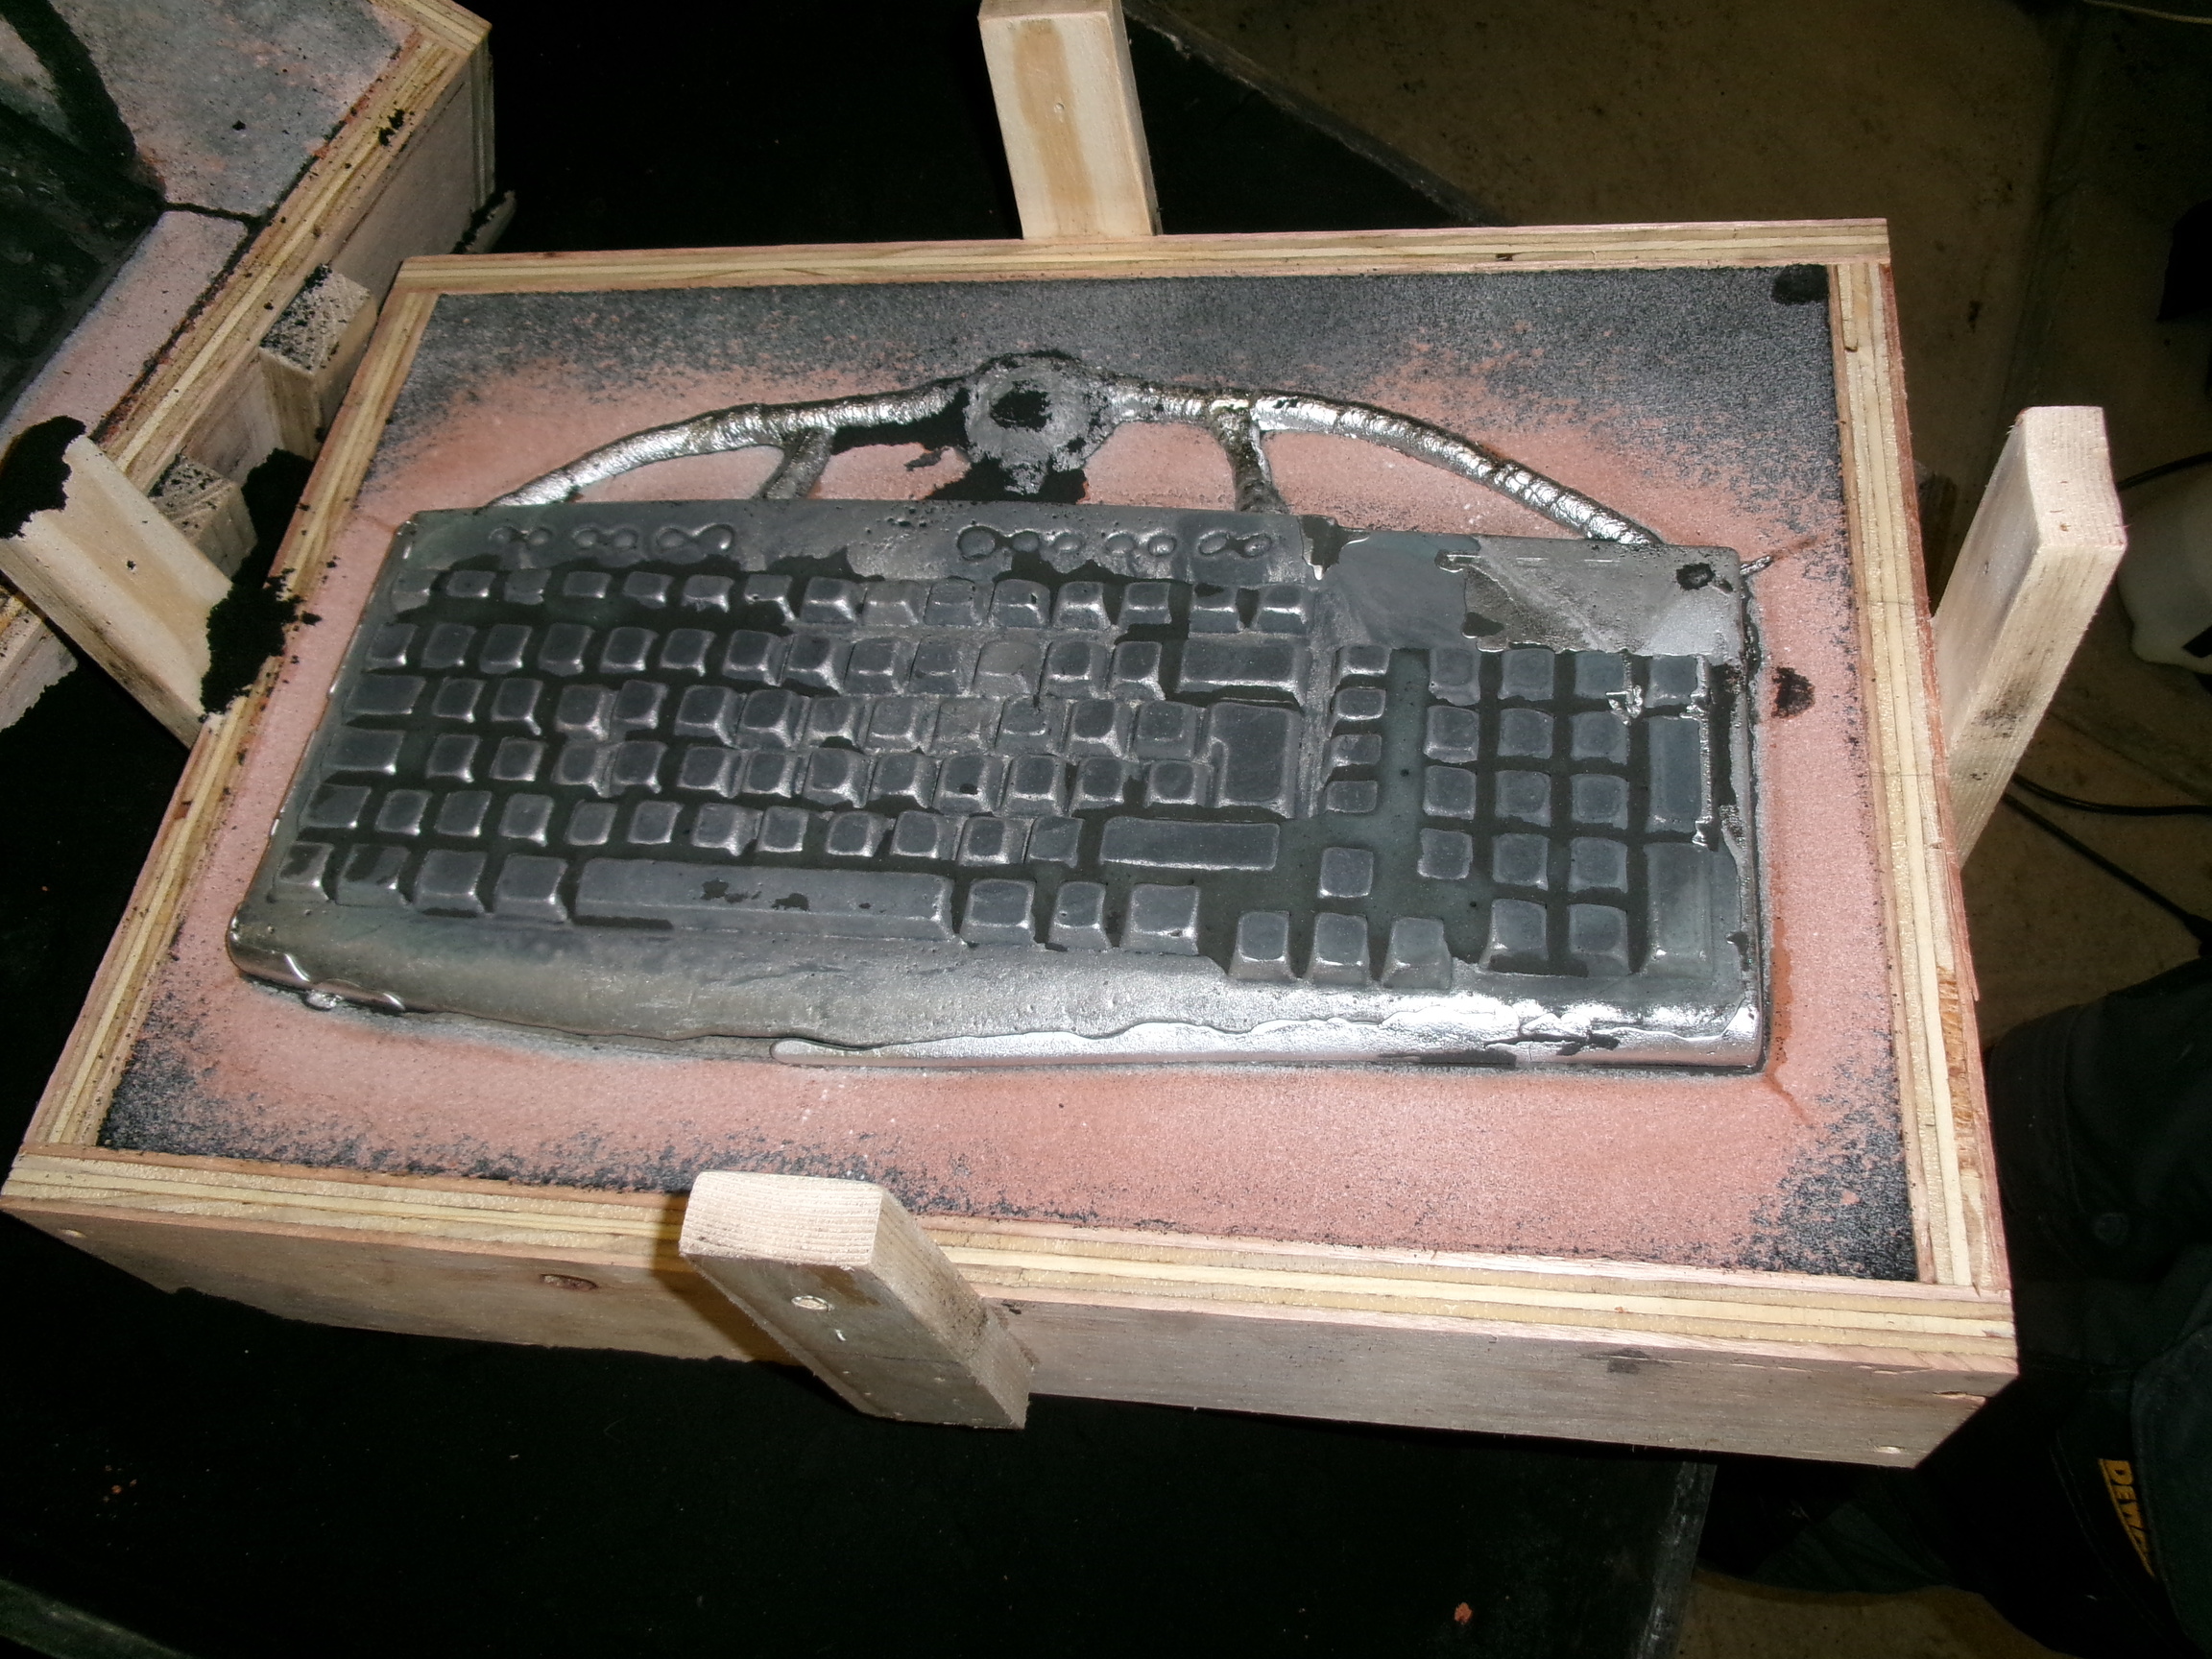
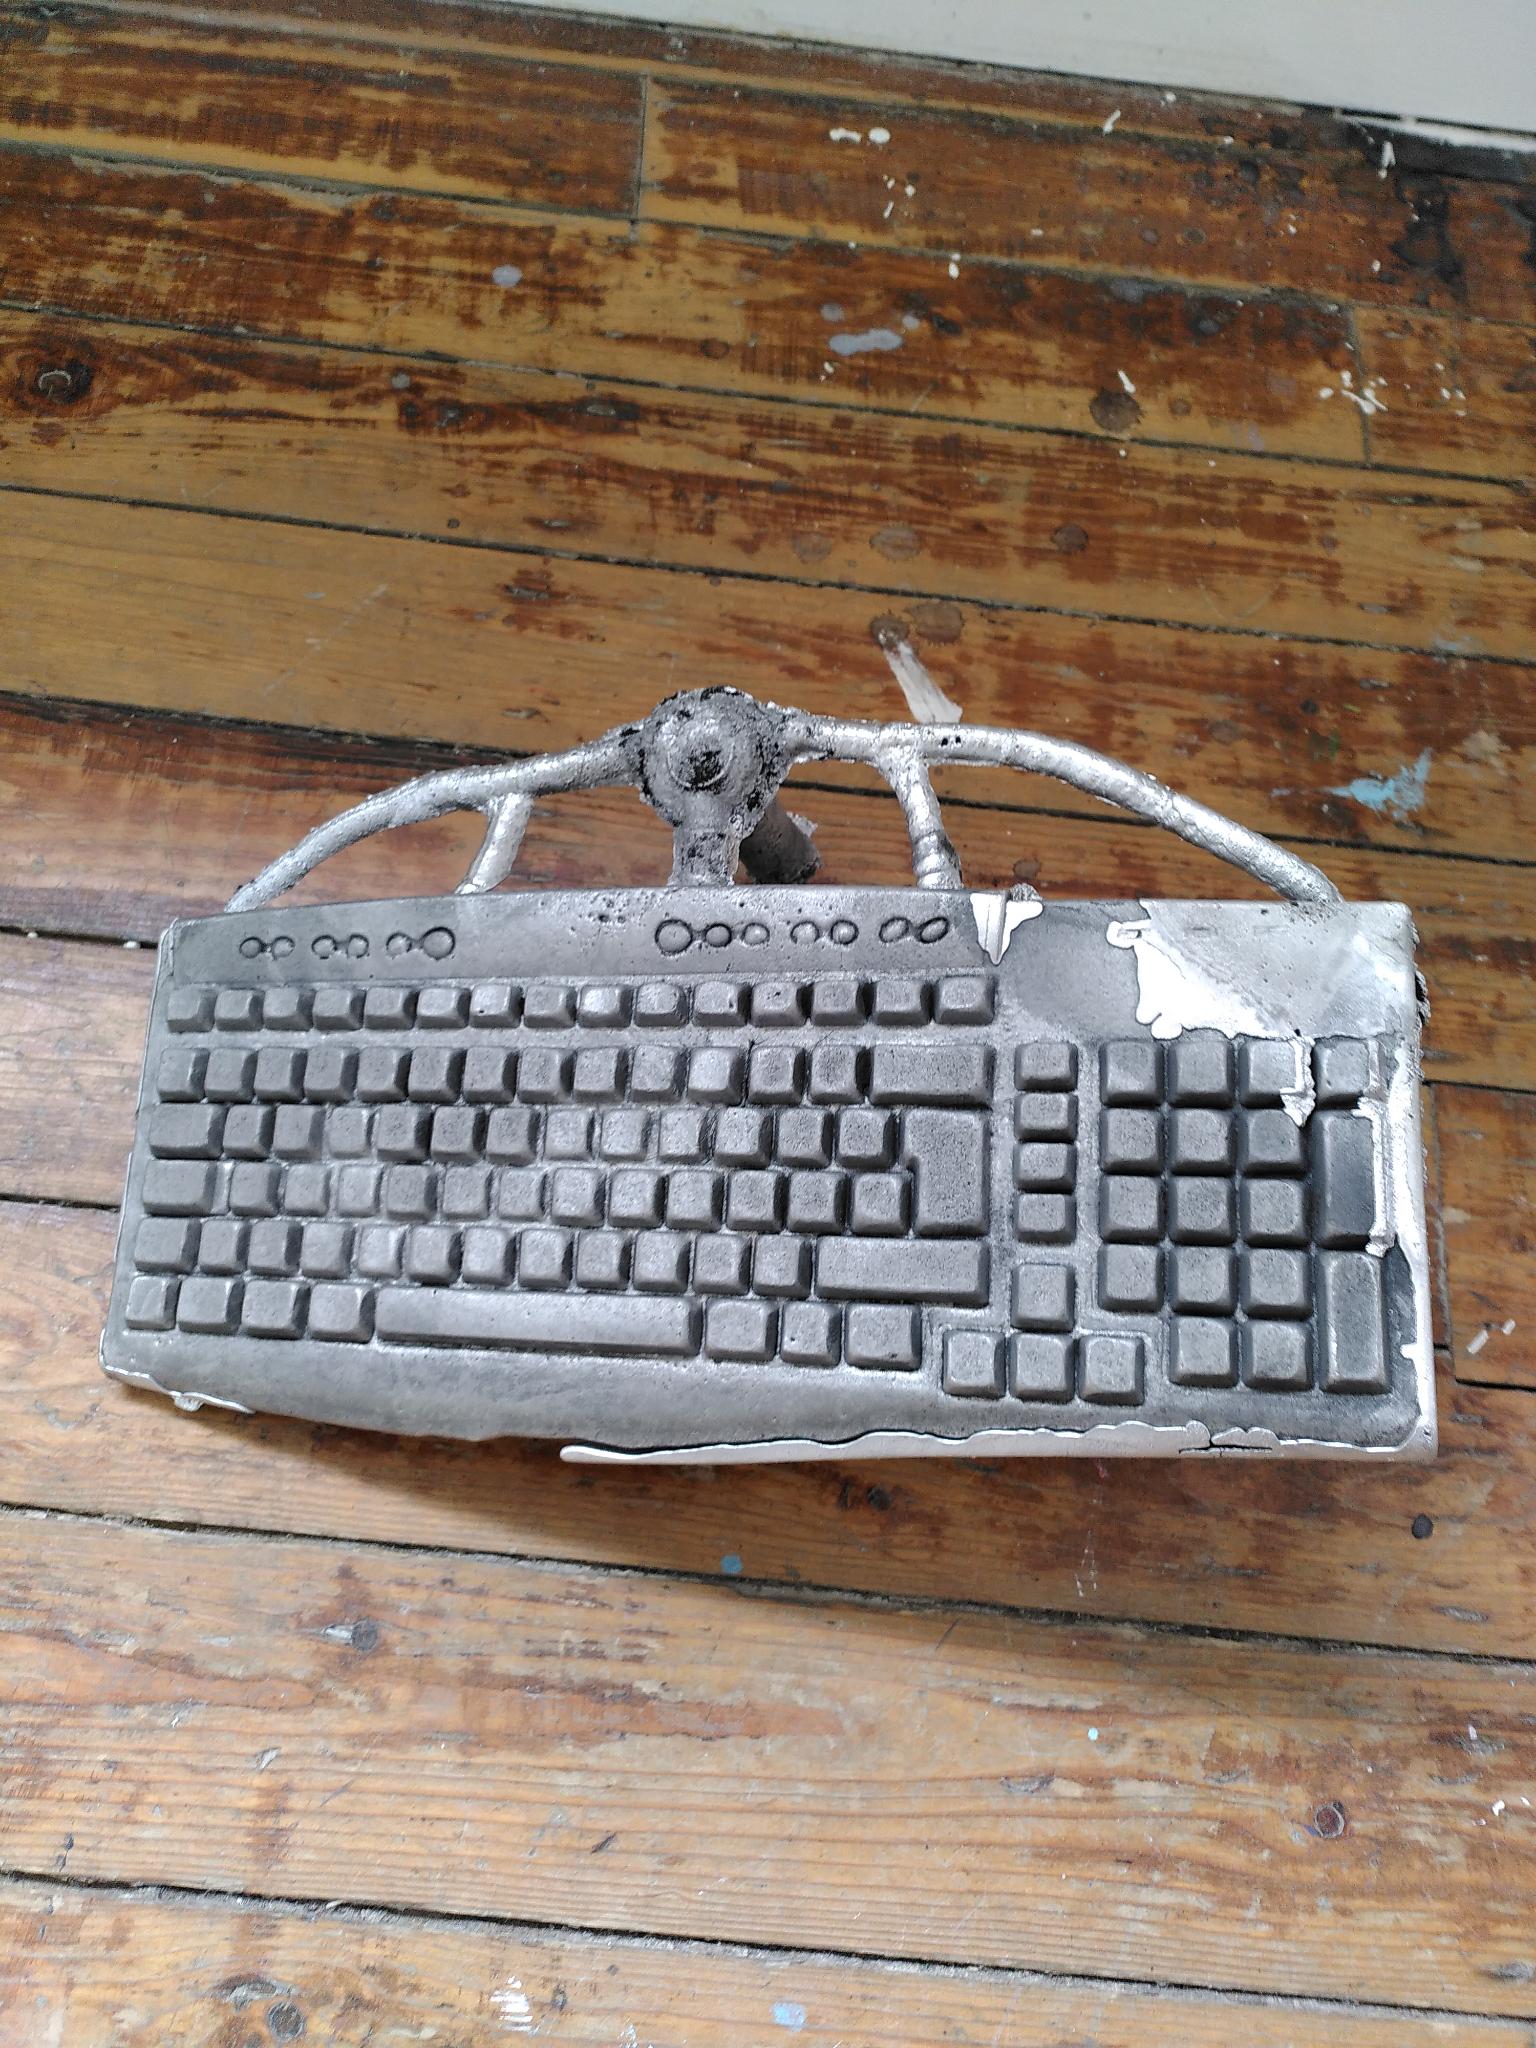
The finished sand-cast keyboard, still in the sand. Quite a lot of detail has come out. We are all very relieved!
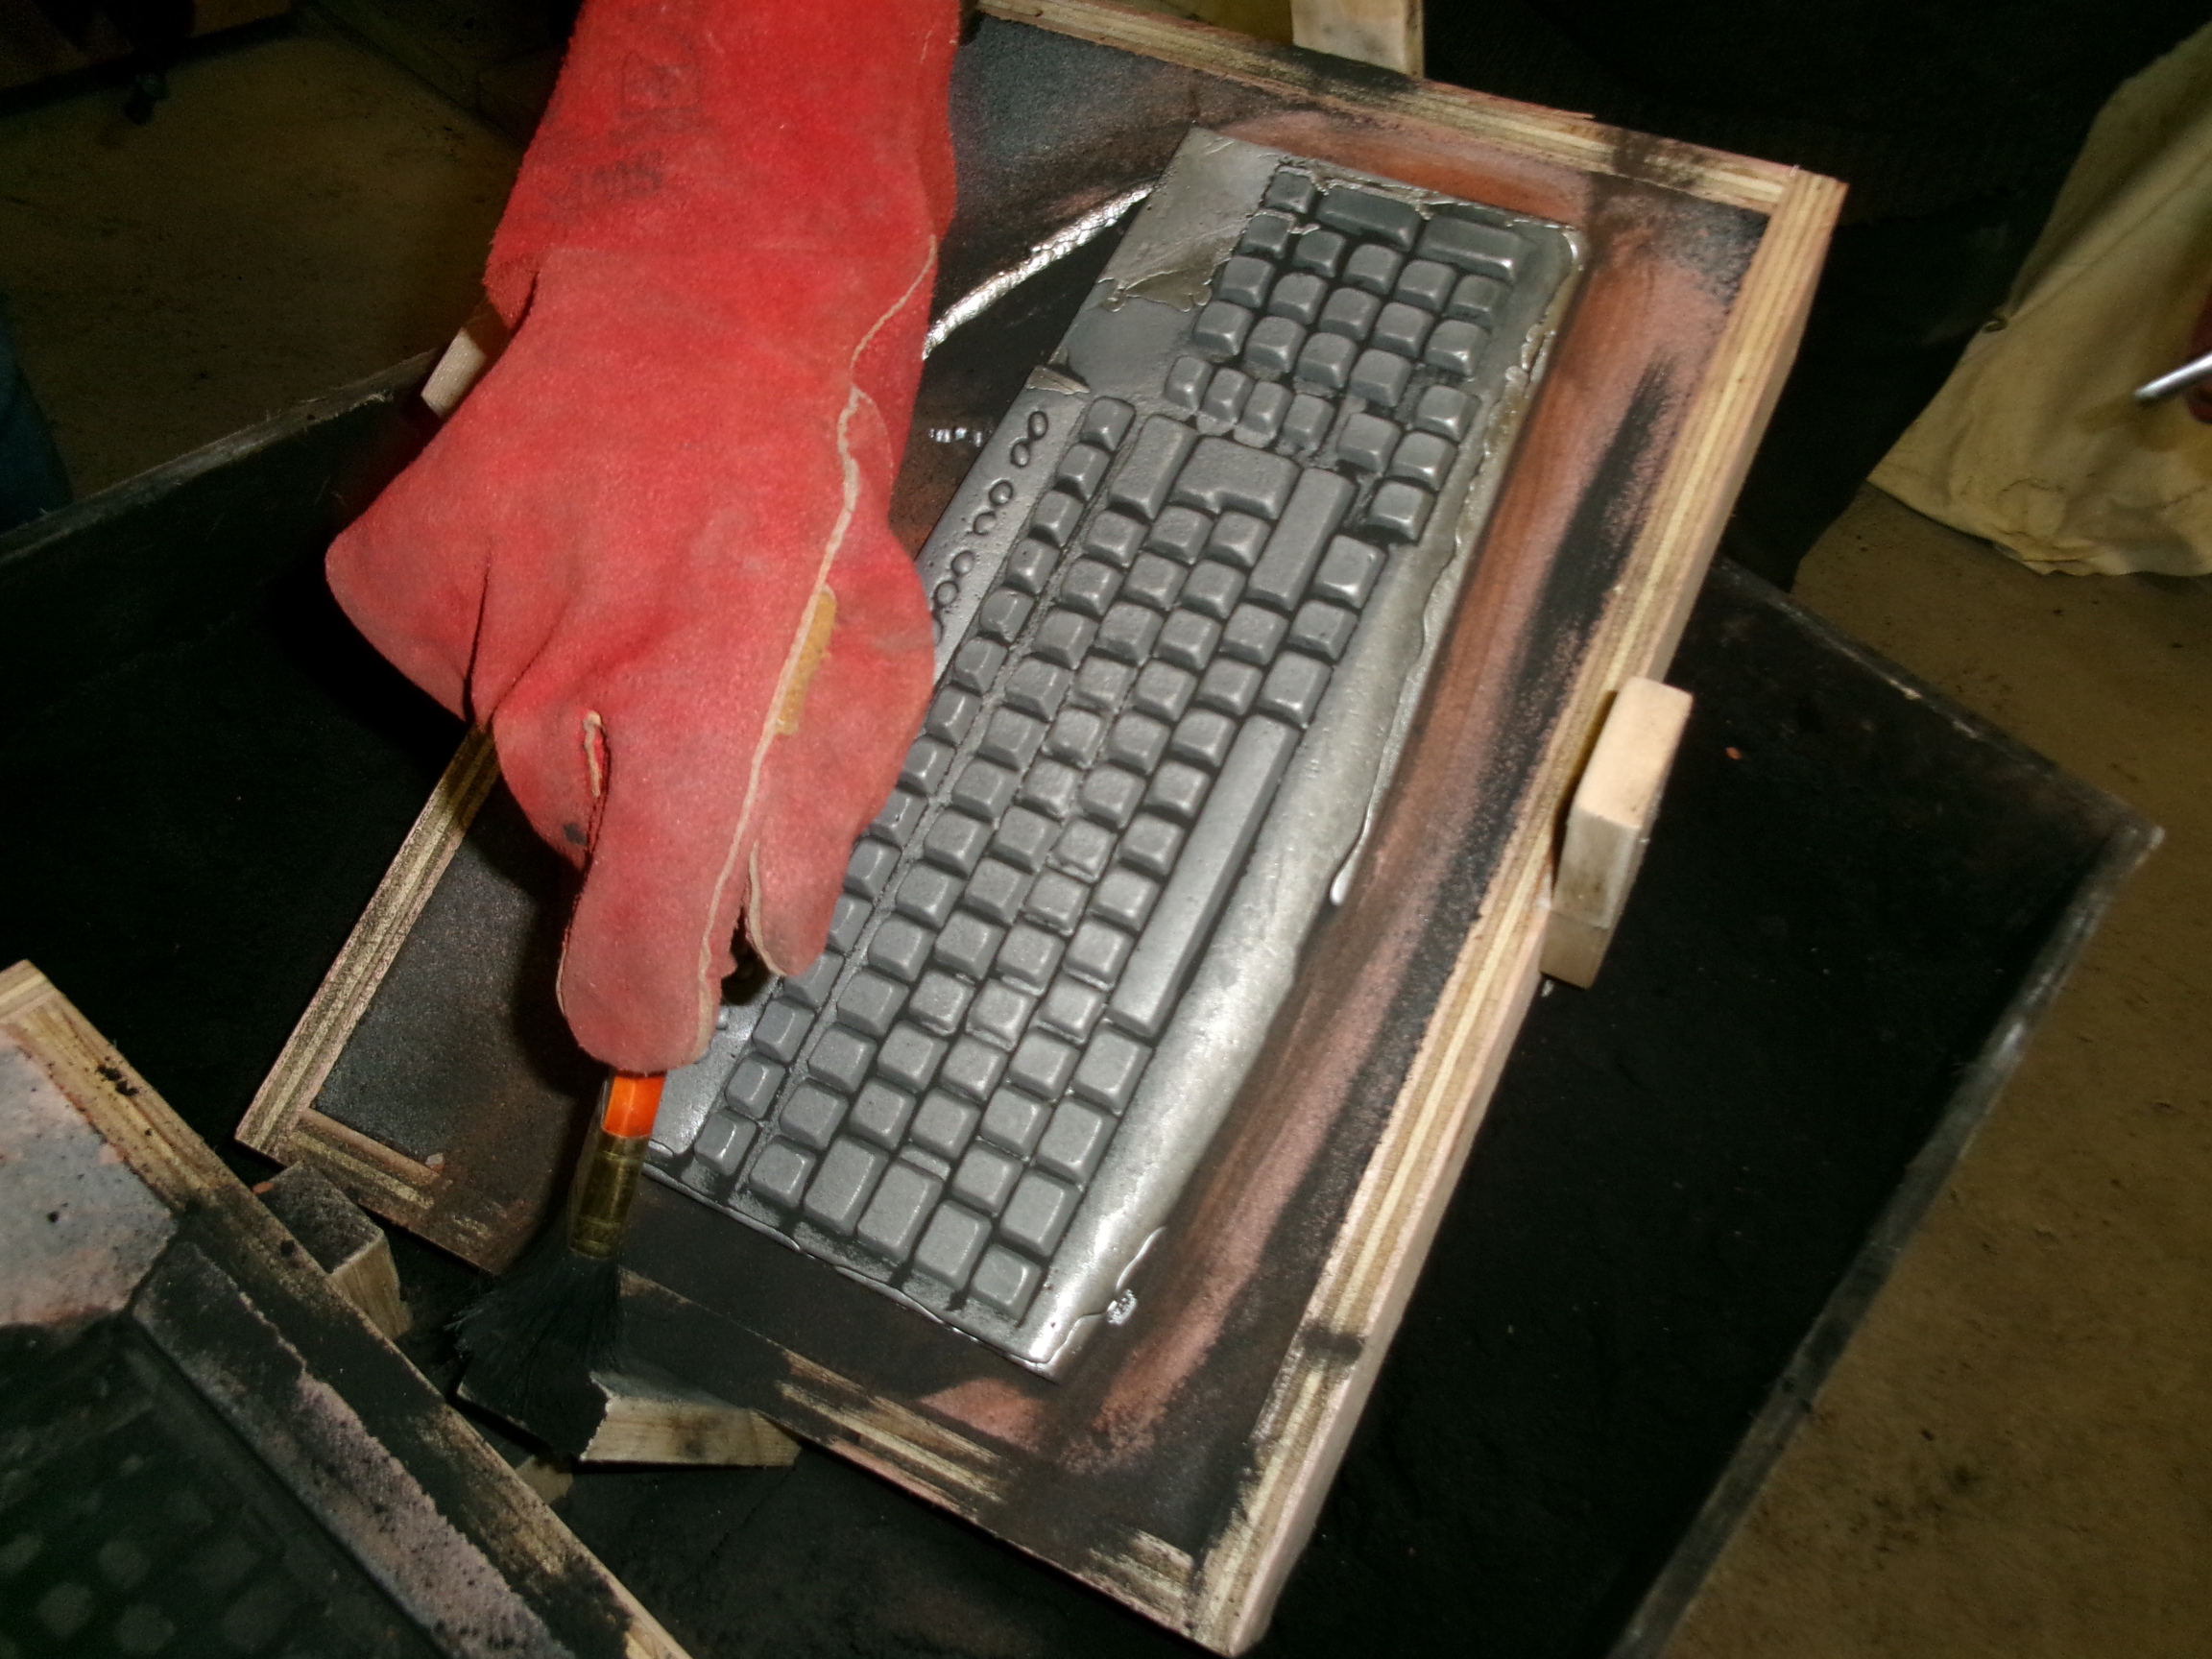
James brushes away the sand from between the keys.
The schematic, the keyboard form, the top half of the mold, and the finished piece.
The finished aluminium keyboard in the project space, after it has cooled down enough to move it.